warning lights CHEVROLET CAVALIER 1993 1.G Owners Manual
[x] Cancel search | Manufacturer: CHEVROLET, Model Year: 1993, Model line: CAVALIER, Model: CHEVROLET CAVALIER 1993 1.GPages: 308, PDF Size: 15.62 MB
Page 10 of 308
Downloaded from www.Manualslib.com manuals search engine How to Use this Manual
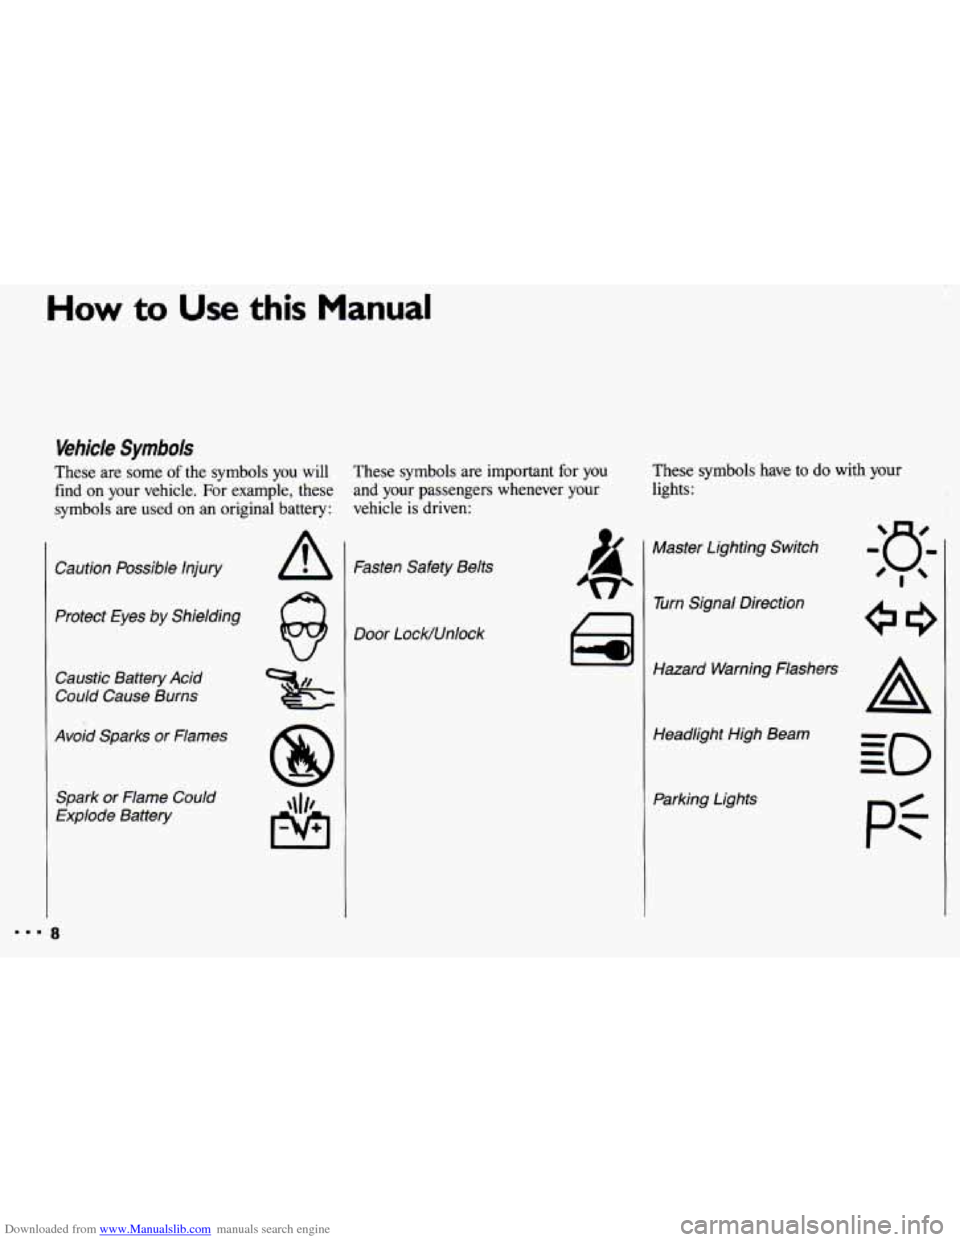
Vehicle Symbols
These are some of the symbols you will
find
on your vehicle. For example, these
symbols are used on an original battery:
Caution Possible Injury
Protect Eyes by Shielding
Caustic Battery Acid
Could Cause Burns
Avoid Sparks or Flames
Spark or Flame Could
Explode Battery
These symbols are important for you
and your passengers whenever your
vehicle
is driven: These
symbols have to do with your
lights:
Fasten Safety Belts
Door LocWUnlock ai
Master Lighting Switch
w Turn Signal Direction
Hazard Warning Flashers Headlight High Beam
Parking Lights
pi
Page 11 of 308
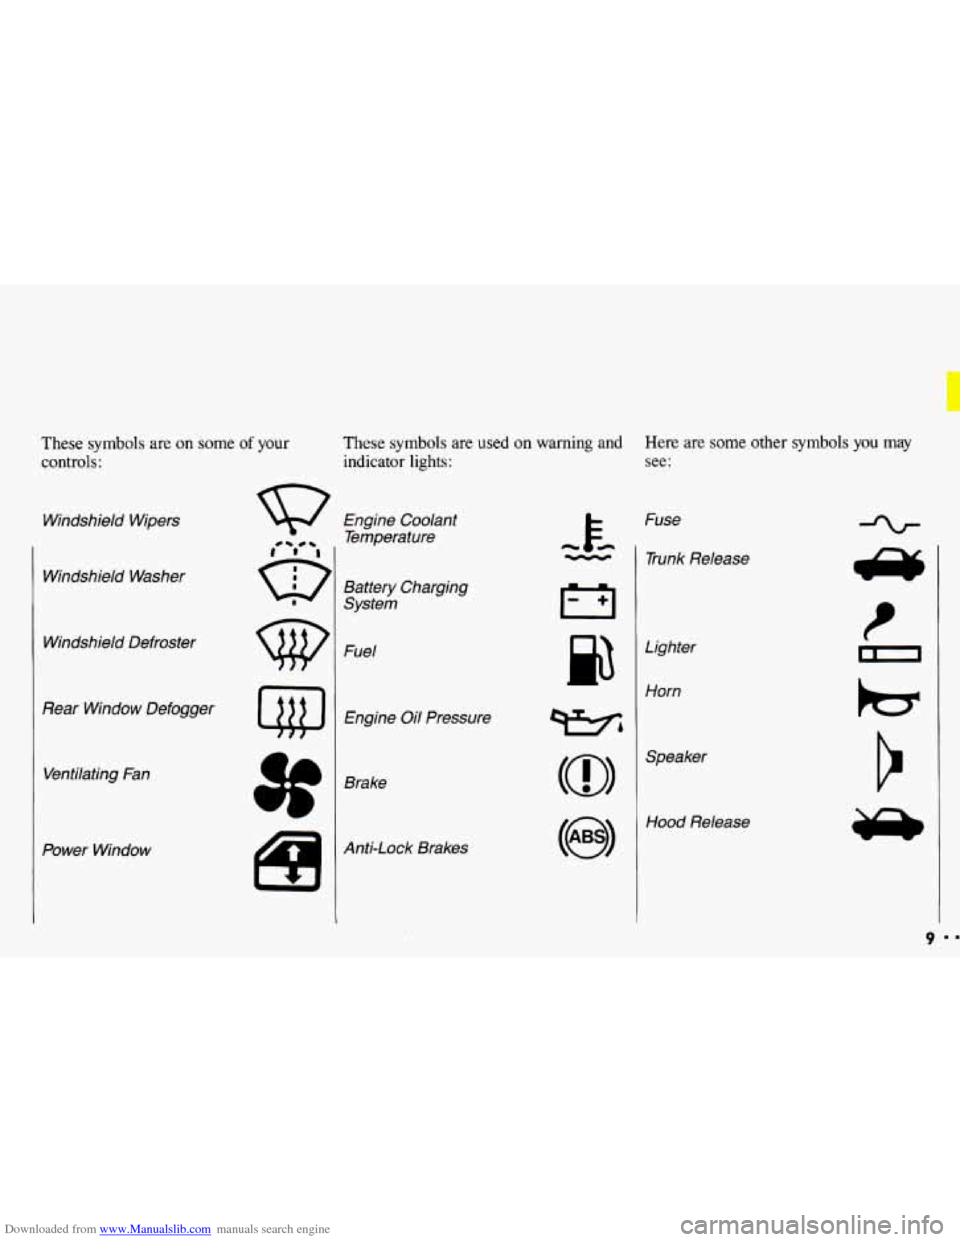
Downloaded from www.Manualslib.com manuals search engine These symbols are on some of your
controls:
Windshield Wipers
Windshield Washer
Windshield Defroster
Rear Window Defogger Ventilating Fan
Power Window
These symbols are used on warning and Here are some other symbols you may
indicator lights: see:
Engine Coolant
Temperature
Battery Charging
System
Fuel
Engine Oil Pressure
Brake
Anti-Lock Brakes Fuse
- 1 Trunk Release
cc
Lighter
Horn
wbl
(@I
Hood Release
9
Page 49 of 308
Downloaded from www.Manualslib.com manuals search engine ..
.; . I
Here you can learn about the
many standard and optional features
on your Chevrolet. and information
on starting. shifting and braking
.
Also explained are the instrument
panel and the warning systems that
tell you
if everything is working
properly-and what to
do if you have
a problem
.
Part 2
Features & Controls
Keys ............................................................ 48
Locks ........................................................... 49
GloveBox ....................................................... 53
Ignition ......................................................... 55
StartingYourEngine ............................................... 56
Engine Block Heater ............................................... 59
Shifting the Transaxle
.............................................. 60
ParkingBrake .................................................... 66
ShiftingintoPark .................................................. 67
Windows
........................................................ 71
Turn SignaVHeadlight Beam Lever
................................... -73
Cruisecontrol
.................................................... 74
Headlights
....................................................... 78
Interior Lights
.................................................... 81
Windshield Wipers
................................................ 83
Windshield Washer
................................................ 84
Mirrors
......................................................... 85
Ashtrays and Lighter
............................................... 87
Sunroof ......................................................... 88
Instrumentpanel .................................................. 93
Warning Lights, Gages and Indicators
.................................. 96
47
c
...
Page 57 of 308
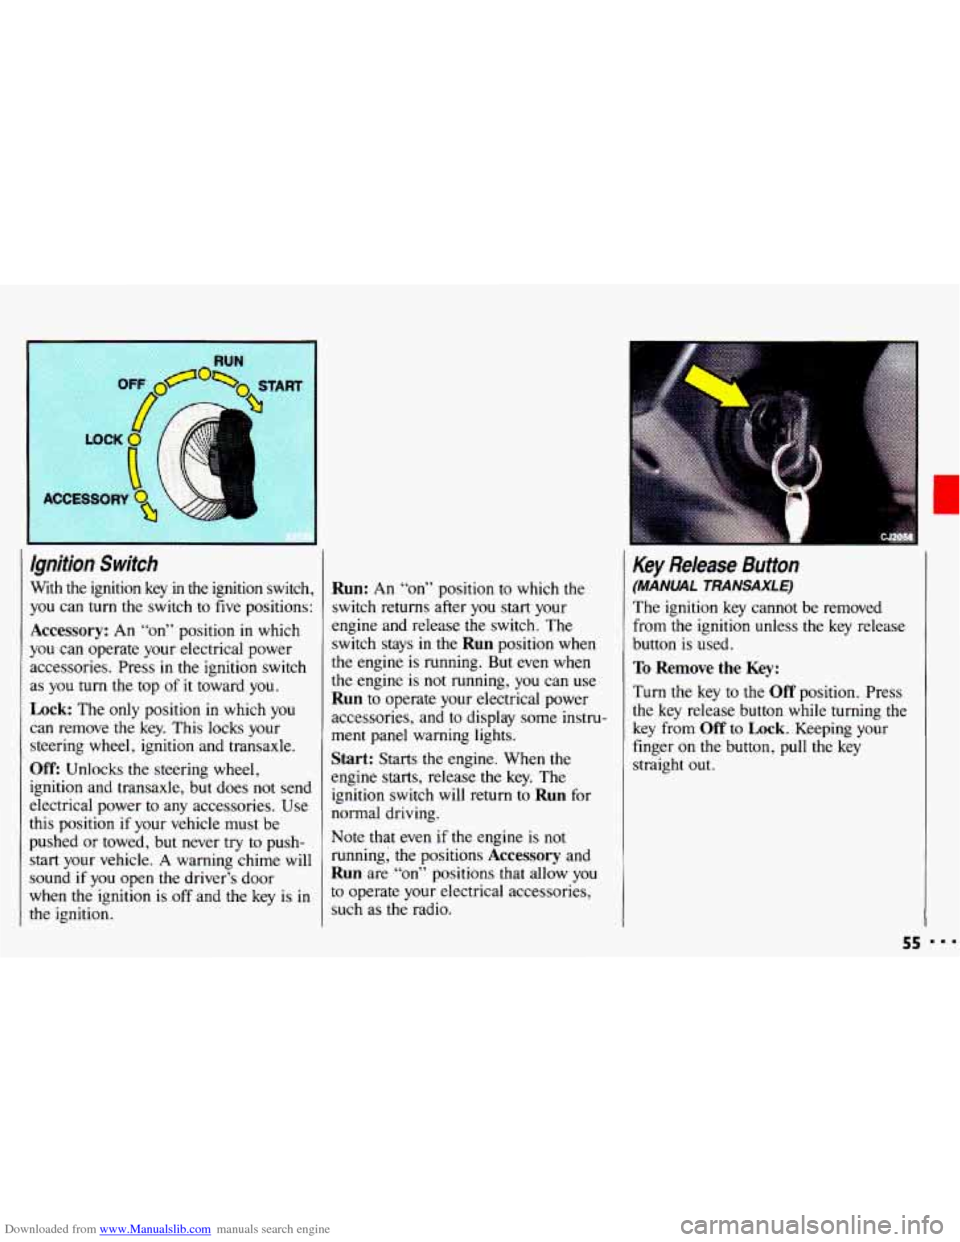
Downloaded from www.Manualslib.com manuals search engine Ignition Switch
With the ignition key in the ignition switch,
you can
turn the switch to five positions:
Accessory: An “on” position in which
you can operate your electrical power
accessories. Press in the ignition switch
as
you turn the top of it toward you.
Lock: The only position in which you
can remove the key. This locks your
steering wheel, ignition and transaxle.
Off: Unlocks the steering wheel,
ignition and transaxle, but does not send
electrical power
to any accessories. Use
this position
if your vehicle must be
pushed
or towed, but never try to push-
start your vehicle.
A warning chime will
sound
if you open the driver’s door
when the ignition is
off and the key is in
the ignition.
Run: An “on” position to which the
switch returns after
you start your
engine and release the switch. The
switch stays in
the Run position when
the engine is running. But even when
the engine is not running, you can use
Run to operate your electrical power
accessories, and to display some instru-
ment panel warning lights.
Start: Starts the engine. When the
engine starts, release the key. The
ignition switch will return to
Run for
normal driving.
Note that even
if the engine is not
running; the positions
Accessory and
Run are “on” positions that allow you
to operate your electrical accessories,
such as the radio.
Key Release Button
(MANUAL TRANSAXLE)
The ignition key cannot be removed
from
the ignition unless the key release
button is used.
To Remove the Key:
Turn the key to the Off position. Press
the key release button while turning the
key from
Off to Lock. Keeping your
finger
on the button, pull the key
straight
out.
55
Page 96 of 308
Downloaded from www.Manualslib.com manuals search engine Features & Controls
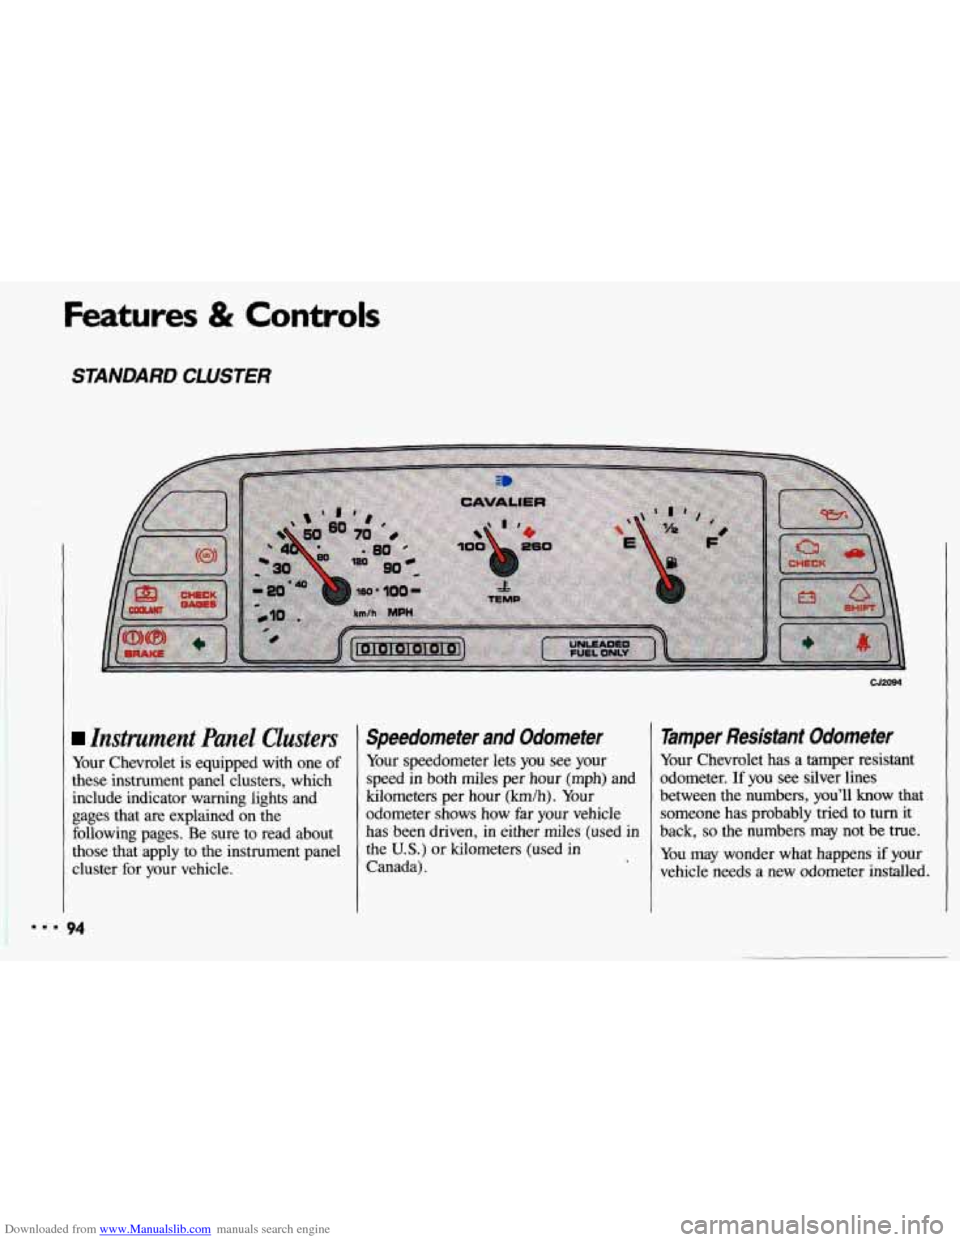
STANDARD CLUSTER
Instrument Panel Clusters
Your Chevrolet is equipped with one of
these instrument panel clusters, which
include indicator warning lights and
gages that are explained on the
following pages. Be sure to read about
those that apply to the instrument panel
cluster for your vehicle.
Speedometer and Odometer
Your speedometer lets you see your
speed in both miles per hour (mph) and
kilometers per hour (km/h). Your
odometer shows how far your vehicle
has been driven, in either miles (used in
the
U.S.) or kilometers (used in
Canada).
Tamper Resistant Odometer
Your Chevrolet has a tamper resistant
odometer. If
you see silver lines
between the numbers, you’ll
know that
someone has probably tried to
turn it
back,
so the numbers may not be true.
You may wonder what happens if your
vehicle needs a new odometer installed.
=.* 94
Page 98 of 308
Downloaded from www.Manualslib.com manuals search engine Features & Controls
Warning Lights,
Gages and Indicators
This section describes the warning lights
and gages that may be on your vehicle.
The pictures will help
you locate them.
Warning lights and gages can signal that something is wrong before it becomes
serious enough
to cause an expensive
repair or replacement. Paying attention
to your warning lights and gages could also save you or others from injury.
Warning lights
go on when there may be
or is a problem
with one of your
vehicle’s functions.
As you will see in
the details on the next few pages, some
warning lights come on briefly when
you turn the ignition key just to let you
know they’re working. If you are
familiar with this section, you should
not be alarmed when this happens. Gages can indicate when there
may be
or is a problem with one
of your
vehicle’s functions. Often gages
and
warning lights work together to let you
know when there’s a problem with your
vehicle.
When one of the warning lights comes
on and stays on when you are driving,
or when one
of the gages shows there
may be a problem, check the section
that tells you what to do about it. Please
follow the manual’s advice. Waiting to
do repairs can be costly-and even
dangerous.
So please get to know your
warning lights and gages. They’re a big
help.
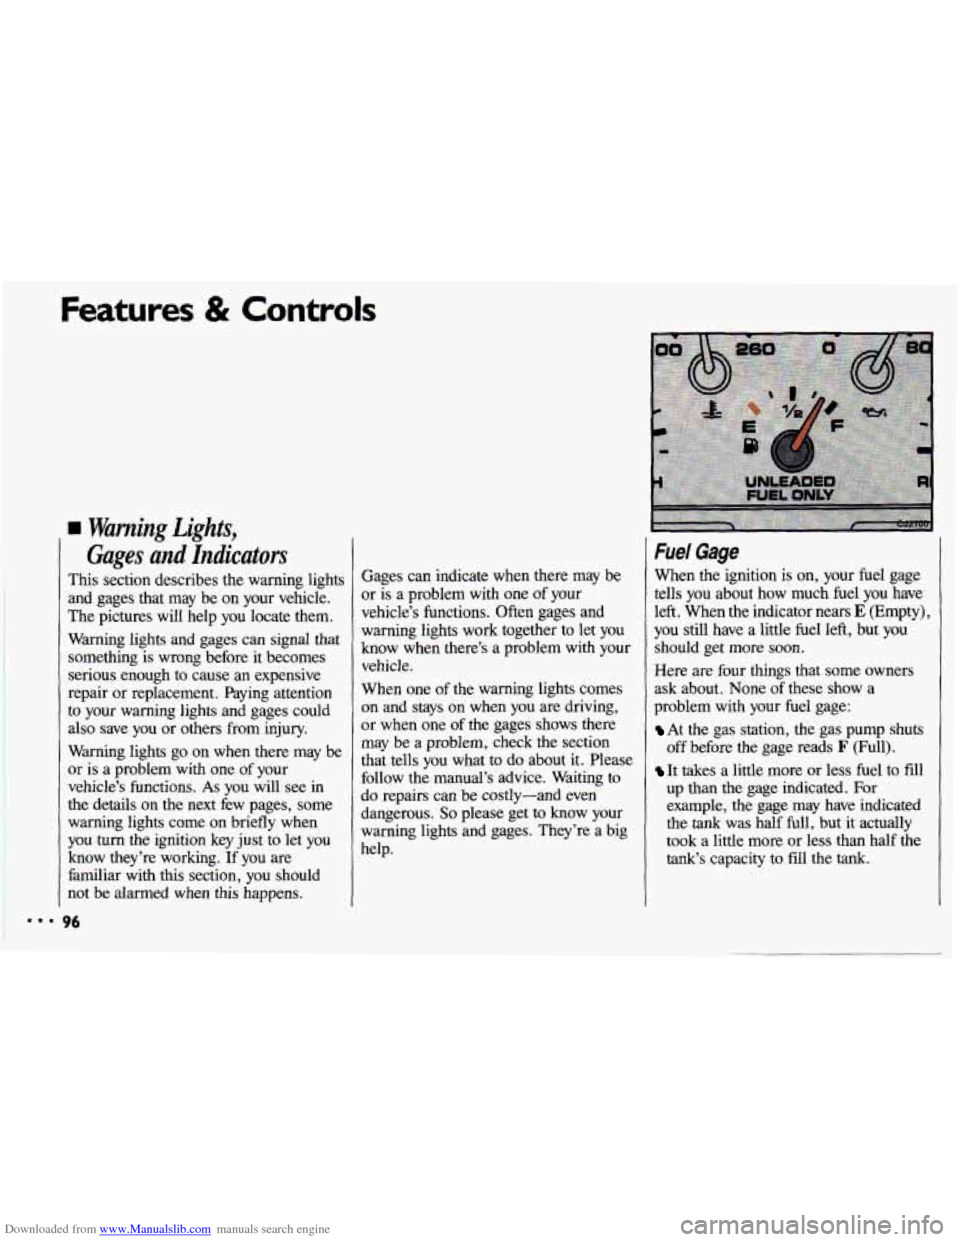
Fuel Gage
When the ignition is on, your fuel gage
tells
you about how much fuel you have
left. When the indicator nears
E (Empty),
you still have a little fuel left, but you
should get more soon.
Here are four things that some owners
ask about. None
of these show a
problem with your fuel gage:
At the gas station, the gas pump shuts
off before the gage reads
F (Full).
It takes a little more or less fuel to fdl
up than the gage indicated. For
example, the gage may have indicated
the
tank was half full, but it actually
took a little more or less than half the
tank‘s capacity to fill the tank.
Page 129 of 308
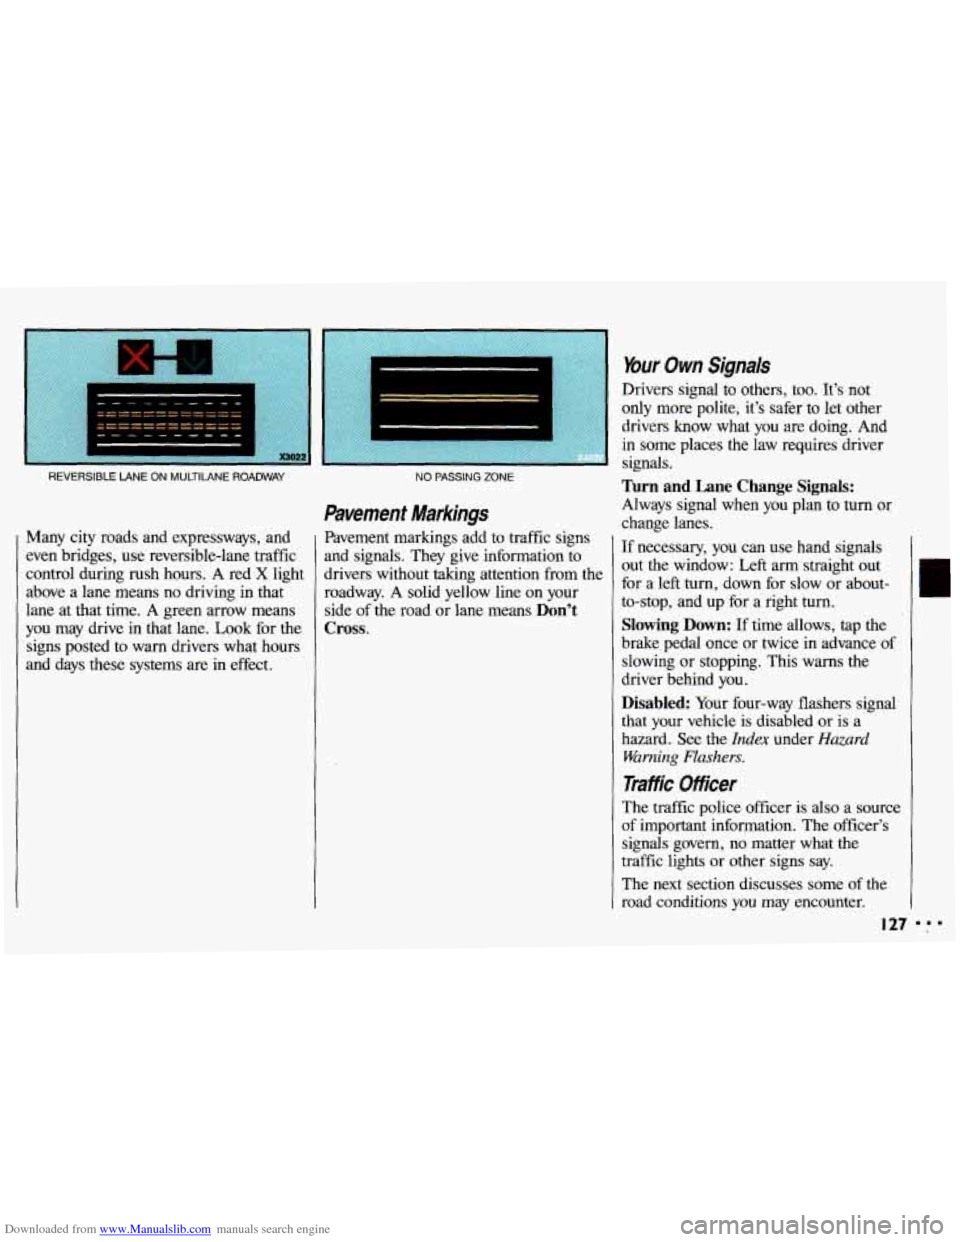
Downloaded from www.Manualslib.com manuals search engine REVERSIBLE LANE ON MULTILANE ROADWAY
Many city roads and expressways, and
even bridges, use reversible-lane traffic
control during rush hours. A red
X light
above
a lane means no driving in that
lane at that time. A green arrow means
you may drive in that lane.
Look for the
signs posted
to warn drivers what hours
and days these systems are in effect.
NO PASSING ZONE
Pavement Markings
Pavement markings add to traffic signs
and signals. They give information to
drivers without taking attention from the roadway.
A solid yellow line on your
side
of the road or lane means Don’t
Cross.
Mur Own Signals
Drivers signal to others, too. It’s not
only more polite, it’s safer
to let other
drivers
know what you are doing. And
in some places the law requires driver
signals.
Turn and Lane Change Signals:
Always signal when you plan to turn or
change lanes.
If necessary,
you can use hand signals
out the window: Left arm straight out for a left
turn, down for slow or about-
to-stop, and up for a right
turn.
Slowing Down: If time allows, tap the
brake pedal once or twice in advance of
slowing or stopping. This warns the
driver behind you.
Disabled: Your four-way flashers signal
that your vehicle is disabled or is a
hazard. See the
Index under Hazard
Warning Flashers.
Traffic Officer
The traffic police officer is also a source
of important information. The officer’s
signals govern, no matter what the
traffic lights or other signs say.
The next section discusses some
of the
road conditions
you may encounter.
I27
Page 145 of 308
Downloaded from www.Manualslib.com manuals search engine While driving on a surface with reduced
traction,
try your best to avoid sudden
steering, acceleration, or braking
(including engine braking by shifting
to
a lower gear). Any sudden changes
could cause the tires
to slide. You may
not realize
the surface is slippery until
your vehicle is skidding. Learn to
recognize warning clues-such as
enough water, ice or packed snow on
the road
to make a “mirrored
surface”-and slow down when you
have any doubt.
Remember: Any anti-lock braking
system (ABS) helps avoid only the
braking skid. Steer
the way you want to
go.
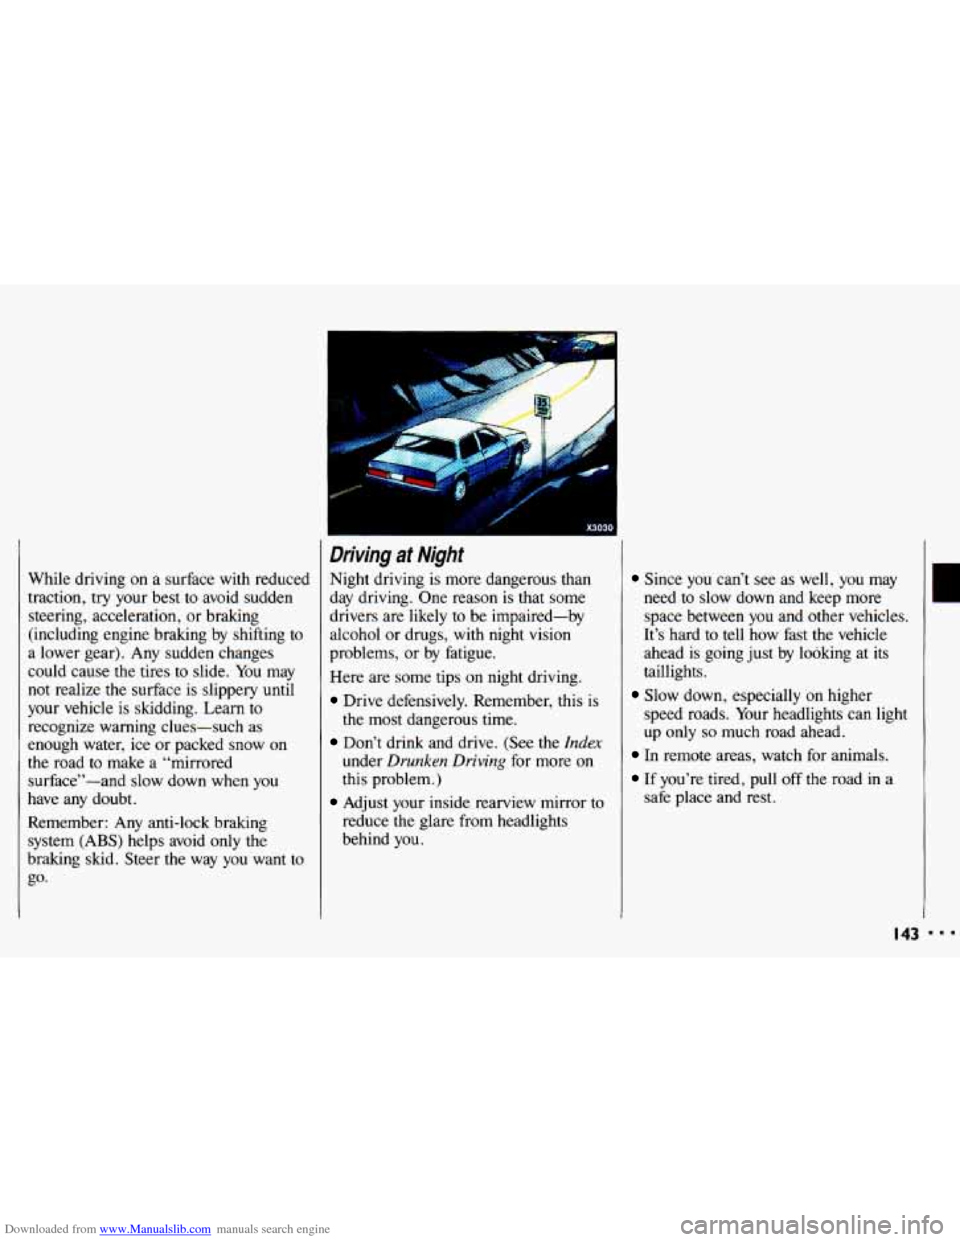
Driving at Night
Night driving is more dangerous than
day driving. One reason is that some
drivers are likely to be impaired-by
alcohol or drugs, with night vision
problems, or by fatigue.
Here are some tips on night driving.
Drive defensively. Remember, this is
the most dangerous time.
Don’t drink and drive. (See the index
under Drunken Driving for more on
this problem.)
Adjust your inside rearview mirror to
reduce the glare from headlights
behind you.
Since you can’t see as well, you may
need
to slow down and keep more
space between you and other vehicles.
It’s hard to
tell how fast the vehicle
ahead is going just by looking at its
taillights.
speed roads. Your headlights can light
up only
so much road ahead.
Slow down, especially on higher
In remote areas, watch for animals.
If you’re tired, pull off the road in a
safe place and rest.
I43
r
I..
Page 151 of 308
Downloaded from www.Manualslib.com manuals search engine something between you and moving
vehicles-space, trees, telephone poles,
a private driveway, anything that
removes you from other traffic.
zf visibility is near zero and you must
stop but are unsure whether you are
away from the road, turn your lights on,
start your hazard warning flashers, and
sound your horn at intervals or when
you hear approaching traffic.
Pass other vehicles in fog only if you
can see far enough ahead to pass safely.
Even then, be prepared to delay your
pass if you suspect the
fog is worse up
ahead. If other vehicles try to pass
you,
make it easy for them.
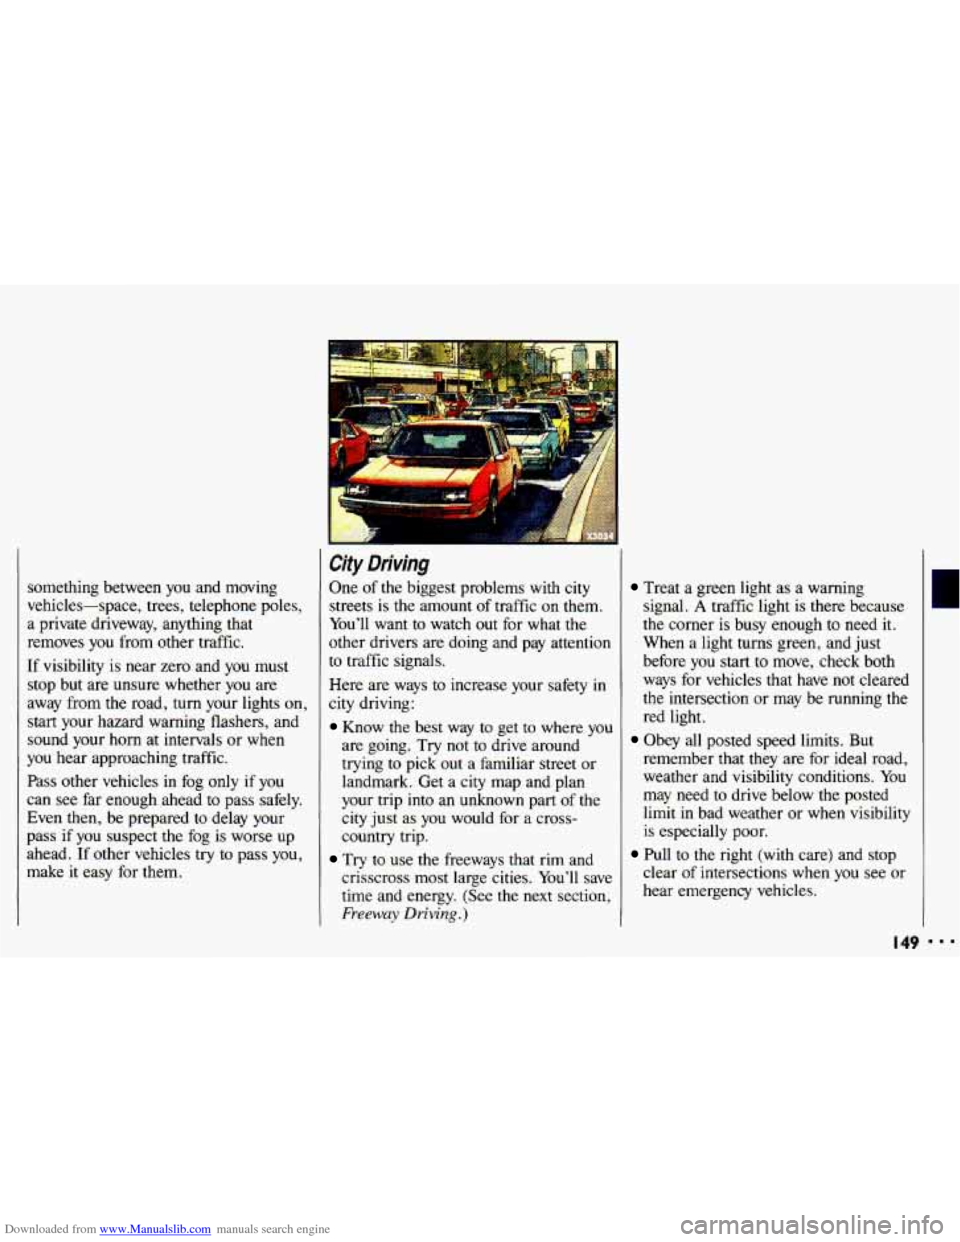
City Driving
One of the biggest problems with city
streets is the amount
of traffic on them.
You’ll want to watch out for what the
other drivers are doing and pay attention
to traffic signals.
Here are ways to increase your safety in
city driving:
Know the best way to get to where you
are going. Try not to drive around
trying to pick out a familiar street or
landmark. Get a city map and plan
your trip into an unknown part
of the
city just as
you would for a cross-
country trip.
Try to use the freeways that rim and
crisscross most large cities. You’ll save
time and energy. (See the next section,
Freeway Driving.)
Treat a green light as a warning
signal.
A traffic light is there because
the corner is busy enough to need it.
When
a light turns green, and just
before you
start to move, check both
ways for vehicles that have not cleared
the intersection or may be running the
red light.
remember that
they are for ideal road,
weather and visibility conditions. You
may need to drive below the posted
limit
in bad weather or when visibility
is especially poor.
clear
of intersections when you see or
hear emergency vehicles.
Obey all posted speed limits. But
Pull to the right (with care) and stop
I49 BIB
Page 153 of 308
Downloaded from www.Manualslib.com manuals search engine If you are moving from an outside to a
center lane on a freeway having more
than two lanes, make sure another vehicle isn’t about to move into the same
spot. Look at the vehicles two lanes
over and watch for telltale signs: turn
signals flashing, an increase in speed, or
moving toward the edge of the lane. Be
prepared
to delay your move.
Once you are moving on the freeway,
make certain you allow a reasonable
following distance. Expect to move
slightly slower at night.
Leaving the Freeway
When you want to leave the freeway,
move to the proper lane well in advance.
Dashing across lanes at the last minute
is dangerous. If you
miss your exit do
not, under any circumstances, stop and
back up. Drive on to the next exit.
At each exit point is
a deceleration lane.
Ideally it should be long enough for you
to enter it at freeway speed (after
signaling, of course) and then do your
braking before moving onto the exit
ramp. Unfortunately, not all deceleration
lanes
are long enough-some are too
short for all the braking. Decide when
to start braking. If you must brake on
the through lane, and if there is traffic
close behind you, you can allow a little extra
time and flash your brake lights (in
addition to your turn signal) as extra
warning that you are about to slow
down and exit.
The exit ramp can be curved, sometimes
quite sharply. The exit speed is usually
posted. Reduce your speed according to
your speedometer, not to your sense
of
motion. After driving for any distance at
higher speeds, you may tend to think
you are going slower than you actually
are. For example,
40 mph (65 km/h)
might seem like only
20 mph (30 km/h).
Obviously, this could lead to serious
trouble on a ramp designed for
20 mph
(30 km/h)!
I51