CHEVROLET CAVALIER 1996 3.G Owners Manual
CAVALIER 1996 3.G
CHEVROLET
CHEVROLET
https://www.carmanualsonline.info/img/24/8080/w960_8080-0.png
CHEVROLET CAVALIER 1996 3.G Owners Manual
Trending: alarm, clock reset, warning lights, coolant temperature, fuel additives, climate control, charging
Page 111 of 372
Downloaded from www.Manualslib.com manuals search engine Raising Your Convertible Top
1. Set the parking brake and shift your automatic
transaxle to
PARK (P) or your manual transaxle to
NEUTRAL (N).
2. Open the trunk and leave it open.
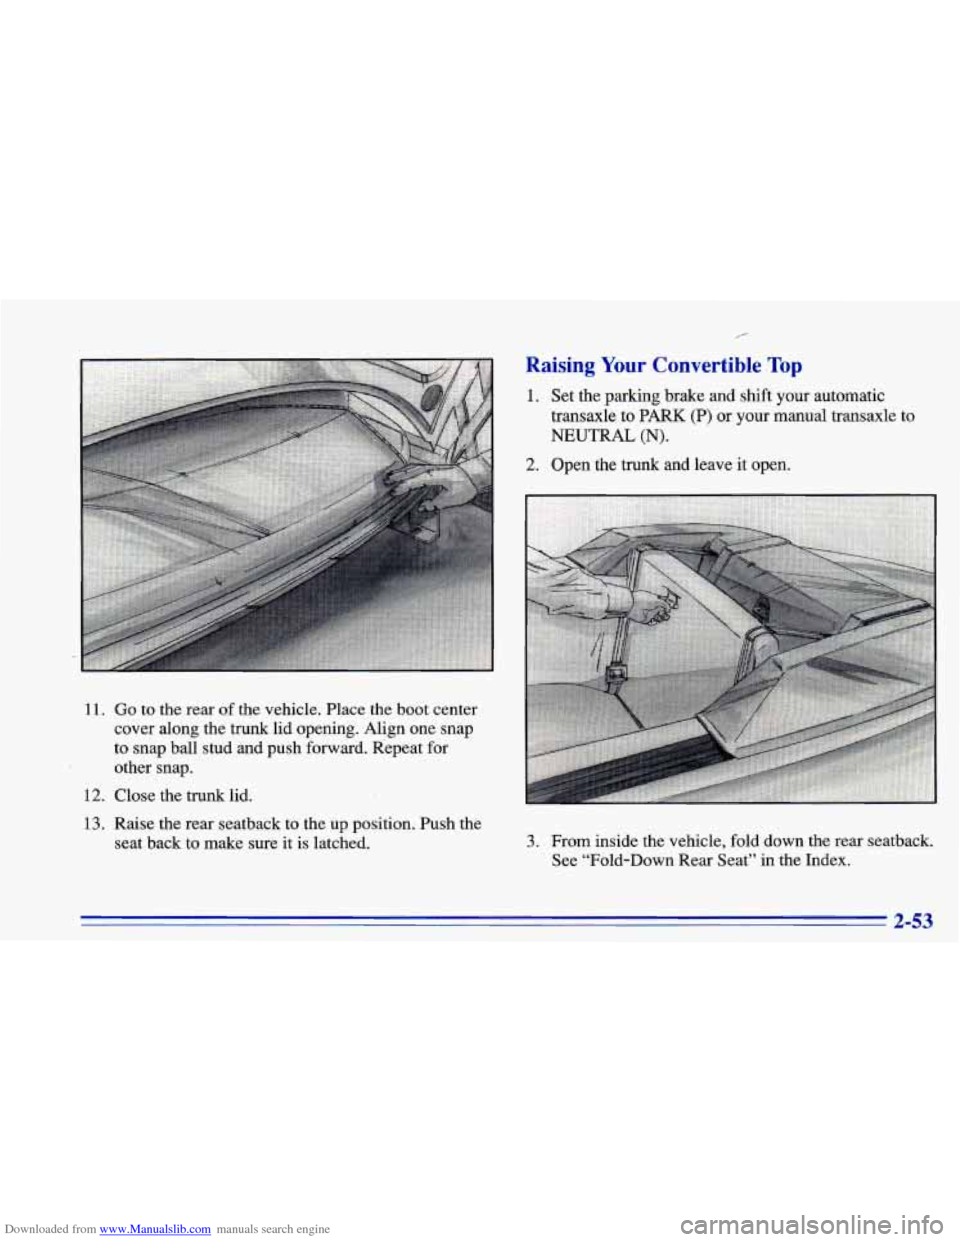
11. Go to the rear of the vehicle. Place the boot center
cover along the trunk lid opening. Align one snap
to snap ball stud and Dush forward. Repeat for
other snap.
12. Close the trunk lid.
13. Raise the rear seatback to the up position. Push the
seat back to make sure it is latched.
3. From inside the vehicle, fold down the rear seatback.
See “Fold-Down Rear Seat” in the Index.
2-53
Page 112 of 372
Downloaded from www.Manualslib.com manuals search engine t
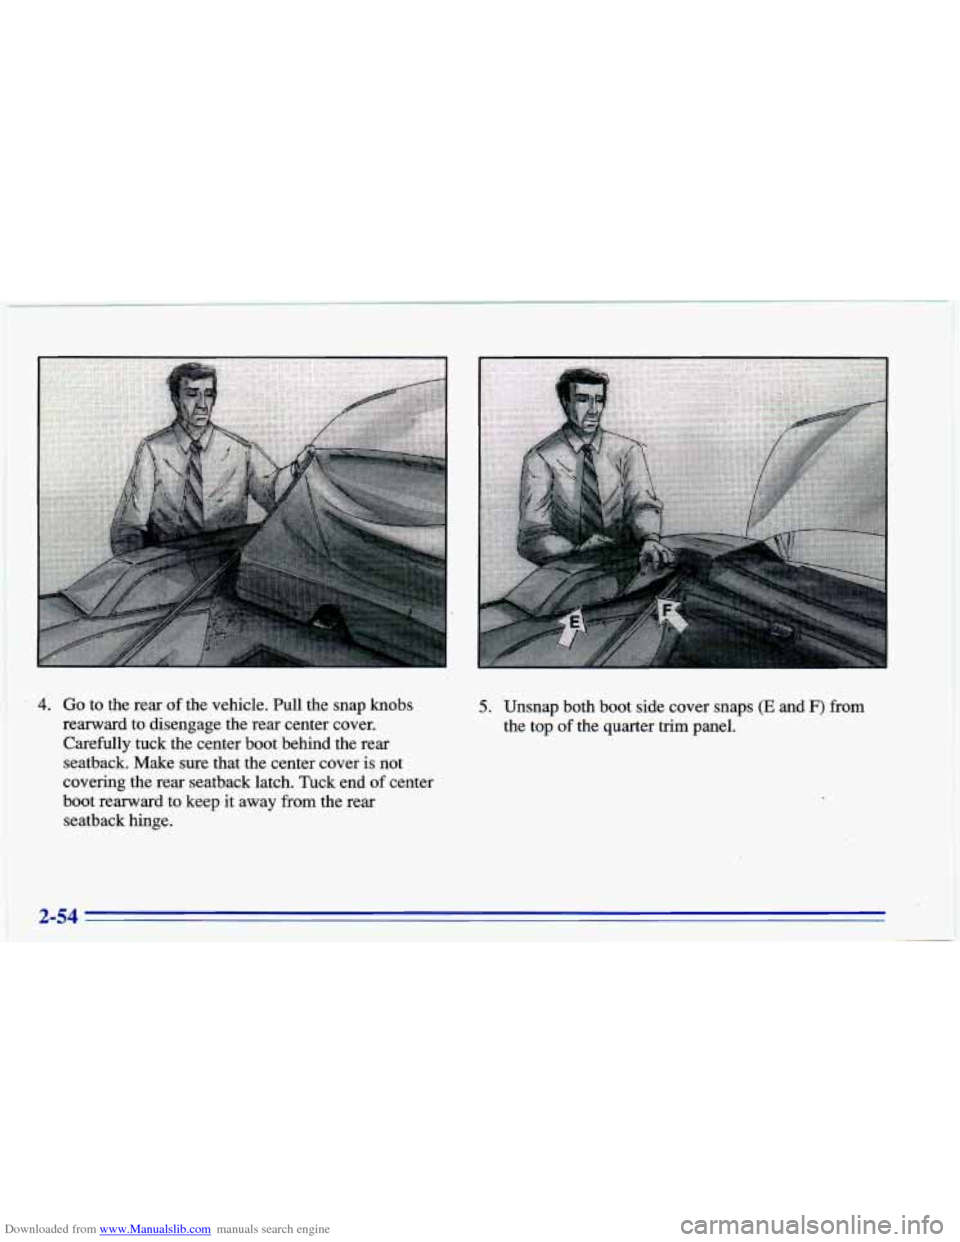
4. Go to the rear of the vehicle. mlll the snap knobs
rearward to disengage the rear center cover.
Carefully tuck the center boot behind the rear
seatback. Make sure that the center cover is not
covering the rear seatback latch. Tuck end of center
boot rearward to keep it away from the rear
seatback hinge. 5. Unsnap both boot side cover snaps (E and F) from
the top of the quarter trim panel.
'2-54
Page 113 of 372
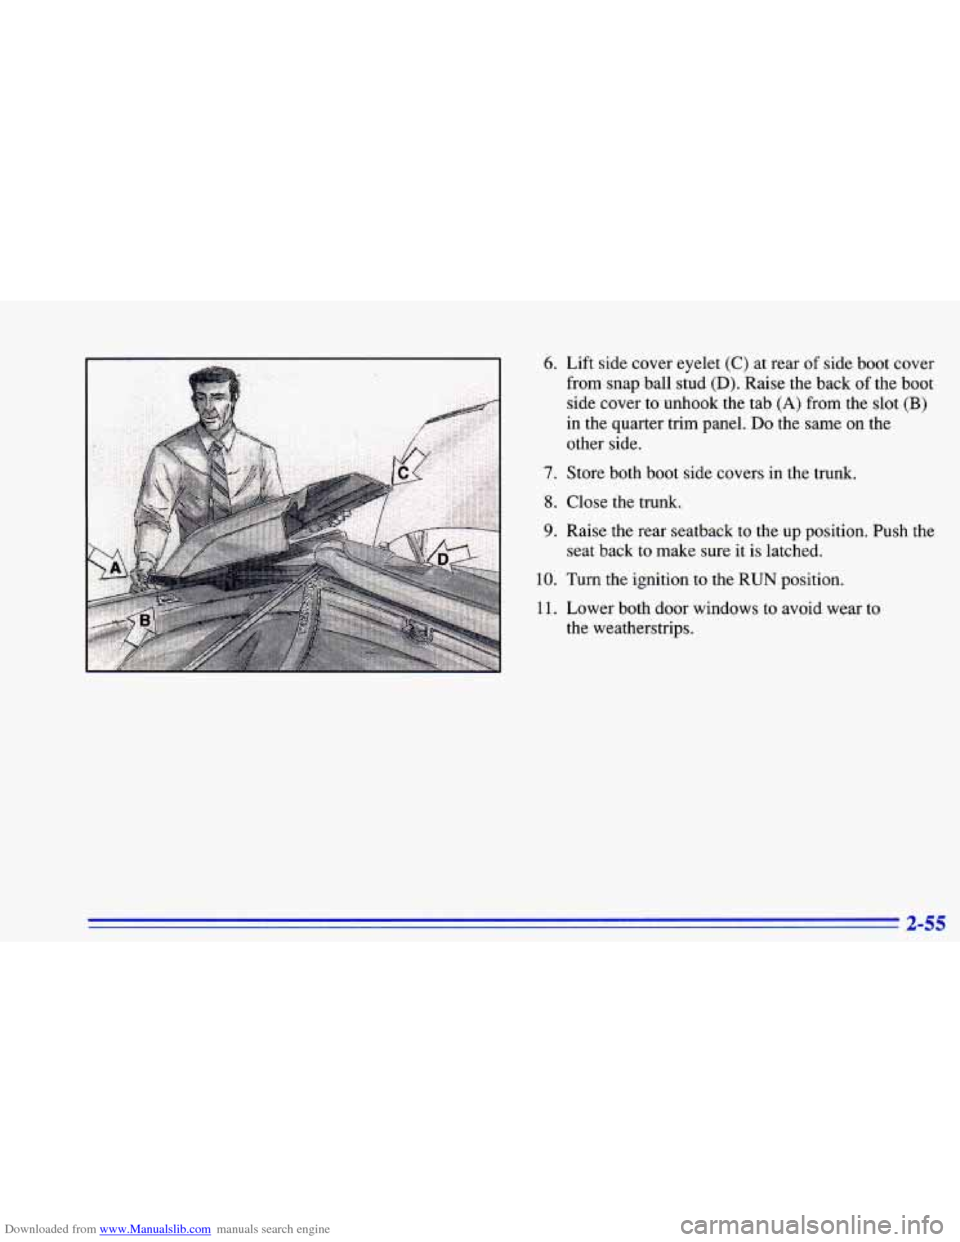
Downloaded from www.Manualslib.com manuals search engine 6. Lift side cover eyelet (C) at rear of side boot cover
from snap ball stud
(D). Raise the back of the boot
side cover to unhook the tab
(A) from the slot (B)
in the quarter trim panel. Do the same on the
other side.
7. Store both boot side covers in the trunk.
8. Close the trunk,
9. Raise the rear seatback to the up position. Push the
seat back to make sure it is latched.
10. Turn the ignition to the RUN position.
11. Lower both door windows to avoid wear to
the weatherstrips.
3 LC
Page 114 of 372
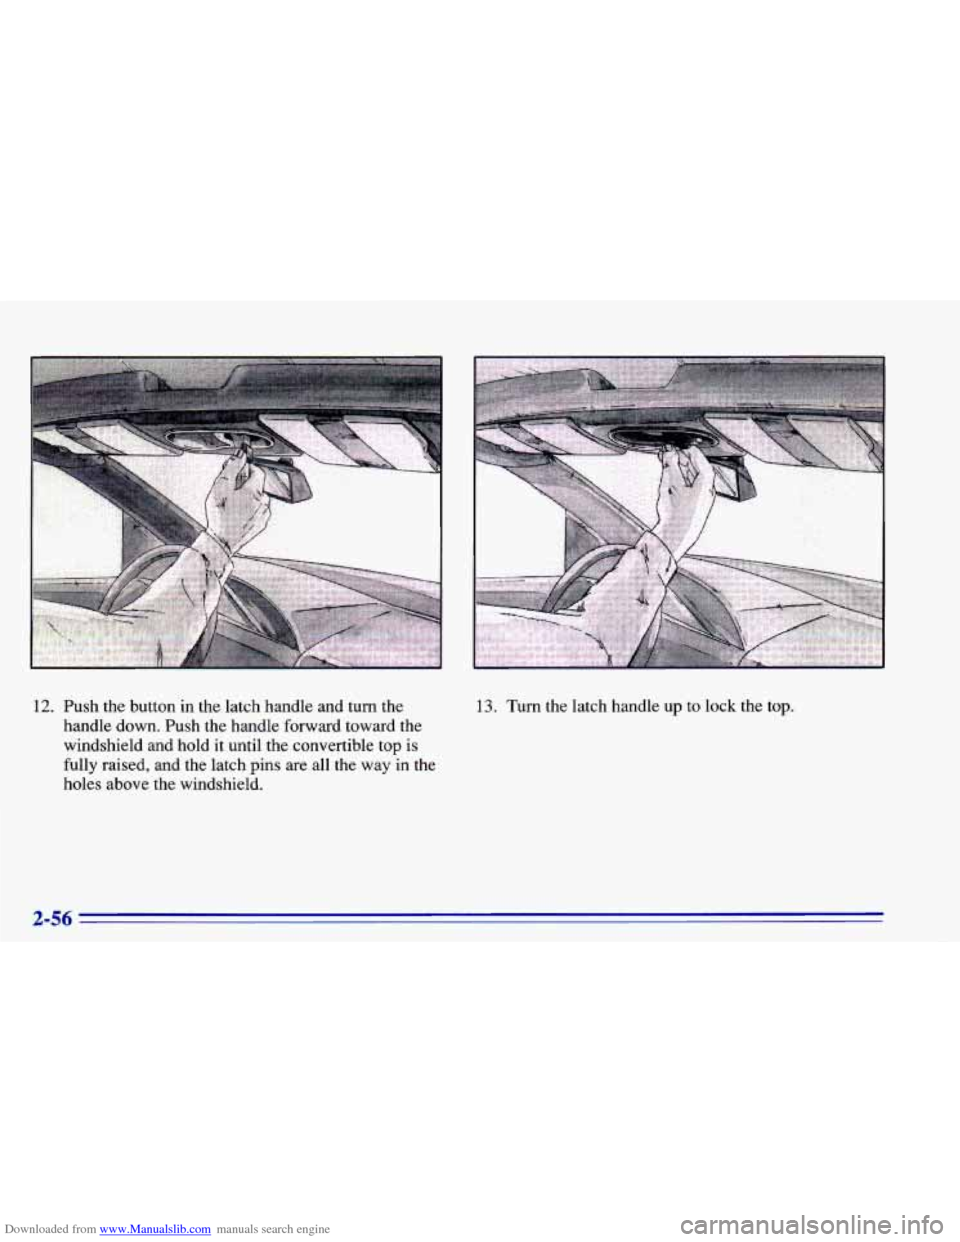
Downloaded from www.Manualslib.com manuals search engine 12. Push the button in the latch handle and turn the
handle down. Push the handle forward toward the
windshield and hold it until the convertible top is
fully raised, and the latch pins are all the way in the
holes above the windshield. 13. Turn the latch handle up to lock the top.
Page 115 of 372
Downloaded from www.Manualslib.com manuals search engine Lowering the Top Manually
NOTICE:
Do not attempt to lower the top manually as
damage to the vehicle will occur. If the top fails to
raise or lower completely, see “Raising the Top
Manually” following.
1. Set the parking brake and shift your automatic
transaxle to PARK (P)
or your manual transaxle to
NEUTRAL
(N). Turn the engine off.
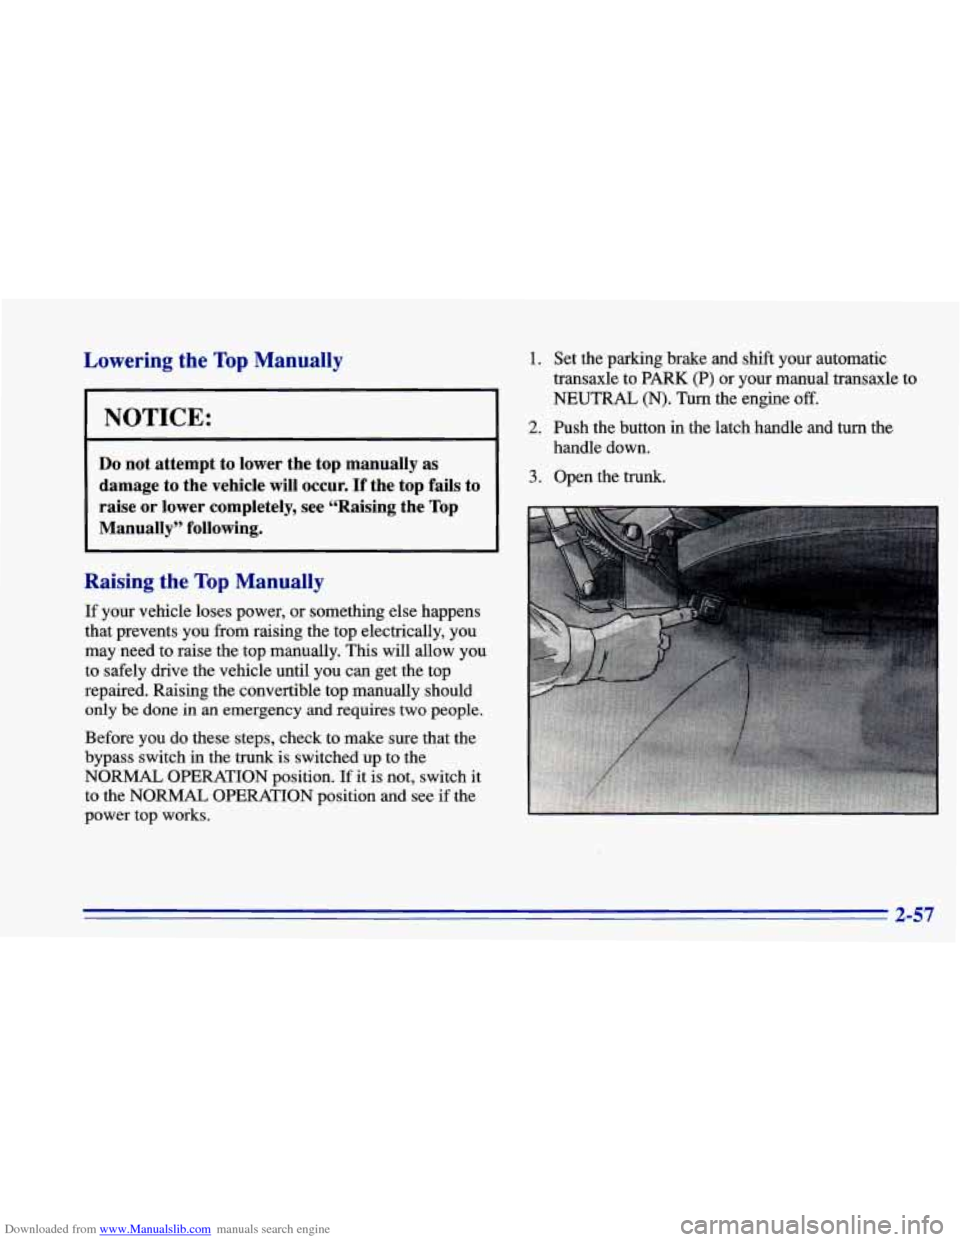
2. Push the button in the latch handle and turn the
handle down.
3. Open the trunk.
I I
Raising the Top Manually
If your vehicle loses power, or something else happens
that prevents you from raising the top electrically, you
may need to raise the top manually. This will allow you
to safely drive the vehicle until you can get the top
repaired. Raising the convertible top manually should
only be done in an emergency and requires two people.
Before you do these steps, check to make sure that the
bypass switch in the
trunk is switched up to the
NORMAL OPERATION position.
If it is not, switch it
to the
NORMAL OPERATION position and see if the
power top works.
2-57
Page 116 of 372
Downloaded from www.Manualslib.com manuals search engine 4.
5.
6.
7.
Press the bypass switch down to the EMERGENCY
OVERRIDE position. The switch is located under
the shelf panel on the driver’s side in the trunk.
Remove the top boot as described
in Steps 4 through 7
in “Raising Your Convertible Top” earlier in
this section.
Lower the door windows completely.
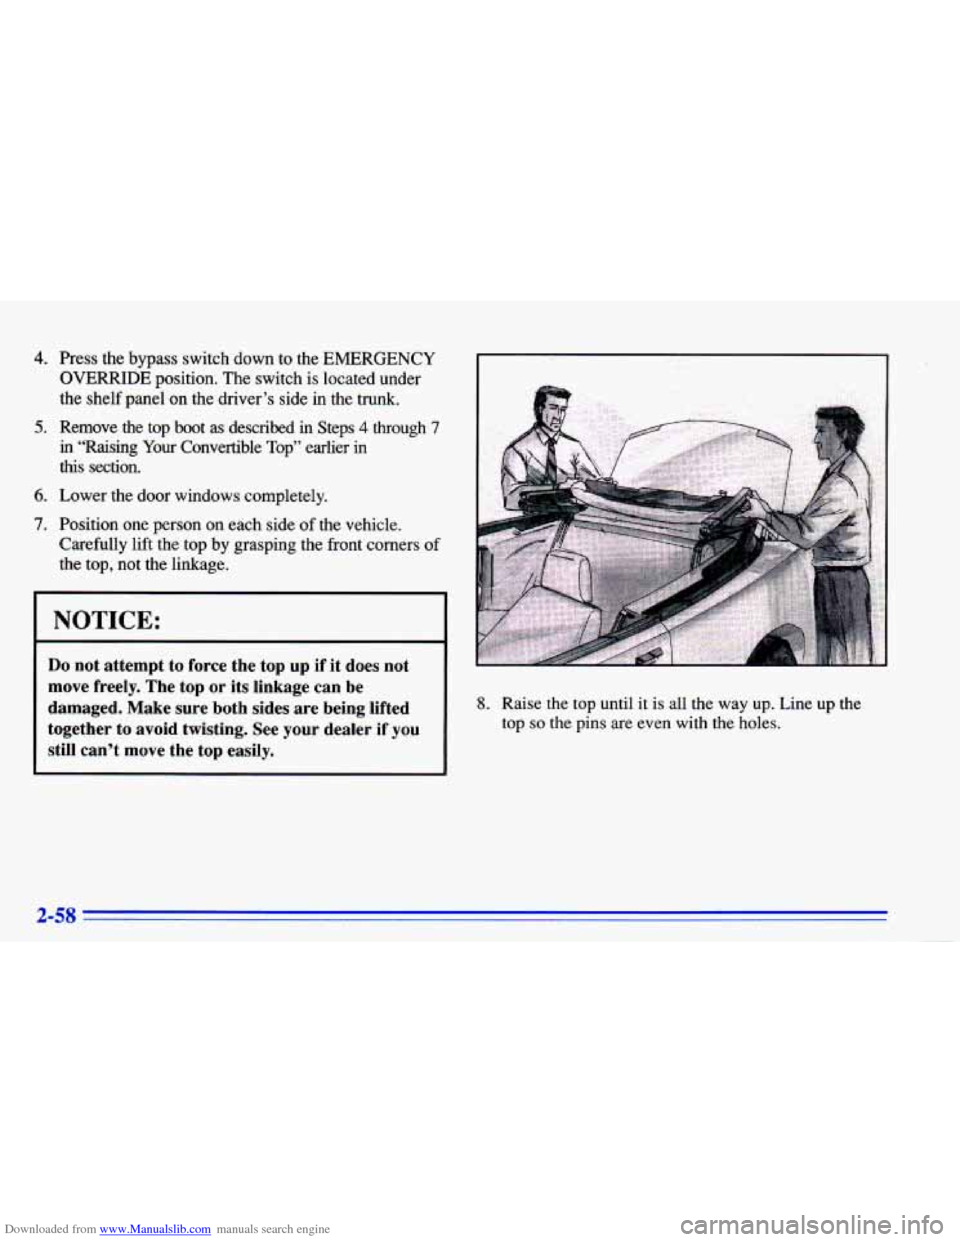
Position one person on each side of the vehicle.
Carefully lift the top by grasping the front corners of
the top,
not the linkage.
I NOTICE:
Do not attempt to force the top up if it does not
move freely. The top
or its linkage can be
damaged. Make sure both sides are being lifted
together
to avoid twisting. See your dealer if you
still can’t move the top easily.
8. Raise the top until it is all the way up. Line up the
top
so the pins are even with the holes.
Page 117 of 372
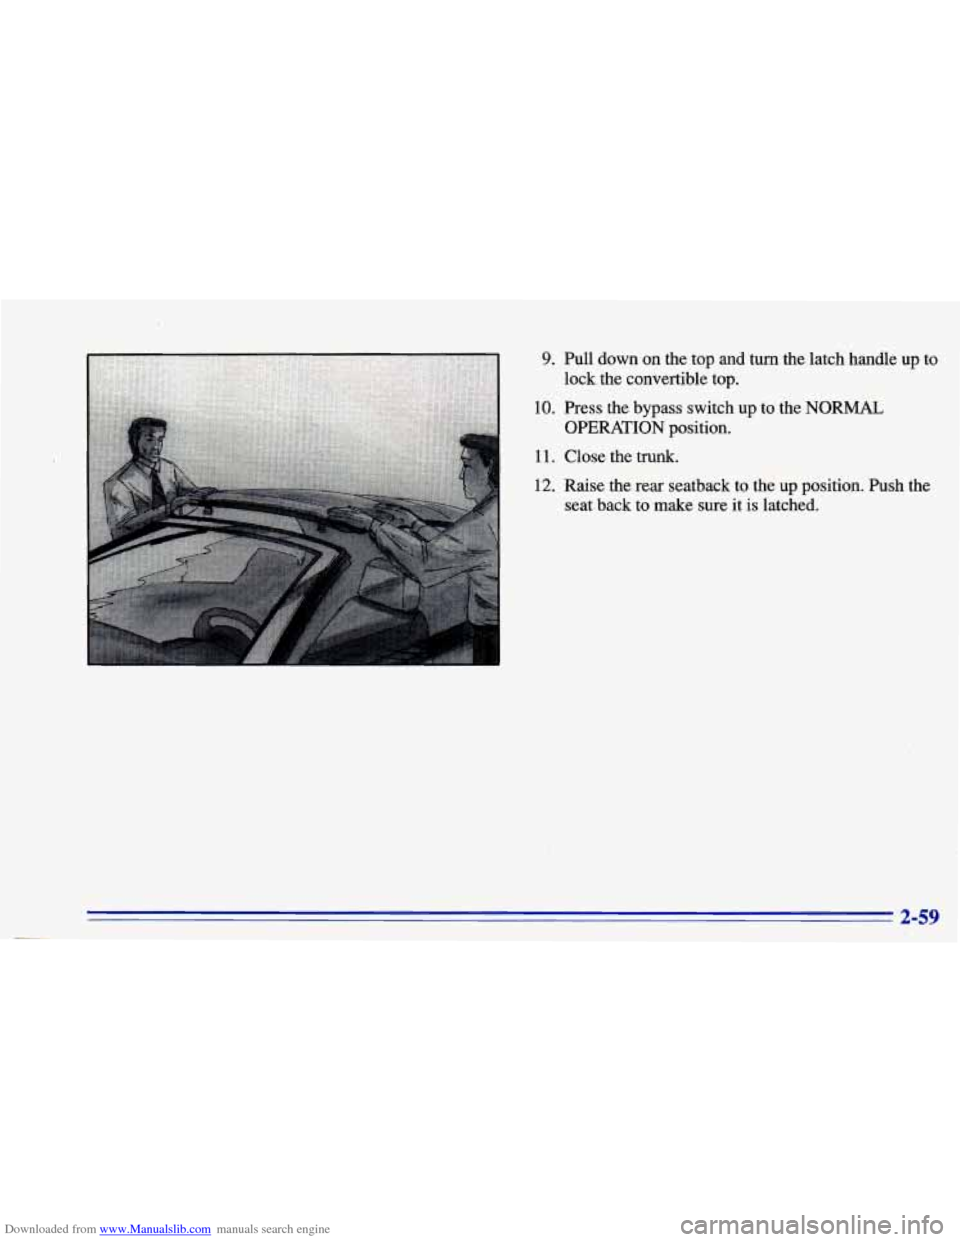
Downloaded from www.Manualslib.com manuals search engine 9. Pull down on the top and turn the latch handle up to
lock the convertible top.
OPERATION position.
10. Press the bypass switch up to the NORMAL
11. Close the trunk.
12, Raise the rear seatback to the up position. Push the
seat back to make sure it is latched.
2-59
Page 118 of 372
Downloaded from www.Manualslib.com manuals search engine The Instrument Panel -- Your Information System
/
2-60
Page 119 of 372
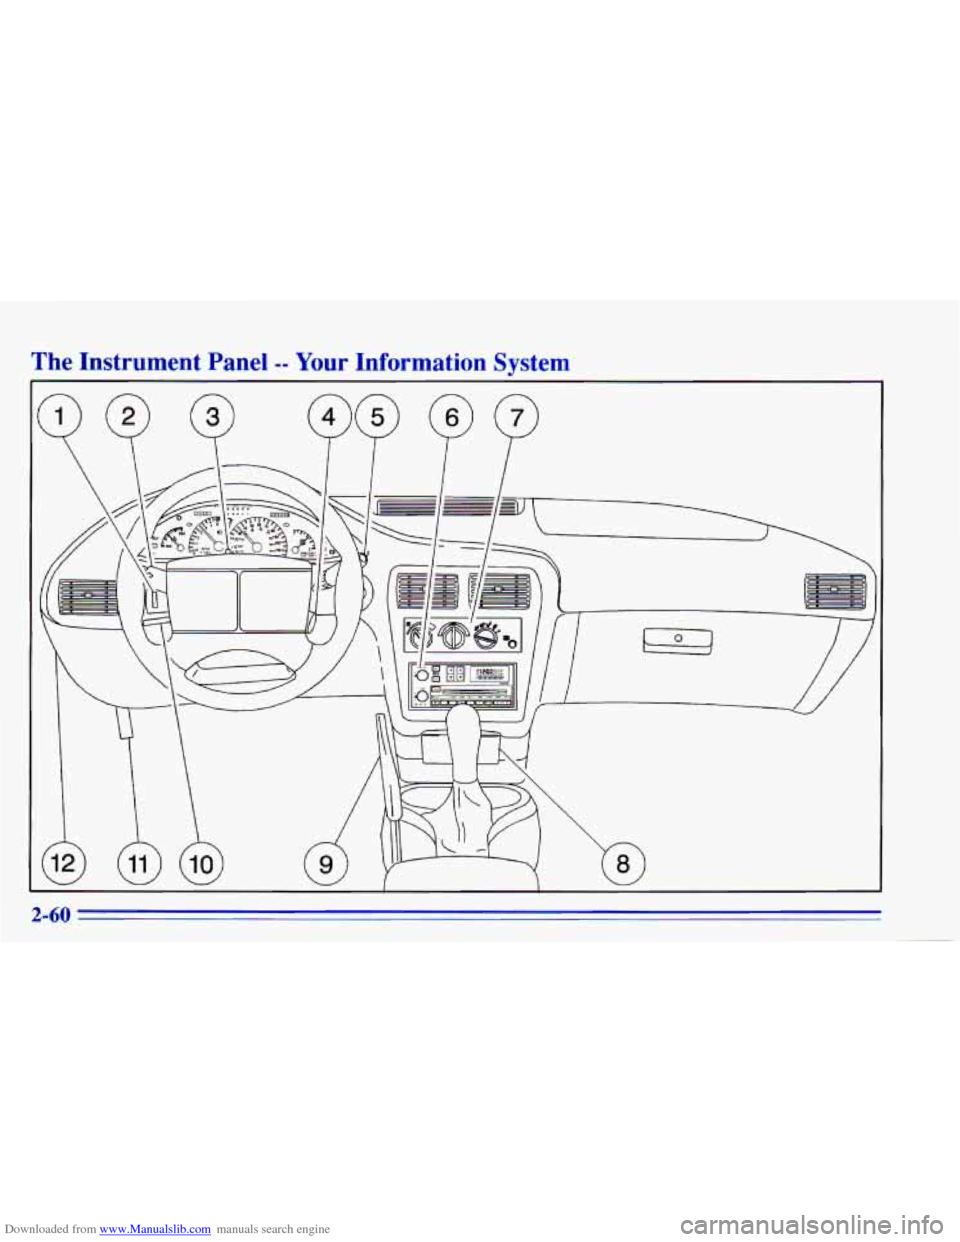
Downloaded from www.Manualslib.com manuals search engine Your instrument panel is designed to let you know at a glance how your vehicle is running. You’ll know how fast
you’re going, how much fuel you’re using, and many other things you’ll need to drive safely and economically.
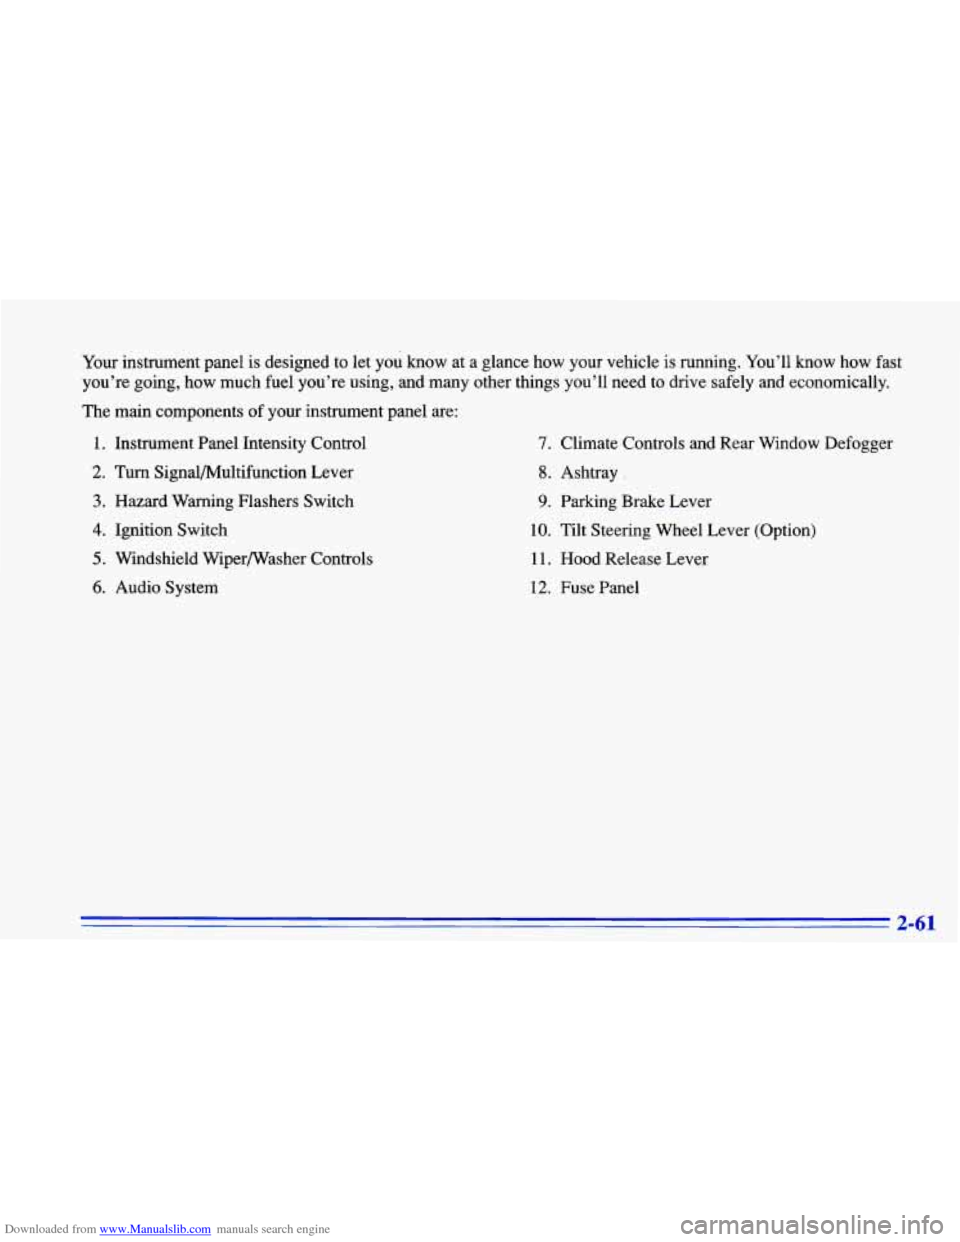
The main components of your instrument panel are:
1. Instrument Panel Intensity Control
2. Turn Signal/Multifunction Lever
3. Hazard Warning Flashers Switch
4. Ignition Switch
5. Windshield Wiperwasher Controls
6. Audio System
7. Climate Controls and Rear Window Defogger
8. Ashtray .
9. Parking Brake Lever
10. Tilt Steering Wheel Lever (Option)
11. Hood Release Lever
12. Fuse Panel
2-61
Page 120 of 372
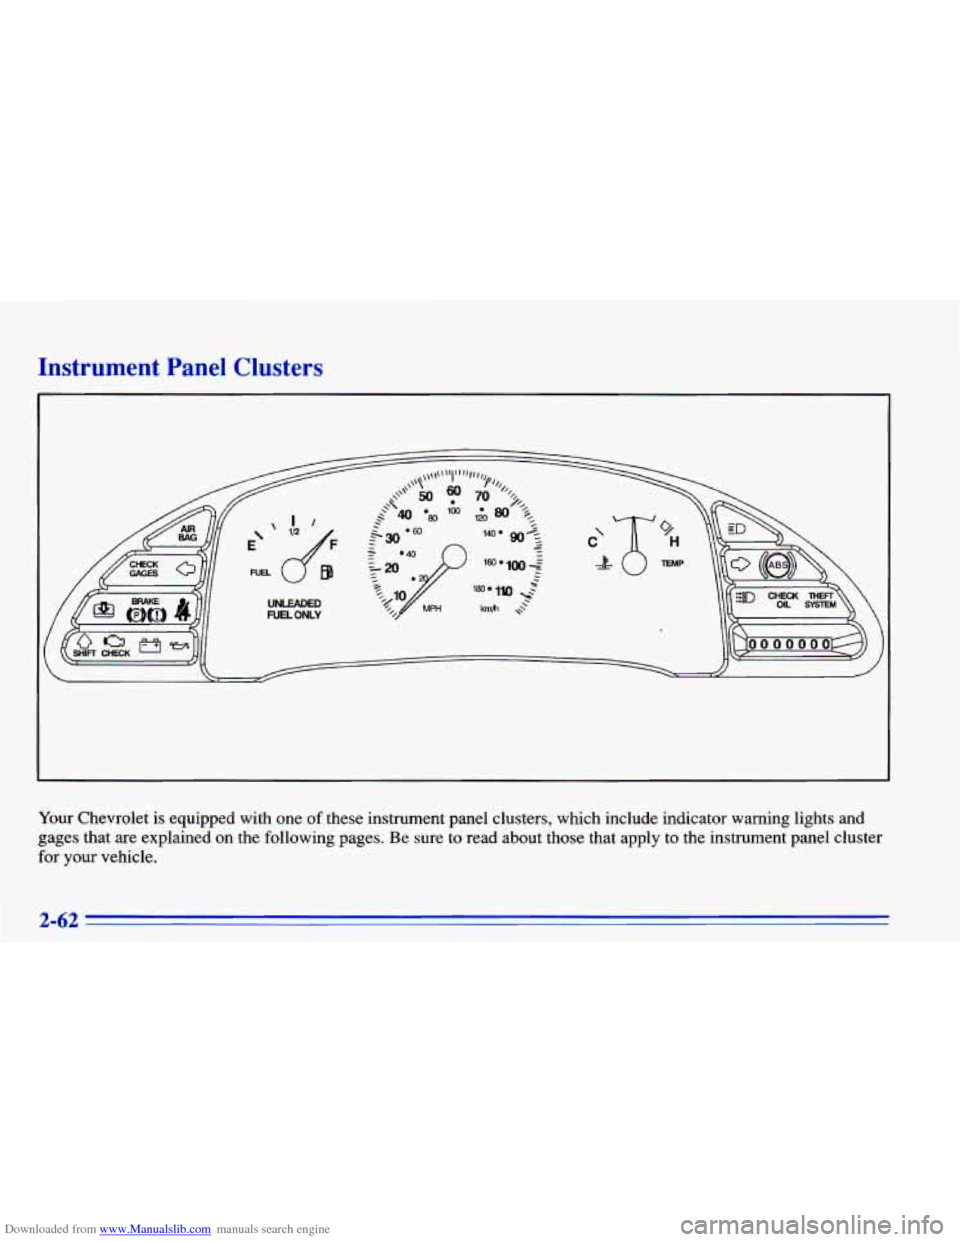
Downloaded from www.Manualslib.com manuals search engine Instrument Panel Clusters
UNLEADED FUEL ONLY
Your Chevrolet is equipped with one of these instrument panel clusters, which include indicator warning lights and
gages that
are explained on the following pages. Be sure to read about those that apply to the instrument panel cluster
for
your vehicle.
2-62
Trending: power steering, boot, change key battery, wheel bolts, cooling, fuel cap, night vision
