oil change CHEVROLET CAVALIER 1998 3.G Owners Manual
[x] Cancel search | Manufacturer: CHEVROLET, Model Year: 1998, Model line: CAVALIER, Model: CHEVROLET CAVALIER 1998 3.GPages: 400, PDF Size: 20.74 MB
Page 251 of 400
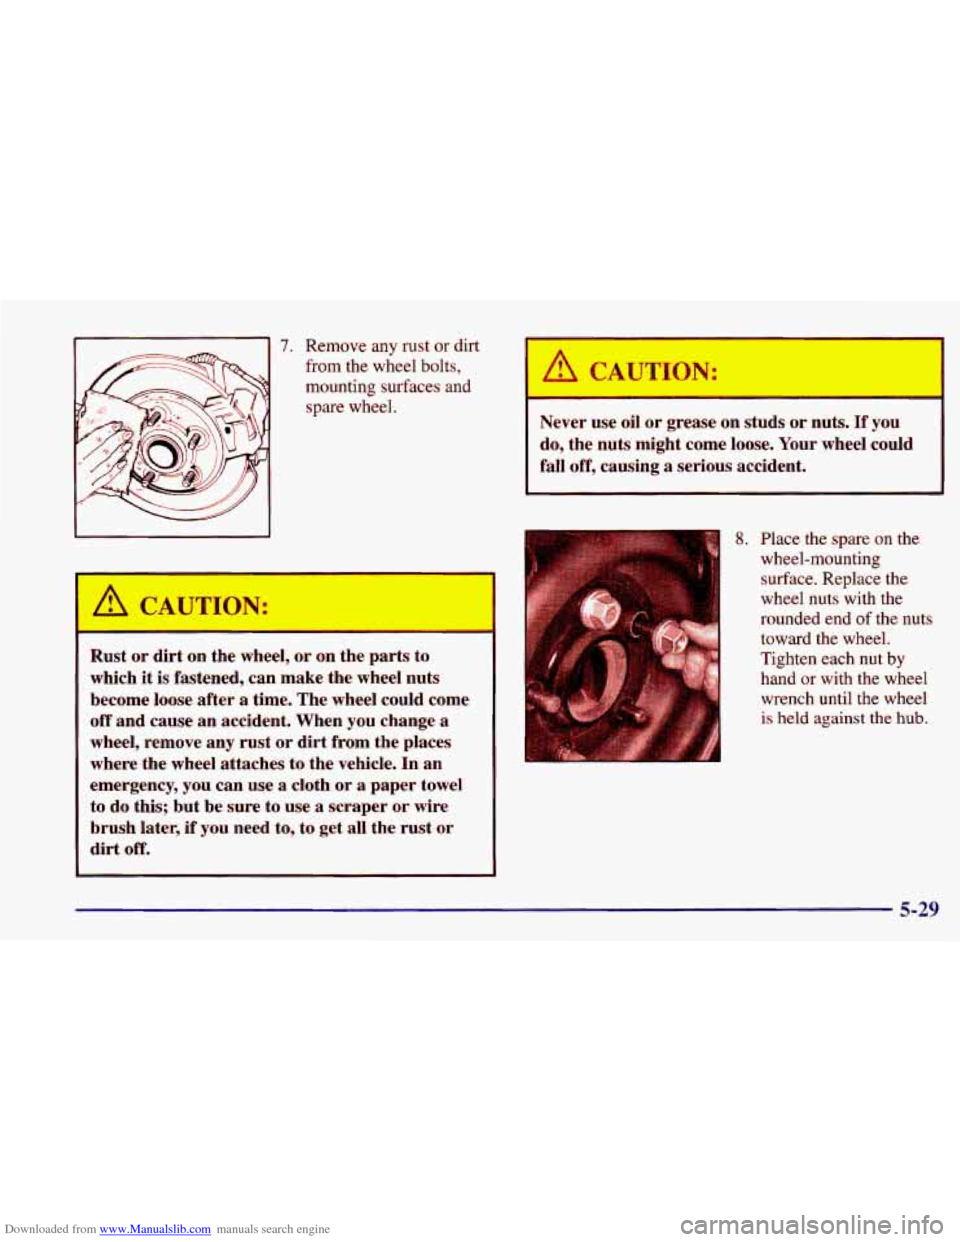
Downloaded from www.Manualslib.com manuals search engine 7. Remove any rust or dirt
from the wheel bolts,
mounting surfaces and
spare wheel.
Rust or dirt on the wtd, or on thc ," ;o
which it is fastened, can make the wheel nuts
become loose
after a time. The wheel could come
off and cause an accident. When you change a
wheel, remove any rust or dirt from the places
where the wheel attaches
to the vehicle. In an
emergency,
you can use a cloth or a paper towel
to do this; but be sure to use
a scraper or wire
brush later,
if you need to, to get all the rust or
dirt off.
h CAUTION: I
Never use oil or grease on studs or nuts. If you
do, the nuts might come loose, Your wheel could
fall
off, causing a serious accident,
1 wheel-mounting
surface. Replace the
wheel nuts with the
rounded end
of the nuts
toward the wheel.
Tighten each nut
by
hand or with the wheel
wrench until the wheel
is held against the hub.
8. Place the spare on the
5-29
Page 272 of 400
Downloaded from www.Manualslib.com manuals search engine What Kind of Engine Oil to Use
Oils recommended for your vehicle can be identified by
looking
for the “Starburst” symbol. This symbol
indicates that the oil has been certified by the American
Petroleum Institute
(API). Do not use any oil which
does not carry this Starburst symbol.
If you change your own
oil, be sure you use oil
that has the Starburst symbol on the front of
the oil container.
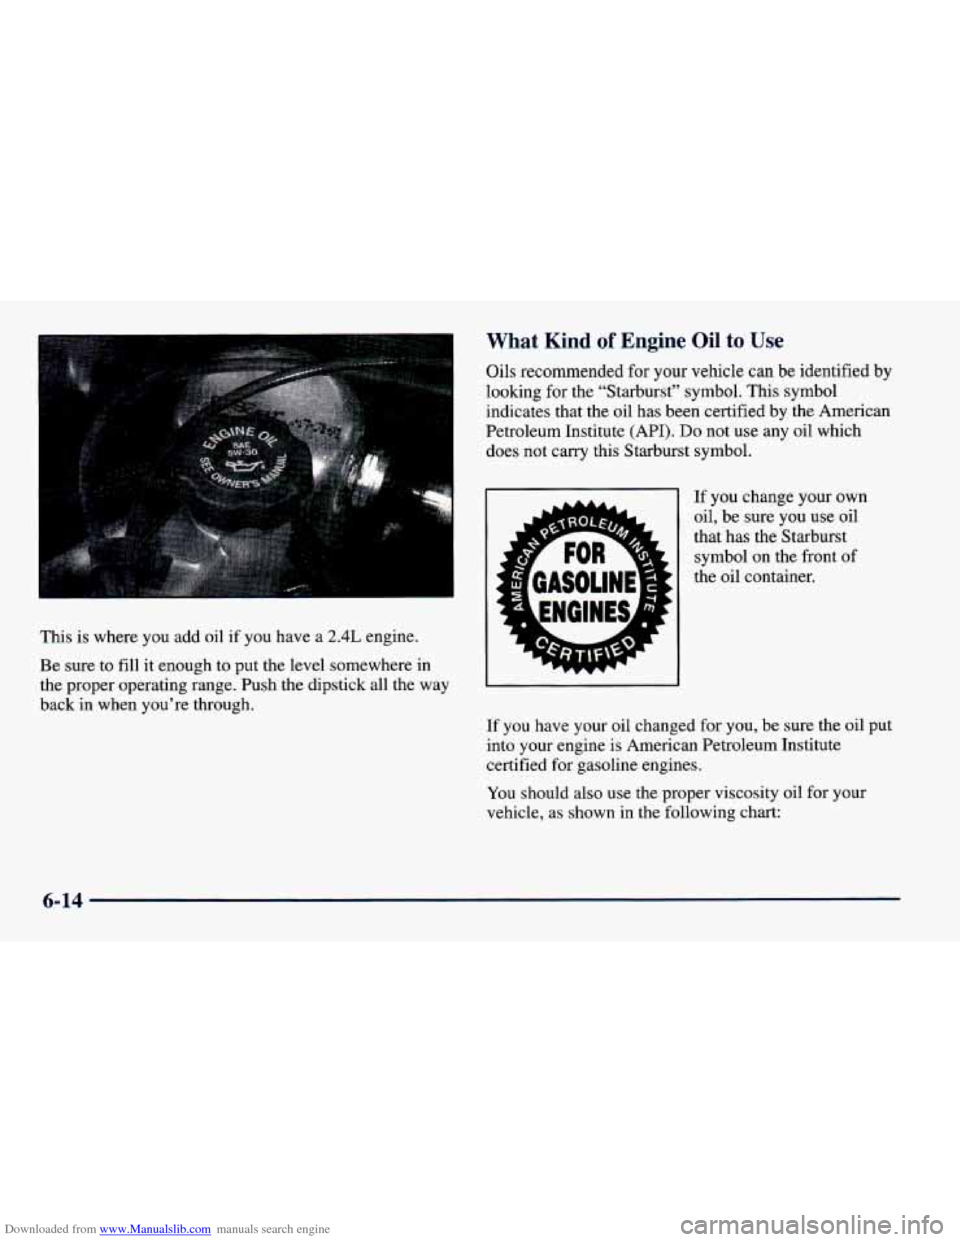
This is where you add oil if you have a 2.4L engine.
Be sure to fill it enough to put the level somewhere in
the proper operating range. Push the dipstick all the way
back in when you’re through.
If you have your oil changed for you, be sure the oil put
into your engine is American Petroleum Institute
certified for gasoline engines.
You should also use the proper viscosity oil for your
vehicle, as shown in the following chart:
6-14
Page 274 of 400
Downloaded from www.Manualslib.com manuals search engine Engine Oil Additives
Don’t add anything to your oil. Your dealer is ready to
advise
if you think something should be added.
When to Change Engine Oil
If any one of these is true for you, use the short tripkity
maintenance schedule:
e
e
0
0
e
Most trips are less than 5 to 10 miles (8 to 16 km).
This
is particularly important when outside
temperatures are below freezing.
Most trips include extensive idling (such as frequent
driving in stop-and-go traffic).
Most trips
are through dusty areas.
You frequently tow a trailer
or use a carrier on top of
your vehicle.
The vehicle is used for delivery service, police, taxi
or other commercial application.
Driving under these conditions causes engine oil
to
break down sooner. If any one of these is true for your
vehicle, then you need
to change your oil and filter
every
3,000 miles (5 000 km) or 3 months -- whichever
occurs first.
If none of them is true, use the long triphighway
maintenance schedule. Change the oil and filter every
7,500 miles (12 500 km) or 12 months -- whichever
occurs first. Driving a vehicle with a fully warmed
engine under highway conditions causes engine oil to
break down slower.
Wh .~: 1 I Do with Used Oil
Did you know that used engine oil contains certain
elements that may be unhealthy for your skin and could
even cause cancer? Don’t let used
oil stay on your skin
for very long. Clean your
skin and nails with soap and
water, or a good hand cleaner. Wash
or properly throw
away clothing
or rags containing used engine oil. (See
the manufacturer’s warnings about the use and disposal
of oil products.)
Used oil can be a real threat to the environment. If you
change your own oil, be sure
to drain all free-flowing oil
from the filter before disposal. Don’t ever dispose of
oil
by putting it in the trash, pouring it on the ground, into
sewers, or into streams or bodies of water. Instead,
recycle it by taking
it to a place that collects used oil. If
you have a problem properly disposing of your used oil,
ask your dealer, a service station or a local recycling
center for help.
6-16
Page 276 of 400
Downloaded from www.Manualslib.com manuals search engine Operating the engine with the air cleaner off can
cause you or others to be burned. The air cleaner
not only cleans the air, it stops flame
if the engine
backfires.
If it isn’t there, and the engine
backfires, you could be burned. Don’t drive with
it
off, and be careful working on the engine with
the air cleaner
off.
NOTICE:
If the air cleaner is off, a backfire can cause a
damaging engine fire. And, dirt can easily get
into your engine, which will damage it.
Always
have the air cleaner in place when you’re driving.
Automatic Transaxle Fluid
(Three-Speed Only)
When to Check and Change
A good time to check your automatic transaxle fluid
level is when the engine oil is changed.
Change both the fluid and filter every
50,000 miles
(83 000 km) if the vehicle is mainly driven under one or
more of these conditions:
In heavy city traffic where the outside temperature
In hilly or mountainous terrain.
When doing frequent trailer towing.
0 Uses such as found in taxi, police or delivery service.
If you do not use your vehicle under any of these
conditions, the fluid and filter do not require changing.
See “Scheduled Maintenance Services’’ in the Index. regularly reaches
90°F (32°C)
or higher.
6-18
Page 279 of 400
Downloaded from www.Manualslib.com manuals search engine 1. Pull out the dipstick. Automatic Transaxle Fluid
2. Using a long-neck funnel, add enough fluid at the (Four-Speed Only) dipstick hole to bring it to the proper level.
It doesn’t take much fluid, generally less than A transaxle \
fluid leak
is the only reason for fluid loss.
one pint
(0.5 L). Don’t ove$ZZ. If a leak occurs, take the vehicle to your Chevrolet
dealership Service Department and have it repaired as
soon as possible. You may also have your fluid level
checked by your dealer or service center when you have your oil changed.
Change both the fluid and filter every
50,000 miles
(83 000 km) if the vehicle is mainly driven under one or
more of these conditions:
0 In heavy city traffic where the outside temperature
In hilly or mountainous terrain.
It
is not necessary
to check the transaxle fluid level.
NOTICE:
We recommend you use only fluid labeled
DEXRON@-III, because fluid with that label is
made especially for your automatic transaxle.
Damage caused by fluid other than DEXRON-I11
is not covered by your new vehicle warranty. regularly reaches 90 OF (32 O C) or higher.
3. After adding fluid, recheck the fluid level as described under “How to Check.”
0 When doing frequent trailer towing.
4. When the correct fluid level is obtained, push the dipstick back in all the way. 0 Uses such as found in taxi, police or delivery service.
6-21
Page 280 of 400
Downloaded from www.Manualslib.com manuals search engine If you do nor use your vehicle under any of these
conditions, the fluid and filter do not require changing.
NOTICE:
We recommend you use only fluid labeled
DEXR0N'-111, because fluid with that label is
made especially for your automatic transaxle.
Damage caused by fluid other than DEXRON-I11
is not covered by your new vehicle warranty.
Manual Transaxle Fluid
When to Check
A good time to have it checked is when the engine oil is
changed. However, the fluid in your manual transaxle
doesn't require changing.
How to Check
Because this operation can be a little difficult, you may
choose to have this done at your Chevrolet dealership
Service Department.
If you do it yourself, be sure to follow all the instructions
here, or you could get a false reading on the dipstick.
ITICE:
Too much or too little fluid can damage your
manual transaxle.
Too much can mean that some
of the fluid could come out and fall on hot engine
1 parts or exhaust system parts, starting a fire. Be
sure to get an accurate reading if you check your
transaxle fluid.
Check the fluid level only when your engine is off, the
vehicle
is parked on a level place and the manual
transaxle is cool enough for
you to rest your fingers on
the transaxle case.
6-22
Page 283 of 400
Downloaded from www.Manualslib.com manuals search engine How to Check
You do not need to check the fluid level unless you
suspect a clutch problem.
To check the fluid level, take
the cap
off. If the fluid reaches the step inside the
reservoir, the fluid level is correct.
Engine Coolant
The cooling s stem in your vehicle is filled with
DEX-COOL
8 engine coolant. This coolant is designed
to remain in your vehicle for
5 years or 150,000 miles
(240 000 km) whichever occurs first, if you add only
DEX-COOL’ extended life coolant.
The following explains your cooling system and how
to add coolant when it is low. If you have a problem
with engine overheating, see “Engine Overheating” in
the Index.
A 50/50 mixture of water and DEX-COOL@
coolant will:
Give freezing protection down to -34°F (-37°C).
Give boiling protection up to 265 “F (129°C).
Protect against rust and corrosion.
Help keep the proper engine temperature.
Let the warning lights and gages work as
they should.
NOTICE:
When adding coolant, it is important that you
use only
DEX-COOL@ (silicate-free) coolant.
If coolant other than DEX-COOL is added to
the system, premature engine, heater core or
radiator corrosion may result. In addition, the
engine coolant will require change sooner
-- at
30,000 miles (50 000 km) or 24 months,
whichever occurs first. Damage caused by the
use of coolant other than DEX-COOL@ is not
covered by your new vehicle warranty.
6-25
Page 296 of 400
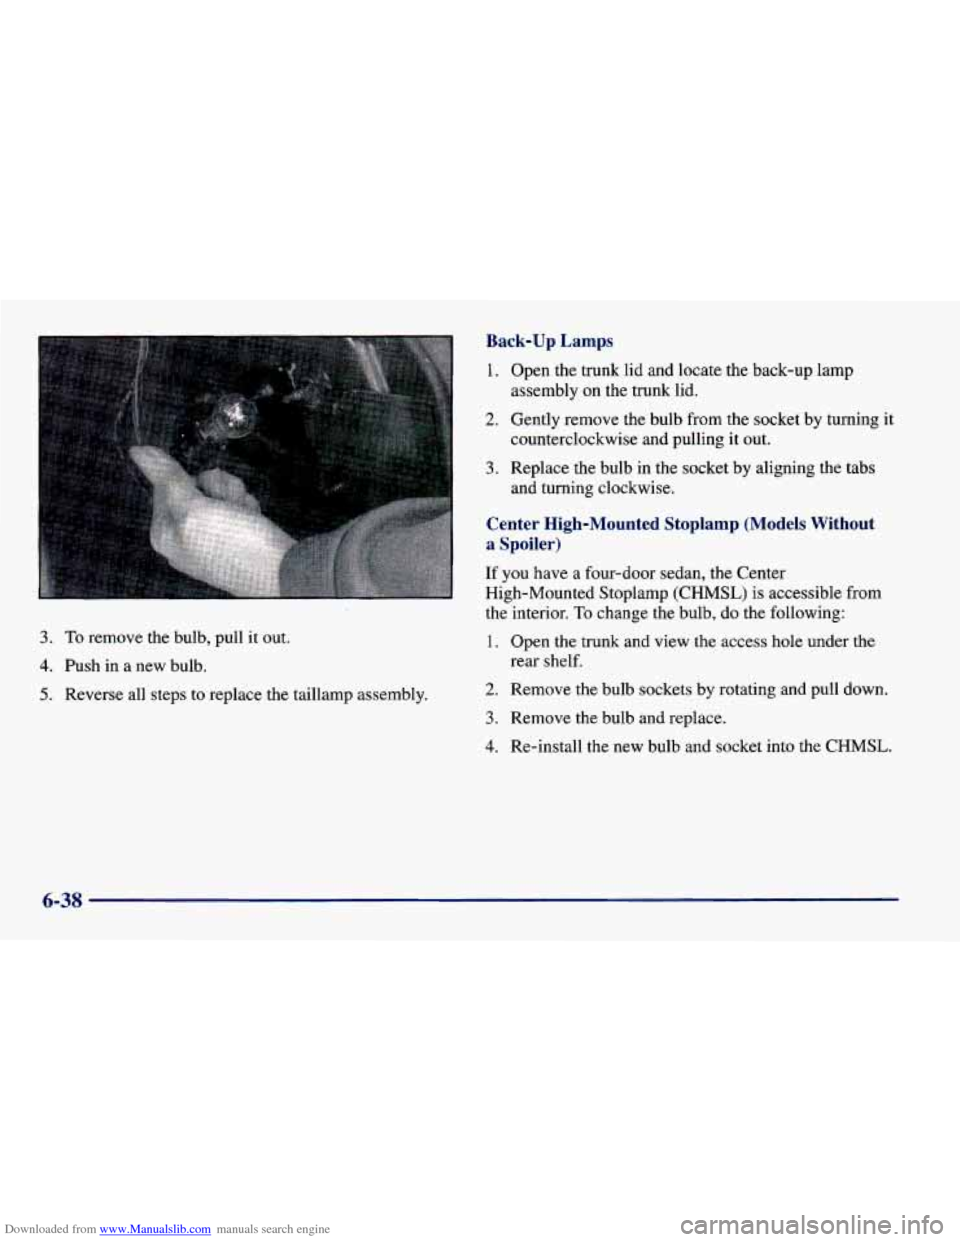
Downloaded from www.Manualslib.com manuals search engine Back-up Lamps
1. Open the trunk lid and locate the back-up lamp
2. Gently remove the bulb from the socket by turning it
assembly on the trunk lid.
counterclockwise and pulling
it out.
3. To remove the bulb, pull it out.
4. Push in a new bulb.
5. Reverse all steps to replace the taillamp assembly.
3. Replace the bulb in the socket by aligning the tabs
and turning clockwise.
Center High-Mounted Stoplamp (Models Without
a Spoiler)
If you have a four-door sedan, the Center
High-Mounted Stoplamp (CHMSL)
is accessible from
the interior.
To change the bulb, do the following:
1. Open the trunk and view the access hole under the
2. Remove the bulb sockets by rotating and pull down.
rear shelf.
3. Remove the bulb and replace.
4. Re-install the new bulb and socket into the CHMSL.
6-38
Page 297 of 400
Downloaded from www.Manualslib.com manuals search engine Center High-Mounted Stoplamp (Models With
a Spoiler)
If you have a two-door coupe, the CHMSL is located on
the spoiler.
To change the bulb, do the following:
1. Use
a Torx screwdriver to unscrew the bulb
assembly from the spoiler.
2. Gently pull out the bulb assembly.
3. Remove the bulb(s) by gently wiggling the bulb
from the assembly.
4. Replace the bulb(s) and reverse these steps to replace
the bulb assembly.
Interior Lamps
Dome Lamp With Integral Reading Lamps
To replace a bulb, do the following:
1. Insert a flat screwdriver into the slot at the rear of
the lens.
2. With the screwdriver, push the tab rearward to
release the lamp lens.
3. Push the lens forward to release the two tabs at the
front
of the lens.
4. Gently remove and replace the bulb(s).
5. Reverse these steps to replace the lens.
Dome Lamp Without Integral Reading Lamps
To replace a bulb, do the following:
1. From the rear of the dome lamp lens, insert a flat
screwdriver between the roof trim and the lens.
2. With the screwdriver, push the tab at the rear of the
3. Pull the lamp lens rearward to release the two lens forward to release the lens.
front tabs.
4. Gently remove and replace the bulb(s).
5. Reverse these steps to replace the lens.
6-39
Page 307 of 400
Downloaded from www.Manualslib.com manuals search engine Cleaning the Inside of Your Vehicle
Use a vacuum cleaner often to get rid of dust and loose
dirt. Wipe vinyl, leather, plastic and painted surfaces
with a clean, damp cloth.
Your dealer has two cleaners, Multi-Purpose Interior
Cleaner and Capture Non-Solvent Dry Spot and Soil
Remover for cleaning fabric and carpet. They will clean
normal spots and stains very well. You can get
GM-approved cleaning products from your dealer. (See “Appearance Care and Materials”
in the Index.)
Here are some cleaning tips:
Always read the instructions on the cleaner label.
Clean up stains as soon as you can -- before they set.
Carefully scrape off any excess stain.
Use a clean cloth or sponge, and change to a
clean area often.
A soft brush may be used if stains
are stubborn.
If a ring forms after spot cleaning, clean the entire
area immediately or it will set.
Using Multi-Purpose Interior Cleaner
on Fabric
1.
2.
3.
4.
5.
6.
7.
Vacuum and brush the area to remove any loose dirt.
Always clean a whole trim panel or section. Mask
surrounding trim along stitch or welt lines.
Mix powdered cleaner following the directions on
the container label to form thick suds.
Use suds only and apply with a clean sponge. Don’t
saturate the material and don’t rub
it roughly.
As soon as you’ve cleaned the section, use a sponge
to remove the suds.
Wipe cleaned area with
a clean, damp towel or cloth.
Wipe with a clean cloth and let dry.
6-49