driver info center CHEVROLET COBALT 2005 1.G Owners Manual
[x] Cancel search | Manufacturer: CHEVROLET, Model Year: 2005, Model line: COBALT, Model: CHEVROLET COBALT 2005 1.GPages: 362, PDF Size: 2.35 MB
Page 1 of 362
Seats and Restraint Systems........................... 1-1
Front Seats
............................................... 1-2
Rear Seats
............................................... 1-8
Safety Belts
.............................................. 1-9
Child Restraints
.......................................1-28
Airbag System
.........................................1-48
Restraint System Check
............................1-57
Features and Controls..................................... 2-1
Keys
........................................................ 2-2
Doors and Locks
....................................... 2-7
Windows
.................................................2-12
Theft-Deterrent Systems
............................2-14
Starting and Operating Your Vehicle
...........2-16
Mirrors
....................................................2-32
OnStar
®System
......................................2-34
Storage Areas
.........................................2-35
Sunroof
..................................................2-36
Instrument Panel............................................. 3-1
Instrument Panel Overview
.......................... 3-4
Climate Controls
......................................3-17
Warning Lights, Gages, and Indicators
........3-21
Driver Information Center (DIC)
..................3-35
Audio System(s)
.......................................3-45Driving Your Vehicle....................................... 4-1
Your Driving, the Road, and Your Vehicle
..... 4-2
Towing
...................................................4-35
Service and Appearance Care.......................... 5-1
Service
..................................................... 5-3
Fuel
......................................................... 5-5
Checking Things Under the Hood
...............5-10
Headlamp Aiming
.....................................5-44
Bulb Replacement
....................................5-47
Windshield Wiper Blade Replacement
.........5-53
Tires
......................................................5-54
Appearance Care
.....................................5-81
Vehicle Identi�cation
.................................5-89
Electrical System
......................................5-90
Capacities and Speci�cations
.....................5-97
Maintenance Schedule..................................... 6-1
Maintenance Schedule
................................ 6-2
Customer Assistance and Information.............. 7-1
Customer Assistance and Information
........... 7-2
Reporting Safety Defects
...........................7-10
Index................................................................ 1
2005 Chevrolet Cobalt Owner ManualM
Page 69 of 362
Q(Lock):Press the lock button to lock all the doors.
If enabled through the Driver Information Center
(DIC), the remote lock feedback can be programmed to
have the horn chirp and/or the parking lamps �ash
when the remote keyless entry transmitter is used to
lock the vehicle’s doors. See “LOCK HORN” and “LIGHT
FLASH” underDIC Vehicle Personalization on
page 3-40for more information.
Pressing the lock button may arm the content
theft-deterrent system. SeeContent Theft-Deterrent on
page 2-14.
"(Unlock):Press the unlock button one time to unlock
the driver’s door. Press the unlock button again within
�ve seconds to unlock the other doors. The interior
lamps will come on and stay on for 20 seconds or until
the ignition is turned on. If enabled through the DIC,
the remote unlock feedback can be programmed to have
the horn chirp and/or the parking lamps �ash when
the remote keyless entry transmitter is used to unlock
the vehicle’s doors. See “UNLOCK HORN” and “LIGHT
FLASH” underDIC Vehicle Personalization on
page 3-40for more information.If enabled through the DIC, and it is dark enough
outside, the vehicle’s high-beam headlamps, parking
lamps, and back-up lamps will come on each time
the unlock button on the transmitter is pressed. These
exterior lamps will stay on for 20 seconds, or until a door
is opened. See “EXT (Exterior) LIGHTS” underDIC
Vehicle Personalization on page 3-40.
Pressing the unlock button on the remote keyless entry
transmitter will disarm the content-theft deterrent
system. SeeContent Theft-Deterrent on page 2-14for
more details.V(Remote Trunk Release):The trunk will open
when this button on the transmitter is pressed and held
for approximately one second. You can open the
trunk with the transmitter when the vehicle is stationary.
L(Vehicle Locator/Panic Alarm):Press and
release this button to help locate your vehicle. The horn
will sound three times and the hazard lamps will �ash
three times. Press and hold the button for three seconds
to sound the panic alarm. The horn will sound and the
hazard lamps will �ash for 30 seconds. The ignition must
be off for the vehicle locator/remote alarm to work.
Press the vehicle locator/panic alarm button again or
turn the ignition to ACC (Accessory) or RUN to turn off
the alarm.
2-5
Page 72 of 362

Power Door Locks
Your vehicle may have
power door locks. If so,
they are located on
the driver’s and front
passenger’s door armrest.
Press the side of the switch with the lock symbol to lock
the doors. This is the right side for the driver’s switch
and the left side for the front passenger’s switch.
Press the side of the switch with the unlock symbol to
unlock the doors. This is the left side for the driver’s
switch and the right side for the front passenger’s switch.
Delayed Locking
The delayed locking feature will delay the actual locking
of the doors for up to �ve seconds after exiting the
vehicle when the power door lock switch or remote
keyless entry transmitter is used to lock the vehicle.
If any door is open when locking the vehicle, three
chimes will sound signaling that the delayed locking
feature is active. Five seconds after the last door
is closed, all of the doors will lock and the turn signal
lamps will �ash. To cancel the delay and lock the doors
immediately, press the lock button a second time.
If the key is in the ignition this feature will not lock
the doors.
You can disable this function through the Driver
Information Center (DIC). SeeDIC Vehicle
Personalization on page 3-40. Driver’s Switch shown,
Front Passenger’s
Switch similar
2-8
Page 73 of 362

Automatic Door Locks
The doors will automatically lock when the shift lever is
moved out of PARK (P) for a vehicle with an automatic
transmission, or the speed is greater than 5 mph
(8 km/h) for a vehicle with a manual transmission.
The automatic door locking feature cannot be disabled.
Programmable Automatic Door
Unlock
Your vehicle can be programmed through the Driver
Information Center (DIC) to automatically unlock several
ways. SeeDIC Vehicle Personalization on page 3-40
for more information.
Rear Door Security Locks
Your vehicle has rear door security locks that prevent
passengers from opening the rear doors from the inside.
The rear door security locks
are located on the inside
edge of each rear door.
You must open the rear
doors to access them.
To set the locks, do the following:
1. Insert the key into the security lock slot and turn it
so the slot is in the horizontal position.
2. Close the door.
2-9
Page 80 of 362
Passive Arming
If passive arming is enabled through the Driver
Information Center (DIC), the system will arm itself
60 seconds after cycling the ignition off and closing
all doors.
Passlock®
Your vehicle is equipped with the Passlock®
theft-deterrent system.
Passlock®is a passive theft-deterrent system. Passlock®
enables fuel if the ignition lock cylinder is turned with
a valid key. If a correct key is not used or the ignition
lock cylinder is tampered with, fuel is disabled.
During normal operation, the security light will go off
approximately three seconds after the key is turned to
RUN following an engine start. The security light is
located on the instrument panel cluster. SeeInstrument
Panel Cluster on page 3-22.
If the engine stalls and the security light �ashes, wait
until the light stops �ashing before trying to restart
the engine. Remember to release the key from START
as soon as the engine starts.
If the engine is running and the security light comes on,
you will be able to restart the engine if you turn the
engine off. However, your Passlock
®system is
not working properly and must be serviced by yourdealer. Your vehicle is not protected by Passlock
®at
this time. See your dealer for service. Or seeRoadside
Assistance Program on page 7-6for more information.
You may also want to check the fuses. SeeFuses
and Circuit Breakers on page 5-91.
Starting and Operating Your
Vehicle
New Vehicle Break-In
Notice:Your vehicle does not need an elaborate
break-in. But it will perform better in the long run if
you follow these guidelines:
Do not drive at any one speed, fast or slow, for
the �rst 500 miles (805 km). Do not make
full-throttle starts.
Avoid making hard stops for the �rst 200 miles
(322 km) or so. During this time your new brake
linings are not yet broken in. Hard stops with new
linings can mean premature wear and earlier
replacement. Follow this breaking-in guideline
every time you get new brake linings.
Do not tow a trailer during break-in. SeeTowing a
Trailer (Manual Transaxle) on page 4-37or
Towing a Trailer (Automatic Transaxle) on
page 4-38for more information.
2-16
Page 99 of 362
OnStar®Personal Calling
As an OnStar®subscriber, the Personal Calling
capability is an available hands-free wireless phone that
is integrated into the vehicle. Calls can be placed
nationwide using simple voice commands with no
additional contracts and no additional roaming charges.
To �nd out more about OnStar
®Personal Calling,
refer to the OnStar®user’s guide in the vehicle’s glove
box or visit www.onstar.com or www.onstarcanada.com;
or speak with an OnStar
®advisor by pressing the
OnStar®button or by calling 1-888-4-ONSTAR
(1-888-466-7827).
OnStar®Virtual Advisor
Virtual Advisor is a feature of OnStar®Personal Calling
that uses minutes to access up-to-date weather and
traffic reports for your area, news and sports updates,
stock quotes, entertainment and more. Customize
your information pro�le at www.myonstar.com. See the
OnStar
®user’s guide for more information.
Storage Areas
Glove Box
Open the glove box by lifting up on the lever. Close the
glove box with a �rm push.
Cupholder(s)
There are two cupholders located at the front of the
center console, in front of the shift lever. There are also
cupholder for the rear seat passengers located at the
rear of the center console.
Center Console Storage Area
Your vehicle may have a center console armrest with
storage area. Use the lever on the front of the console to
open it.
Driver’s Storage Compartment
The driver’s storage compartment is located near the
left side of the steering column on the bottom of
the instrument panel. It can be used to store small items
and contains the remote trunk release switch. For
more information, see Remote Trunk Release under
Trunk on page 2-10.
2-35
Page 102 of 362
Driver Information Center (DIC).......................3-35
DIC Operation and Displays...........................3-35
DIC Warnings and Messages.........................3-37
DIC Vehicle Personalization............................3-40
Audio System(s).............................................3-45
Setting the Time for Radios without
Radio Data Systems (RDS)........................3-45
Setting the Time for Radios with
Radio Data Systems (RDS)........................3-46
Radio with CD (Base Level)...........................3-46Radio with CD (Up Level)..............................3-51
Radio with CD (MP3)....................................3-60
Theft-Deterrent Feature..................................3-74
Audio Steering Wheel Controls.......................3-75
Radio Reception...........................................3-75
Care of Your CDs.........................................3-76
Care of the CD Player...................................3-76
Fixed Mast Antenna......................................3-76
XM™ Satellite Radio Antenna System.............3-76
Section 3 Instrument Panel
3-2
Page 105 of 362
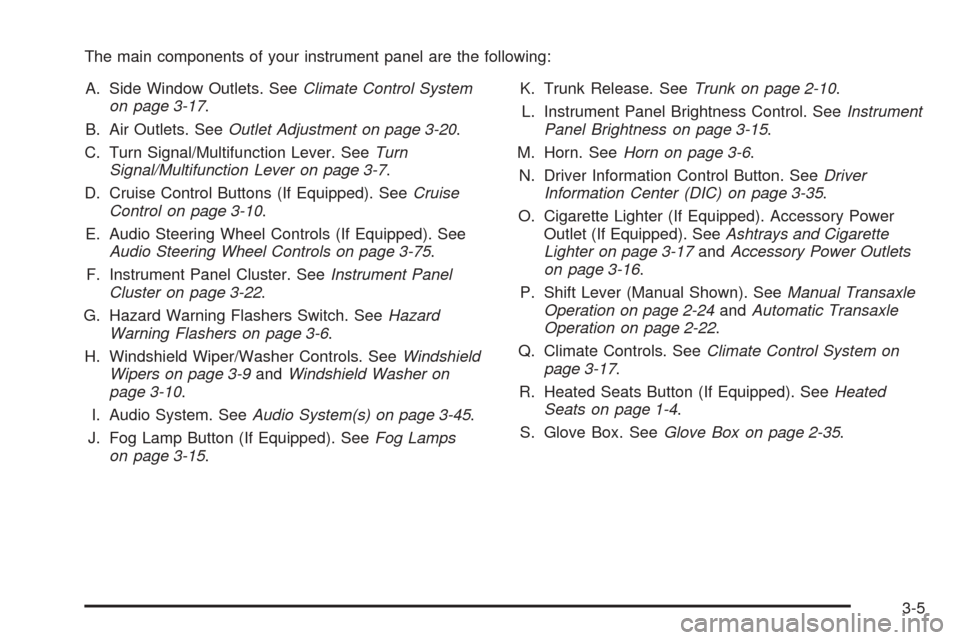
The main components of your instrument panel are the following:
A. Side Window Outlets. SeeClimate Control System
on page 3-17.
B. Air Outlets. SeeOutlet Adjustment on page 3-20.
C. Turn Signal/Multifunction Lever. SeeTurn
Signal/Multifunction Lever on page 3-7.
D. Cruise Control Buttons (If Equipped). SeeCruise
Control on page 3-10.
E. Audio Steering Wheel Controls (If Equipped). See
Audio Steering Wheel Controls on page 3-75.
F. Instrument Panel Cluster. SeeInstrument Panel
Cluster on page 3-22.
G. Hazard Warning Flashers Switch. SeeHazard
Warning Flashers on page 3-6.
H. Windshield Wiper/Washer Controls. SeeWindshield
Wipers on page 3-9andWindshield Washer on
page 3-10.
I. Audio System. SeeAudio System(s) on page 3-45.
J. Fog Lamp Button (If Equipped). SeeFog Lamps
on page 3-15.K. Trunk Release. SeeTrunk on page 2-10.
L. Instrument Panel Brightness Control. SeeInstrument
Panel Brightness on page 3-15.
M. Horn. SeeHorn on page 3-6.
N. Driver Information Control Button. SeeDriver
Information Center (DIC) on page 3-35.
O. Cigarette Lighter (If Equipped). Accessory Power
Outlet (If Equipped). SeeAshtrays and Cigarette
Lighter on page 3-17andAccessory Power Outlets
on page 3-16.
P. Shift Lever (Manual Shown). SeeManual Transaxle
Operation on page 2-24andAutomatic Transaxle
Operation on page 2-22.
Q. Climate Controls. SeeClimate Control System on
page 3-17.
R. Heated Seats Button (If Equipped). SeeHeated
Seats on page 1-4.
S. Glove Box. SeeGlove Box on page 2-35.
3-5
Page 111 of 362
Setting Cruise Control
{CAUTION:
If you leave your cruise control on when you
are not using cruise, you might hit a button
and go into cruise when you do not want to.
You could be startled and even lose control.
Keep the cruise control switch off until you
want to use cruise control.
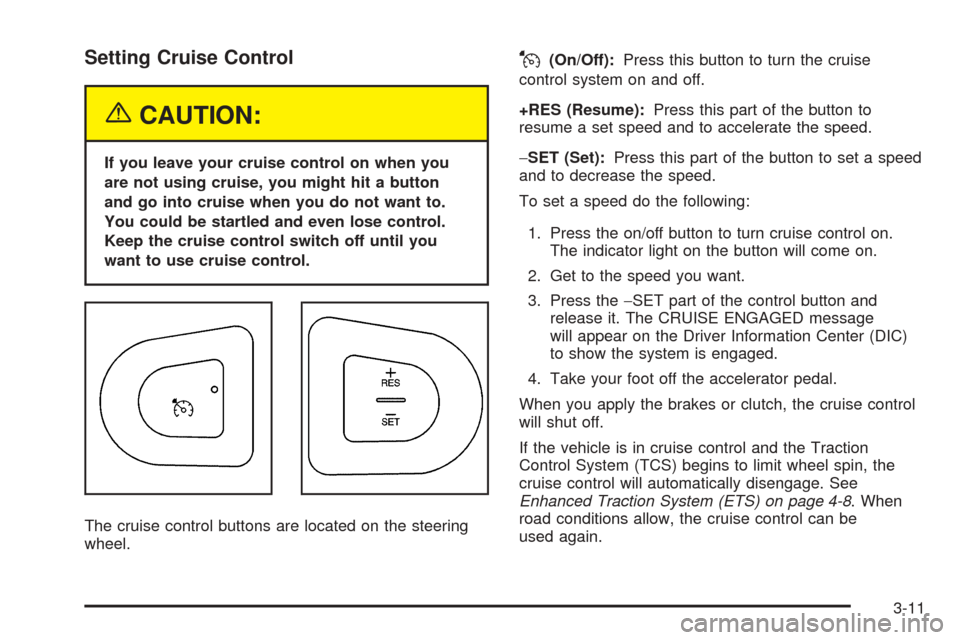
The cruise control buttons are located on the steering
wheel.
J(On/Off):Press this button to turn the cruise
control system on and off.
+RES (Resume):Press this part of the button to
resume a set speed and to accelerate the speed.
−SET (Set):Press this part of the button to set a speed
and to decrease the speed.
To set a speed do the following:
1. Press the on/off button to turn cruise control on.
The indicator light on the button will come on.
2. Get to the speed you want.
3. Press the−SET part of the control button and
release it. The CRUISE ENGAGED message
will appear on the Driver Information Center (DIC)
to show the system is engaged.
4. Take your foot off the accelerator pedal.
When you apply the brakes or clutch, the cruise control
will shut off.
If the vehicle is in cruise control and the Traction
Control System (TCS) begins to limit wheel spin, the
cruise control will automatically disengage. See
Enhanced Traction System (ETS) on page 4-8. When
road conditions allow, the cruise control can be
used again.
3-11
Page 113 of 362
Ending Cruise Control
To end cruise control, step lightly on the brake pedal or
the clutch if your vehicle has a manual transmission.
Stepping on the brake pedal or clutch will only end the
current cruise control session. Press the cruise
control on/off button to turn the system completely off.
Erasing Speed Memory
When you turn off the cruise control or the ignition, your
cruise control set speed memory is erased.
Headlamps
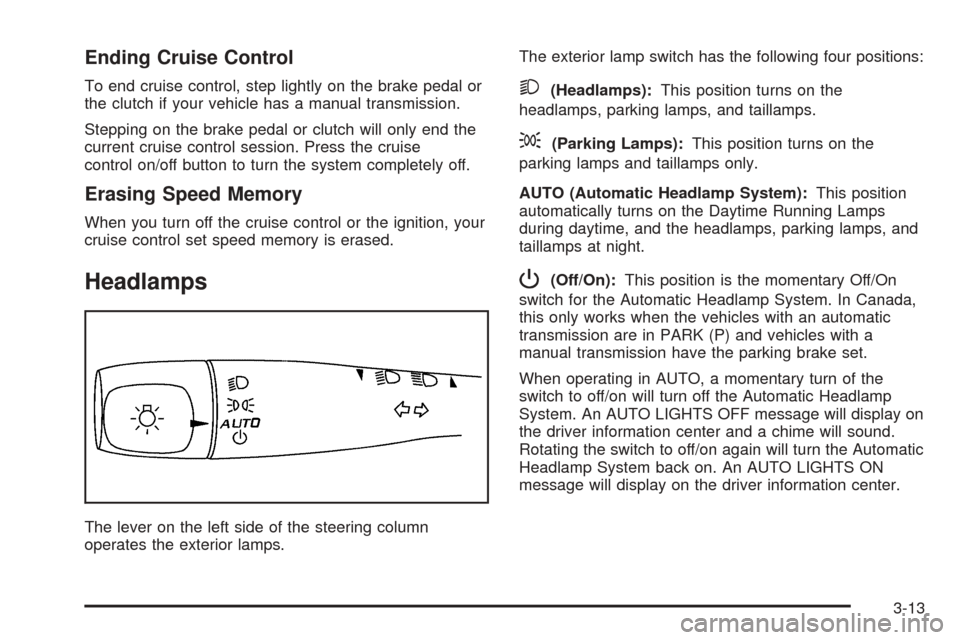
The lever on the left side of the steering column
operates the exterior lamps.The exterior lamp switch has the following four positions:
2(Headlamps):This position turns on the
headlamps, parking lamps, and taillamps.
;(Parking Lamps):This position turns on the
parking lamps and taillamps only.
AUTO (Automatic Headlamp System):This position
automatically turns on the Daytime Running Lamps
during daytime, and the headlamps, parking lamps, and
taillamps at night.
P(Off/On):This position is the momentary Off/On
switch for the Automatic Headlamp System. In Canada,
this only works when the vehicles with an automatic
transmission are in PARK (P) and vehicles with a
manual transmission have the parking brake set.
When operating in AUTO, a momentary turn of the
switch to off/on will turn off the Automatic Headlamp
System. An AUTO LIGHTS OFF message will display on
the driver information center and a chime will sound.
Rotating the switch to off/on again will turn the Automatic
Headlamp System back on. An AUTO LIGHTS ON
message will display on the driver information center.
3-13