ECU CHEVROLET COLORADO 2021 Duramax Diesel Supplement
[x] Cancel search | Manufacturer: CHEVROLET, Model Year: 2021, Model line: COLORADO, Model: CHEVROLET COLORADO 2021Pages: 89, PDF Size: 1.9 MB
Page 17 of 89
Chevrolet/GMC 2.8L Duramax Diesel Engine Supplement (GMNA-Localizing-
U.S./Canada-14465442) - 2021 - CRC - 2/3/20
16 Driving and Operating
.The transmission is shifted out of P (Park)
or N (Neutral).
.The parking brake is released.
.The vehicle speed is not 0 km/h (0 mph).
On vans, when fast idle is active, a FAST
IDLE ON message will be displayed in
the DIC.
Winter Cover
Pickups
Do not use a winter cover on pickups.
Vans
If equipped, the winter cover can be used to
enhance heater performance in extremely
cold conditions below −18 °C (0 °F). The
winter cover installs over the grille and
restricts airflow to the engine compartment.
For vehicles that did not come with a winter
cover, a GM winter cover can be purchased.
See your dealer for additional information.
When the winter cover is in use, the heater,
ventilation, and air conditioning AUTO mode
may not function properly. Use the manual
settings for comfort.
Usage Guidelines
The winter cover should only be used while
operating the vehicle in extremely cold
temperatures or in heavy snow for extended
periods. In these temperatures, the vehicle
does not need a large amount of air to
properly cool the engine. When more
airflow is required to cool the vehicle, the
winter cover should not be used. The
following usage guidelines will allow
adequate airflow for proper radiator and air
cooler performance:
.Do not use the winter cover if towing a
trailer. The vehicle may overheat if the
radiator is covered while towing.
.Do not modify the cover. The winter
cover does not cover some sections of the
front of the vehicle to provide enough
airflow.
.When the winter cover is used, the
outside air temperature display may not
function properly.
.Keep the underside of the winter cover as
clean as possible. Remove monthly or as
necessary and clean away dust and
debris.
.Use only a mild soap to clean. Do not use
harsh soap, strong detergents, or vinyl
protectant/sealant type products as they
may damage the special finish. Allow the
winter cover to dry completely before
reinstalling.
Installation Instructions
When first trying to fit the cover, it may
appear to be undersized but will stretch
during installation to ensure a tight fit. The
initial installation of the cover is best
performed when the winter cover is warm.
1. Open the hood and secure it with the prop rod.
Page 19 of 89
Chevrolet/GMC 2.8L Duramax Diesel Engine Supplement (GMNA-Localizing-
U.S./Canada-14465442) - 2021 - CRC - 2/3/20
18 Driving and Operating
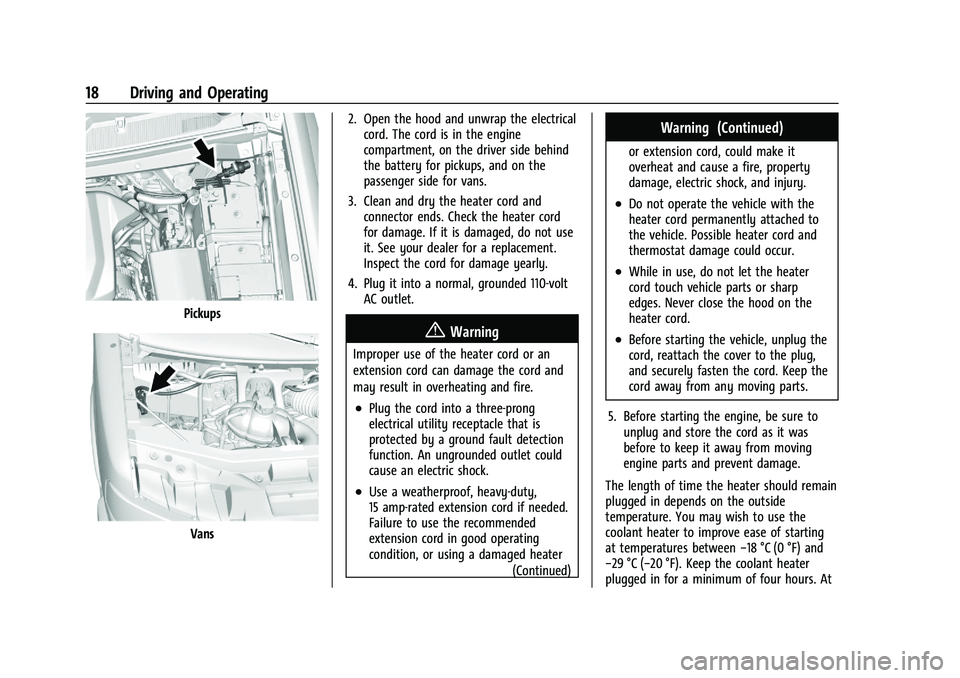
Pickups
Vans2. Open the hood and unwrap the electrical
cord. The cord is in the engine
compartment, on the driver side behind
the battery for pickups, and on the
passenger side for vans.
3. Clean and dry the heater cord and connector ends. Check the heater cord
for damage. If it is damaged, do not use
it. See your dealer for a replacement.
Inspect the cord for damage yearly.
4. Plug it into a normal, grounded 110-volt AC outlet.
{Warning
Improper use of the heater cord or an
extension cord can damage the cord and
may result in overheating and fire.
.Plug the cord into a three-prong
electrical utility receptacle that is
protected by a ground fault detection
function. An ungrounded outlet could
cause an electric shock.
.Use a weatherproof, heavy-duty,
15 amp-rated extension cord if needed.
Failure to use the recommended
extension cord in good operating
condition, or using a damaged heater
(Continued)
Warning (Continued)
or extension cord, could make it
overheat and cause a fire, property
damage, electric shock, and injury.
.Do not operate the vehicle with the
heater cord permanently attached to
the vehicle. Possible heater cord and
thermostat damage could occur.
.While in use, do not let the heater
cord touch vehicle parts or sharp
edges. Never close the hood on the
heater cord.
.Before starting the vehicle, unplug the
cord, reattach the cover to the plug,
and securely fasten the cord. Keep the
cord away from any moving parts.
5. Before starting the engine, be sure to unplug and store the cord as it was
before to keep it away from moving
engine parts and prevent damage.
The length of time the heater should remain
plugged in depends on the outside
temperature. You may wish to use the
coolant heater to improve ease of starting
at temperatures between −18 °C (0 °F) and
−29 °C (−20 °F). Keep the coolant heater
plugged in for a minimum of four hours. At
Page 41 of 89
Chevrolet/GMC 2.8L Duramax Diesel Engine Supplement (GMNA-Localizing-
U.S./Canada-14465442) - 2021 - CRC - 2/3/20
40 Driving and Operating
5. The horn will chirp, the PTO load relaywill engage, and the engine will advance
to the PTO Standby Speed.
6. The Remote PTO Set switch may be used to select PTO Set 1 and Set 2 engine
speeds.
The accelerator pedal is disabled when
Remote PTO operation is selected.
The operator may exit the vehicle.
{Warning
If the key is in the ignition during
Remote PTO operation, the vehicle can be
shifted out of P (Park) by an
unauthorized operator. Even though PTO
will be disengaged, depending on PTO
Upfitter application, personal injury or
property damage may result from vehicle
movement. The operator must ensure
that the vehicle is secured against
unauthorized access during Remote PTO
operation.
Remote PTO operation may be ended by
pressing the brake pedal at which time the
PTO load relay disengages and the engine returns to base idle speed. The operator
may drive the vehicle after releasing the
parking brake.
Preset Enable Conditions
–Operator
Selectable In-Cab Mode (OSIM)
This requires programming with the GM
Service Tool and requires pairing OSIM
stationary preset with OSIM mobile mode.
If OSIM pairing has been configured, initiate
OSIM preset operation:
1. With the engine running, shift the vehicle into P (Park) and release the
brake pedal, and set the parking brake.
2. Confirm cruise control is off.
3. Confirm the hood is closed.
4. Press and release the in-cab PTO switch. The PTO indicator light will blink slowly.
5. Within 10 seconds, press and release SET −on the cruise control.
6. The PTO indicator light will change to solid when the PTO load relay becomes
engaged. The engine speed will advance
to the PTO Standby Speed. Press and
release SET− on the cruise control to
select the PTO Set 1 speed. Press and
release +RES on the cruise control to
select the PTO Set 2 speed.
.The PTO load relay engages immediately
when the PTO operation is initiated by
the switch input. The transmission torque
converter is unlocked. The torque
converter will lock upon reaching stable
PTO Standby Speed (default = 900 rpm)
so maximum power is available.
.The first elevated engine speed, PTO
Standby Speed, is not intended as a
working speed but as a verification that
the system is active and ready to go to a
working speed. This speed can be
modified to a working speed with the GM
Service Tool. The upper limit for PTO
Standby Speed is 1500 rpm.
.The remote switches and relay
connections are made at the PTO Upfitter
Connector located on the chassis frame
behind the cab.
.The PTO Control setting on the Service
Tool must be programmed to Remote
PTO Mode Switch before the remote
switches can be used.
.The PTO relay is programmed to be
enabled in the factory default
configuration.
Page 43 of 89
Chevrolet/GMC 2.8L Duramax Diesel Engine Supplement (GMNA-Localizing-
U.S./Canada-14465442) - 2021 - CRC - 2/3/20
42 Driving and Operating
Warning (Continued)
that the vehicle is secured against
unauthorized access during Remote PTO
operation.
The accelerator pedal is disabled when
Remote PTO operation is selected.
Remote PTO operation can be ended by
pressing the brake pedal. The PTO load relay
disengages and the engine returns to base
idle speed. The operator may drive the
vehicle after releasing the parking brake.
.The desired engine operating speed can
now be accomplished. Two versions of
engine rpm control are available, switches
or potentiometer, depending on which
one was installed.
‐ Switches –the Remote PTO Set and
Resume switches can be used to tap up
and tap down to the desired engine
speed.
‐ Potentiometer –a Remote PTO Throttle
Potentiometer can be used as a
continuous variable throttle control to
dial in the desired engine speed. Variable Enable Conditions
–OSIM
This requires programming with the GM
Service Tool and specific pairing of
stationary variable and mobile modes.
Remote operation is not available.
If OSIM pairing has been configured, initiate
OSIM stationary variable operation: 1. With the engine running, shift the vehicle into P (Park), release the brake
pedal, and set the parking brake.
2. Confirm cruise control is off.
3. Confirm the hood is closed.
4. Press and release the PTO in-cab switch. The PTO indicator light will blink slowly.
5. Within 10 seconds, press and release SET− on the cruise control. The PTO load
relay will engage and the PTO indicator
light will change to solid. The engine
speed will advance to the PTO Standby
Speed.
6. The desired operating speed may be achieved by tapping up and down with
+RES and SET− on the cruise control.
.The PTO load relay engages immediately
when the PTO operation is initiated by
the switch input. The transmission torque
converter is unlocked. The torque converter will lock upon reaching stable
PTO Standby Speed (default = 900 rpm)
so maximum power is available.
.The first elevated engine speed, PTO
Standby Speed, is not intended as a
working speed but as a verification that
the system is active and ready to go to a
working speed.
.The relay connections are made at the
PTO Upfitter Connector located on the
chassis frame behind the cab.
.The engine speeds can be adjusted
between the low of PTO Standby Speed
and the high of PTO Max Engine speed
limits. Both values can be modified from
the factory default settings with the GM
Service Tool. Based on the value chosen
for PTO Max Engine Speed, the PTO menu
in the center stack may show speeds that
are not available.
.Factory setting for the tap step is 100
rpm and the setting for ramp rate is 150
rpm/sec. The default value for tap step
can be modified via the Radio
Customization menu. The default values
for both tap step and ramp rate can be
changed with the GM Service Tool.
.The PTO load relay is enabled as the
factory default programmed setting.
Page 60 of 89

Chevrolet/GMC 2.8L Duramax Diesel Engine Supplement (GMNA-Localizing-
U.S./Canada-14465442) - 2021 - CRC - 2/3/20
Vehicle Care 59
How to Inspect/Replace the Engine Air
Cleaner/Filter
Do not start the engine or have the engine
running with the engine air filter housing
open. Before removing the engine air filter,
make sure that the engine air filter housing
and nearby components are free of dirt and
debris. Remove the engine air filter. Lightly
tap and shake the engine air filter (away
from the vehicle) to release dust and dirt.
Inspect the engine air filter for damage, and
replace if damaged. Do not clean the engine
air filter or components with water or
compressed air.
1. Screws
2. Retaining Clips3. Housing Base
4. Housing Cover
5. Turbo Air Duct
To inspect and replace the filter:
1. Remove the two screws (1) and lift the air cleaner/filter housing base (3) to clear
the turbo air duct (5).
2. Unlock the two retaining clips (2) on the sides of the housing cover (4) and on the
housing base and pull the cover off.
3. Remove the air cleaner/filter from the housing base. Take care to dislodge as
little dirt as possible.
4. Clean the air cleaner/filter sealing surface and housing base.
5. Install the engine air cleaner/filter by aligning the arrow on one side of the air
cleaner/filter end cap with the arrow on
top of the housing base.
6. Reinstall the housing cover by aligning the arrow on top of the cover to the
arrow on top of the housing base, and
fasten the two retaining clips.
7. Align the two bushings under the housing base to the guide pins below on
the closure assembly and push the
housing base into place. 8. Reinstall the two screws to secure the
housing base.{Warning
If part replacement is necessary, the part
must be replaced with one of the same
part number or with an equivalent part.
Use of a replacement part without the
same fit, form, and function may result
in personal injury or damage to the
vehicle.
See Maintenance Schedule 073 or
Maintenance Schedule 077 to determine
when to replace the engine air cleaner/filter.
{Warning
Operating the engine with the air
cleaner/filter off can cause you or others
to be burned. Use caution when working
on the engine. Do not start the engine or
drive the vehicle with the air cleaner/
filter off, as flames may be present if the
engine backfires.
Page 63 of 89
Chevrolet/GMC 2.8L Duramax Diesel Engine Supplement (GMNA-Localizing-
U.S./Canada-14465442) - 2021 - CRC - 2/3/20
62 Vehicle Care
Warning (Continued)
including the pressure cap, is hot. Wait
for the cooling system and pressure cap
to cool.
If no coolant is visible in the surge tank, add
coolant as follows:
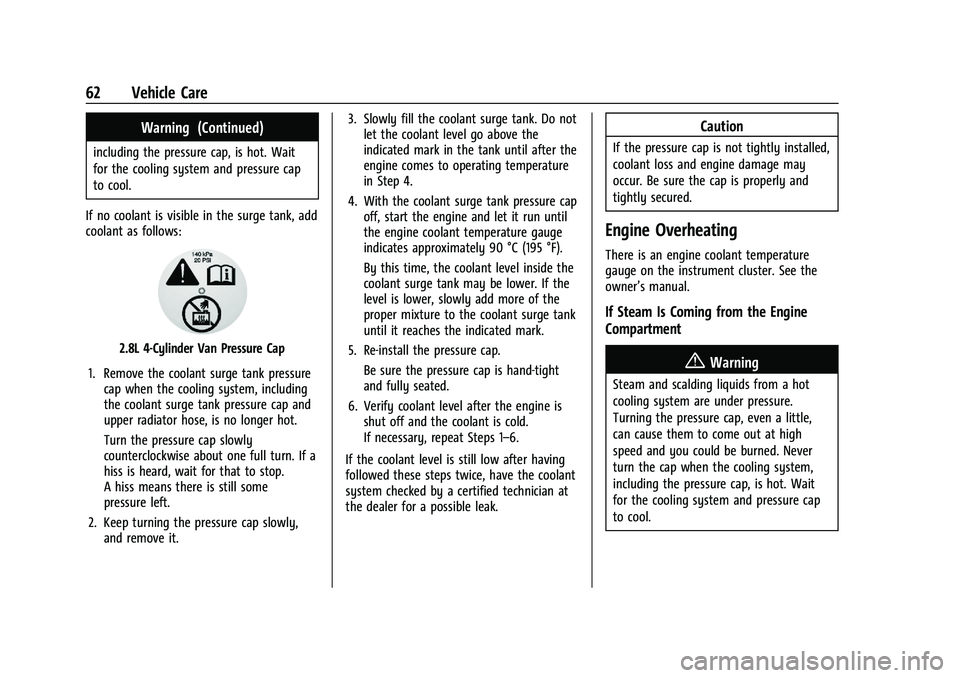
2.8L 4-Cylinder Van Pressure Cap
1. Remove the coolant surge tank pressure cap when the cooling system, including
the coolant surge tank pressure cap and
upper radiator hose, is no longer hot.
Turn the pressure cap slowly
counterclockwise about one full turn. If a
hiss is heard, wait for that to stop.
A hiss means there is still some
pressure left.
2. Keep turning the pressure cap slowly, and remove it. 3. Slowly fill the coolant surge tank. Do not
let the coolant level go above the
indicated mark in the tank until after the
engine comes to operating temperature
in Step 4.
4. With the coolant surge tank pressure cap off, start the engine and let it run until
the engine coolant temperature gauge
indicates approximately 90 °C (195 °F).
By this time, the coolant level inside the
coolant surge tank may be lower. If the
level is lower, slowly add more of the
proper mixture to the coolant surge tank
until it reaches the indicated mark.
5. Re-install the pressure cap. Be sure the pressure cap is hand-tight
and fully seated.
6. Verify coolant level after the engine is shut off and the coolant is cold.
If necessary, repeat Steps 1–6.
If the coolant level is still low after having
followed these steps twice, have the coolant
system checked by a certified technician at
the dealer for a possible leak.
Caution
If the pressure cap is not tightly installed,
coolant loss and engine damage may
occur. Be sure the cap is properly and
tightly secured.
Engine Overheating
There is an engine coolant temperature
gauge on the instrument cluster. See the
owner’s manual.
If Steam Is Coming from the Engine
Compartment
{Warning
Steam and scalding liquids from a hot
cooling system are under pressure.
Turning the pressure cap, even a little,
can cause them to come out at high
speed and you could be burned. Never
turn the cap when the cooling system,
including the pressure cap, is hot. Wait
for the cooling system and pressure cap
to cool.