door lock CHEVROLET CORVAIR 1986 2.G Owners Manual
[x] Cancel search | Manufacturer: CHEVROLET, Model Year: 1986, Model line: CORVAIR, Model: CHEVROLET CORVAIR 1986 2.GPages: 56, PDF Size: 22.23 MB
Page 6 of 56
Downloaded from www.Manualslib.com manuals search engine ..
Don't invite car theft! An unlocked car with the
key still in the ignition offers both opportunity and temptation.
Remember always to lock ignition,
lock all doors ... TAKE THE KEY!
NOTE: Your 1968 Chevrolet features as standard equipment a buzzer device which
will activate when the driver's door is opened and the key left in the switch. Heed
its
warning-let it also serve to remind you to lock all doors.
The identification number
of your vehicle is located on the instrument panel and is
visible from the outside. It is also stamped prominently on the engine and transmission.
These precautions have been taken
for your protection to aid the apprehension of thieves
and the recovery
of stolen vehicles, engines and transmissions and to serve as a deterrent
to
theft itself.
3
Page 11 of 56
Downloaded from www.Manualslib.com manuals search engine STARTING THE ENGINE
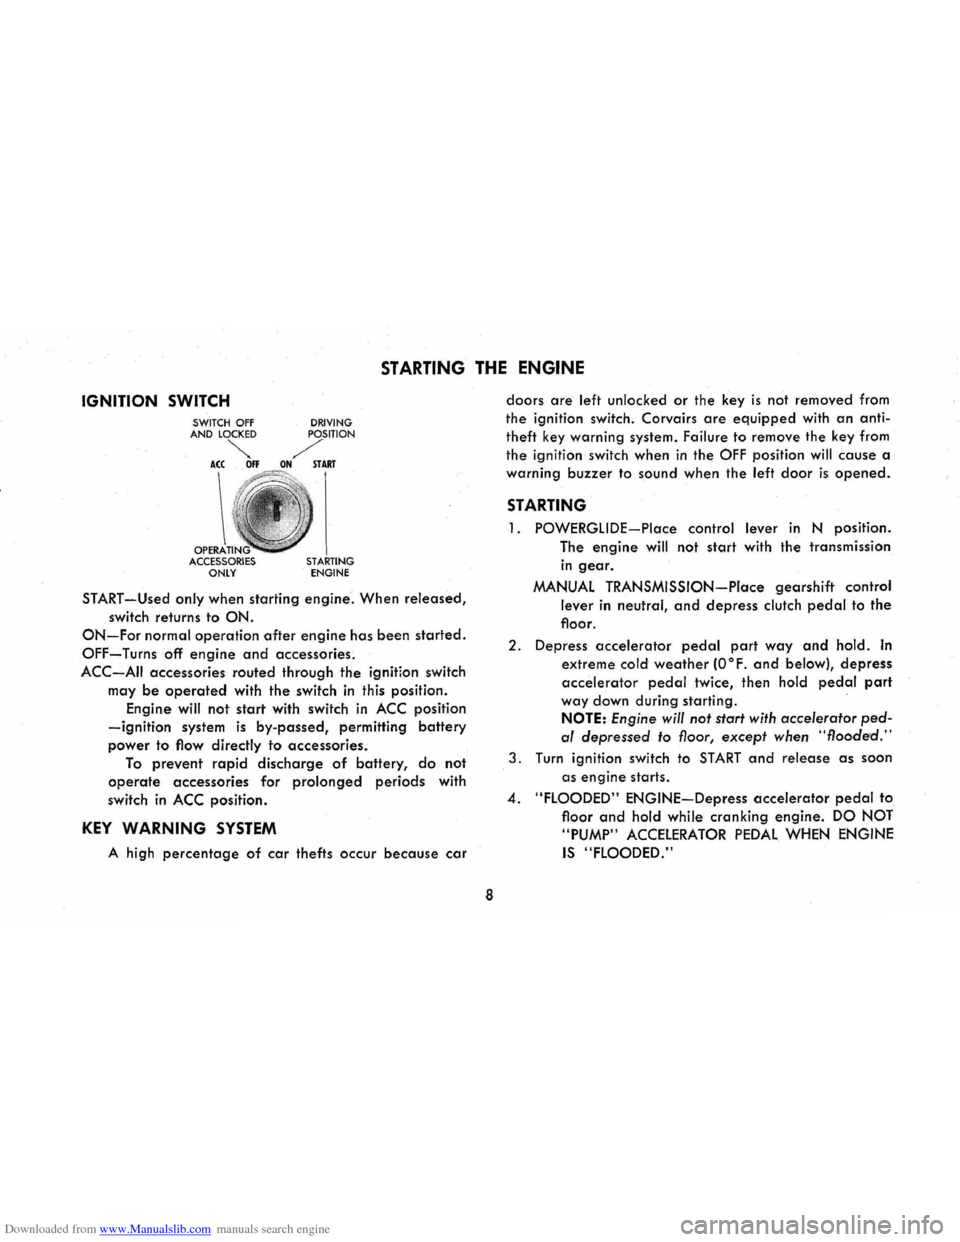
IGNITION SWITCH
OPERA ACCESSORIES ONLY DRIVING STARTING ENGINE
START-Used only when
starting engine. When released,
switch returns to ON.
ON-For normal operation after engine has been started.
OFF-Turns off engine and accessories.
ACC-AII accessories routed through the ignition switch
may
be operated with the switch in this position.
Engine will not
start with switch in ACC position
-ignition system is by-passed, permitting battery
power to flow directly to accessories.
To prevent rapid discharge of battery, do not
operate accessories for prolonged periods with
switch
in ACC position.
KEY WARNING SYSTEM
A high percentage of car thefts occur because car
8
doors are left unlocked or the key is not removed from
the ignition switch. Corvairs
are equipped with an anti
theft key warning system. Failure
to remove the key from
the ignition switch when
in the OFF position will cause a
warning
buzzer to sound when the left door is opened.
STARTING
1. POWERGLIDE-Place control lever in N position.
The
engine will not start with the transmission
in gear.
MANUAL TRANSMISSION-Place gearshift control
lever in neutral, and depress clutch pedal to the
floor.
2. Depress accelerator pedal part way and hold. In
extreme cold weather (O°F. and below), depress
accelerator pedal twice, then hold pedal part
way down during starting .
NOTE: Engine will not start with accelerator ped
al depressed to floor, except when "flooded."
3. Turn ignition switch to START and release as soon
as
engine starts .
4. "FLOODED" ENGINE-Depress accelerator pedal to
floor
and hold while cranking engine. DO NOT
"PUMP"
ACCELERATOR PEDAL WHEN ENGINE
IS "FLOODED."
Page 25 of 56
Downloaded from www.Manualslib.com manuals search engine AIR VENTS
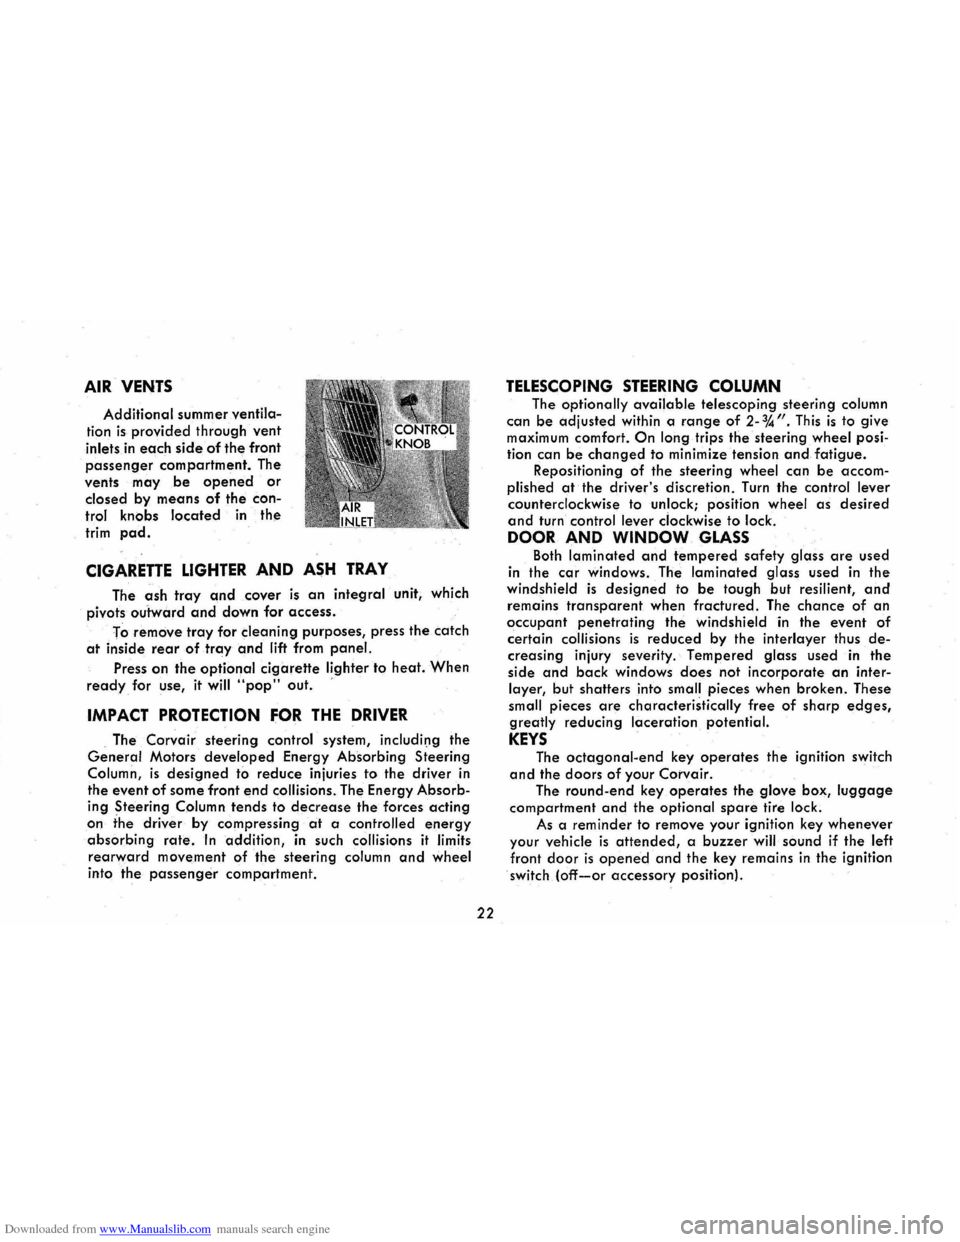
Additional summer ventila
tion is provided through vent
inlets in each side of the front
passenger compartment. The
vents
may be opened or
closed by means of the con
trol knobs located in the
trim pad.
CIGARETTE LIGHTER AND ASH TRAY
The ash tray and cover is an integral unit, which
pivots
outward and down for access.
To
remove tray for cleaning purposes, press the catch
at inside rear of tray and lift from panel.
Press on the optional cigarette lighter to heat. When
ready for use, it will "pop" out. '
IMPACT PROTECTION FOR THE DRIVER
. The Corvair steering control system, includil)g the
General Motors developed Energy Absorbing Steering
Column,
is designed to reduce injuries to the driver in
the event
of some front end collisions. The Energy Absorb
ing Steering Column tends to decrease the forces acting
on the driver by compressing at a controlled energy
absorbing rate. In addition, in such collisions it limits
rearward movement of the steering column and wheel
into the passenger compartment.
22
TELESCOPING STEERING COLUMN
The optionally available telescoping steering column
can be adjusted
within a range of 2-%". This is to give maximum comfort. On long trips the steering wheel posi
tion can
be changed to minimize tension and fatigue. Repositioning of the steering wheel can be accom
plished
at the driver's discretion. Turn the control lever
counterclockwise to unlock; position wheel as desired
and turn control lever clockwise to lock.
DOOR AND WINDOW GLASS
Both laminated and tempered safety glass are used
in the
car windows. The laminated glass used in the windshield is designed to be tough but resilient, and
remains transparent when fractured. The chance of an
occupant penetrating the windshield in the event of
certain collisions is reduced by the interlayer thus de
creasing injury severity. Tempered glass used in the
side
and back windows does not incorporate an inter
layer, but shatters into small pieces when broken. These
small pieces
are characteristically free of sharp edges,
greatly reducing laceration potential.
KEYS
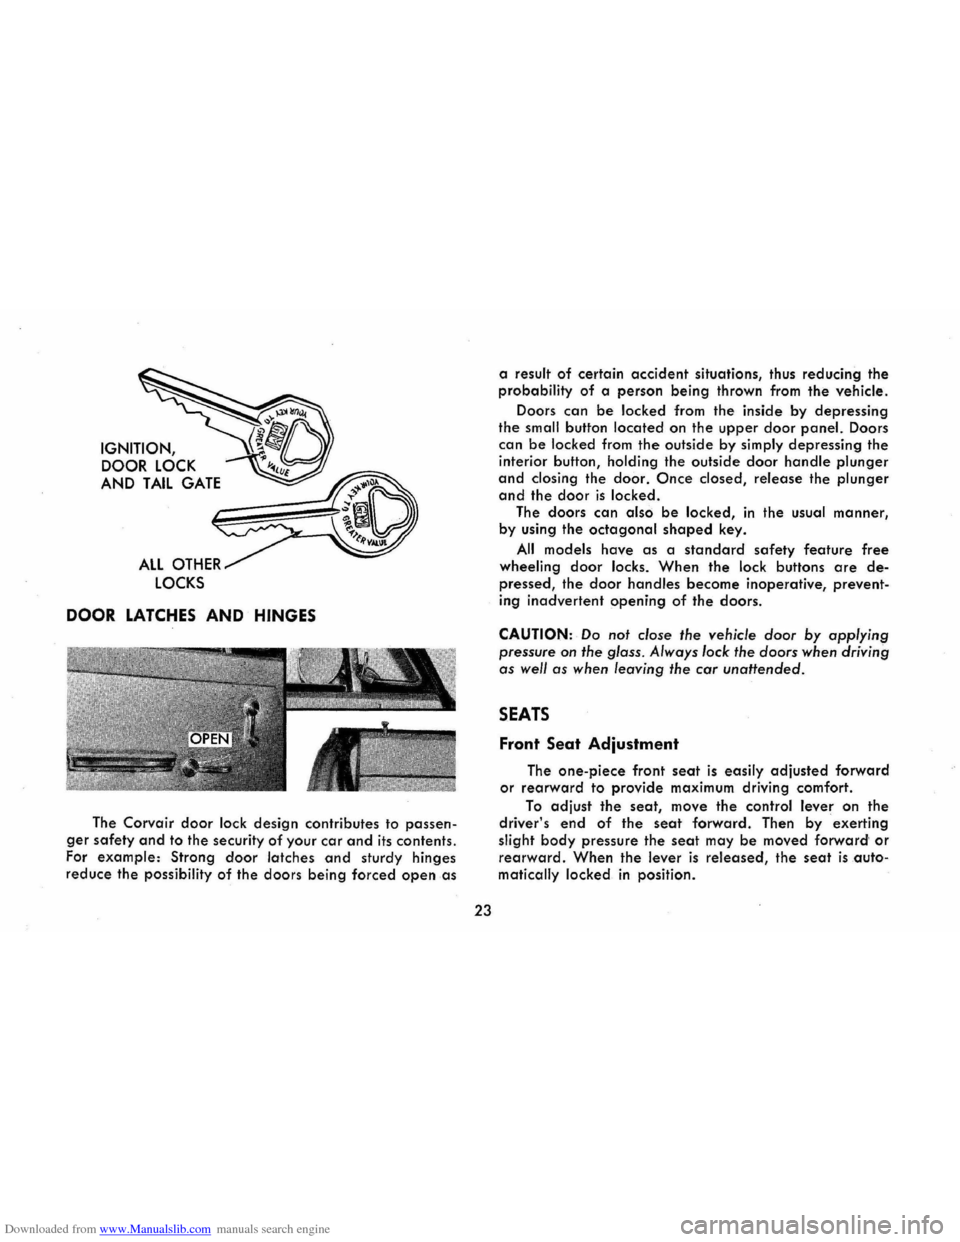
The octagonal-end key operates the ignition switch
and the doors of your Corvair.
The round-end key operates the glove box, luggage
compartment and the optional spare tire lock.
As a
reminder to remove your ignition key whenever
your vehicle is attended, a buzzer will sound if the left
front door is opened and the key remains in the ignition
switch (off-or accessory position).
Page 26 of 56
Downloaded from www.Manualslib.com manuals search engine IGNITION, DOOR
LOCK
AND TAIL GATE
ALL OTHER
LOCKS
DOOR LATCHES AND HINGES
The Corvair door lock design contributes to passen
ger safety and to the security of your car and its contents.
For
example: Strong door latches and sturdy hinges
reduce the possibility of the doors being forced open as
23
a result of certain accident situations, thus reducing the
probability
of a person being thrown from the vehicle.
Doors
can be locked from the inside by depressing
the small button located on the upper door panel. Doors
can be locked from the outside by simply depressing the
interior button, holding the outside door handle plunger
and closing the door. Once closed, release the plunger
and the door is locked.
The doors
can also be locked, in the usual manner,
by using
the octagonal shaped key.
All models have as a standard safety feature free
wheeling door locks. When the lock buttons are de
pressed, the door handles become inoperative, prevent
ing
inadvertent opening of the doors.
CAUTION: Do not close the vehicle door by applying
pressure
on the glass. Always lock the doors when driving
as well as when leaving the car unattended.
SEATS
Front Seat Adjustment
The one-piece front seat is easily adjusted forward
or rearward to provide maximum driving comfort.
To adjust the seat, move the control lever on the
driver's end of the seat forward. Then by exerting
slight
body pressure the seat may be moved forward' or
rearward. When the lever is released, the seat is auto
matically locked
in position.
Page 27 of 56
Downloaded from www.Manualslib.com manuals search engine The bucket seats are adjusted in exactly the same
manner. The seat control lever
for each seat is located
beneath the outer edge of the seat (toward the door).
Underneath the seat trim are strong steel seat struc
tures,
anchored firmly to the body. The seats and
anchorages are strong enough to prevent deformation
during low-speed impacts, but are designed in such a way that they absorb some energy by yielding to a de
gree during certain more severe higher-speed impacts.
Seat Back Lock
Folding seat backs are equipped with seH-latching
mechanisms
and release controls designed for the con
venience of entering and exiting passengers.
The release
knob is located at the lower rear of
each backrest nearest the door. lift the knob upward,
then push the seatback forward. The lock will latch
when the
seatback returns to its upright position.
OCCUPANT RESTRAINT BELTS
Suitable occupant restraints are available on all 1968
Corvairs. Worn properly, lap and shoulder belts reduce
the chances
of death or serious injury in the event of cert.ain types of accidents. Get into the habit of using
these restraints,
and using them properly, every single
time you
enter your car. Insist that your passengers use
them,
too. * By using them correctly, you give the belts
a chance
to help prevent injuries and perhaps even
save a
life.
·Shoulder belts should not be worn by persons less thon approximately 55 inches in height.
24
Lap Belts
Lap belts provide added security and comfort for
you and your passengers . Lap belts are standard equip
ment for all seating positions on all models. Proper use
and care of these belts will assure continuance of this
security.
After the front seat has been adjusted to the satis
faction of the driver, grasp the buckle end and the flat
metal "eye" end of your individual belt assembly and
position the belt across the pelvic area as LOW ON THE
PELVIS AS POSSIBLE. Insert the metal eye into the open
end of the buckle until an audible snap is heard. Make
sure the connection is secure and adjust the belt to a
SNUG FIT by pulling on the end of the belt protruding
from the buckle . The snug and low positions are essential
in
order that the force exerted by the lap belt in a colli
sion may be spread over the strong pelvic bone and not
across the soft abdominal area. For retractor equipped
belts, pull retractor half of the belts to a solid stop to
make sure that the belt webbing is completely unwound
from the retractor drum, then connect the belt and make
the necessary adjustments
at the buckle for proper fit. To
release the belts, simply depress the release
tab or button
located on the center of the buckle.
CAUTION: Never use the same belt for more than one
person at a time. Be sure to avoid: (aJ wearing a lap belt
loosely or with slack
in the system; and (bJ wearing the
belt with the
webbing wound around the retractor drum.
Page 32 of 56
Downloaded from www.Manualslib.com manuals search engine inches to assure that the lid lock mechanism is en
gaged.
For proper engine cooling keep the vents located
below the
rear window free of ice, snow and leaves.
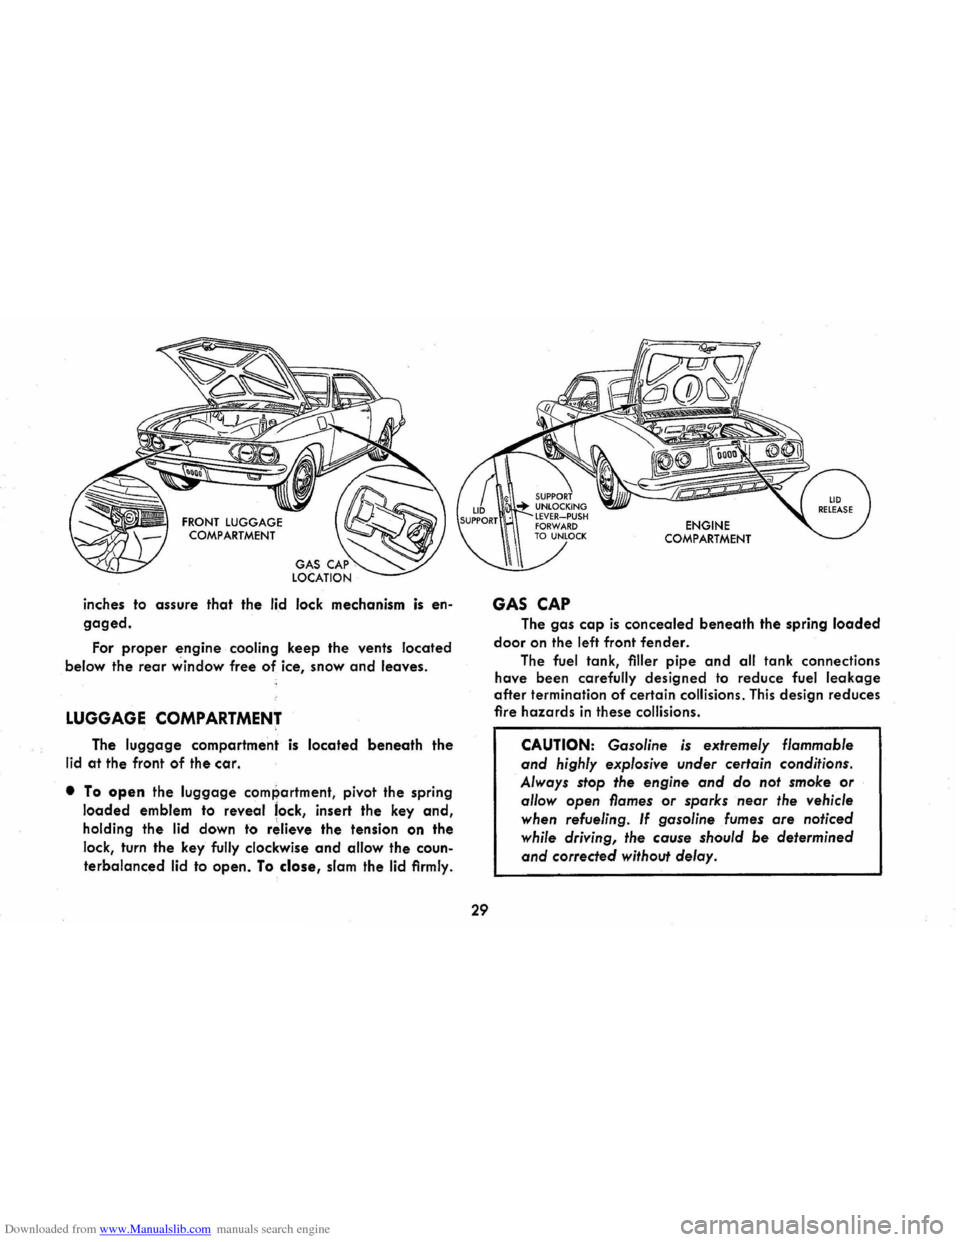
LUGGAGE COMPARTMENT
The luggage compartment is located beneath the
lid at the front of the car.
• To open the luggage compartment, pivot the spring
loaded emblem to reveal lock, insert the key and,
holding the lid down to r~lieve the tension on the
lock, turn the key fully clockwise
and allow the coun
terbalanced lid to open. To close, slam the lid firmly.
29
GAS CAP
ENGINE COMPARTMENT
The gas cap is concealed beneath the spring loaded
door on the left front fender.
The fuel tank, filler pipe and all tank connections
have been carefully designed to reduce fuel
leakage
after termination of certain collisions. This design reduces
fire hazards in these collisions.
CAUTION: Gasoline is extremely flammable
and highly explosive under certain conditions.
Always stop the engine
and do not smoke or
allow open flames or sparks near the vehicle
when refueling.
If gasoline fumes are noticed
while driving,
the cause should be determined
and corrected without delay.
Page 55 of 56
Downloaded from www.Manualslib.com manuals search engine INDEX Page Air Cleaner. . . . . . . . . .. , .. . . . . . . .. . . . . . . . . . . .......... 42 Air Conditioning.. ............ ... .... .• . . .20,43 & 44 Air Injection Reactor......... ........... . ... ... 38 Air Recirculating Cover Plate. . . . . . . . . . . .• . . . . .. . . . .. . . 20 Air Vents. . . . . . . . . . . . . . . . . . . . . . . 22 Ash Tray. ........ .. ... 22 Battery........... ............ ....•...•................. 42 Brake Adjusters...................... .. .. ... ............. 17 Brake System Warning Light. . ................. 14 Brake Lmings. . ....... ....... ........ ............... 43 Brake Main Cylinder.. ........... . ...... 43 Brake-Parking. . ............ .......... . .. 18 & 43 Bright Metal Parts..... .. ..................... '. 30 Chassis Lubrication. . . . . . . . . . . . . . 41 Cigarette Lighter. . . .. .... ... .. . . . .. .. " 22 Circut Brea ker. . . . . . ................. .. .............. 15 & 45 Cleaning Hints Exterior Appearance........ .... .... . ............ . 30 Interior Appearance.. ............... . ............. ........ 31 Clutch Adjustment......... 17 Clutch Cross Shaft. . . .. . . . . . . . ... .. . . 41 Clutch Pedal.. .. . .. .. .. .. . . .. .. . .. .. . 17 Clutch Pulleys & Cables..................... . 43 Cooling System. . . . . . . . . . . . . . . . . . ........ ....... 34 & 43 Crankcase.ventilation (Positive). 37 Dimmer Switch... .......... ..... 16 Distributor. . . . . . . 42 Doors and Locks. .. ..... .................. .• ................. 23 Driving for Economy..... ...... ...... 7 Emergency Start. . . . . . . . . . . . . . . . . . 12 Engine Compartment.... . . . . . . . . . . . . . . . . . . . .. .. . . 28 Engine Fuel. . . . . . . . . . . . . . . . . . . . . . . . . . . . . . . . . . . . . . . . . .. 32 Engine Lubrication. . . . . . . . . .. . . . .• . . . . . . . • . . . . . . .33& 38 Fan Belt........ .... ..................... ..... 38 Foreign Country Operation. .................. 32 Front Suspension. . . . . . . . . . . . . . ... . . . . . . . . . . . . . . . . . . . . . 41 Front Wheel Bearings.. . ............. .......... . 43 Fuel Filter. . . . . . . . . . . . . . . •. . . . . . . . . .. . . . . 41 Fuel Guage.. ............ 13 Fuses.. .. .. ... ...................... ..... 45 ~s~p.......... ~ Gen·Fan .Indicator........ 13 Hazard Warning Flasher. . 17 Headrest...... . . ....... ... .. ........ 26 Heater............................... ..... .. .......... 19 Ignition Switch. . . . . . . . . . . . . . . . . .. . . . . . . . . . . . . 8 Jacking the Car. . . . .. . . . . . . . . . . .. . . . . . . . . . . . . . . . . . . . . . . . . . . . . . .. 36
52
Keys............... . ......... .............. . Light Control Knob ...................... . . Luggage Compartment ................... . Maintenance and Lubrication (Periodic) .. Octane Requirements. . . . . ......... . Oil Filter .... ............ . Pa rking Bra ke Operation . ..................... . Service .......... ...... . Polishing Your Corvair... . . ... . . . . . .. . .........•. .... ........ Positraction Axle. . . ... ............... .. ...... .. .. .... . Radios. . . . .... . ........... . Rear Axle.... . . ...................................... . . Rocking Car .............. . Occupant Restraint Belts .. . . Seats Front Seat Back Lock ....... .•...... Front Seat Adjustment. Rear Seat-Folding ... Service Bra kes. . . . . . . . . .. . ......................... ... . Serial and Unit Numbers .......... .. . Spare Tire..... . .• ......... .................•.•. Specifications. . . . ................... ... .. .• ........ Speedometer ... .. ............... . Starting the Engine .... . Steering Lin kage ...... . Steering Gear ............... . Telescoping Steering Column. Temp·Press Indicator. Tires. Towing ..... Trailer Hauling. Transmission Manual Operation. ................ . ....... .. .... . Service ................... .. .. ...... .. . Powerglide Operation. Service ...... . Operating Tips ....... . Trouble Shooting Guide.......... . .............. ... . Directional and Lane Change Signal. . ....• ...•.... Warm·up... ............ . ....... .. ........... ... . Washing Your Corvair. . . ........ . White Sidewall Tires.. . . . . . . . . . . . . . . ......... .. . Windshield Wipers and Washers. . . .. .. .. .. .
Page 22 16 29 38 32 39
18 43 30 12 21 41 12 24
23 24 27 17 44 36 44 13 8 41 38 22 13 34 12 50
9 39
10 40 11 46 16 9 30 31 18