CHEVROLET CORVETTE 1996 4.G Owners Manual
Manufacturer: CHEVROLET, Model Year: 1996, Model line: CORVETTE, Model: CHEVROLET CORVETTE 1996 4.GPages: 386, PDF Size: 20.12 MB
Page 91 of 386
Downloaded from www.Manualslib.com manuals search engine Center Console
L
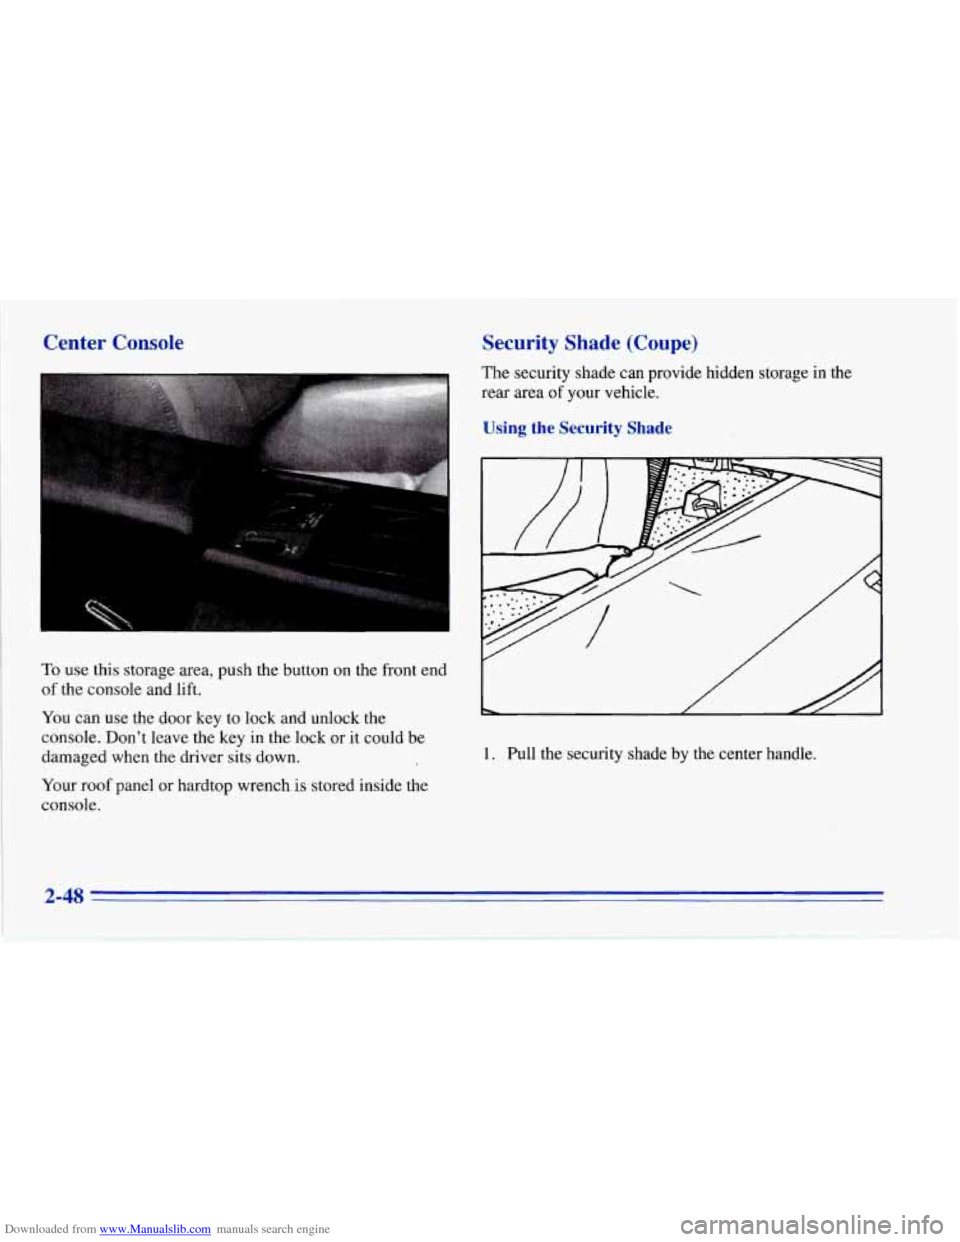
To use this storage area, push the button on the front end
of the console and lift.
You can use the door key to lock and unlock the
console. Don’t leave the key in the lock or it could be
damaged when the driver sits down.
Security Shade (Coupe)
The security shade can provide hidden storage in the
rear area of your vehicle.
Using the Security Shade
1. Pull the security shade by the center handle.
Your roof panel or hardtop wrench is stored inside the
console.
2-48
Page 92 of 386
Downloaded from www.Manualslib.com manuals search engine Rear Storage
V
2. Put the ends of the shade into the slots behind
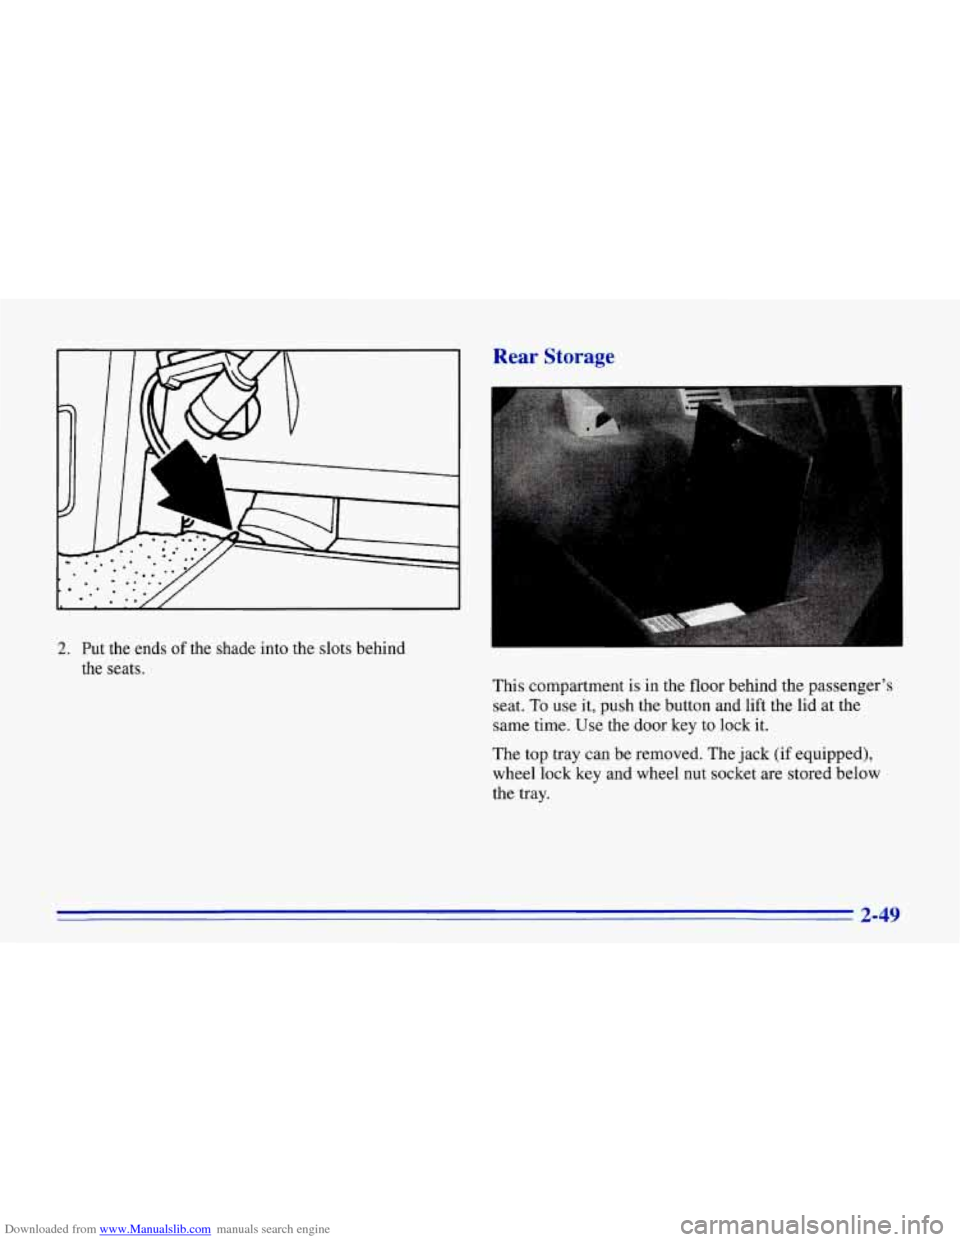
the seats. This compartment is in the floor behind the passenger’s
seat.
To use it, push the button and lift the lid at the
same time. Use the door key to lock it.
The top tray can be removed. The jack (if equipped),
wheel lock key and wheel nut socket are stored below
the tray.
2-49
Page 93 of 386
Downloaded from www.Manualslib.com manuals search engine NOTICE:
Your Corvette’s radio receiver is in the rear
storage compartment.
To help avoid damage to
the receiver:
Securely store the jack (if equipped) in the
Store any other objects under the storage
Do not store items such as liquids or sharp
foam container
after use.
tray carefully.
objects that could puncture or cut the radio
receiver or wiring.
Also, to reduce the potential for radio receiver
interference, do not install any other electronic
module under the storage tray.
Ashtray and Cigarette Lighter
To use the ashtray, push on the right side of the door
next to the shift lever.
To remove it, lift up on the
snuffer.
NOTICE:
Don’t put papers and other things that burn into
your ashtray. If you do, cigarettes
or other
smoking materials could set them on fire, causing
damage.
You can remove the ashtray and use the space as a
second cupholder. When you put the ashtray back, first
put the ashtray into the rubber isolator, then be sure to
put the ashtray and isolator into the forward opening.
NOTICE:
Loose objects (such as paper clips) can lodge
behind and beneath the ashtray lid and prevent
movement of the lid. Avoid putting small loose
objects near the ashtray.
To use the lighter, push it in all the way and let go.
When it’s ready,
it will pop back by itself.
2-50
Page 94 of 386
Downloaded from www.Manualslib.com manuals search engine NOTICE:
Don’t hold a cigarette lighter in with your hand
while it is heating. If
you do, it won’t be able to
back away from the heating element when it’s
ready. That can make it overheat, damaging the
lighter and the heating element.
Sun Visors
To block out glare, you can swing down the visors. You
can also swing them to the side.
With the hardtop roof removed or the convertible top
down, you can flip the visors straight up to help reduce
wind turbulence.
Visor Vanity Mirror
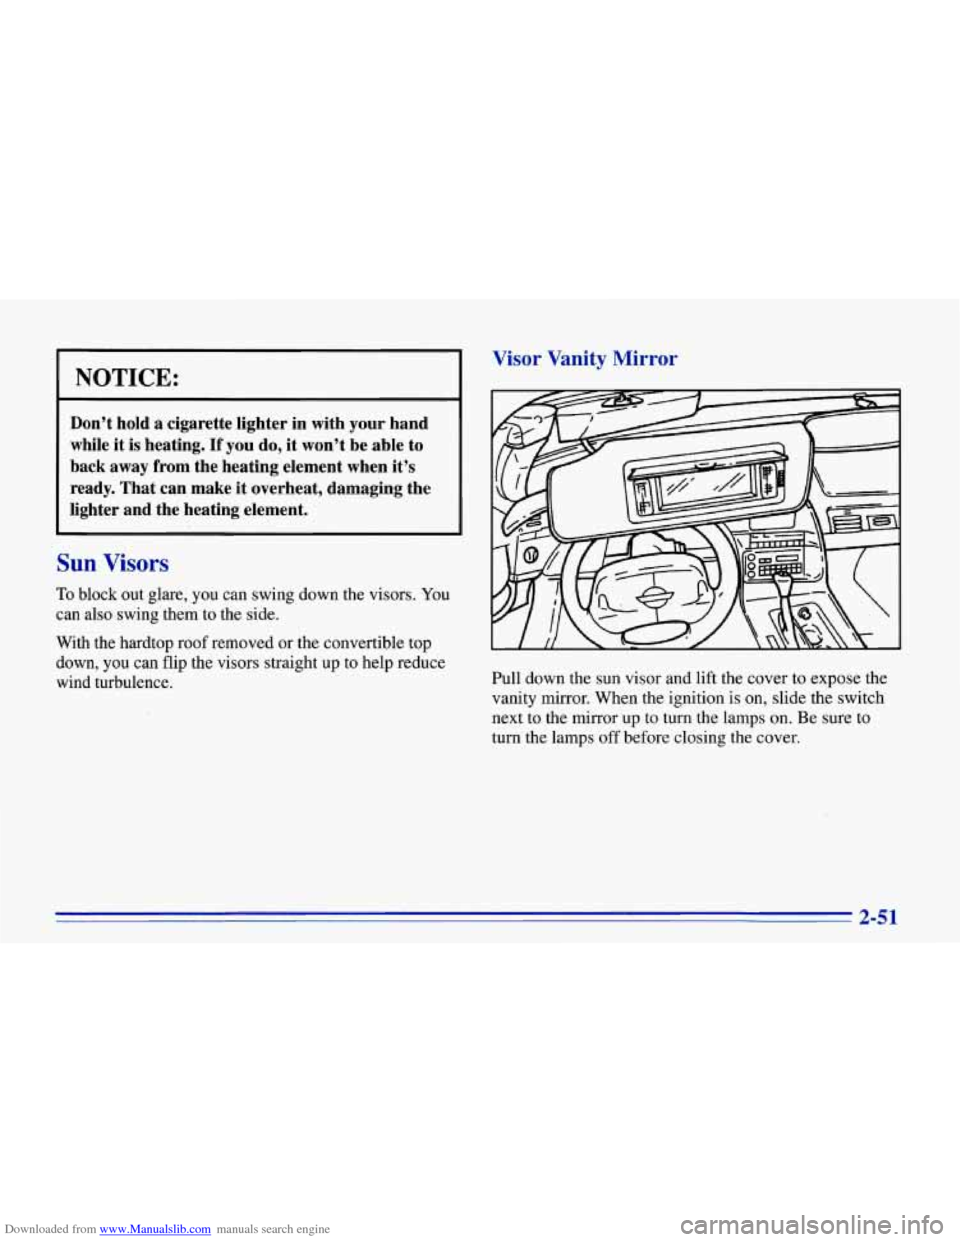
Pull down the sun visor and lift the cover to expose the
vanity mirror. When the ignition is on, slide the switch
next to the mirror up to turn the lamps on. Be sure to
turn the lamps off before closing the cover.
2-51
Page 95 of 386
Downloaded from www.Manualslib.com manuals search engine Accessory Plug
This plug is under the trim panel in the front part of the
center console. The plug can be used to connect
electrical equipment such as a cellular phone or
CB
radio. Be sure to follow the installation instructions
included with the equipment.
To use the accessory plug:
1. Open the center console and carefully pull the carpet
away from the coinholder to uncover the screws on
either side.
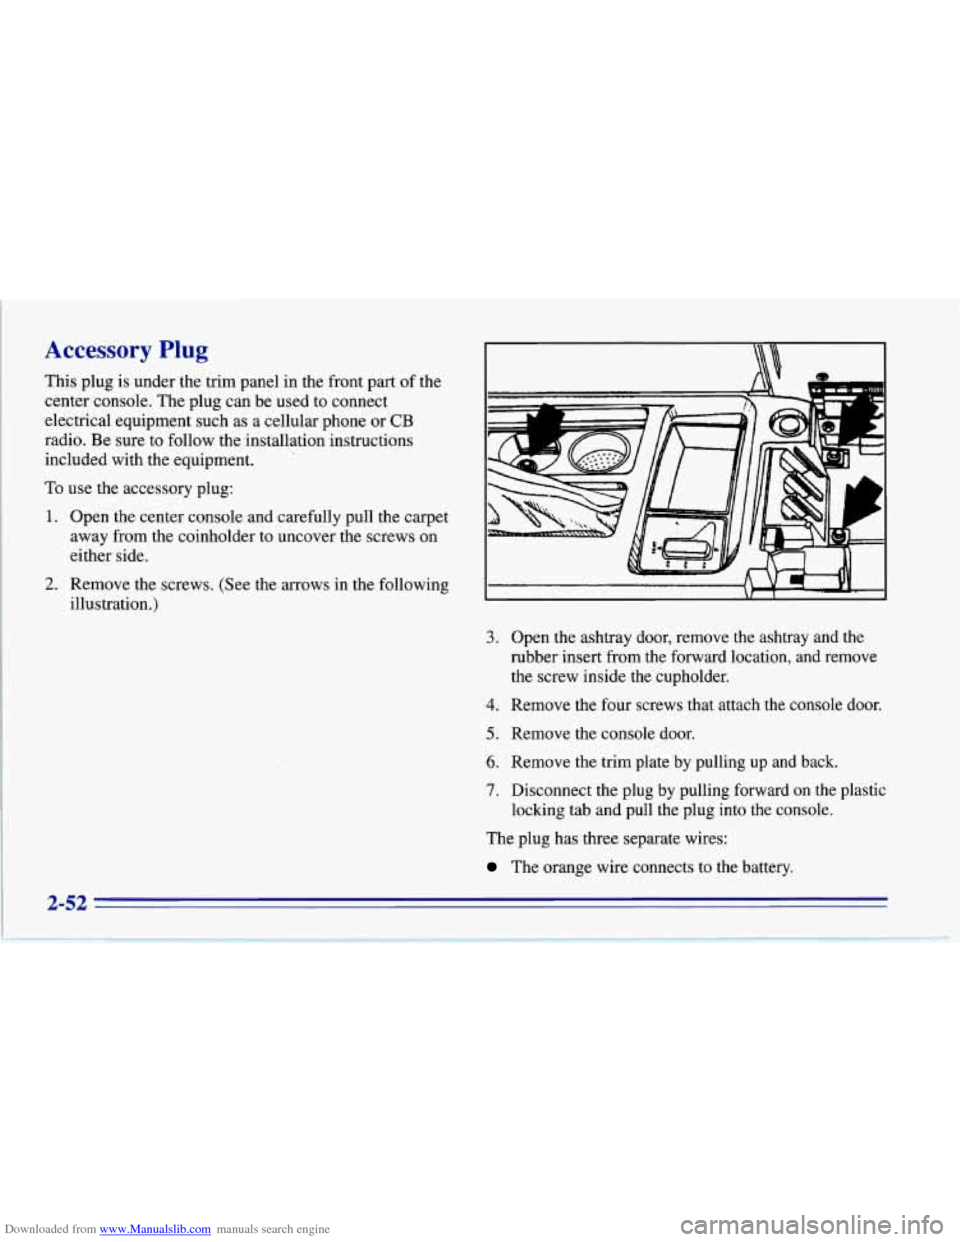
2. Remove the screws. (See the arrows in the following
illustration.)
3. Open the ashtray door, remove the ashtray and the
rubber insert from the forward location, and remove
the screw inside the cupholder.
4. Remove the four screws that attach the console door.
5. Remove the console door.
6. ' Remove the trim plate by pulling up and back.
7. Disconnect the plug by pulling forward on the plastic
The plug has three separate wires:
locking
tab and pull the plug into the console.
The orange wire connects to the battery.
Page 96 of 386
Downloaded from www.Manualslib.com manuals search engine The pink wire connects to the ignition. Power is only
available in the RUN position.
The black wire connects to the ground.
NOTICE:
When using the accessory plug:
Don’t splice wires directly into the accessory
plug
wire. If done incorrectly, splicing might
cause damage to your electrical system.
The maximum load of any electrical
equipment should not exceed
10 amps.
0 Be sure to turn off any electrical equipment
when not in use. Leaving electrical
equipment on for extended periods can
drain your battery.
0 Do not use this plug if the electrical
equipment requires frequent connecting
and disconnecting. This may cause
excessive wear on the accessory plug and
damage your electrical system.
After you’ve installed the electrical equipment, put the trim
panel and console lid back in place and install the screws.
Roof Panel (Coupe)
Until you are sure you can remove the panel alone, have
someone help you.
Removing the Roof Panel
A CAUTION:
Don’t try to remove the roof panel while the
vehicle is moving. Trying to remove the roof
panel while the vehicle
is moving could cause an
accident. The panel could fall into the vehicle and
cause you to lose control, or it could
fly off and
strike another vehicle. You or others could be
injured. Remove the roof panel only when the
vehicle is parked.
1. Park on a level surface, set the parking brake firmly
and shift an automatic transmission into PARK (P).
Shift a manual transmission into REVERSE
(R).
Lower both windows, turn the ignition key to LOCK
and move both sunshades to the side.
2-53
Page 97 of 386
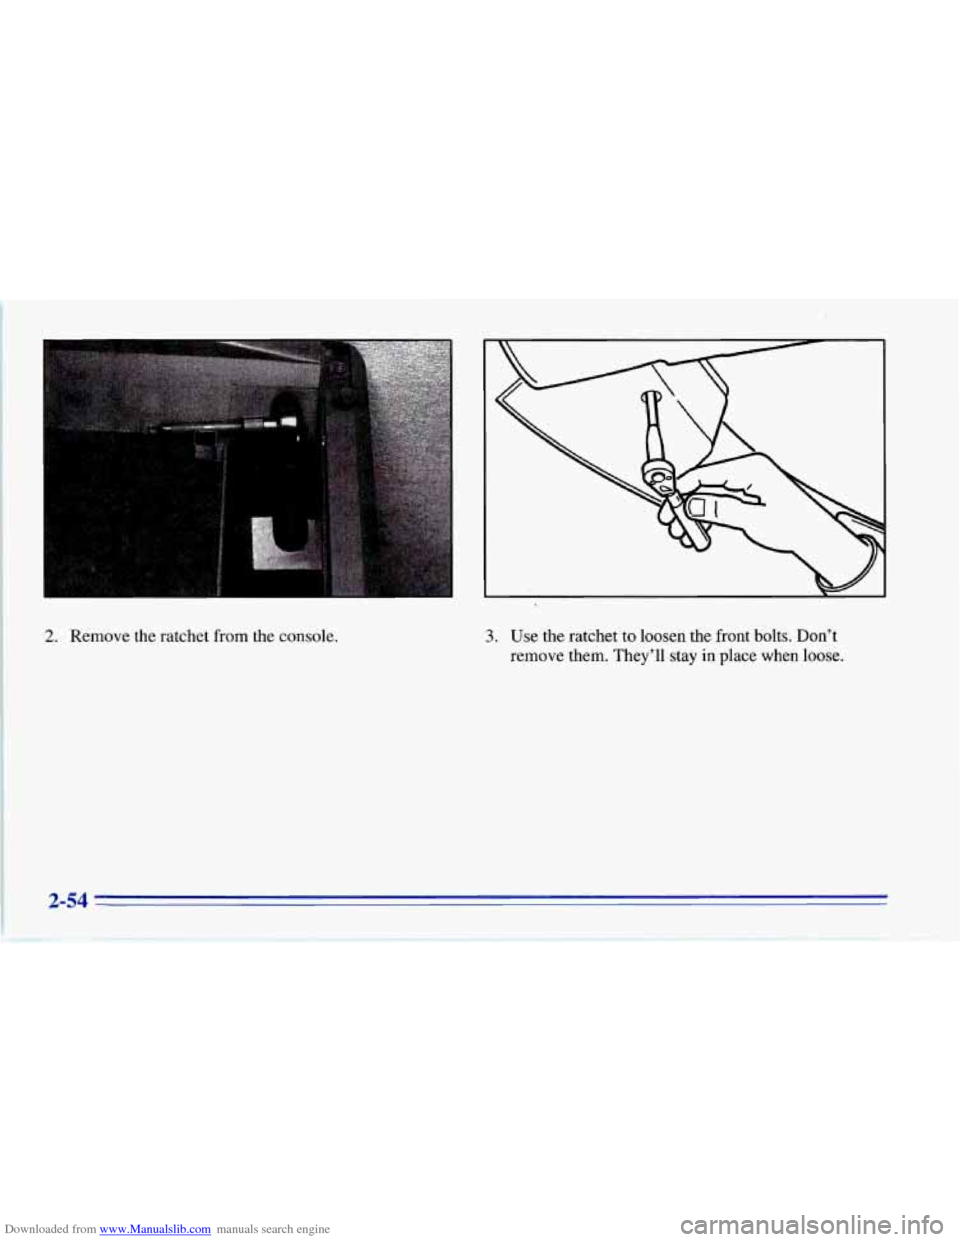
Downloaded from www.Manualslib.com manuals search engine 2. Remove the ratchet from the console. 3. Use the ratchet to loosen the front bolts. Don’t
remove them. They’ll stay in place when loose.
Page 98 of 386
Downloaded from www.Manualslib.com manuals search engine St--in- the Roof Panel
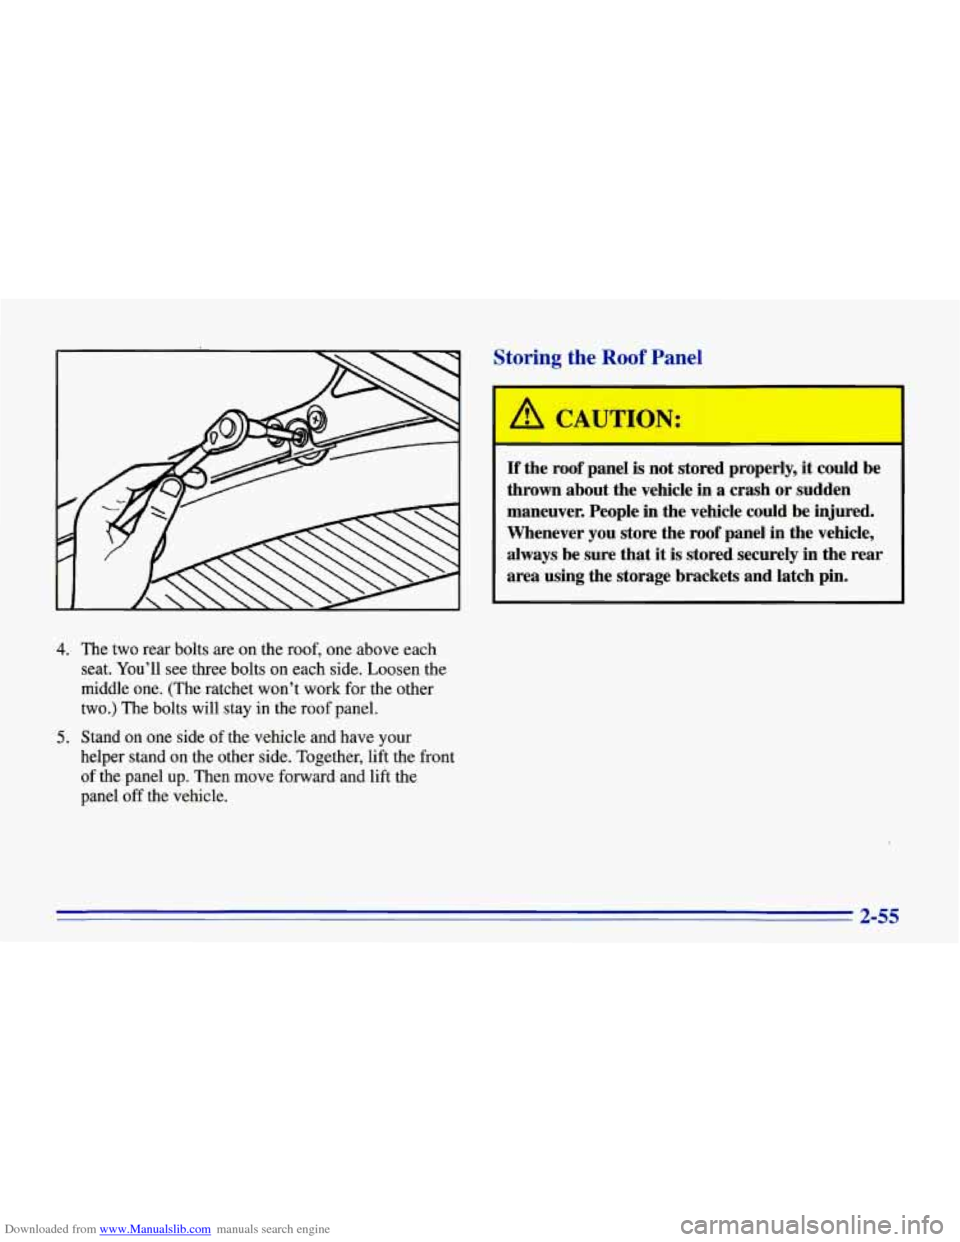
4. The two rear bolts are on the roof, one above each
seat. You’ll see three bolts on each side. Loosen the
middle one. (The ratchet won’t work for the other
two.) The bolts will stay in the roof panel.
5. Stand on one side of the vehicle and have your
helper stand on the other side. Together, lift the front
of the panel up. Then move forward and lift the
panel
off the vehicle.
If the roof panel is not stored properly, it could be
thrown about the vehicle in a crash or sudden
maneuver. People in the vehicle could be injured.
Whenever you store the roof panel in the vehicle,
always be sure that it is stored securely in the rear
area using the storage brackets and latch pin.
2-55
Page 99 of 386
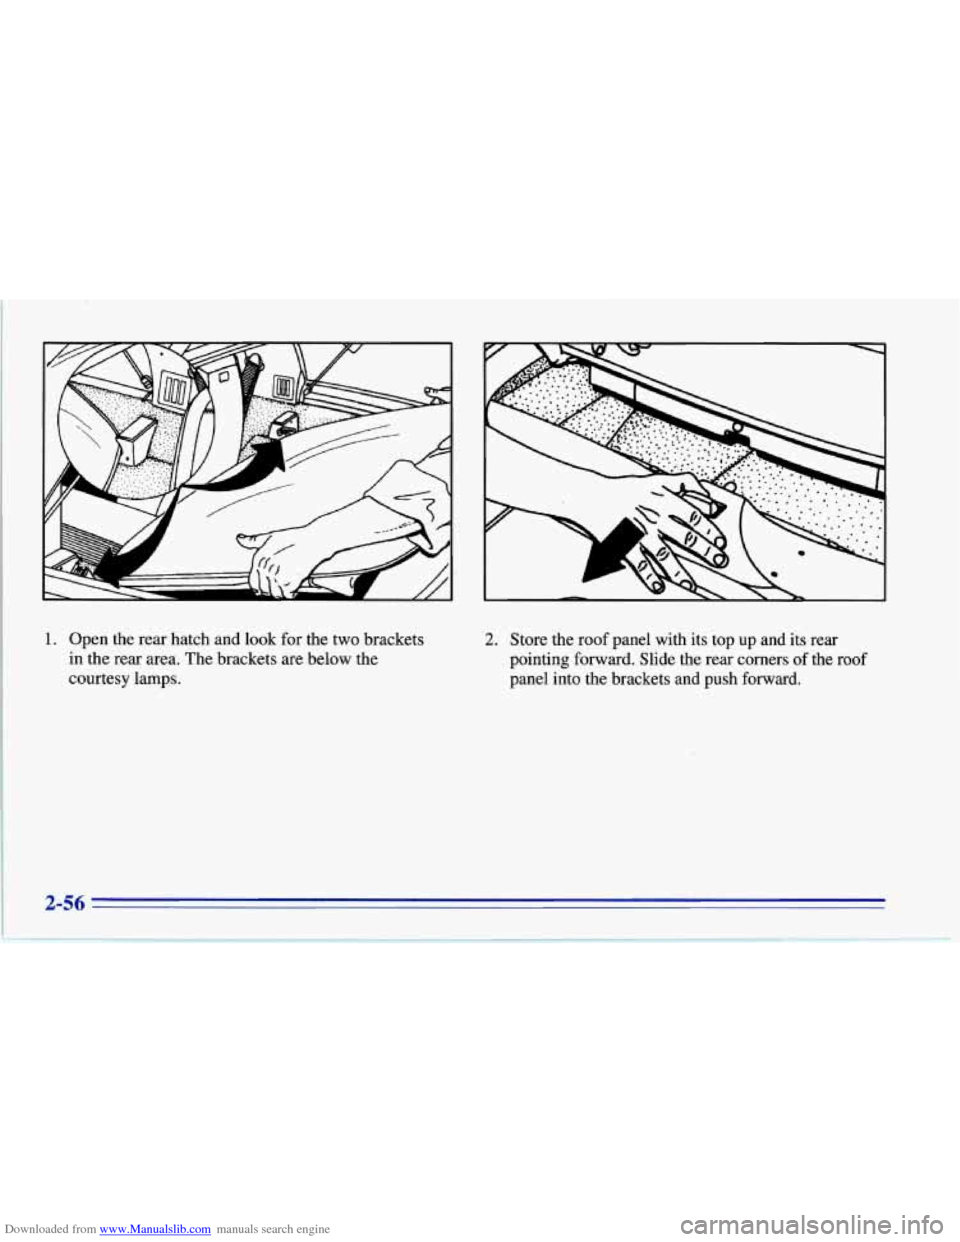
Downloaded from www.Manualslib.com manuals search engine 1. Open the rear hatch and look for the two brackets
in the rear area. The brackets are below the
courtesy lamps. 2. Store the roof panel with its top up and its rear
pointing forward. Slide the rear corners
of the roof
panel into the brackets and push forward.
Page 100 of 386
Downloaded from www.Manualslib.com manuals search engine NOTICE:
Don’t lift the front edge of the roof panel higher
than
8 inches (200 mm) when the corners are in
the brackets.
If you do, you could damage the
roof panel.
3.
4.
5.
6.
Lower the front of the roof panel, centering it over
the latch pin.
Pull the release toward you and press down on the
roof panel.
Push the release forward until it latches.
Gently lift up on the roof panel to be sure it is locked
in place.
Installing the Roof Panel
” * IJTION :
An improperly attached roof panel may fall into
or
fly off the vehicle. You or others could be
injured. After installing the roof panel, always
check that
it is firmly attached by pushing up on
the underside of the panel near the bolts. Check
now and then to be sure the roof panel is firmly
in place.
I
1. Park on a level surface, set the parking brake firmly
and shift an automatic transmission into PARK (P).
Shift a manual transmission into
REVERSE (R).
Lower both windows, turn the ignition key to
LOCK
and move both sunshades to the side.
2. If the roof panel is stored in the rear area, remove it
by reversing the steps described previously under
“Storing the Roof Panel.”
2-57