brake light CHEVROLET CORVETTE 2004 5.G Owners Manual
[x] Cancel search | Manufacturer: CHEVROLET, Model Year: 2004, Model line: CORVETTE, Model: CHEVROLET CORVETTE 2004 5.GPages: 384, PDF Size: 2.46 MB
Page 87 of 384
Notice:If you skip more than one gear when you
downshift, or if you race the engine when you
release the clutch pedal while downshifting, you
could damage the engine, clutch, driveshaft or the
transmission. Do not skip gears or race the
engine when downshifting.
The six-speed transmission has a spring that centers
the shift lever near THIRD (3) and FOURTH (4).
This spring helps you know which gear you are in when
you are shifting. Be careful when shifting from
FIRST (1) to SECOND (2) or downshifting from
SIXTH (6) to FIFTH (5). The spring will try to pull the
shift lever toward FOURTH (4) and THIRD (3).
Make sure you move the lever into SECOND (2) or
FIFTH (5). If you let the shift lever move in the direction
of the pulling, you may end up shifting from FIRST (1)
to FOURTH (4) or from SIXTH (6) to THIRD (3).Parking Brake
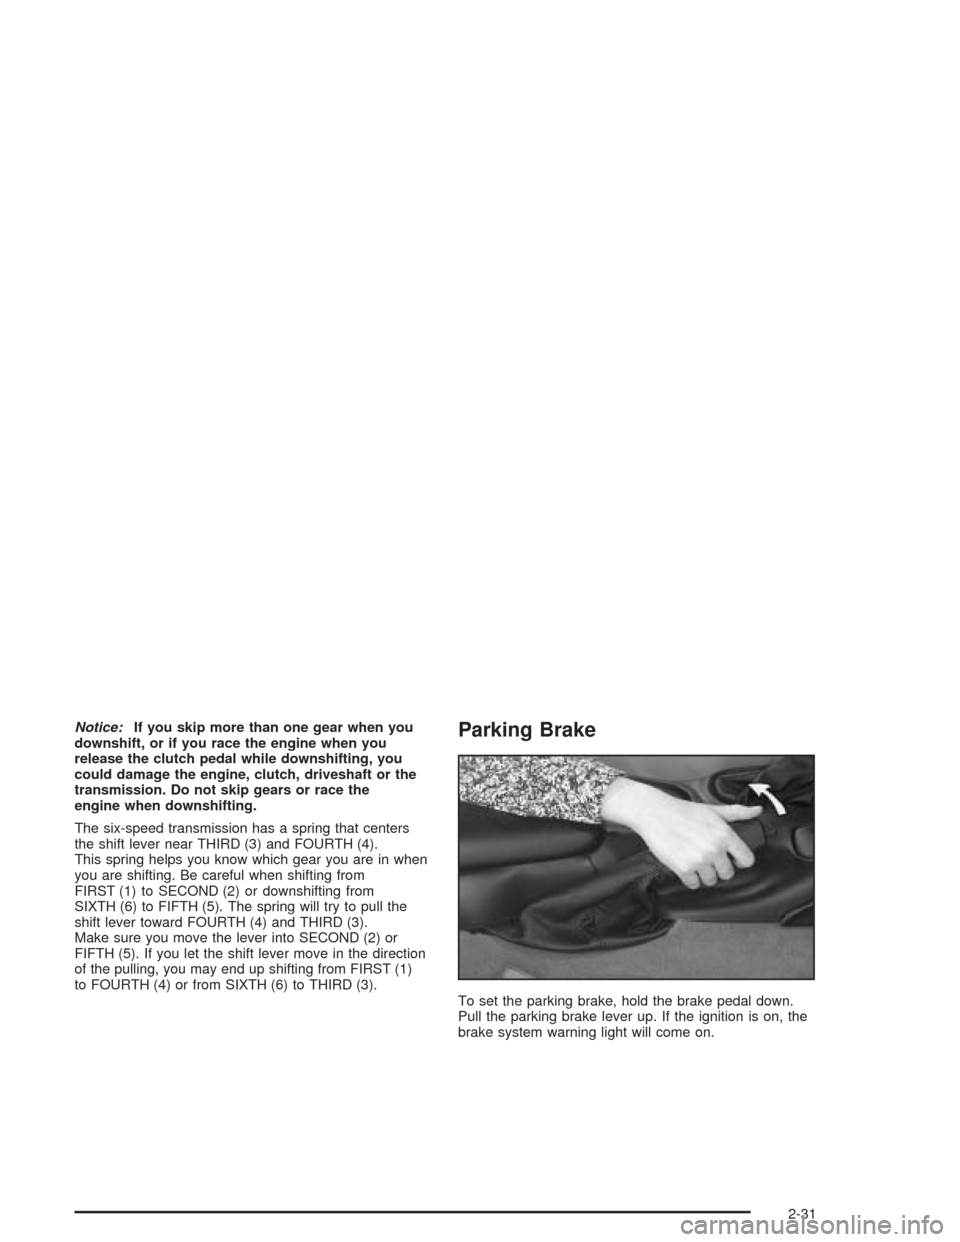
To set the parking brake, hold the brake pedal down.
Pull the parking brake lever up. If the ignition is on, the
brake system warning light will come on.
2-31
Page 88 of 384
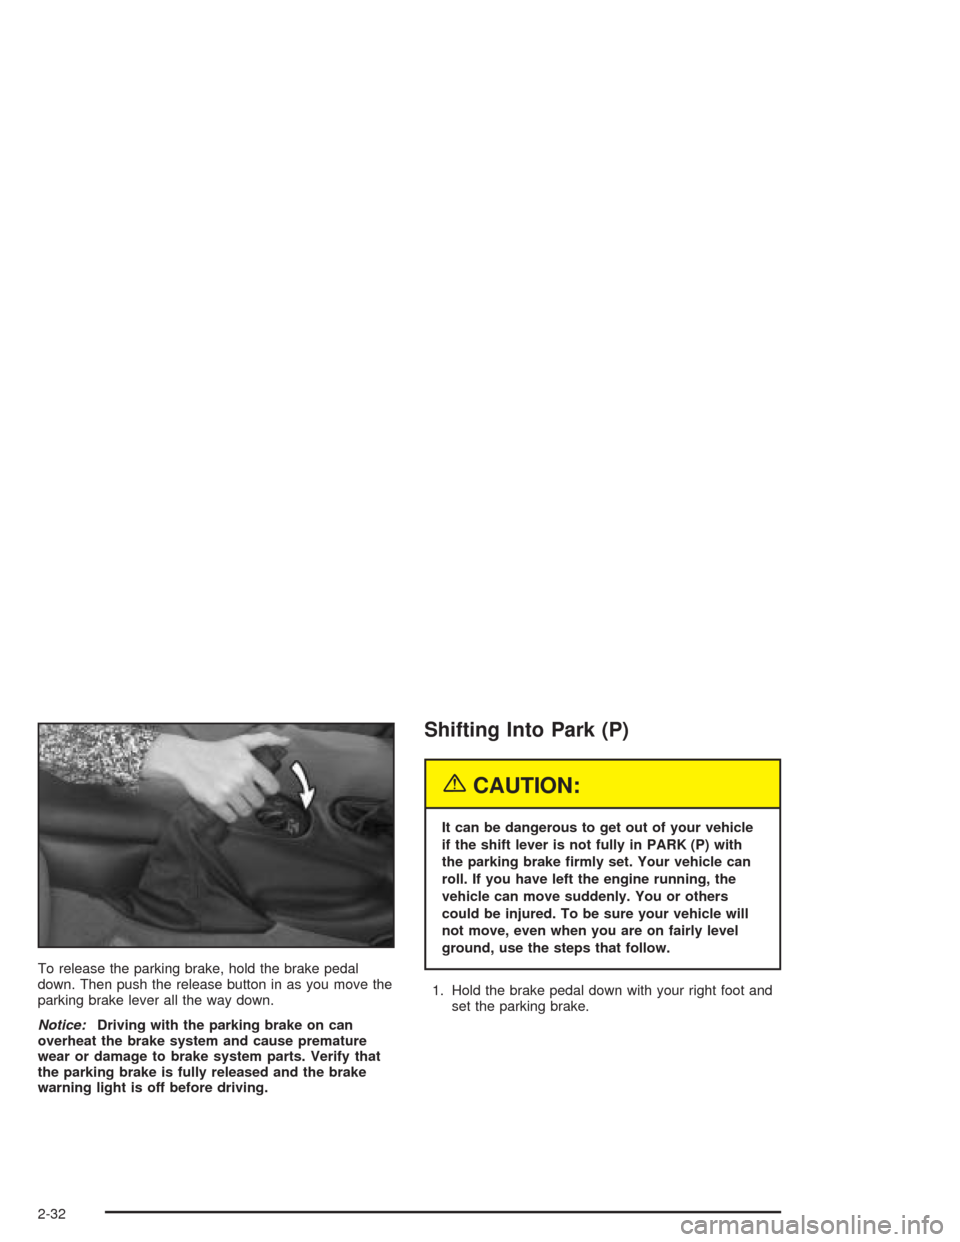
To release the parking brake, hold the brake pedal
down. Then push the release button in as you move the
parking brake lever all the way down.
Notice:Driving with the parking brake on can
overheat the brake system and cause premature
wear or damage to brake system parts. Verify that
the parking brake is fully released and the brake
warning light is off before driving.
Shifting Into Park (P)
{CAUTION:
It can be dangerous to get out of your vehicle
if the shift lever is not fully in PARK (P) with
the parking brake �rmly set. Your vehicle can
roll. If you have left the engine running, the
vehicle can move suddenly. You or others
could be injured. To be sure your vehicle will
not move, even when you are on fairly level
ground, use the steps that follow.
1. Hold the brake pedal down with your right foot and
set the parking brake.
2-32
Page 115 of 384
Instrument Panel Overview...............................3-2
Hazard Warning Flashers................................3-4
Other Warning Devices...................................3-5
Horn.............................................................3-5
Tilt Wheel.....................................................3-5
Turn Signal/Multifunction Lever.........................3-6
Exterior Lamps.............................................3-13
Interior Lamps..............................................3-17
Head-Up Display (HUD).................................3-18
Accessory Power Outlets...............................3-22
Ashtrays and Cigarette Lighter........................3-23
Climate Controls............................................3-23
Dual Automatic Climate
Control System.........................................3-23
Outlet Adjustment.........................................3-31
Warning Lights, Gages, and Indicators............3-32
Instrument Panel Cluster................................3-33
Speedometer and Odometer...........................3-34
Tachometer.................................................3-34
Safety Belt Reminder Light.............................3-34
Air Bag Readiness Light................................3-35
Air Bag Off Light..........................................3-36
Voltmeter Gage............................................3-37
Brake System Warning Light..........................3-38
Anti-Lock Brake System Warning Light.............3-39
Traction Control System (TCS) Warning Light . . .3-39Active Handling System Light.........................3-40
Engine Coolant Temperature Gage..................3-41
Malfunction Indicator Lamp.............................3-41
Engine Oil Pressure Gage.............................3-44
Security Light...............................................3-45
Check Gages Warning Light...........................3-46
Fuel Gage...................................................3-46
Driver Information Center (DIC).......................3-48
DIC Controls and Displays.............................3-49
DIC Warnings and Messages.........................3-58
Other Messages...........................................3-68
Audio System(s).............................................3-69
Setting the Time...........................................3-69
Radio with Cassette......................................3-70
Radio with CD..............................................3-76
Trunk-Mounted CD Changer...........................3-81
Theft-Deterrent Feature..................................3-86
Radio Reception...........................................3-88
Care of Your Cassette Tape Player.................3-88
Care of Your CDs.........................................3-89
Care of Your CD Player................................3-89
Fixed Mast Antenna (Z06)..............................3-89
Power Antenna Mast Care (Convertible)...........3-90
Integrated Windshield and Rear Window
Antennas (Coupe).....................................3-90
Section 3 Instrument Panel
3-1
Page 117 of 384
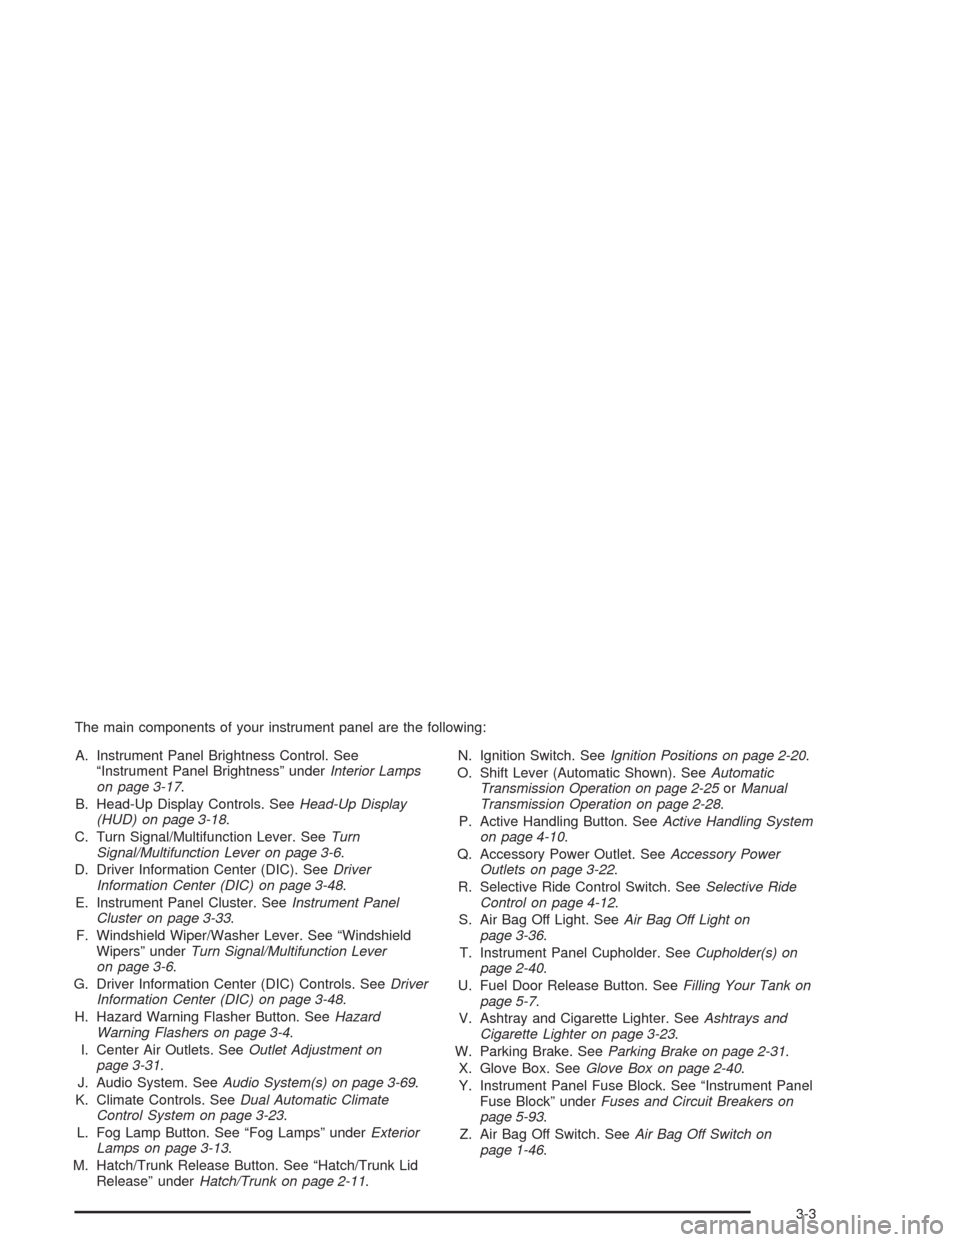
The main components of your instrument panel are the following:
A. Instrument Panel Brightness Control. See
“Instrument Panel Brightness” underInterior Lamps
on page 3-17.
B. Head-Up Display Controls. SeeHead-Up Display
(HUD) on page 3-18.
C. Turn Signal/Multifunction Lever. SeeTurn
Signal/Multifunction Lever on page 3-6.
D. Driver Information Center (DIC). SeeDriver
Information Center (DIC) on page 3-48.
E. Instrument Panel Cluster. SeeInstrument Panel
Cluster on page 3-33.
F. Windshield Wiper/Washer Lever. See “Windshield
Wipers” underTurn Signal/Multifunction Lever
on page 3-6.
G. Driver Information Center (DIC) Controls. SeeDriver
Information Center (DIC) on page 3-48.
H. Hazard Warning Flasher Button. SeeHazard
Warning Flashers on page 3-4.
I. Center Air Outlets. SeeOutlet Adjustment on
page 3-31.
J. Audio System. SeeAudio System(s) on page 3-69.
K. Climate Controls. SeeDual Automatic Climate
Control System on page 3-23.
L. Fog Lamp Button. See “Fog Lamps” underExterior
Lamps on page 3-13.
M. Hatch/Trunk Release Button. See “Hatch/Trunk Lid
Release” underHatch/Trunk on page 2-11.N. Ignition Switch. SeeIgnition Positions on page 2-20.
O. Shift Lever (Automatic Shown). SeeAutomatic
Transmission Operation on page 2-25orManual
Transmission Operation on page 2-28.
P. Active Handling Button. SeeActive Handling System
on page 4-10.
Q. Accessory Power Outlet. SeeAccessory Power
Outlets on page 3-22.
R. Selective Ride Control Switch. SeeSelective Ride
Control on page 4-12.
S. Air Bag Off Light. SeeAir Bag Off Light on
page 3-36.
T. Instrument Panel Cupholder. SeeCupholder(s) on
page 2-40.
U. Fuel Door Release Button. SeeFilling Your Tank on
page 5-7.
V. Ashtray and Cigarette Lighter. SeeAshtrays and
Cigarette Lighter on page 3-23.
W. Parking Brake. SeeParking Brake on page 2-31.
X. Glove Box. SeeGlove Box on page 2-40.
Y. Instrument Panel Fuse Block. See “Instrument Panel
Fuse Block” underFuses and Circuit Breakers on
page 5-93.
Z. Air Bag Off Switch. SeeAir Bag Off Switch on
page 1-46.
3-3
Page 127 of 384

Using Cruise Control on Hills
How well your cruise control will work on hills depends
upon your speed, load and the steepness of the
hills. When going downhill, you may have to brake or
shift to a lower gear to keep your speed down. Of
course, applying the brake takes you out of cruise
control. Many drivers find this to be too much trouble
and do not use cruise control on steep hills.
Ending Cruise Control
There are two ways to turn off the cruise control:
•Step lightly on the brake pedal or push the clutch
pedal, if you have a manual transmission vehicle.
•Move the cruise switch to OFF.
The Driver Information Center (DIC) will display the
message CRUISE DISENGAGED.
Erasing Speed Memory
When you turn off the cruise control or the ignition,
cruise control set speed memory is erased.
Exterior Lamps
The exterior lamp switch on the turn signal/multifunction
lever operates the headlamps.
The exterior lamp switch has three positions:
OFF:Turn the switch to this position to turn off all
lamps, except the Daytime Running Lamps (DRL).
;(Parking Lamps):Turn the switch to this position
to turn on the parking lamps, together with the
following:
•Taillamps
•Parking Lamps
•Sidemarker Lamps
3(Headlamps):Turn the switch to this position to
turn on the headlamps, together with the previously
listed lamps.
3-13
Page 129 of 384
Daytime Running Lamps
Daytime Running Lamps (DRL) can make it easier for
others to see the front of your vehicle during the
day. DRL can be helpful in many different driving
conditions, but they can be especially helpful in the short
periods after dawn and before sunset. Fully functional
daytime running lamps are required on all vehicles
first sold in Canada.
The DRL system will make the front turn signal lamps
come on when the following conditions are met:
•The ignition is on,
•the exterior lamp switch is off and
•the parking brake is released.
When the DRL are on, only the front turn signal lamps
will be on. The headlamps, taillamps, sidemarker
and other lamps will not be on. Your instrument panel
will not be lit up either.
To idle the vehicle with the DRL off, set the parking
brake while the ignition is in OFF. Then start the vehicle.
The DRL, headlamps and parking lamps will stay off
until you release the parking brake.
As with any vehicle, you should turn on the regular
headlamp system when you need it.
Fog Lamps
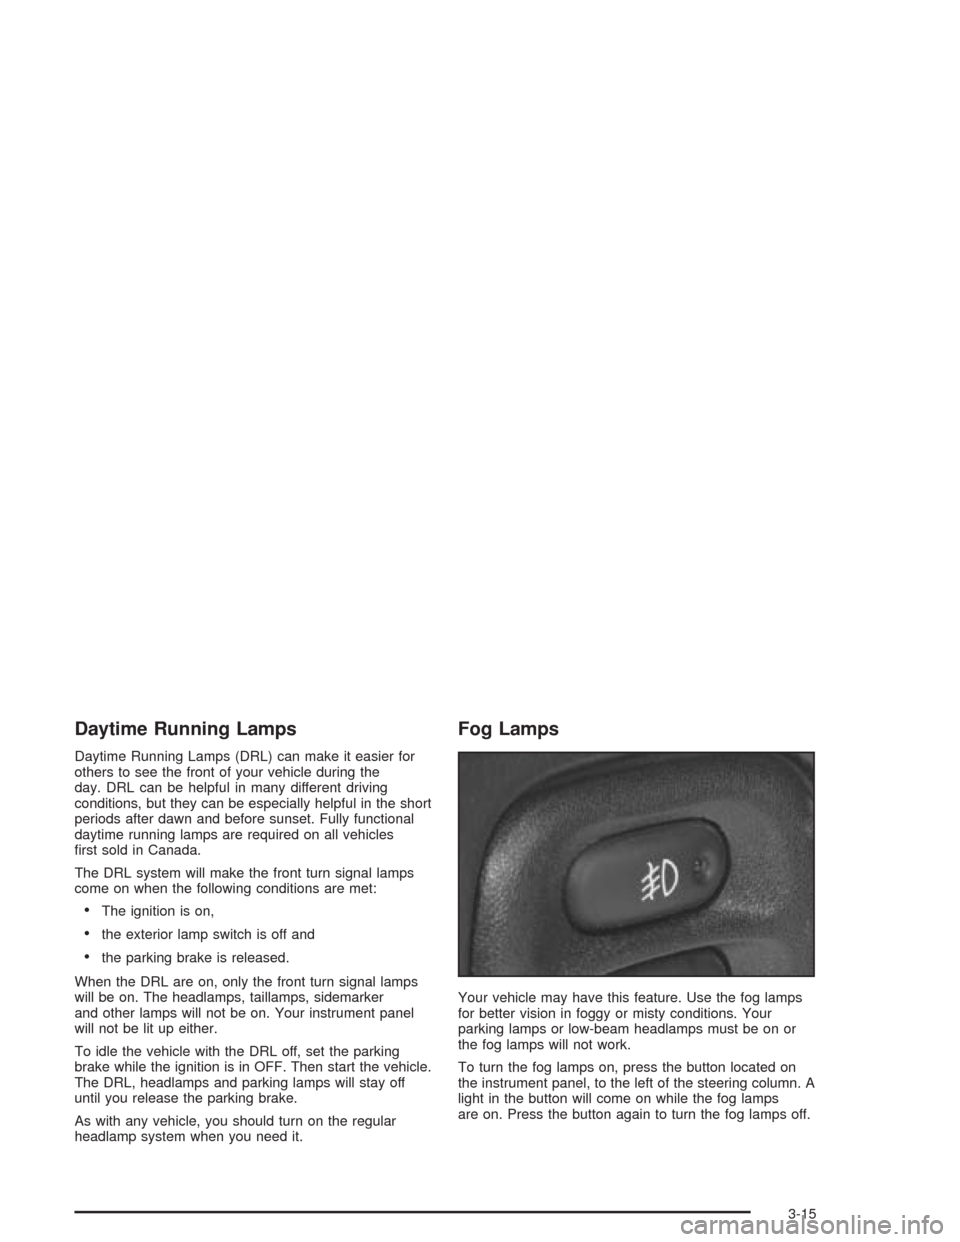
Your vehicle may have this feature. Use the fog lamps
for better vision in foggy or misty conditions. Your
parking lamps or low-beam headlamps must be on or
the fog lamps will not work.
To turn the fog lamps on, press the button located on
the instrument panel, to the left of the steering column. A
light in the button will come on while the fog lamps
are on. Press the button again to turn the fog lamps off.
3-15
Page 130 of 384
Twilight Sentinel®(Optional in United
States, Standard in Canada)
Twilight Sentinel®can turn your lamps on and off for
you. A light sensor on top of the instrument panel makes
the Twilight Sentinel
®work, so be sure it is not covered.
You can customize your vehicle to turn Twilight
Sentinel
®on or off, except for vehicles first sold in
Canada. SeeDriver Information Center (DIC) on
page 3-48to turn this feature on or off.
When Twilight Sentinel
®is turned on, you will see the
following happen:
•When it is dark enough outside, the front turn signal
lamps (DRL) will go off, and the headlamps and
parking lamps will come on. The other lamps
that come on with headlamps will also come on.
•When it is bright enough outside, the headlamps
will go off, and the front turn signal lamps (DRL)
will come on, as long as the exterior lamp switch is
in the OFF position.
If you start your vehicle in a dark garage, the automatic
headlamp system will come on immediately. Once
you leave the garage, it will take about one minute for
the automatic headlamp system to change to DRL if it is
light outside. During that delay, your instrument panel
cluster may not be as bright as usual.Make sure your instrument panel brightness control is in
full bright position. See “Instrument Panel Brightness
Control” underInterior Lamps on page 3-17.
With Twilight Sentinel
®turned on, you can idle the
vehicle with the lamps off, even when it is dark outside.
First set the parking brake while the ignition is in
OFF. Then start the vehicle. The lamps will stay off until
you release the parking brake.
Twilight Sentinel
®also provides exterior illumination as
you leave the vehicle. If Twilight Sentinel®has turned
on the lamps when you turn off the ignition, your lamps
will remain on until:
•The exterior lamp switch is moved from OFF to the
parking lamp position, or
•a delay time that you select has elapsed.
SeeDriver Information Center (DIC) on page 3-48to
select the delay time that you want. You can also select
no delay time.
If you turn off the ignition with the exterior lamp switch
in the parking lamp or headlamp position, the Twilight
Sentinel
®delay will not occur. The lamps will turn off as
soon as the switch is turned off.
As with any vehicle, you should turn on the regular
headlamp system when you need it.
3-16
Page 152 of 384
Brake System Warning Light
Your vehicle’s hydraulic brake system is divided into two
parts. If one part is not working, the other part can
still work and stop you. For good braking, though, you
need both parts working well.
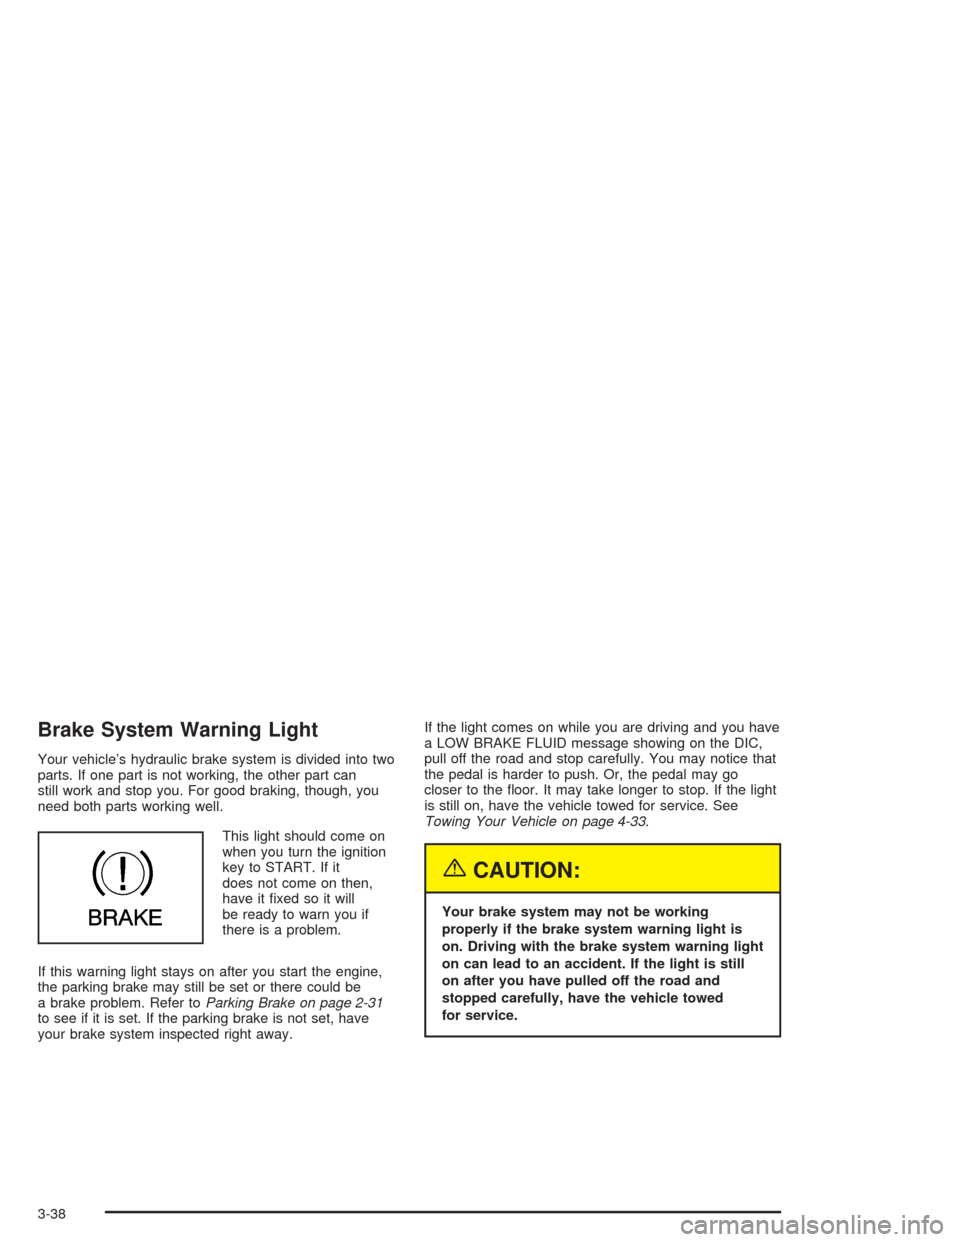
This light should come on
when you turn the ignition
key to START. If it
does not come on then,
have it fixed so it will
be ready to warn you if
there is a problem.
If this warning light stays on after you start the engine,
the parking brake may still be set or there could be
a brake problem. Refer toParking Brake on page 2-31
to see if it is set. If the parking brake is not set, have
your brake system inspected right away.If the light comes on while you are driving and you have
a LOW BRAKE FLUID message showing on the DIC,
pull off the road and stop carefully. You may notice that
the pedal is harder to push. Or, the pedal may go
closer to the floor. It may take longer to stop. If the light
is still on, have the vehicle towed for service. See
Towing Your Vehicle on page 4-33.
{CAUTION:
Your brake system may not be working
properly if the brake system warning light is
on. Driving with the brake system warning light
on can lead to an accident. If the light is still
on after you have pulled off the road and
stopped carefully, have the vehicle towed
for service.
3-38
Page 153 of 384
Anti-Lock Brake System
Warning Light
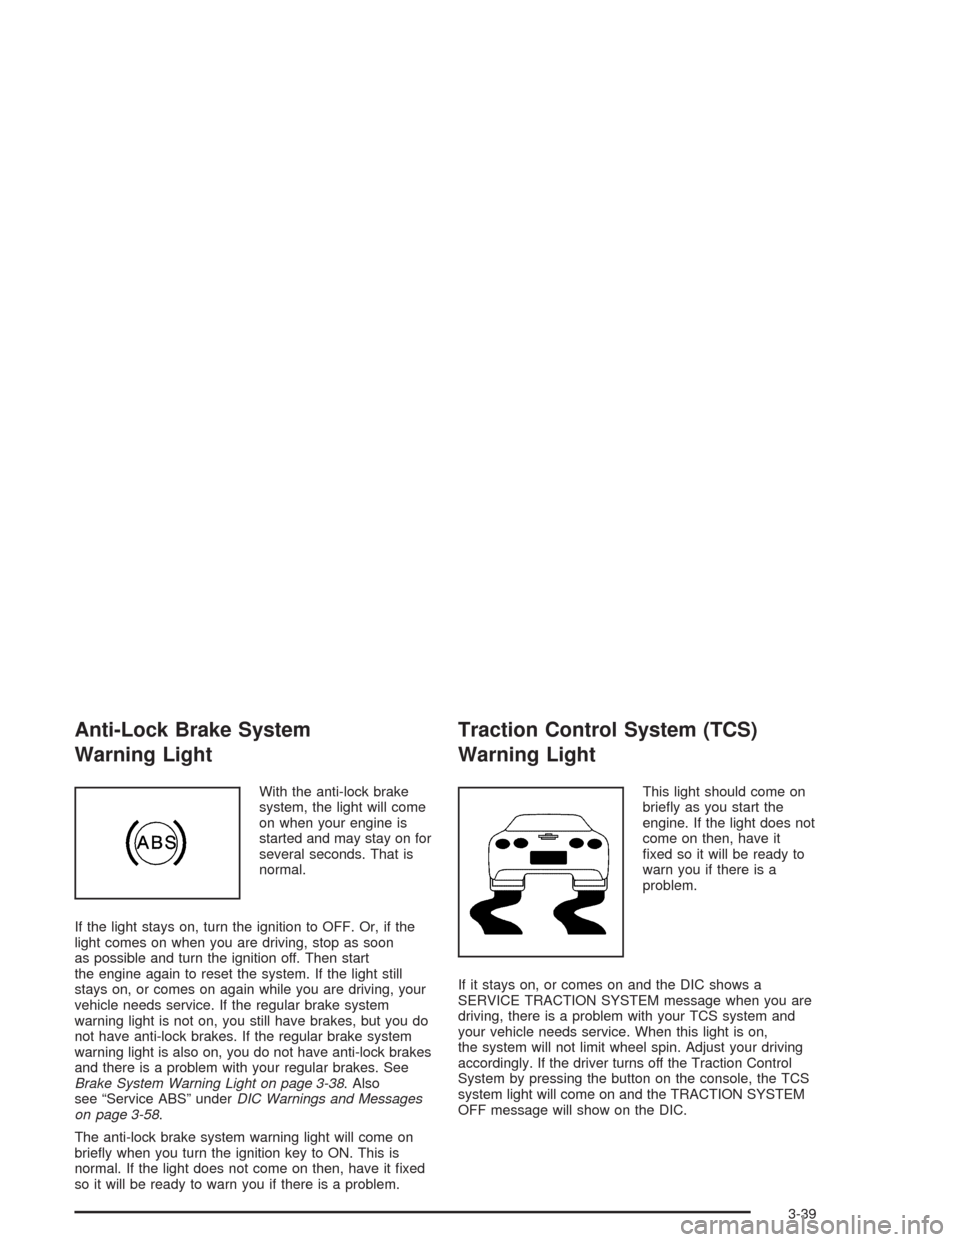
With the anti-lock brake
system, the light will come
on when your engine is
started and may stay on for
several seconds. That is
normal.
If the light stays on, turn the ignition to OFF. Or, if the
light comes on when you are driving, stop as soon
as possible and turn the ignition off. Then start
the engine again to reset the system. If the light still
stays on, or comes on again while you are driving, your
vehicle needs service. If the regular brake system
warning light is not on, you still have brakes, but you do
not have anti-lock brakes. If the regular brake system
warning light is also on, you do not have anti-lock brakes
and there is a problem with your regular brakes. See
Brake System Warning Light on page 3-38. Also
see “Service ABS” underDIC Warnings and Messages
on page 3-58.
The anti-lock brake system warning light will come on
briefly when you turn the ignition key to ON. This is
normal. If the light does not come on then, have it fixed
so it will be ready to warn you if there is a problem.
Traction Control System (TCS)
Warning Light
This light should come on
briefly as you start the
engine. If the light does not
come on then, have it
fixed so it will be ready to
warn you if there is a
problem.
If it stays on, or comes on and the DIC shows a
SERVICE TRACTION SYSTEM message when you are
driving, there is a problem with your TCS system and
your vehicle needs service. When this light is on,
the system will not limit wheel spin. Adjust your driving
accordingly. If the driver turns off the Traction Control
System by pressing the button on the console, the TCS
system light will come on and the TRACTION SYSTEM
OFF message will show on the DIC.
3-39
Page 172 of 384
DIC Warnings and Messages
The following messages and warnings may appear in
the DIC display. The DIC display area is located in
the instrument panel cluster below the speedometer and
tachometer, directly above the steering column. You
may receive more than one message at a time.
Messages will appear one behind the other. To
acknowledge a message and remove it from the display,
press RESET. You may scroll through the messages
that may have been sent at the same time. The
message center is continuously updated with the vehicle
performance status.
ABS ACTIVE (Anti-Lock Brake System
Active):When your anti-lock system is adjusting brake
pressure to help avoid a braking skid, the ABS
ACTIVE message will be displayed.
Slippery road conditions may exist if this message is
displayed, so adjust your driving accordingly. The
message will stay on for a few seconds after the system
stops adjusting brake pressure.ACT HNDLG – WARMING UP:When you first start
your vehicle (especially during cold winter weather), and
begin to drive away (up to 6 mph (10 km/h)), the
message ACT HNDLG – WARMING UP may be
displayed in the DIC, the instrument panel cluster light
will be on, and a chime will sound. This is normal.
You can acknowledge this message by pressing the
RESET button. The Active Handling System
performance is affected until the next message WARM
UP COMPLETE is displayed in the DIC.
During hot or cold temperature conditions, this message
may be displayed in the DIC after exceeding 12 mph
(20 km/h) for 30 seconds. The Active Handling System is
off until the WARM UP COMPLETE message is
displayed.
ACTIVE HANDLING:Your vehicle is equipped with a
computer controlled system to assist the driver in
controlling the vehicle in difficult driving conditions. You
may feel or hear the system working and see the
ACTIVE HANDLING message displayed in the DIC.
This is normal when the system is operating. Also see
Braking on page 4-6.
3-58