power steering fluid CHEVROLET DYNASTY 1993 Owner's Guide
[x] Cancel search | Manufacturer: CHEVROLET, Model Year: 1993, Model line: DYNASTY, Model: CHEVROLET DYNASTY 1993Pages: 2438, PDF Size: 74.98 MB
Page 1945 of 2438

bolts and nut on locating stud (Fig. 2). The right rear
crossmember stud is a pilot that correctly locates
the crossmember. Tighten down this bolt first,
then torque all 4 crossmember fasteners to 122
N Im (90 ft. lbs.).
CAUTION: Proper torque on the crossmember to
frame rail mounting bolts is very important.
(3) Torque the 4 bolts (Fig. 3) attaching the steering
gear assembly to front crossmember, to 68 N Im (50 ft.
lbs.). To ensure proper alignment of the steering
gear tighten left front bolt first. (4) Attach the engine damper strut from the engine
to the crossmember (if so equipped). (5) Attach the fluid tubes (Fig. 3) from the power
steering pump to the fittings on the steering gear.
Torque the fluid pressure line to steering gear tube nut
to 31 N Im (275 in. lbs.).
(6) Mount the outer tie rod ends to the steering
knuckles. Install the tie rod end to steering knuckle
attaching nuts. Torque the tie rod end to steering
knuckle nuts to 52 N Im (38 ft. lbs.). Install cotter pin
in tie rod end. (7) Install the front tire and wheel assemblies on
vehicle. Install the wheel lug nuts and torque to 129
N Im (95 ft. lbs.).
(8) Lower vehicle.
CAUTION: Do not use automatic transmission fluid. (9) Fill power steering pump fluid reservoir to the
(Full-Cold) proper level. (10) Start the engine and let run for a few seconds.
Then turn the engine off.
(11) Add fluid if necessary.
(12) Raise front wheels of vehicle off the ground.
(13) Start engine and turn steering wheel several
times from stop to stop to bleed air from fluid in
system. Stop engine, check fluid level, and inspect
system for leaks. Fill pump reservoir to correct
level with Mopar t, Power Steering Fluid, or
equivalent. See Checking Fluid Level.
(14) Lower front wheels of vehicle back on the
ground. (15) Adjust toe (Refer to Group 2 Suspension).
OUTER TIE ROD
REMOVAL
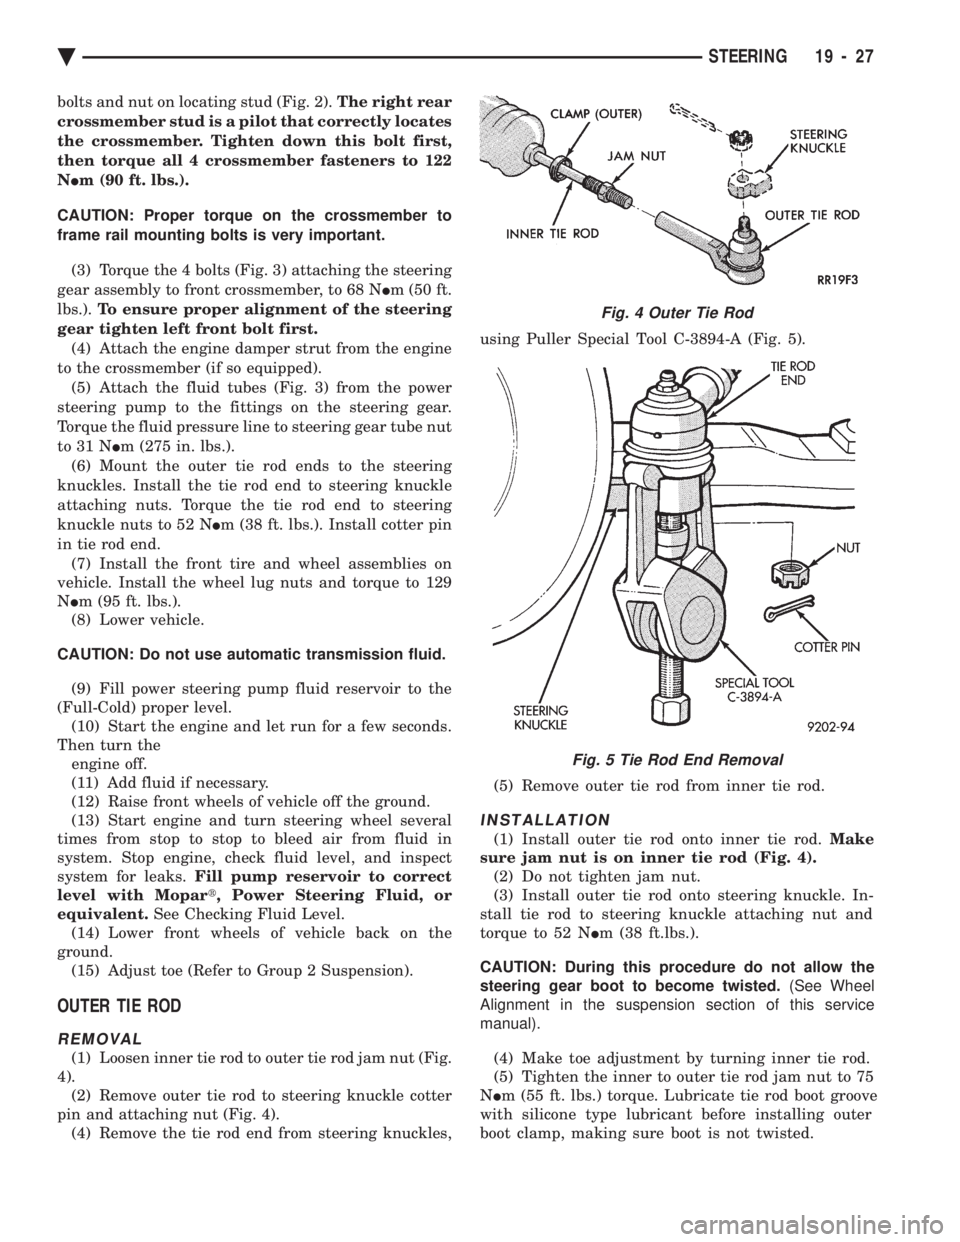
(1) Loosen inner tie rod to outer tie rod jam nut (Fig.
4). (2) Remove outer tie rod to steering knuckle cotter
pin and attaching nut (Fig. 4). (4) Remove the tie rod end from steering knuckles, using Puller Special Tool C-3894-A (Fig. 5).
(5) Remove outer tie rod from inner tie rod.
INSTALLATION
(1) Install outer tie rod onto inner tie rod. Make
sure jam nut is on inner tie rod (Fig. 4). (2) Do not tighten jam nut.
(3) Install outer tie rod onto steering knuckle. In-
stall tie rod to steering knuckle attaching nut and
torque to 52 N Im (38 ft.lbs.).
CAUTION: During this procedure do not allow the
steering gear boot to become twisted. (See Wheel
Alignment in the suspension section of this service
manual).
(4) Make toe adjustment by turning inner tie rod.
(5) Tighten the inner to outer tie rod jam nut to 75
N Im (55 ft. lbs.) torque. Lubricate tie rod boot groove
with silicone type lubricant before installing outer
boot clamp, making sure boot is not twisted.
Fig. 4 Outer Tie Rod
Fig. 5 Tie Rod End Removal
Ä STEERING 19 - 27
Page 1996 of 2438

TORQUE CONVERTER CLUTCH
The torque converter clutch is standard on all ve-
hicles. It is activated only in direct drive and is con-
trolled by the engine electronics. A solenoid on the
valve body, is powered by the powertrain control mod-
ule to activate torque converter clutch.
HYDRAULIC CONTROL SYSTEM
The hydraulic control circuits show the position of
the various valves. They indicate those under hydrau-
lic pressure for all operations of the transaxle. The hydraulic control system makes the transaxle
fully automatic, and has four important functions to
perform. In a general way, the components of any
automatic control system may be grouped into the
following basic groups: The pressure supply system, the pressure regulating
valves, the flow control valves, the clutches, and band
servos. Taking each of these basic groups or systems in turn,
the control system may be described as follows:
PRESSURE SUPPLY SYSTEM
The pressure supply system consists of an oil pump
driven by the engine through the torque converter. The
single pump furnishes pressure for all the hydraulic
and lubrication requirements. Oil pump housing
assemblies are available with preselected pump
gears.
PRESSURE REGULATING VALVES
The pressure regulating valve controls line pressure
dependent on throttle opening. The governor valve
transmits regulated pressure to the valve body (in
conjunction with vehicle speed) to control upshift and
downshift. The throttle valve transmits regulated pressure to
the transaxle (dependent on throttle position) to con-
trol upshift and downshift.
FLOW CONTROL VALVES
The manual valve provides the different transaxle
drive ranges as selected by the vehicle operator. The 1-2 shift valve automatically shifts the transaxle
from first to second or from second to first, depending
on the vehicle operation. The 2-3 shift valve automatically shifts the transaxle
from second to third or from third to second depending
on the vehicle operation. The kickdown valve makes possible a forced down-
shift from third to second, second to first, or third to
first (depending on vehicle speed). This can be done by
depressing the accelerator pedal past the detent ``feel''
near wide open throttle. The shuttle valve has two separate functions and
performs each independently of the other. The first
provides fast release of the kickdown band, and
smooth front clutch engagement, when the driver makes a
lift-footupshift from second to third. The
second function of the shuttle valve is to regulate the
application of the kickdown servo and band when
making third to second kickdown. The by-pass valve provides for smooth application of
the kickdown band on 1-2 upshifts. The torque converter clutch solenoid allows for the
electronic control of the clutch inside the torque con-
verter. It also disengages the torque converter at closed
throttle, during engine warm-up, and during part-
throttle acceleration. The switch valve directs oil to apply the torque
converter clutch in one position and releases the torque
converter clutch in the other position.
CLUTCH, BAND SERVO, AND ACCUMULATOR
The front and rear clutch pistons, and both servo
pistons are moved hydraulically to engage the clutches
and apply the bands. The pistons are released by
spring tension when hydraulic pressure is released. On
the 2-3 upshift, the kickdown servo piston is released
by spring tension and hydraulic pressure. The accumulator controls the hydraulic pressure on
the apply side of the kickdown servo during the 1-2
upshift; thereby, cushioning the kickdown band appli-
cation at any throttle position.
GEARSHIFT AND PARKING LOCK CONTROLS
The transaxle is controlled by a lever typegearshift
incorporated within the console or the steering column.
The control has six selector lever positions: P (park), R
(reverse), N (neutral), and D (drive), 2 (second), and 1
(first). The parking lock is applied by moving the
selector lever past a gate to the Pposition. Do not
apply the parking lock until the vehicle has
stopped; otherwise, a severe banging noise will
occur.
THREE SPEED TORQUEFLITE GENERAL DIAGNO-
SIS
Automatic transaxle malfunctions may be caused by
four general conditions:
² Poor engine performance
² Improper adjustments
² Hydraulic malfunctions
² Mechanical malfunctions.
Diagnosis of these problems should always begin by
checking the easily accessible variables: fluid level and
condition, gearshift cable adjustment, and throttle
pressure cable adjustment. Then perform a road test to
determine if the problem has been corrected or that
more diagnosis is necessary. If the problem exists after
the preliminary tests and corrections are completed,
hydraulic pressure tests should be performed.
21 - 36 TRANSAXLE Ä