instrument cluster CHEVROLET EPICA 2004 1.G Owners Manual
[x] Cancel search | Manufacturer: CHEVROLET, Model Year: 2004, Model line: EPICA, Model: CHEVROLET EPICA 2004 1.GPages: 338, PDF Size: 2.38 MB
Page 84 of 338
Automatic Transaxle Operation
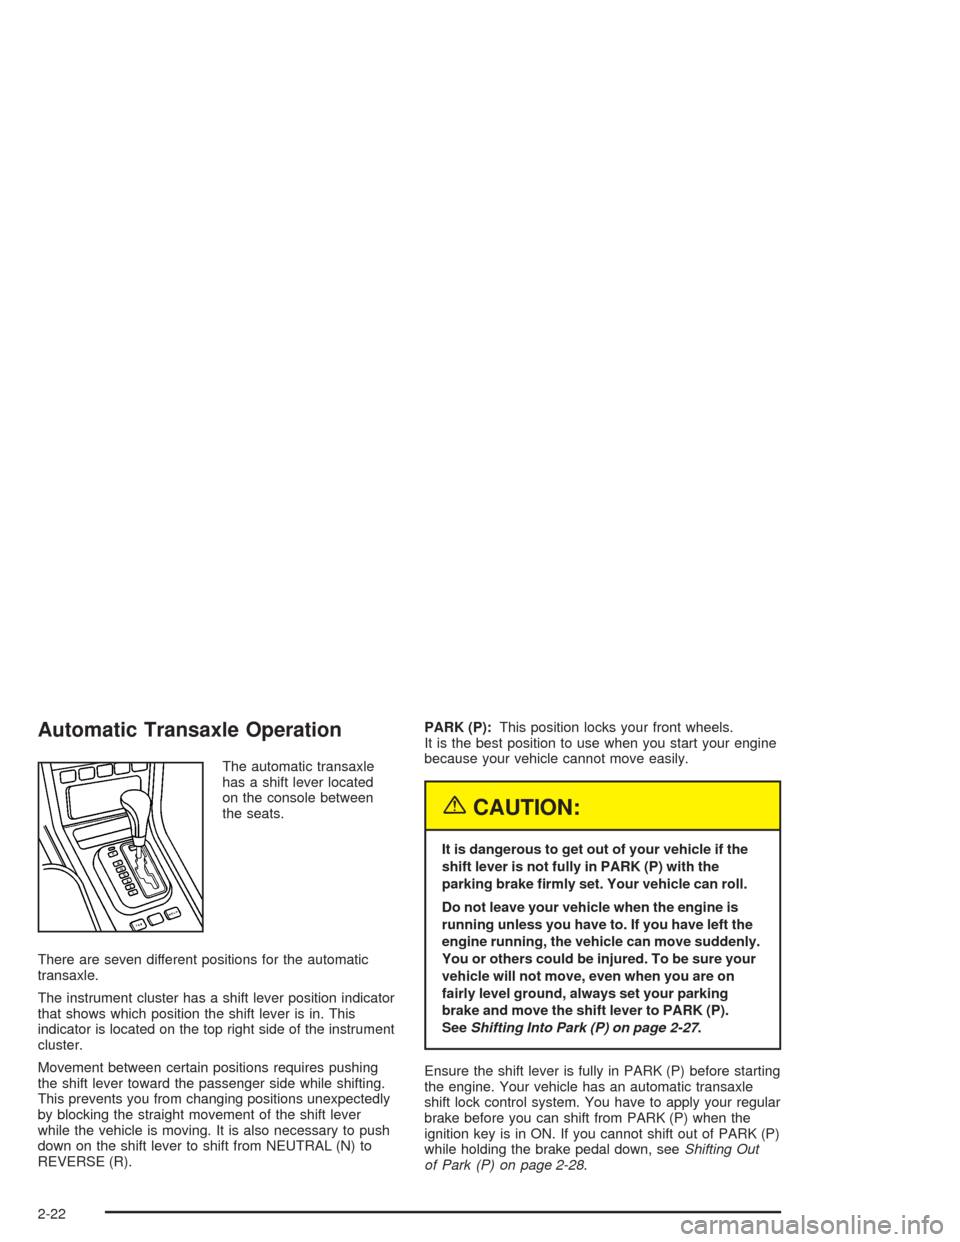
The automatic transaxle
has a shift lever located
on the console between
the seats.
There are seven different positions for the automatic
transaxle.
The instrument cluster has a shift lever position indicator
that shows which position the shift lever is in. This
indicator is located on the top right side of the instrument
cluster.
Movement between certain positions requires pushing
the shift lever toward the passenger side while shifting.
This prevents you from changing positions unexpectedly
by blocking the straight movement of the shift lever
while the vehicle is moving. It is also necessary to push
down on the shift lever to shift from NEUTRAL (N) to
REVERSE (R).PARK (P):This position locks your front wheels.
It is the best position to use when you start your engine
because your vehicle cannot move easily.
{CAUTION:
It is dangerous to get out of your vehicle if the
shift lever is not fully in PARK (P) with the
parking brake �rmly set. Your vehicle can roll.
Do not leave your vehicle when the engine is
running unless you have to. If you have left the
engine running, the vehicle can move suddenly.
You or others could be injured. To be sure your
vehicle will not move, even when you are on
fairly level ground, always set your parking
brake and move the shift lever to PARK (P).
SeeShifting Into Park (P) on page 2-27.
Ensure the shift lever is fully in PARK (P) before starting
the engine. Your vehicle has an automatic transaxle
shift lock control system. You have to apply your regular
brake before you can shift from PARK (P) when the
ignition key is in ON. If you cannot shift out of PARK (P)
while holding the brake pedal down, seeShifting Out
of Park (P) on page 2-28.
2-22
Page 99 of 338
Instrument Panel Overview...............................3-4
Hazard Warning Flashers................................3-6
Other Warning Devices...................................3-6
Horn.............................................................3-6
Tilt Wheel.....................................................3-7
Turn Signal/Multifunction Lever.........................3-7
Windshield Wiper Lever...................................3-9
Cruise Control..............................................3-10
Exterior Lamps.............................................3-13
Interior Lamps..............................................3-15
Accessory Power Outlets...............................3-17
Ashtrays and Cigarette Lighter........................3-18
Climate Controls............................................3-18
Climate Control System.................................3-18
Automatic Climate Control System...................3-22
Outlet Adjustment.........................................3-28
Passenger Compartment Air Filter...................3-28
Warning Lights, Gages, and Indicators............3-30
Instrument Panel Cluster................................3-31
Speedometer and Odometer...........................3-32
Trip Odometer..............................................3-32Tachometer.................................................3-32
Safety Belt Reminder Light.............................3-33
Safety Belt Reminder Tone............................3-33
Air Bag Readiness Light................................3-33
Charging System Light..................................3-34
Brake System Warning Light..........................3-35
Anti-Lock Brake System Warning Light.............3-36
Speed Sensitive Power Steering (SSPS)
Warning Light...........................................3-36
Traction Control System (TCS)
Warning Light...........................................3-37
Traction Control System Active Light...............3-38
Hold Mode Light...........................................3-38
Engine Coolant Temperature Gage..................3-39
Malfunction Indicator Lamp.............................3-39
Oil Pressure Light.........................................3-42
Cruise Control Light......................................3-43
Highbeam On Light.......................................3-43
Daytime Running Lamps
Indicator Light...........................................3-44
Fuel Gage...................................................3-44
Low Fuel Warning Light.................................3-45
Section 3 Instrument Panel
3-1
Page 103 of 338
The main components of your instrument panel are
the following:
A. Air Outlet. SeeOutlet Adjustment on page 3-28.
B. Instrument Panel Cluster. SeeInstrument Panel
Cluster on page 3-31.
C. Digital Clock and Secondary Information Center.
SeeClock on page 3-46andSecondary
Information Center (SIC) on page 3-46.
D. Hazard Warning Flashers Button. SeeHazard
Warning Flashers on page 3-6.
E. Climate Control System. SeeClimate Control
System on page 3-18.
F. Outside Power Mirror Control. SeeOutside
Power Mirrors on page 2-32.G. Instrument Panel Brightness Thumbwheel.
See “Instrument Panel Brightness” underInterior
Lamps on page 3-15.
H. Hood Release. SeeHood Release on page 5-11.
I. Coinholder. SeeCoinholder(s) on page 2-33.
J. Horn. SeeHorn on page 3-6.
K. Audio System. SeeAudio System(s) on page 3-48.
L. Cigarette Lighter and Ashtray. SeeAshtrays and
Cigarette Lighter on page 3-18.
M. Glove Box. SeeGlove Box on page 2-33.
3-5
Page 106 of 338
Turn and Lane-Change Signals
The turn signal has two upward (for right) and two
downward (for left) positions. These positions allow you
to signal a turn or a lane change.
To signal a turn, move the lever all the way up or down.
When the turn is finished, the lever will return
automatically.
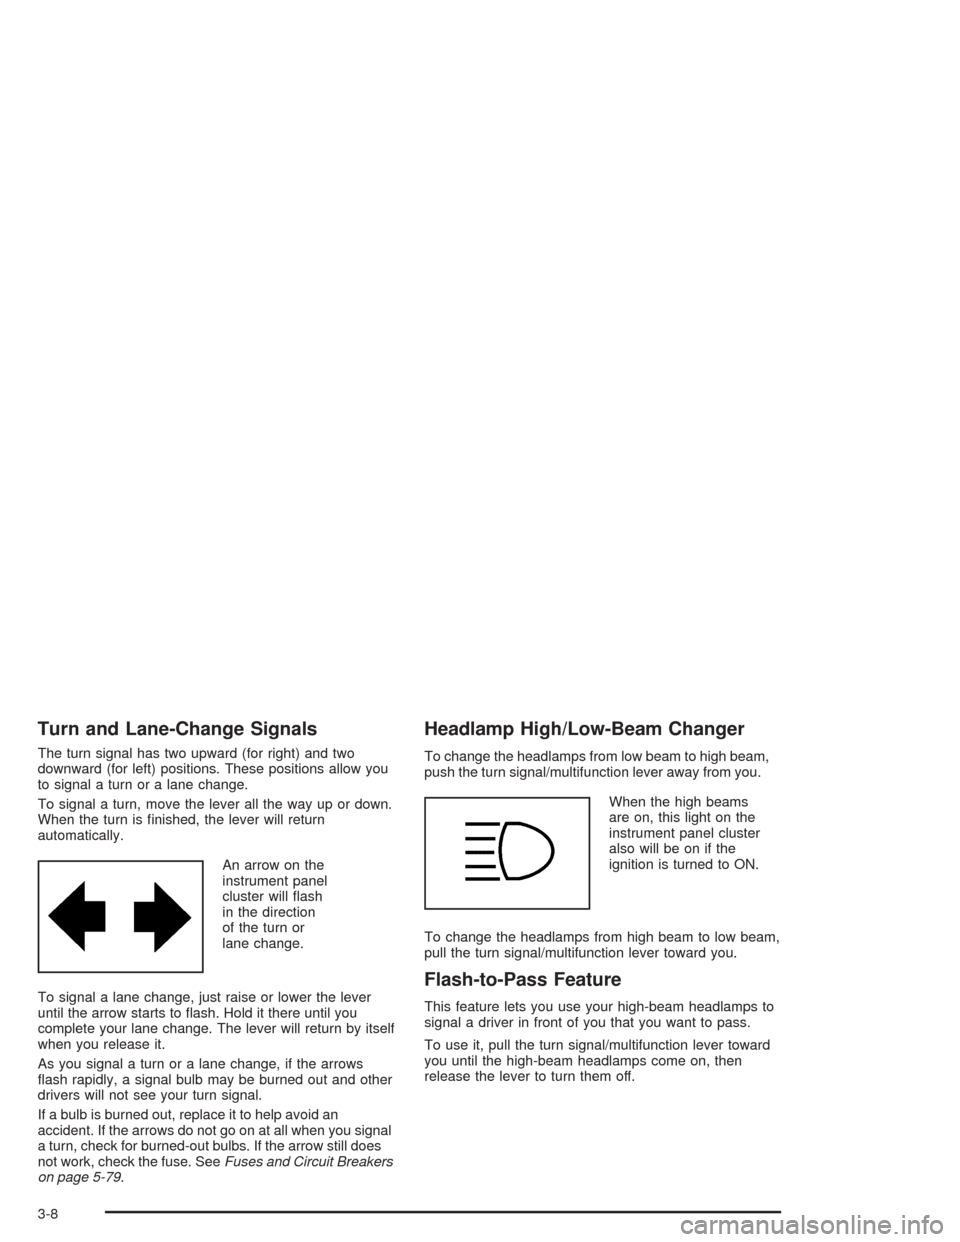
An arrow on the
instrument panel
cluster will flash
in the direction
of the turn or
lane change.
To signal a lane change, just raise or lower the lever
until the arrow starts to flash. Hold it there until you
complete your lane change. The lever will return by itself
when you release it.
As you signal a turn or a lane change, if the arrows
flash rapidly, a signal bulb may be burned out and other
drivers will not see your turn signal.
If a bulb is burned out, replace it to help avoid an
accident. If the arrows do not go on at all when you signal
a turn, check for burned-out bulbs. If the arrow still does
not work, check the fuse. SeeFuses and Circuit Breakers
on page 5-79.
Headlamp High/Low-Beam Changer
To change the headlamps from low beam to high beam,
push the turn signal/multifunction lever away from you.
When the high beams
are on, this light on the
instrument panel cluster
also will be on if the
ignition is turned to ON.
To change the headlamps from high beam to low beam,
pull the turn signal/multifunction lever toward you.
Flash-to-Pass Feature
This feature lets you use your high-beam headlamps to
signal a driver in front of you that you want to pass.
To use it, pull the turn signal/multifunction lever toward
you until the high-beam headlamps come on, then
release the lever to turn them off.
3-8
Page 109 of 338
Setting Cruise Control
{CAUTION:
If you leave your cruise control on when you
are not using cruise, you might hit a button
and go into cruise when you do not want to.
You could be startled and even lose control.
Keep the cruise control switch off until you
want to use cruise control.
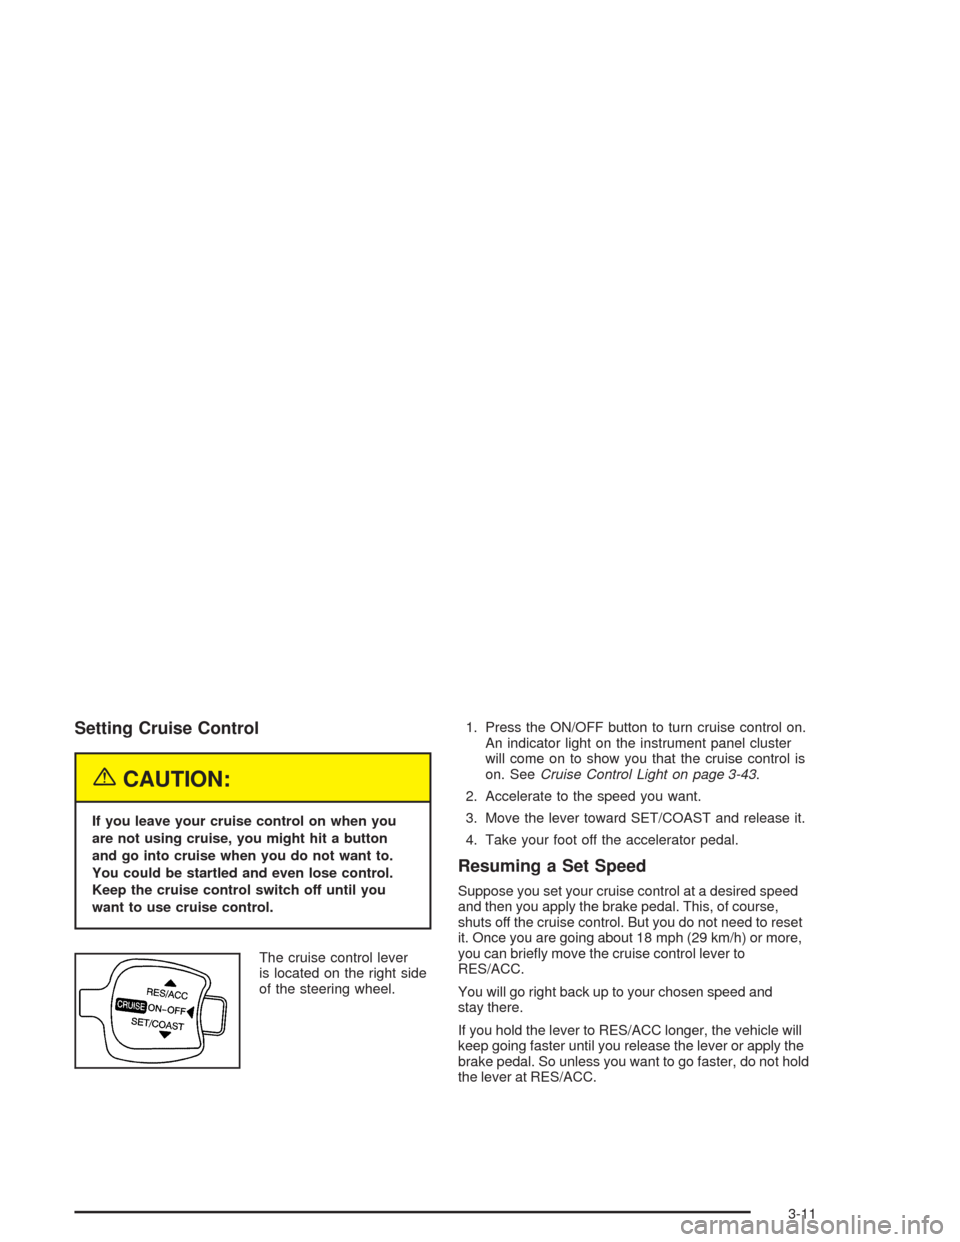
The cruise control lever
is located on the right side
of the steering wheel.1. Press the ON/OFF button to turn cruise control on.
An indicator light on the instrument panel cluster
will come on to show you that the cruise control is
on. SeeCruise Control Light on page 3-43.
2. Accelerate to the speed you want.
3. Move the lever toward SET/COAST and release it.
4. Take your foot off the accelerator pedal.
Resuming a Set Speed
Suppose you set your cruise control at a desired speed
and then you apply the brake pedal. This, of course,
shuts off the cruise control. But you do not need to reset
it. Once you are going about 18 mph (29 km/h) or more,
you can briefly move the cruise control lever to
RES/ACC.
You will go right back up to your chosen speed and
stay there.
If you hold the lever to RES/ACC longer, the vehicle will
keep going faster until you release the lever or apply the
brake pedal. So unless you want to go faster, do not hold
the lever at RES/ACC.
3-11
Page 112 of 338
Your headlamps only work when your key is turned
to ON.
;(Parking Lamps):Turn the band to this position to
turn on the parking lamps, together with the previously
listed lamps and lights.
OFF:Turn the band to this position to turn all lamps off,
except the Daytime Running Lamps (DRL).
Lamps On Reminder
If you open the driver’s door with the ignition off and
the lamps on, you will hear a warning chime.
Auto-Off Headlamps
Your headlamps will automatically turn off when the
headlamps are on and you turn the key to ACC or LOCK.
Daytime Running Lamps (DRL)
Daytime Running Lamps (DRL) can make it easier for
others to see the front of your vehicle during the
day. DRL can be helpful in many different driving
conditions, but they can be especially helpful in the short
periods after dawn and before sunset. Fully functional
daytime running lamps are required on all vehicles
first sold in Canada.The DRL system will make your low-beam headlamps
come on at a reduced brightness in daylight when
the following conditions are met:
•The ignition is on.
•The exterior lamp band is in OFF or in the parking
lamp position.
•The parking brake is released.
When the DRL system is on, the taillamps, parking
lamps and instrument panel lights will not be illuminated
unless you have turned the exterior lamps control to
the parking lamp or headlamp position.
An indicator light on the instrument panel cluster will
come on when the DRL are on. SeeDaytime Running
Lamps Indicator Light on page 3-44.
The DRL system will turn off when one of the following
conditions are met:
•The ignition is off.
•The parking brakes are on.
•The high-beam headlamps are on.
•The low-beam headlamps are on.
As with any vehicle, you should turn on the regular
headlamp system when you need it.
3-14
Page 129 of 338
Instrument Panel Cluster
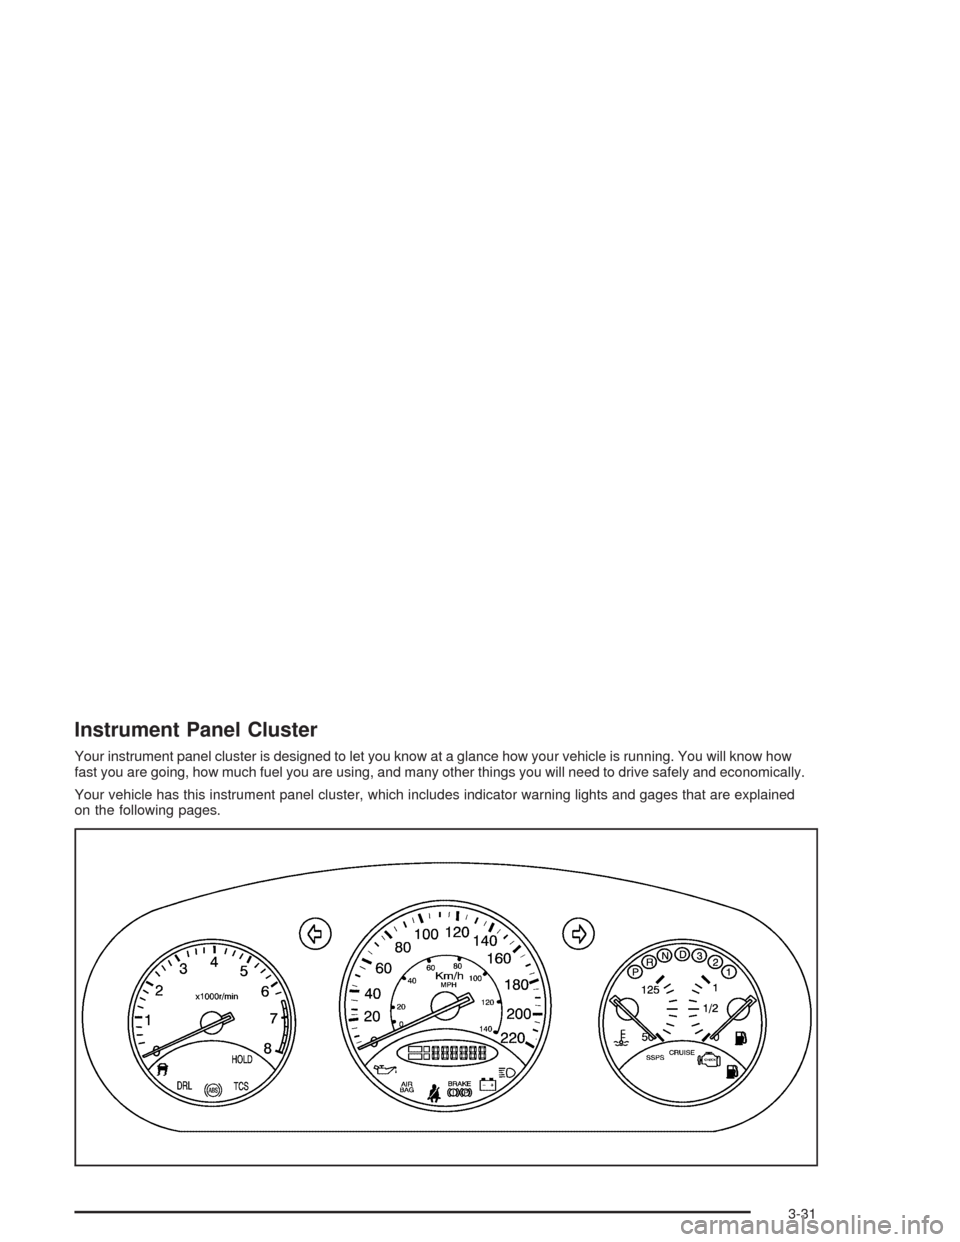
Your instrument panel cluster is designed to let you know at a glance how your vehicle is running. You will know how
fast you are going, how much fuel you are using, and many other things you will need to drive safely and economically.
Your vehicle has this instrument panel cluster, which includes indicator warning lights and gages that are explained
on the following pages.
3-31
Page 207 of 338
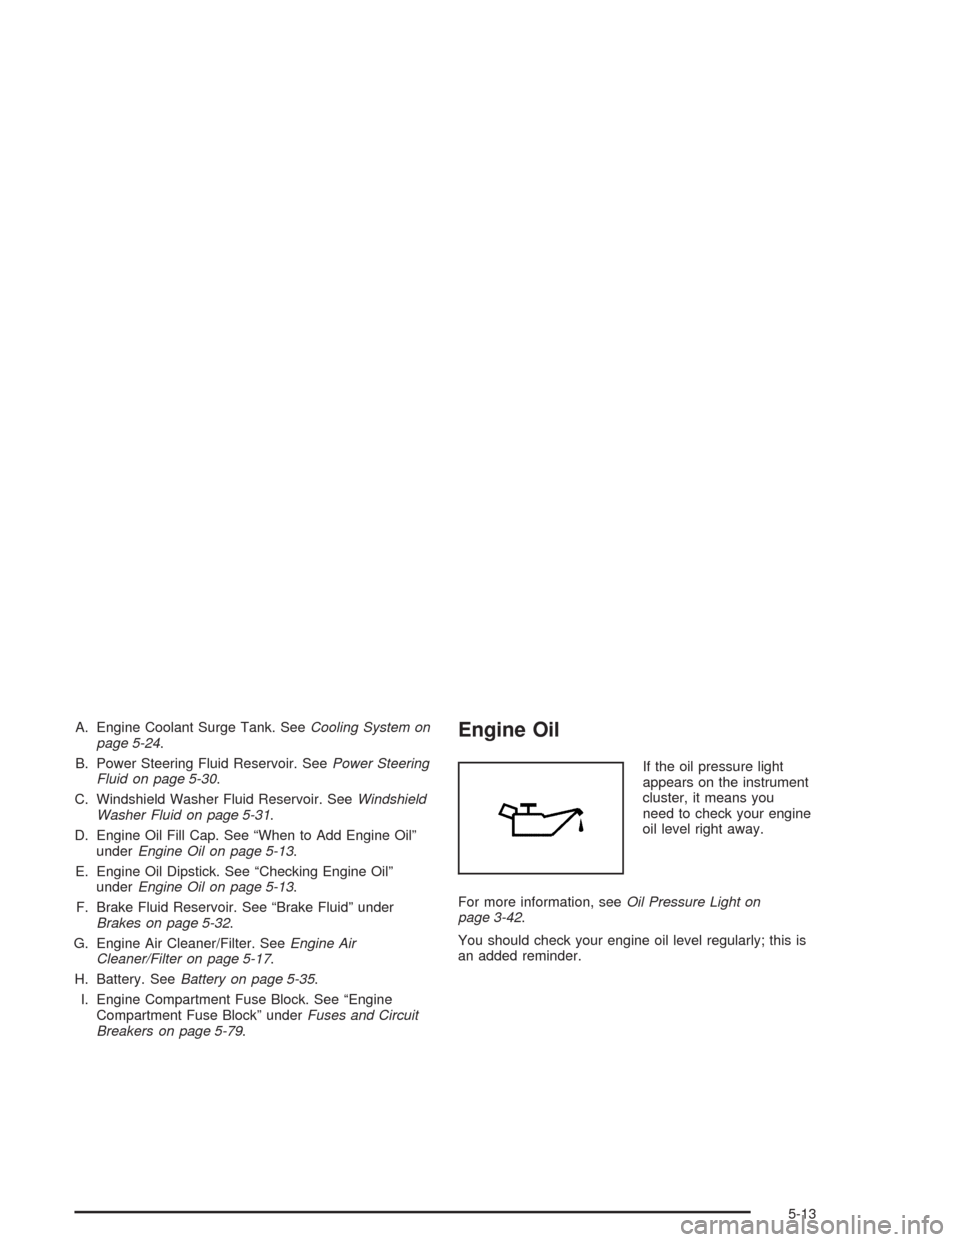
A. Engine Coolant Surge Tank. SeeCooling System on
page 5-24.
B. Power Steering Fluid Reservoir. SeePower Steering
Fluid on page 5-30.
C. Windshield Washer Fluid Reservoir. SeeWindshield
Washer Fluid on page 5-31.
D. Engine Oil Fill Cap. See “When to Add Engine Oil”
underEngine Oil on page 5-13.
E. Engine Oil Dipstick. See “Checking Engine Oil”
underEngine Oil on page 5-13.
F. Brake Fluid Reservoir. See “Brake Fluid” under
Brakes on page 5-32.
G. Engine Air Cleaner/Filter. SeeEngine Air
Cleaner/Filter on page 5-17.
H. Battery. SeeBattery on page 5-35.
I. Engine Compartment Fuse Block. See “Engine
Compartment Fuse Block” underFuses and Circuit
Breakers on page 5-79.Engine Oil
If the oil pressure light
appears on the instrument
cluster, it means you
need to check your engine
oil level right away.
For more information, seeOil Pressure Light on
page 3-42.
You should check your engine oil level regularly; this is
an added reminder.
5-13
Page 216 of 338
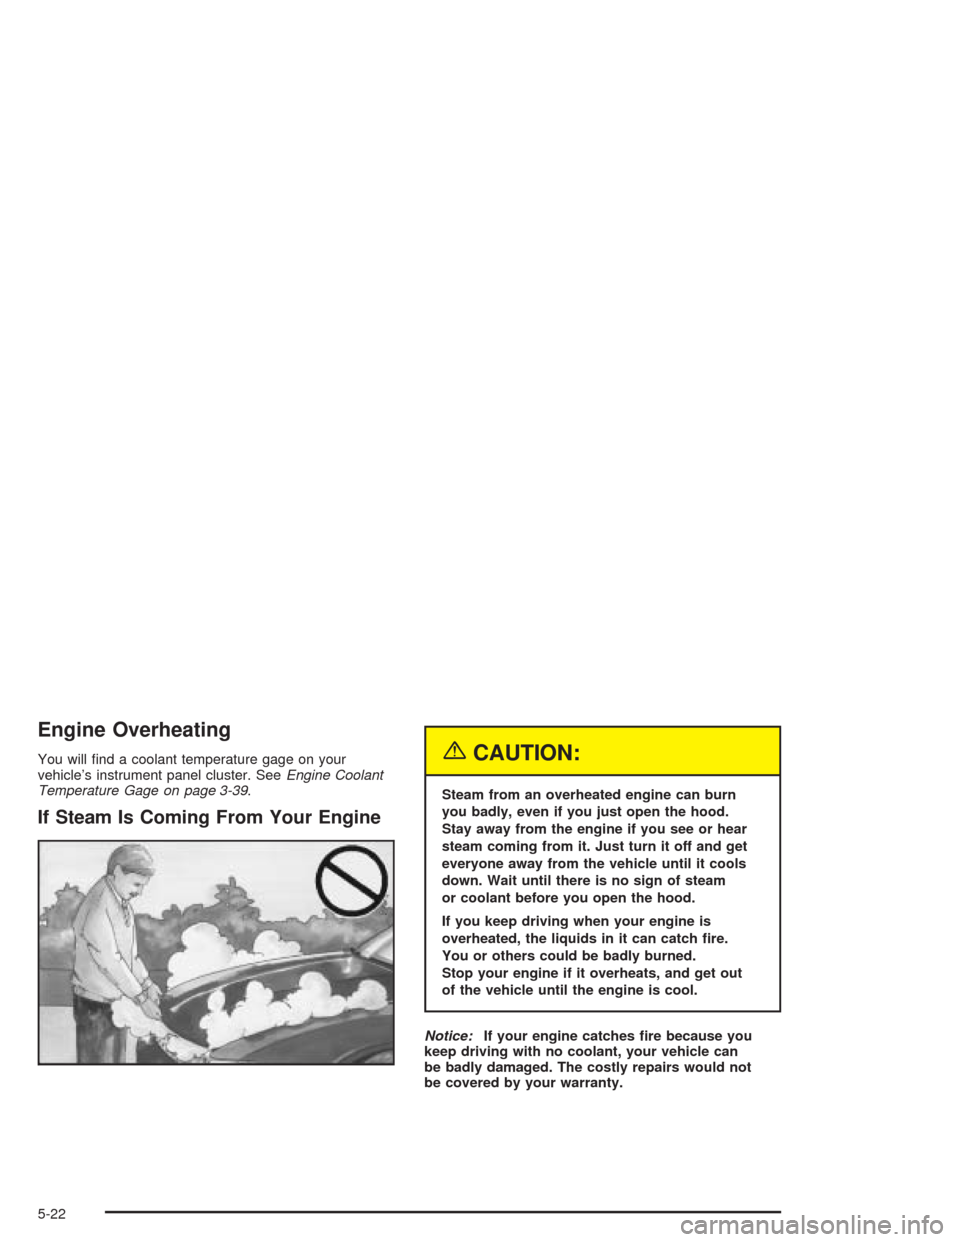
Engine Overheating
You will find a coolant temperature gage on your
vehicle’s instrument panel cluster. SeeEngine Coolant
Temperature Gage on page 3-39.
If Steam Is Coming From Your Engine
{CAUTION:
Steam from an overheated engine can burn
you badly, even if you just open the hood.
Stay away from the engine if you see or hear
steam coming from it. Just turn it off and get
everyone away from the vehicle until it cools
down. Wait until there is no sign of steam
or coolant before you open the hood.
If you keep driving when your engine is
overheated, the liquids in it can catch �re.
You or others could be badly burned.
Stop your engine if it overheats, and get out
of the vehicle until the engine is cool.
Notice:If your engine catches �re because you
keep driving with no coolant, your vehicle can
be badly damaged. The costly repairs would not
be covered by your warranty.
5-22
Page 275 of 338
Fuses Usage
BCM
ABSBody Control Module (BCM),
Antilock Brake System (ABS)
CLSTR
AUTO A/CInstrument Panel Cluster, Automatic
Temperature Control, Daytime
Running Lamps (DRL)
LTR Cigarette Lighter, Glove Box Lamp
RADIO Radio
CLKClock, Dome Lamp, Key
Interlock Unit
WSWA Windshield Washer
WPR Wiper
HTD/MIROutside Rearview Mirror (OSRVM),
Rear Glass Defogger Switch
RADIO
CRUISERadio Battery Positive
Voltage, Cruise
HTD/SEATHeating Mat, Accessory
Power Outlet
AUTO A/C
CLSTRAutomatic Temperature
Control, Cluster
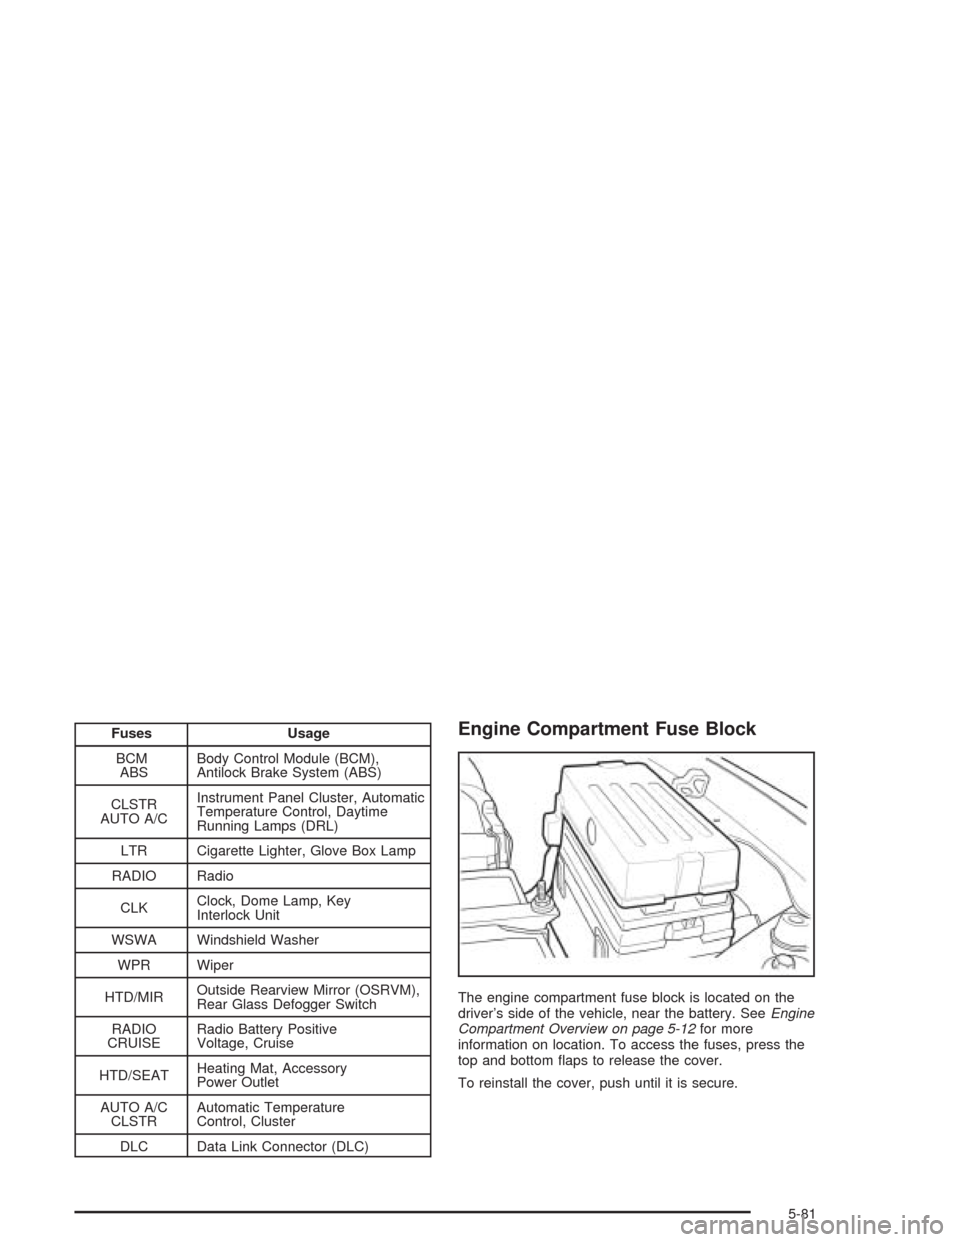
DLC Data Link Connector (DLC)Engine Compartment Fuse Block
The engine compartment fuse block is located on the
driver’s side of the vehicle, near the battery. SeeEngine
Compartment Overview on page 5-12for more
information on location. To access the fuses, press the
top and bottom flaps to release the cover.
To reinstall the cover, push until it is secure.
5-81