stop start CHEVROLET EPICA 2005 1.G Owners Manual
[x] Cancel search | Manufacturer: CHEVROLET, Model Year: 2005, Model line: EPICA, Model: CHEVROLET EPICA 2005 1.GPages: 340, PDF Size: 2.19 MB
Page 85 of 340
Disarming the System
To disarm the system, do one of the following:
•Unlock the driver’s or passenger’s front door using
the key.
•Press the lock/unlock button on the transmitter.
- The LED light on the transmitter will flash.
- All of the doors will unlock.
- The hazard warning lamps will flash twice.
- The theft-deterrent mode will disarm.
If the door is not opened or if the engine is not started
within 30 seconds after disarming the system with
the transmitter, all of the doors will automatically lock
and the theft-deterrent mode will re-arm.
How the System Alarm is Activated
If a door or the trunk is opened without using the key or
the remote keyless entry transmitter, the horn will
sound and the lamps will flash for up to 30 seconds.
How to Turn Off the System Alarm
If the system alarm is active, it can be deactivated using
one of the following methods:
•Press the lock/unlock button on the remote keyless
entry transmitter.
•Unlock the driver’s or passenger’s front door using
the key.Otherwise, the alarm will automatically stop after
30 seconds. The system will then lock the doors and
reactivate the theft-deterrent system.
How to Detect a Tamper Condition
If the hazard lamps flash once when the lock/unlock
button on the remote keyless entry transmitter is
pressed, the theft-deterrent system alarm was activated
while you were away.
Immobilizer
This device complies with Part 15 of the FCC Rules.
Operation is subject to the following two conditions:
1. This device may not cause interference.
2. This device must accept any interference received,
including interference that may cause undesired
operation.
This device complies with RSS-210 of Industry Canada.
Operation is subject to the following two conditions:
1. This device may not cause interference.
2. This device must accept any interference received,
including interference that may cause undesired
operation of the device.
Changes or modifications to this system by other than
an authorized service facility could void authorization to
use this equipment.
2-15
Page 87 of 340
Starting and Operating Your
Vehicle
New Vehicle Break-In
Notice:Your vehicle does not need an elaborate
break-in. But it will perform better in the long run if
you follow these guidelines:
Do not drive at any one speed, fast or slow, for
the �rst 500 miles (805 km). Do not make
full-throttle starts.
Avoid making hard stops for the �rst 200 miles
(322 km) or so. During this time your new
brake linings are not yet broken in. Hard stops
with new linings can mean premature wear
and earlier replacement. Follow this breaking-in
guideline every time you get new brake
linings.
Do not tow a trailer during break-in. SeeTowing
a Trailer on page 4-35for more information.
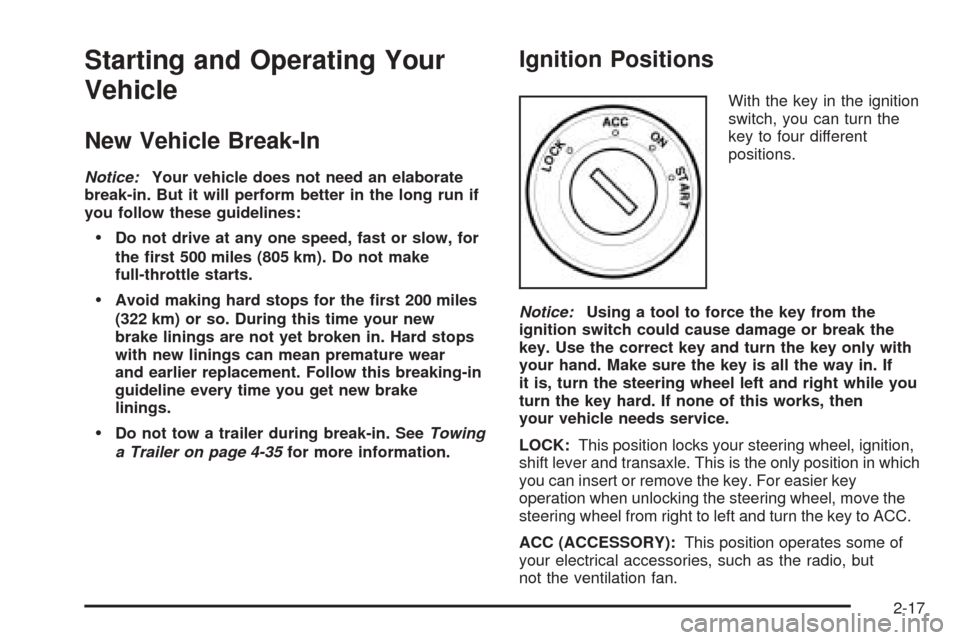
Ignition Positions
With the key in the ignition
switch, you can turn the
key to four different
positions.
Notice:Using a tool to force the key from the
ignition switch could cause damage or break the
key. Use the correct key and turn the key only with
your hand. Make sure the key is all the way in. If
it is, turn the steering wheel left and right while you
turn the key hard. If none of this works, then
your vehicle needs service.
LOCK:This position locks your steering wheel, ignition,
shift lever and transaxle. This is the only position in which
you can insert or remove the key. For easier key
operation when unlocking the steering wheel, move the
steering wheel from right to left and turn the key to ACC.
ACC (ACCESSORY):This position operates some of
your electrical accessories, such as the radio, but
not the ventilation fan.
2-17
Page 88 of 340
ON:This is the position to which the switch returns
after you start your engine and release the key.
The switch stays in ON when the engine is running. But
even when the engine is not running, you can use
ON to operate your electrical accessories, and to display
some instrument panel warning lights.
START:This position starts the engine. When the
engine starts, release the key. The switch will return to
ON for normal driving. Do not turn the key to START
if the engine is running.
Even if the engine is not running, ACC and ON allow
you to operate electrical accessories, such as the radio.
Starting Your Engine
Move your shift lever to PARK (P) or NEUTRAL (N).
The engine will not start in any other position — that is
a safety feature. To restart when you are already
moving, use NEUTRAL (N) only.
Notice:Shifting into PARK (P) with the vehicle
moving could damage the transaxle. Shift into
PARK (P) only when your vehicle is stopped.
1. With your foot off the accelerator pedal, turn the
ignition key to START. When the engine starts,
let go of the key. The idle speed will go down as the
engine gets warm.Notice:Holding your key in START for longer than
15 seconds at a time will cause your battery to
be drained much sooner. And the excessive heat
can damage your starter motor. Wait about
15 seconds between each try to help avoid draining
your battery or damaging your starter.
2. If the engine does not start within 10 seconds, hold
your key in START for about 10 seconds at a time
until the engine starts. Wait about 15 seconds
between each try.
When your engine has run for about 10 seconds to
warm up, your vehicle is ready to be driven. Do
not race your engine when it is cold.
If the weather is below freezing (32°F or 0°C), let
the engine run for a few minutes to warm up.
3. If your engine still will not start, or starts but then
stops, it could be flooded with too much gasoline.
Try pushing your accelerator pedal all the way to the
floor and holding it there as you hold the key in
START for about three seconds. If the vehicle starts
briefly but then stops again, do the same thing.
This time keep the pedal down for five or
six seconds to clear the extra gasoline from the
engine. After waiting about 15 seconds, repeat the
normal starting procedure.
2-18
Page 91 of 340

REVERSE (R):Use this gear to back up.
When shifting from NEUTRAL (N) to REVERSE (R), you
must press down on the shift lever and push it toward
the passenger side of the vehicle while shifting.
Notice:Shifting to REVERSE (R) while your vehicle
is moving forward could damage the transaxle. The
repairs would not be covered by your warranty. Shift
to REVERSE (R) only after your vehicle is stopped.
To rock your vehicle back and forth to get out of snow,
ice or sand without damaging your transaxle, seeIf You
Are Stuck: In Sand, Mud, Ice or Snow on page 4-28.
NEUTRAL (N):In this position, your engine does not
connect with the wheels. To restart while you are
already moving, use NEUTRAL (N) only. Also, use
NEUTRAL (N) when your vehicle is being towed.
{CAUTION:
Shifting into a drive gear while your engine is
running at high speed is dangerous. Unless
your foot is �rmly on the brake pedal, your
vehicle could move very rapidly. You could
lose control and hit people or objects. Do not
shift into a drive gear while your engine is
running at high speed.
Notice:Shifting out of PARK (P) or NEUTRAL (N)
with the engine racing may damage the transaxle.
The repairs would not be covered by your warranty.
Be sure the engine is not racing when shifting
your vehicle.
AUTOMATIC OVERDRIVE (D):This position is for
normal driving.
2-21
Page 113 of 340
Misting Function
Move the lever toward, but not completely into, the
AUTO position for a single wiping cycle. Hold it there
until the windshield wipers start; then let go. The
windshield wipers will stop after one wipe. If you want
more wipes, hold the band toward AUTO longer.
Remember that damaged wiper blades may prevent you
from seeing well enough to drive safely. To avoid
damage, be sure to clear ice and snow from the wiper
blades before using them.
If they are frozen to the windshield, carefully loosen or
thaw them. If your blades do become damaged, get
new blades or blade inserts.
Heavy snow or ice can overload your wiper motor.
A circuit breaker will stop the motor until it cools. Clear
away snow or ice to prevent an overload.
Windshield Washer
To wash your windshield, pull the windshield
wiper/washer lever toward you with the ignition
turned to ON.
{CAUTION:
In freezing weather, do not use your washer
until the windshield is warmed. Otherwise the
washer �uid can form ice on the windshield,
blocking your vision.
When you release the lever, the washers will stop, but
the wipers will continue to wipe for about three cycles
and will either stop or will resume at the speed you were
using before.
3-9
Page 141 of 340
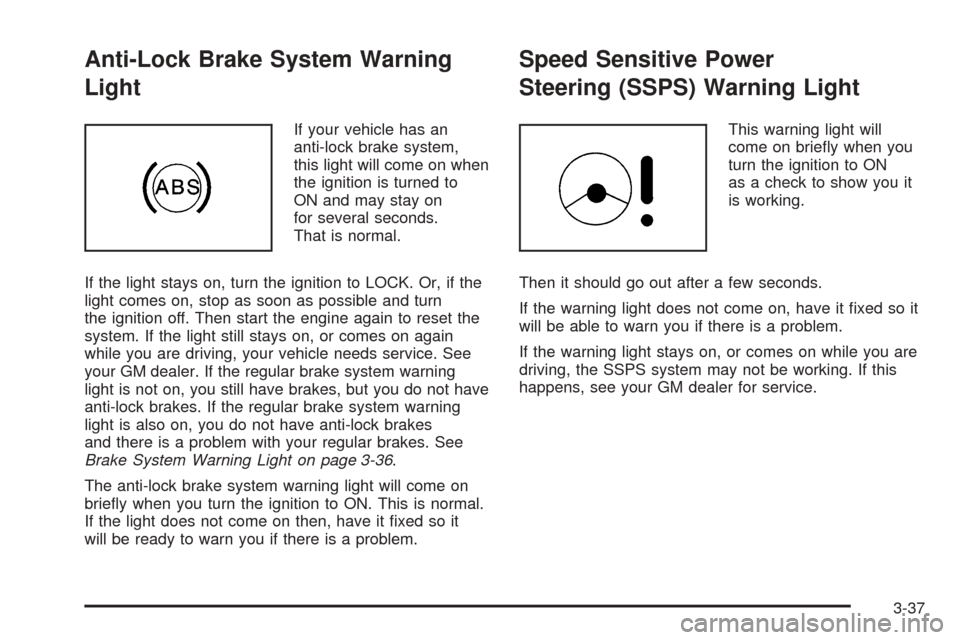
Anti-Lock Brake System Warning
Light
If your vehicle has an
anti-lock brake system,
this light will come on when
the ignition is turned to
ON and may stay on
for several seconds.
That is normal.
If the light stays on, turn the ignition to LOCK. Or, if the
light comes on, stop as soon as possible and turn
the ignition off. Then start the engine again to reset the
system. If the light still stays on, or comes on again
while you are driving, your vehicle needs service. See
your GM dealer. If the regular brake system warning
light is not on, you still have brakes, but you do not have
anti-lock brakes. If the regular brake system warning
light is also on, you do not have anti-lock brakes
and there is a problem with your regular brakes. See
Brake System Warning Light on page 3-36.
The anti-lock brake system warning light will come on
briefly when you turn the ignition to ON. This is normal.
If the light does not come on then, have it fixed so it
will be ready to warn you if there is a problem.
Speed Sensitive Power
Steering (SSPS) Warning Light
This warning light will
come on briefly when you
turn the ignition to ON
as a check to show you it
is working.
Then it should go out after a few seconds.
If the warning light does not come on, have it fixed so it
will be able to warn you if there is a problem.
If the warning light stays on, or comes on while you are
driving, the SSPS system may not be working. If this
happens, see your GM dealer for service.
3-37
Page 144 of 340
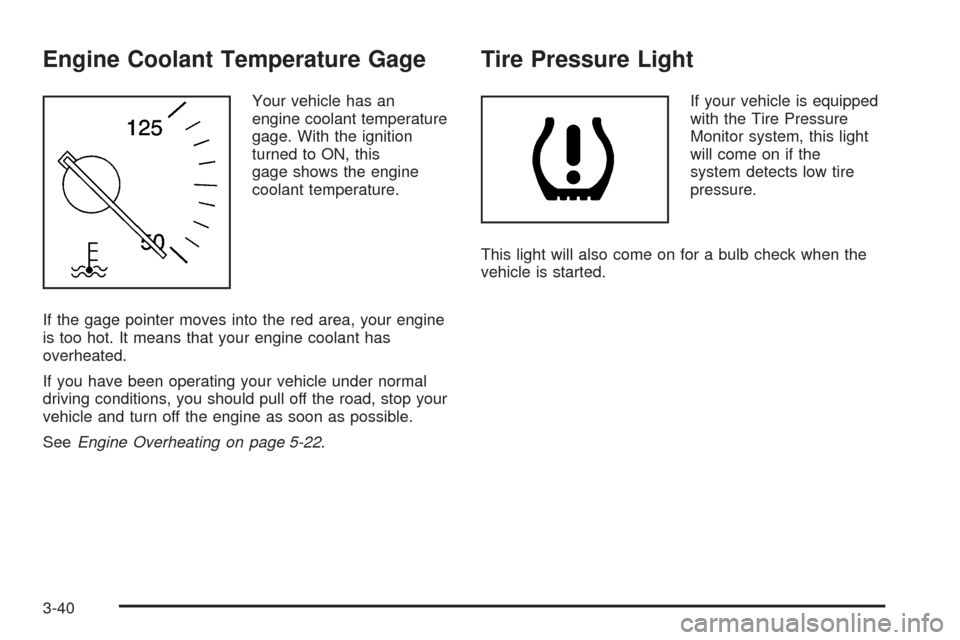
Engine Coolant Temperature Gage
Your vehicle has an
engine coolant temperature
gage. With the ignition
turned to ON, this
gage shows the engine
coolant temperature.
If the gage pointer moves into the red area, your engine
is too hot. It means that your engine coolant has
overheated.
If you have been operating your vehicle under normal
driving conditions, you should pull off the road, stop your
vehicle and turn off the engine as soon as possible.
SeeEngine Overheating on page 5-22.
Tire Pressure Light
If your vehicle is equipped
with the Tire Pressure
Monitor system, this light
will come on if the
system detects low tire
pressure.
This light will also come on for a bulb check when the
vehicle is started.
3-40
Page 146 of 340
If the Light Is Flashing
The following may prevent more serious damage to
your vehicle:
•Reducing vehicle speed
•Avoiding hard accelerations
•Avoiding steep uphill grades
If the light stops flashing and remains on steady, see “If
the Light Is On Steady” following.
If the light continues to flash, when it is safe to do so,
stop the vehicle. Find a safe place to park your vehicle.
Turn the key off, wait at least 10 seconds and restart
the engine. If the light remains on steady, see “If
the Light Is On Steady” following. If the light is still
flashing, follow the previous steps, and see your dealer
for service as soon as possible.
If the Light Is On Steady
You also may be able to correct the emission system
malfunction by considering the following:
Did you recently put fuel into your vehicle?
If so, reinstall the fuel cap, making sure to fully install
the cap. SeeFilling Your Tank on page 5-8. The
diagnostic system can determine if the fuel cap has
been left off or improperly installed. A loose or missing
fuel cap will allow fuel to evaporate into the atmosphere.
A few driving trips with the cap properly installed
should turn the light off.
Did you just drive through a deep puddle of water?
If so, your electrical system may be wet. The condition
will usually be corrected when the electrical system
dries out. A few driving trips should turn the light off.
3-42
Page 148 of 340
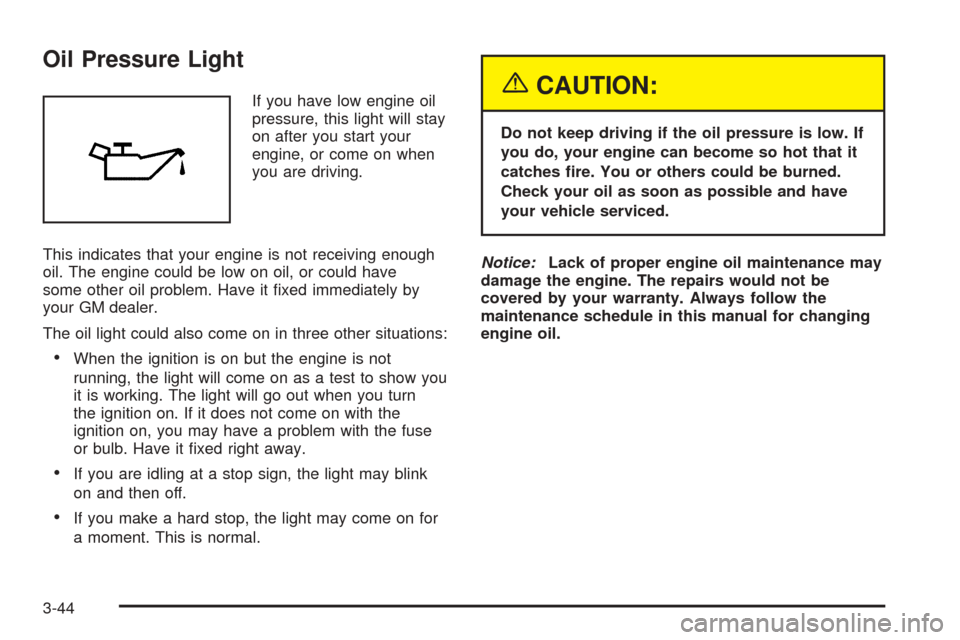
Oil Pressure Light
If you have low engine oil
pressure, this light will stay
on after you start your
engine, or come on when
you are driving.
This indicates that your engine is not receiving enough
oil. The engine could be low on oil, or could have
some other oil problem. Have it fixed immediately by
your GM dealer.
The oil light could also come on in three other situations:
•When the ignition is on but the engine is not
running, the light will come on as a test to show you
it is working. The light will go out when you turn
the ignition on. If it does not come on with the
ignition on, you may have a problem with the fuse
or bulb. Have it fixed right away.
•If you are idling at a stop sign, the light may blink
on and then off.
•If you make a hard stop, the light may come on for
a moment. This is normal.
{CAUTION:
Do not keep driving if the oil pressure is low. If
you do, your engine can become so hot that it
catches �re. You or others could be burned.
Check your oil as soon as possible and have
your vehicle serviced.
Notice:Lack of proper engine oil maintenance may
damage the engine. The repairs would not be
covered by your warranty. Always follow the
maintenance schedule in this manual for changing
engine oil.
3-44
Page 154 of 340
Playing a CD
Insert a CD partway into the slot, label side up. The
player will pull it in and the CD should begin playing.
You can insert a CD with the ignition off.
When the CD is inserted, CDP will appear on the
display. As the CD is loading Filecheck will appear on
the display. As each new track starts to play, Track and
the track number will appear on the display.
If the ignition or radio is turned off with a CD in the
player, it will stay in the player. When the ignition
or radio is turned on, the CD will start playing where it
stopped, if it was the last selected audio source.
The CD player can play the smaller 3 inch (8 cm) single
CDs with an adapter ring. Full-size CDs and the
smaller CDs are loaded in the same manner.
If playing a CD-R the sound quality may be reduced
due to CD-R quality, the method of recording, the quality
of the music that has been recorded, and the way the
CD-R has been handled. You may experience an
increase in skipping, difficulty in finding tracks, and/or
difficulty in loading and ejecting. If these problems occur
try a known good CD.
Do not add paper labels to CDs, they could get caught
in the CD player.
If an error appears on the display, see “CD Messages”
later in this section.2 RPT (Repeat):Press this pushbutton to repeat the
current track. RPT will appear on the display. Press this
pushbutton again to turn off repeat play.
3 INT (SCAN):Press this button to listen to the first few
seconds of each track on each CD inserted. INTRO
will appear on the display. To stop scanning press this
button again. The current track will begin to play.
4 RDM (Random):Press this pushbutton to hear the
tracks in random, rather than sequential, order. RDM will
appear on the display. Press this pushbutton again to
turn off random play.
TRACK (Previous/Next Track):Turn this knob one
notch to go to the start of the current track or to go to the
next track. The track number will appear on the
display. The player will continue moving backward or
forward through the CD with each turn of the knob.
TUN (Forward/Reverse):Push and hold this knob to
fast forward or to reverse through the current track.
AM/FM:Press this button to listen to the radio when a
CD is playing. The inactive CD will remain safely
inside the radio for future listening.
CD:Press this button to play a CD when listening to
the radio. CDP will appear on the display when the CD
player has been selected.
Press this button while a CD is playing to pause the
CD. Track and the track number will flash on the display.
Press this button again to start playing the CD.
3-50