ECU CHEVROLET EXPRESS 1997 1.G User Guide
[x] Cancel search | Manufacturer: CHEVROLET, Model Year: 1997, Model line: EXPRESS, Model: CHEVROLET EXPRESS 1997 1.GPages: 386, PDF Size: 20.32 MB
Page 54 of 386
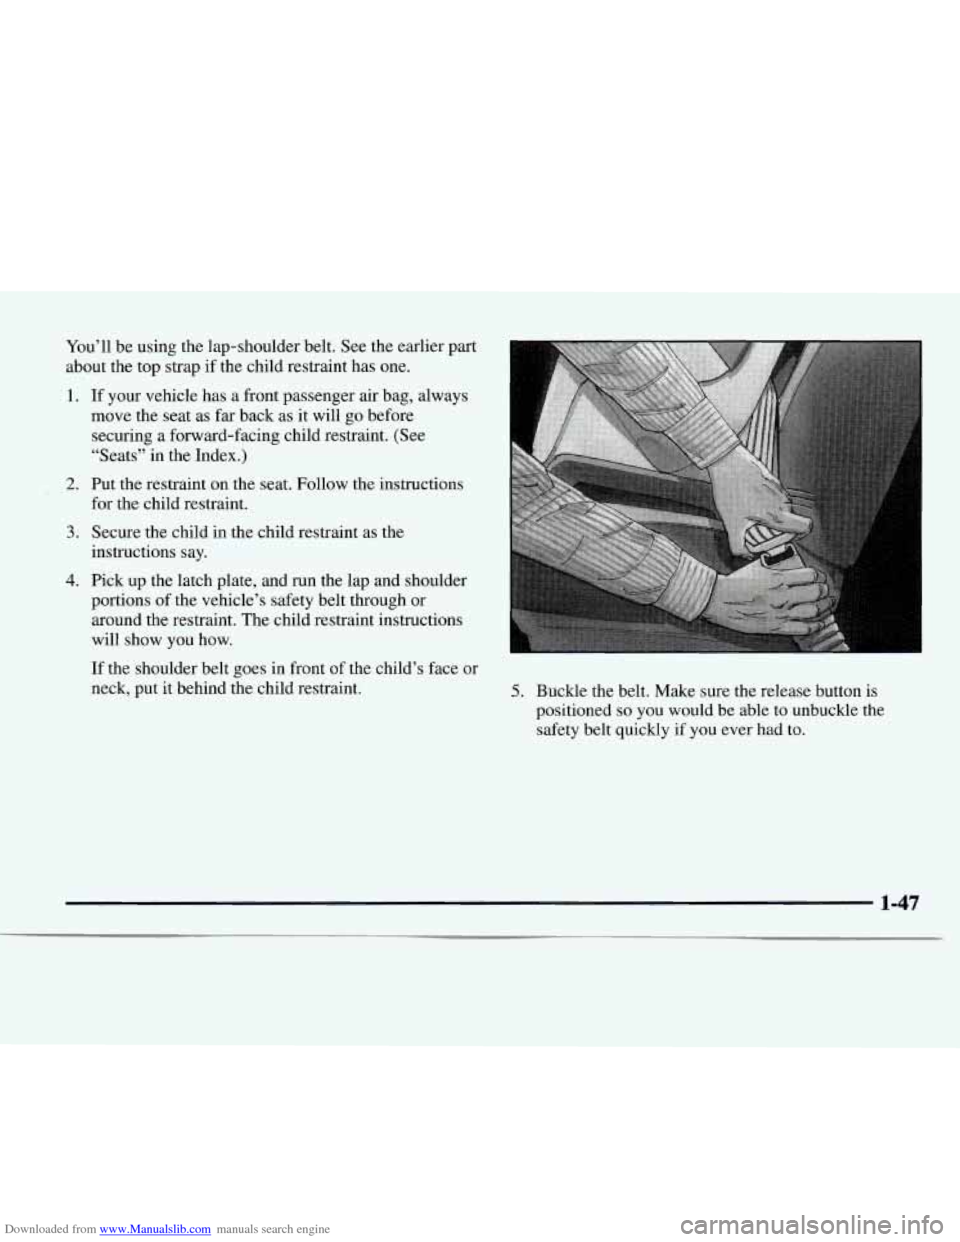
Downloaded from www.Manualslib.com manuals search engine You’ll be using the lap-shoulder belt. See the earlier part
about the top strap if the child restraint has one.
1.
2.
3.
4.
If your vehicle has a front passenger air bag, always
move the seat as far back as it will go before
securing a forward-facing child restraint. (See
“Seats” in the Index.)
Put the restraint on the seat. Follow the instructions
for the child restraint.
Secure the child in the child restraint as the
instructions say.
Pick up the latch plate, and run the lap and shoulder
portions of the vehicle’s safety belt through or
around the restraint. The child restraint instructions
will show you how.
If the shoulder belt goes in front of the child’s face or
neck, put it behind the child restraint.
.. 1
5. Buckle the belt. Make sure the release button is
positioned
so you would be able to unbuckle the
safety belt quickly if you ever had to.
1-47
Page 55 of 386
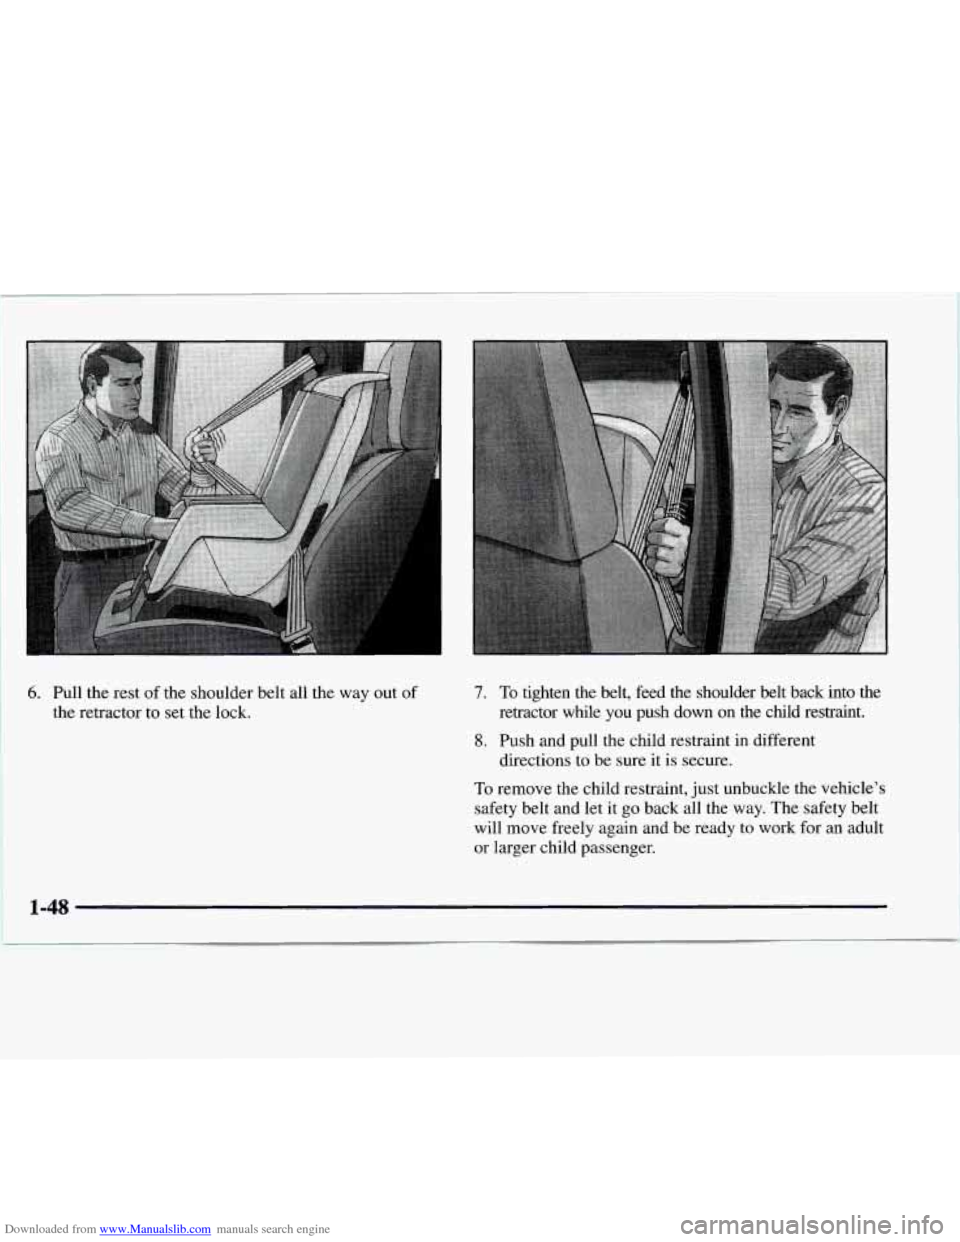
Downloaded from www.Manualslib.com manuals search engine 6. Pull the rest of the shoulder belt all the way out of
the retractor to set the lock.
7. To tighten the belt, feed the shoulder belt back into the
retractor while you push down
on the child restraint.
8. Push and pull the child restraint in different
directions to be sure
it is secure.
To remove the child restraint, just unbuckle the vehicle's
safety belt and let it
go back all the way. The safety belt
will move freely again and be ready to work for an adult
or larger child passenger.
1-48
I
Page 66 of 386
Downloaded from www.Manualslib.com manuals search engine Power Door Locks (Option)
Press the bottom side of the
power door lock switch
to
lock the doors at once.
When
a door is locked, the inside door handle will
not work.
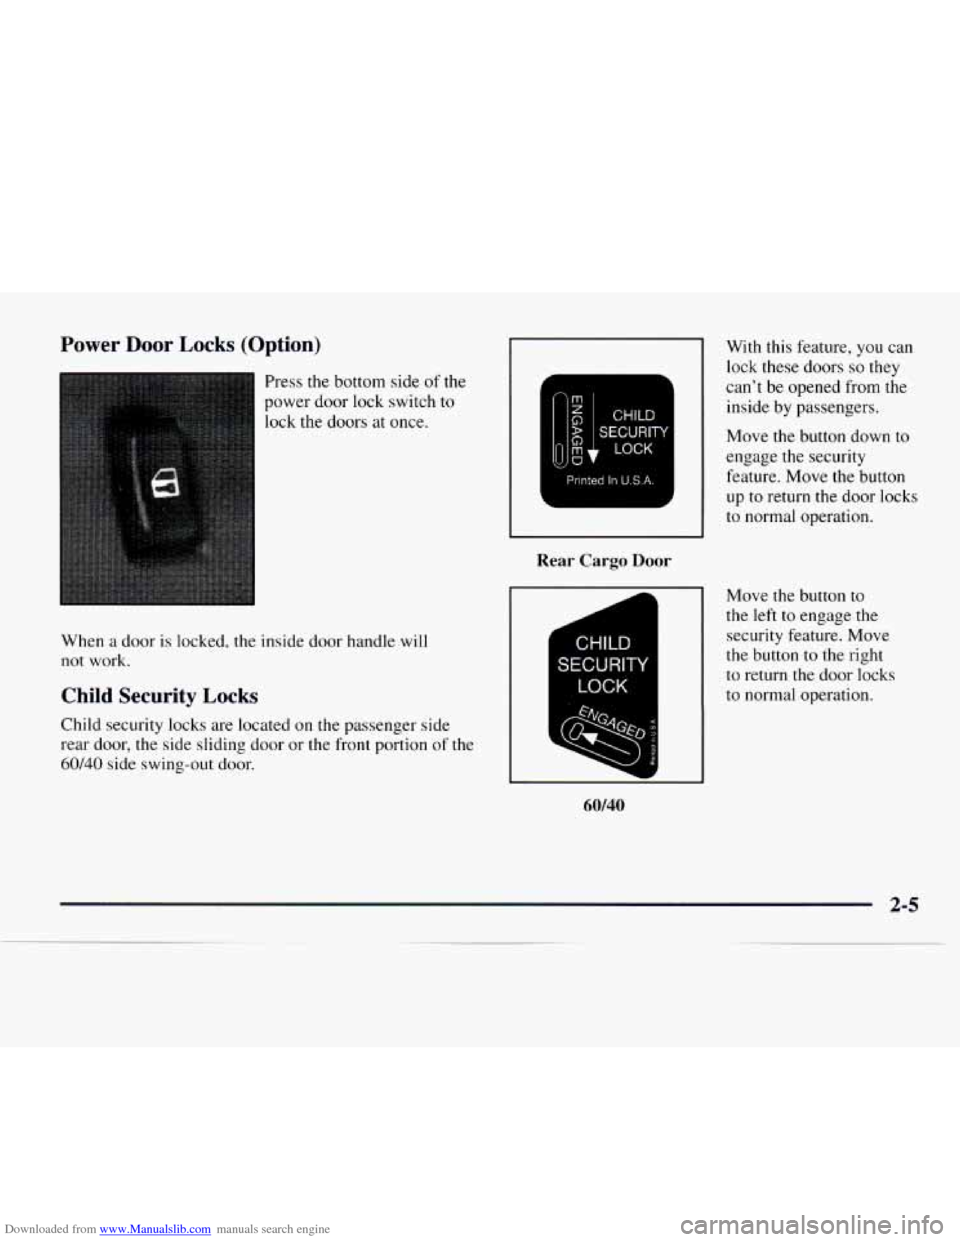
Child Security Locks
Child security locks are located on the passenger side
rear door, the side sliding door or the front portion
of the
60/40 side swing-out door.
p/S$J]
Printed In U.S.A.
Rear Cargo Door
CHILD
SECURITY
LOCK
60/40
With this feature, you can
lock these doors
so they
can’t be opened from the
inside by passengers.
Move the button down to
engage the security
feature. Move the button
up
to return the door locks
to normal operation.
Move the button
to
the left to engage the
security feature. Move
the button to the right
to return the door locks
to normal operation.
2-5
Page 67 of 386
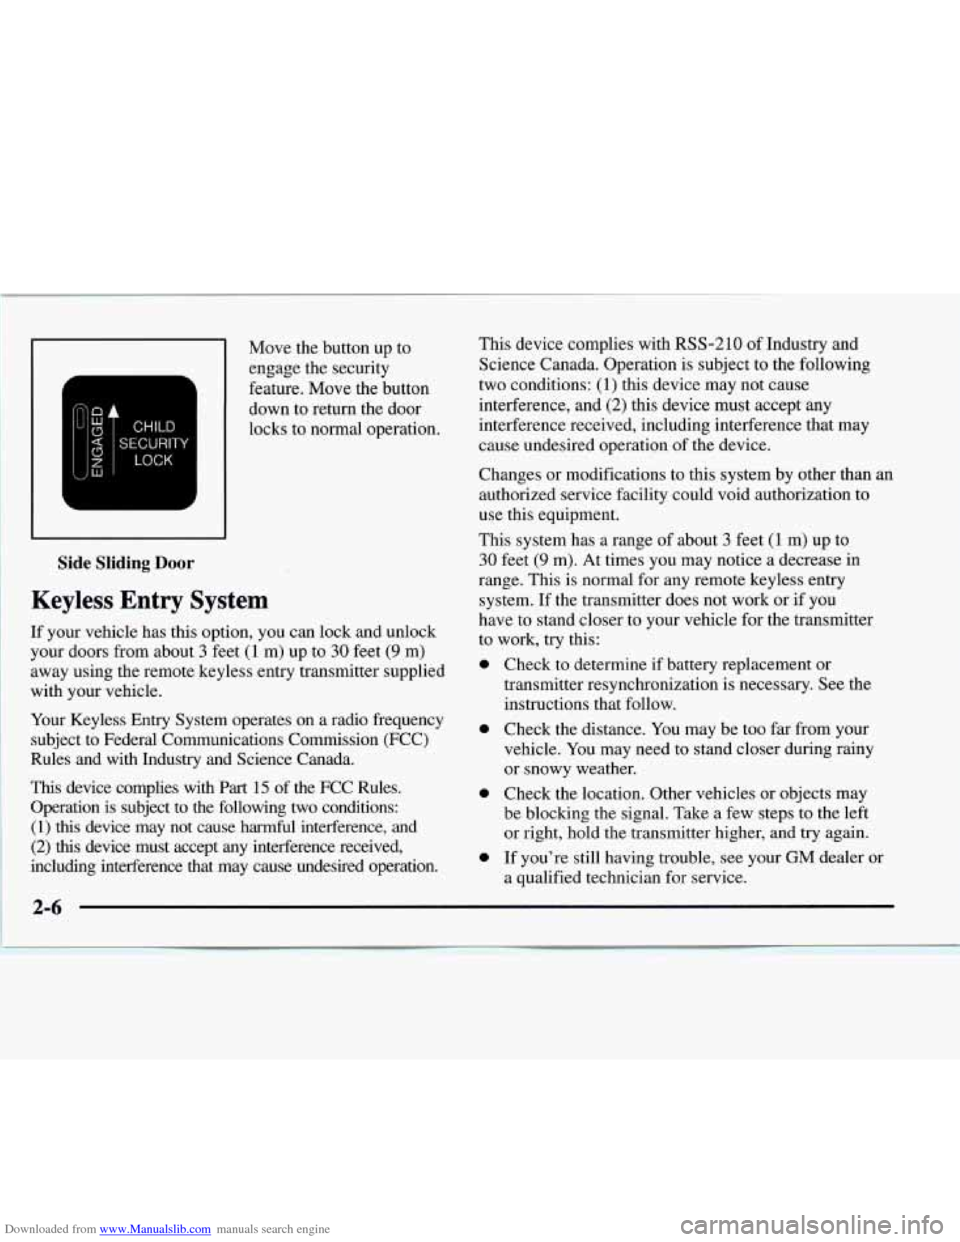
Downloaded from www.Manualslib.com manuals search engine Side Sliding Door
Keyless Entry System
Move the button up to
engage the security
feature. Move the button
down to return the door
locks
to normal operation.
If your vehicle has
this option, you can lock and unlock
your doors from about
3 feet (1 m) up to 30 feet (9 m)
away using the remote keyless entry transmitter supplied
with your vehicle. ~
Your Keyless Entry System operates on a radio frequency
subject to Federal Communications Commission (FCC)
Rules and with Industry and Science Canada.
This device complies with Part 15 of the FCC Rules.
Operation is subject to the following two conditions:
(1) this device may not cause harmful interference, and
(2) this device must accept any interference received,
including interference that may cause undesired operation. This device
complies with
RSS-210 of Industry and
Science Canada. Operation
is subject to the following
two conditions:
(1) this device may not cause
interference, and
(2) this device must accept any
interference received, including interference that may
cause undesired operation of the device.
Changes or modifications to this system by other than an
authorized service facility could void authorization
to
use this equipment.
This system has
a range of about 3 feet (1 m) up to
30 feet (9 m). At times you may notice a decrease in
range. This is normal for any remote keyless entry
system.
If the transmitter does not work or if you
have to stand closer to your vehicle for the transmitter
to work, try this:
0 Check to determine if battery replacement or
transmitter resynchronization is necessary. See the
instructions that follow.
0 Check the distance. You may be too far from your
vehicle. You may need to stand closer during rainy
or snowy weather.
0 Check the location. Other vehicles or objects may
be blocking the signal. Take a few steps
to the left
or right, hold the transmitter higher, and try again.
0 If you’re still having trouble, see your GM dealer or
a qualified technician for service.
Page 69 of 386
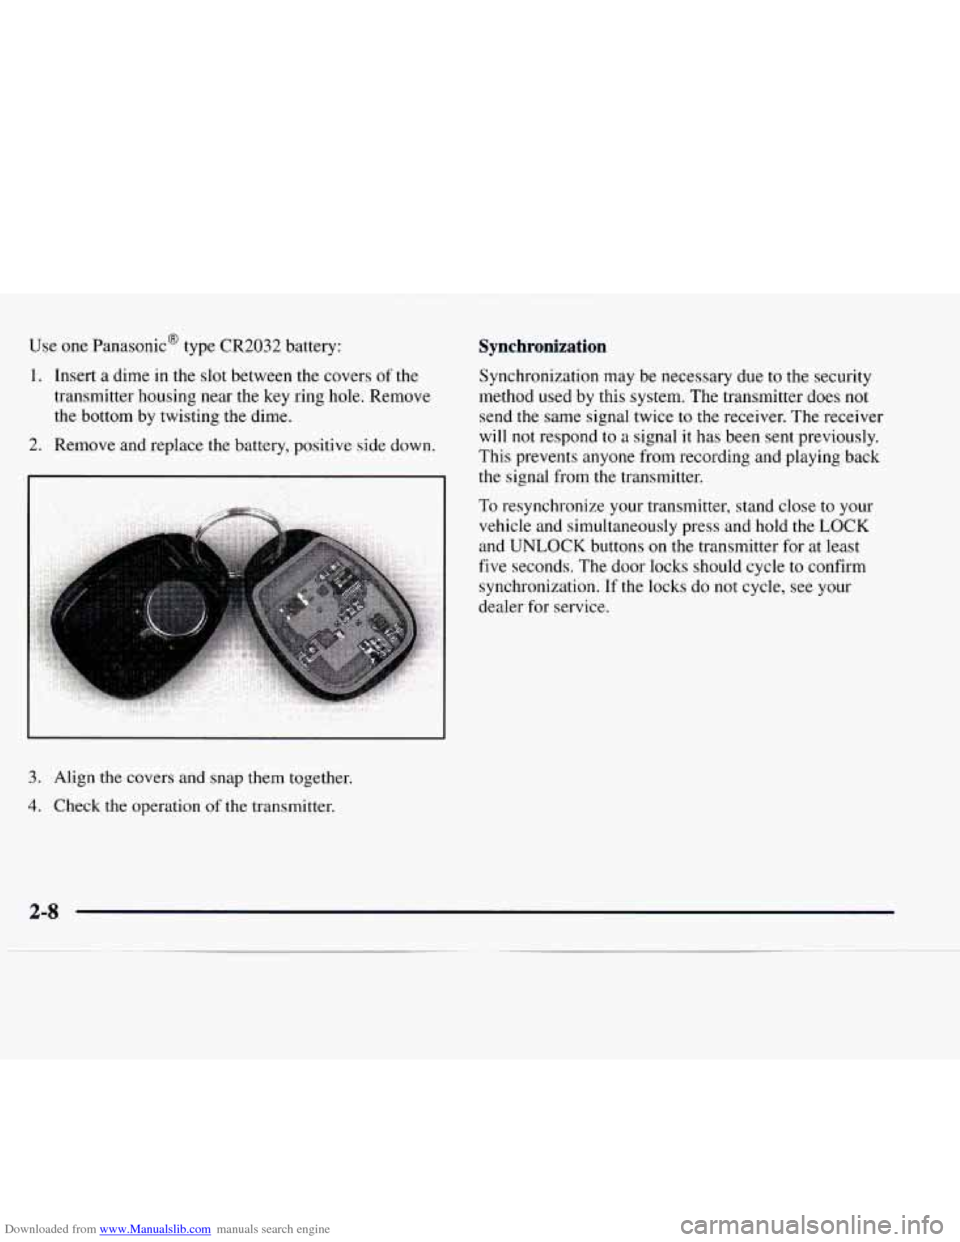
Downloaded from www.Manualslib.com manuals search engine Use one PanasonicB type CR2032 battery:
1. Insert a dime in the slot between the covers of the
transmitter housing near
the key ring hole. Remove
the bottom by twisting the dime.
2. Remove and replace the battery, positive side down.
3. Align the covers and snap them together.
4. Check the operation of the transmitter.
Synchronization
Synchronization may be necessary due to the security
method used by this system. The transmitter does not
send the same signal twice to the receiver. The receiver
will not respond to a signal it has been sent previously.
This prevents anyone from recording and playing back
the signal from the transmitter.
To resynchronize your transmitter, stand close to your
vehicle and simultaneously press and hold
the LOCK
and UNLOCK buttons on the transmitter for at least
five seconds. The door locks should cycle to confirm
synchronization. If the locks do not cycle, see your
dealer for service.
2-8
Page 147 of 386
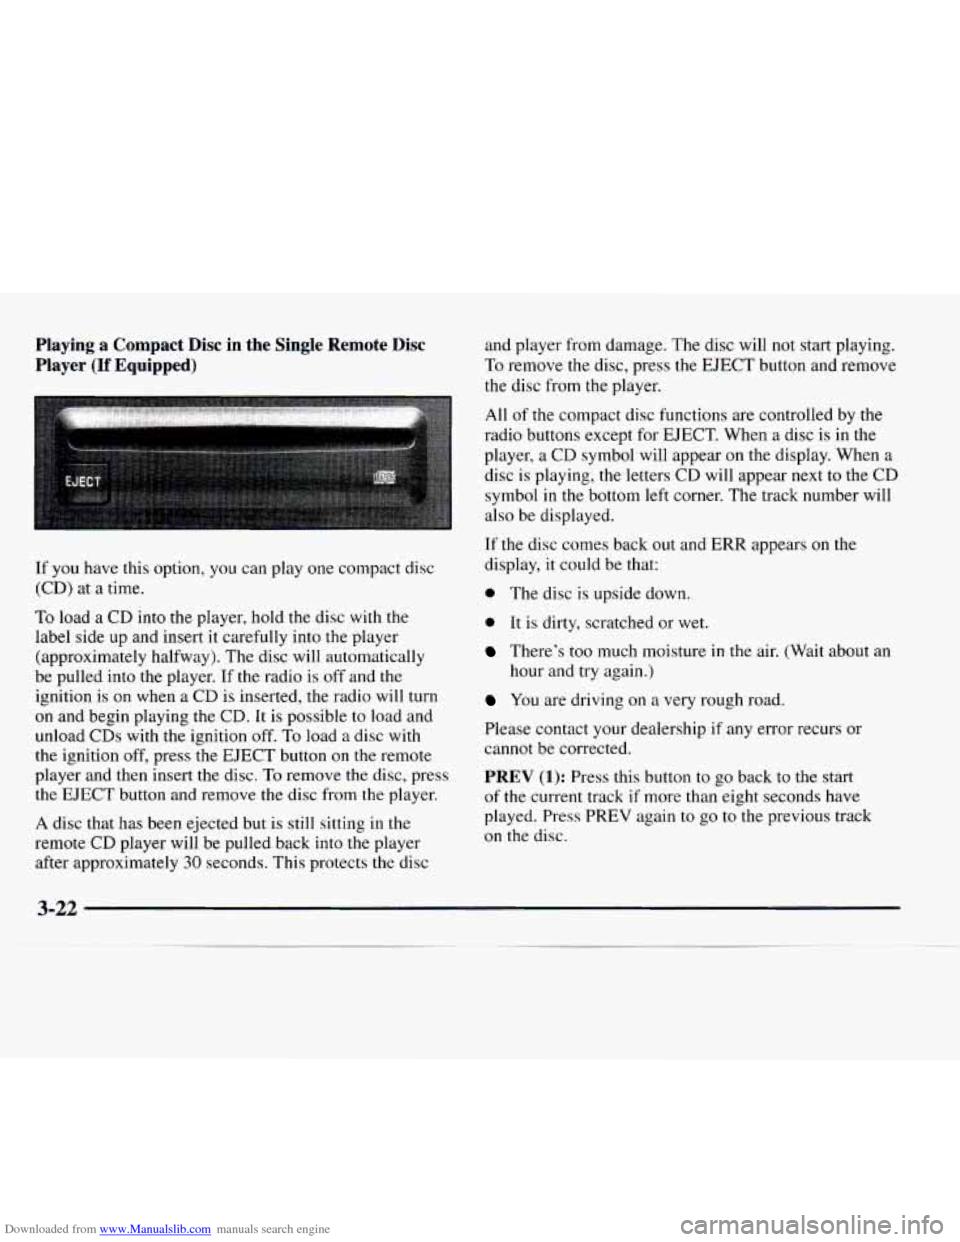
Downloaded from www.Manualslib.com manuals search engine Playing a Compact Disc in the Single Remote Disc
Player
(If Equipped)
If you have this option, you can play one compact disc
(CD) at
a time.
To load a CD into the player, hold the disc with the
label side up and insert it carefully into the player
(approximately halfway). The disc will automatically
be pulled into the player.
If the radio is off and the
ignition is on when a CD is inserted, the radio will turn
on and begin playing the CD. It is possible to load and
unload
CDs with the ignition off. To load a disc with
the ignition off, press the EJECT button on the remote
player and then insert the disc.
To remove the disc, press
the EJECT button and remove the disc from the player.
A disc that has been ejected but is still sitting in the
remote CD player will be pulled back into the player
after approximately
30 seconds. This protects the disc and
player from damage. The disc will not start playing.
To remove the disc, press the EJECT button and remove
the disc from
the player.
All of the compact disc functions are controlled by the
radio buttons except for EJECT. When a disc is in the
player, a CD symbol will appear on the display. When a
disc is playing,
the letters CD will appear next to the CD
symbol
in the bottom left corner. The track number will
also be displayed.
If the disc comes back out and ERR appears on the
display, it could be that:
0 The disc is upside down.
0 It is dirty, scratched or wet.
There’s too much moisture in the air. (Wait about an
hour and try again.)
You are driving on a very rough road.
Please contact your dealership if any error recurs or
cannot be corrected.
PREV (1): Press this button to go back to the start
of the current track if more than eight seconds have
played. Press PREV again to
go to the previous track
on
the disc.
Page 149 of 386
Downloaded from www.Manualslib.com manuals search engine Activating the Theft-Deterrent Feature
The instructions which follow, explain how to enter your
secret code to activate the THEFTLOCK system. It is
recommended that you read through all nine steps
before starting the procedure.
NOTE:
If you allow more than 15 sec.onds to elapse
between any steps, the radio automatically reverts to
time and you must start the procedure over at Step
4.
1.
2.
3.
4.
5.
6.
7.
Write down any three or four-digit number from
000 to 1999 and keep it in a safe place separate
from the vehicle.
Turn the ignition to ACCESSORY or
RUN.
Turn the radio off.
Press the
1 and 4 buttons together. Hold them down
until
--- shows on the display. Next you will use the
secret code number which you have written down.
Press MN and
000 will appear on the display.
Press MN again
to make the last two digits agree
with your code.
Press
HR to make the first one or two digits agree
with your code.
8.
9. Press AM-FM after you have confirmed that the
code matches the secret code you have written down.
The display will show REP to let
you know that you
need to repeat Steps 5 through 7 to confirm your
secret code.
Press AM-FM and this time the display will show
SEC to let you know that your radio is secure. The
indicator by the volume control will begin flashing
when the ignition is turned off.
Unlocking the Theft-Deterrent Feature After a
Power
Loss
Enter your secret code as follows; pause no more than
15 seconds between steps:
1. LOC appears when the ignition is on.
2. Press MN and 000 will appear on the display.
3. Press MN again to make the last two digits agree
with
your code.
4. Press HR to make the first one or two digits agree
with your code.
code matches
the secret code you have written down.
The display will show SEC, indicating the radio
is
now operable and secure.
5. Press AM-FM after you have confirmed that the
Page 150 of 386
Downloaded from www.Manualslib.com manuals search engine If you enter the wrong code eight times, INOP will
appear
on the display. You will have to wait an hour
with the ignition
on before you can try again. When you
try again,
you will only have three chances to enter the
correct code before
INOP appears.
If
you lose or forget your code, contact your dealer.
Disabling the Theft-Deterrent Feature
Enter your secret code as follows; pause no more than
15 seconds between steps:
1. Turn the ignition to ACCESSORY or RUN.
2. Turn the radio off.
3. Press the 1 and 4 buttons together. Hold them down
4. Press MN and 000 will appear on the display.
until
SEC shows on the display.
5. Press MN again to make the last two digits agree
with your code.
with your code.
6. Press HR to make the first one or two digits agree
7. Press AM-FM after you have confirmed that the
code matches
the secret code you have written down.
The display will show
---, indicating that the radio
is
no longer secured.
If the code entered is incorrect, SEC will appear on the
display. The radio will remain secured until the correct
code is entered.
When battery power is removed and later applied to
a secured radio, the radio won’t turn
on and LOC will
appear on the display.
To unlock
a secured radio, see “Unlocking the
Theft-Deterrent Feature After
a Power Loss” earlier
in this section.
Understanding Radio Reception
FM Stereo
FM stereo will give you the best sound. But FM signals
will reach only about
10 to 40 miles (16 to 65 km). Tall
buildings or hills can interfere with
FM signals, causing
the sound
to come and go.
AM
The range for most AM stations is greater than for FM,
especially at night. The longer range, however, can
cause stations to interfere with each other. AM can pick
up noise from things like storms and power lines. Try
reducing
the treble to reduce this noise if you ever get it.
3-25
Page 177 of 386
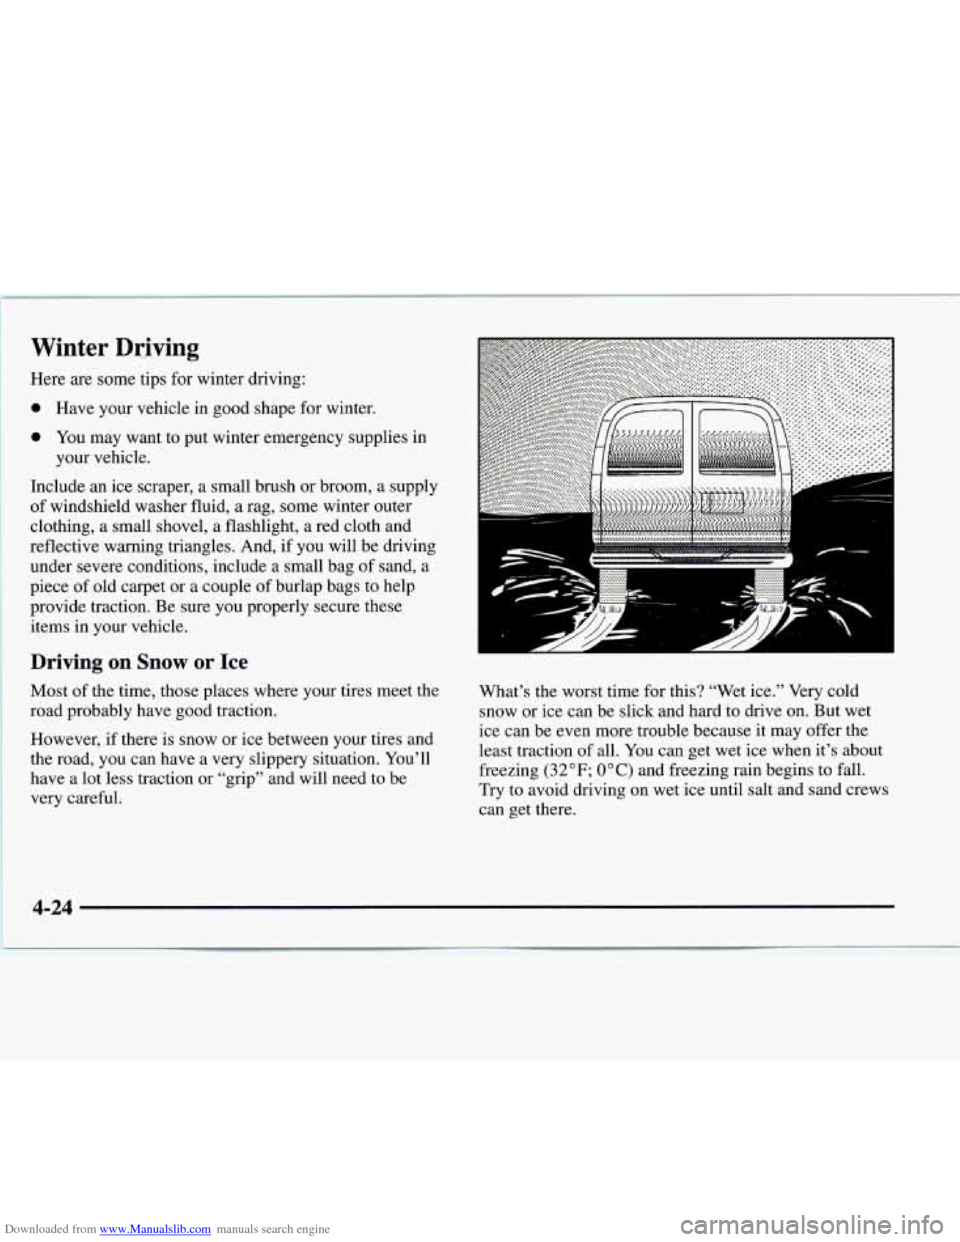
Downloaded from www.Manualslib.com manuals search engine Winter Dri-ving
Here are some tips for winter driving:
0 Have your vehicle in good shape for winter.
0 You may want to put winter emergency supplies in
Include an ice scraper, a small brush or broom,
a supply
of windshield washer fluid, a rag, some winter outer
clothing, a small shovel, a flashlight, a red cloth and
reflective warning triangles. And, if you will be driving
under severe conditions, .include a small bag of sand, a
piece of old carpet or a couple of burlap bags to help
provide traction. Be sure you properly secure these
items in your vehicle. your vehicle.
Driving on Snow or Ice
Most
of the time, those places where your tires meet the
road probably have good traction.
However, if there is snow or ice between your tires and
the road, you can have a very slippery situation. You’ll
have a lot less traction or “grip” and will need to be
very careful.
- ......... ........ ......... ........ ......... ........ ......... ........ ......... ........ ......... ........ ..... 1 11.1u1
V’
What’s the worst time for this? “Wet ice.” Very cold
snow or ice can be slick and hard to drive on. But wet
ice can be even more trouble because it may offer the
least traction of all. You can get wet ice when it’s about
freezing
(32°F; OOC) and freezing rain begins to fall.
Try to avoid driving on wet ice until salt and sand crews
can get there.
4-24
Page 181 of 386
Downloaded from www.Manualslib.com manuals search engine The Certificatioflire label also tells you the maximum
weights for the front and rear axles, called Gross Axle
Weight Rating (GAWR).
To find out the actual loads on
your front and rear axles, you need to go
to a weigh
station and weigh your vehicle. Your dealer can help
you with this. Be sure to spread out your load equally
on
both sides of the centerline.
Never exceed the GVWR for your vehicle, or the
GAWR for either the front or rear axle.
And, if you do have a heavy load, you should spread
it out.
Do not load your vehicle any heavier than the
GVWR, or either the maximum front or rear
GAWR.
If you do, parts on your vehicle can
break, or it can change the
way your vehicle
handles. These could cause you to lose control.
Also, overloading can shorten the life of
your vehicle.
-
C *.UTION:
Things you put inside your vehicle can strike
and injure people in
a sudden stop or turn, or
in
a crash.
0 Put things in the cargo area of your vehicle.
Never stack heavier things, like suitcases,
Try to spread the weight evenly.
inside the vehicle
so that some of them are
above the tops of the seats.
0 Don’t leave an unsecured child restraint in
your vehicle.
When you carry something inside the
vehicle, secure
it whenever you can.
Don’t leave a seat folded down unless you
need to.
4-28