CHEVROLET EXPRESS 1998 1.G Owners Manual
Manufacturer: CHEVROLET, Model Year: 1998, Model line: EXPRESS, Model: CHEVROLET EXPRESS 1998 1.GPages: 386, PDF Size: 20.74 MB
Page 111 of 386
Downloaded from www.Manualslib.com manuals search engine Exterior Lamps one more detent will activate the interior dome light
circuit (with slightly higher effort).
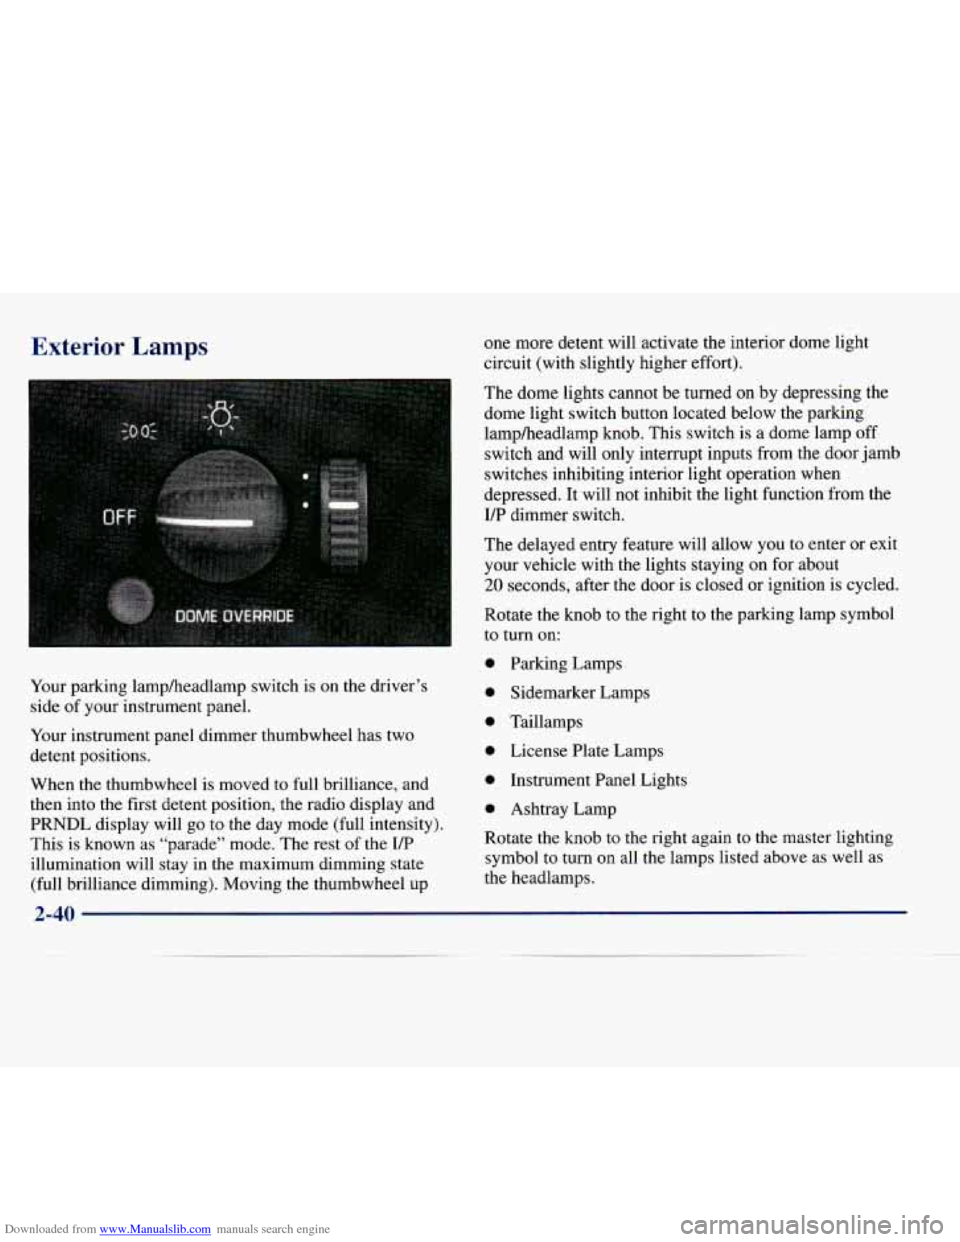
Your parking lampheadlamp switch is on the driver’s
side
of your instrument panel.
Your instrument panel dimmer thumbwheel has two
detent positions.
When the thumbwheel is moved
to full brilliance, and
then into the first detent position,
the radio display and
PRNDL display will go
to the day mode (full intensity).
This is known as “parade” mode. The rest of the I/P
illumination will stay in the maximum dimming state
(full brilliance dimming). Moving the thumbwheel up The dome
lights cannot be turned on by depressing the
dome light switch button located below the parking
lampheadlamp knob. This switch
is a dome lamp off
switch and will only interrupt inputs from the door jamb
switches inhibiting interior light operation when
depressed. It will not inhibit the light function from the
I/P dimmer switch.
The delayed entry feature will allow you to enter
or exit
your vehicle with the lights staying
on for about
20 seconds, after the door is closed or ignition is cycled.
Rotate the knob to the right to the parking lamp symbol
to turn on:
0 Parking Lamps
0 Sidemarker Lamps
0 Taillamps
0 License Plate Lamps
0 Instrument Panel Lights
0 Ashtray Lamp
Rotate the knob to
the right again to the master lighting
symbol
to turn on all the lamps listed above as well as
the headlamps.
2-40
Page 112 of 386
Downloaded from www.Manualslib.com manuals search engine Rotate the knob to the left to OFF to turn off your lamps
and lights.
Rotate the thumbwheel next to the switch knob up to
adjust instrument panel lights. Rotate the thumbwheel
up to the first notch
to return the radio display and
gearshift indicator Vacuum Fluorescence
(VF) display
to full intensity when the headlamps or parking lamps
are on.
Rotate the thumbwheel up to the second notch
to
activate the interior dome lamps.
You can switch your headlamps from high to low beam
by pulling
on the turn signalhigh beam lever.
A circuit breaker protects your headlamps. If you have
an electrical overload, your headlamps will flicker on
and off. Have your headlamp wiring checked right away
if this happens.
Headlamps On Reminder
A tone will sound when your headlamps are turned on
and your ignition is in
OFF, LOCK or ACCESSORY. If
you need to use your headlamps when the ignition
switch is in
OFF, LOCK or ACCESSORY, the tone can
be turned off by turning the thumbwheel next to the
parking lampheadlamp switch all the way down.
Daytime Running Lamps
Daytime Running Lamps (DRL) can make it easier for
others to see the front of your vehicle during the day.
DIU can be helpful in many different driving
conditions, but they can be especially helpful in the
short periods after dawn and before sunset.
2-41
Page 113 of 386
Downloaded from www.Manualslib.com manuals search engine The DRL system will make your headlamps come on at
a reduced brightness when:
0 The ignition is on,
0 The headlamp switch is off, and
The parking brake is released.
When the DRL are on, only your headlamps will be on.
The taillamps, sidemarker and other lamps won’t be on.
Your instrument panel won’t be lit up either.
When it begins to get dark, your
DRL indicator light is
a reminder to turn y,our headlamp switch on. The other
lamps that come
on with your headlamps will also
come on.
When you turn off the headlamp switch, the regular
lamps will go off, and your headlamps will change to
the reduced brightness of DRL.
To idle your vehicle with the engine on and the DRL off,
set the parking brake. The DRL will stay off until you
release
the parking brake.
As with any vehicle, you should turn on the regular
headlamp system when you need
it.
Center High-Mounted Stoplamp
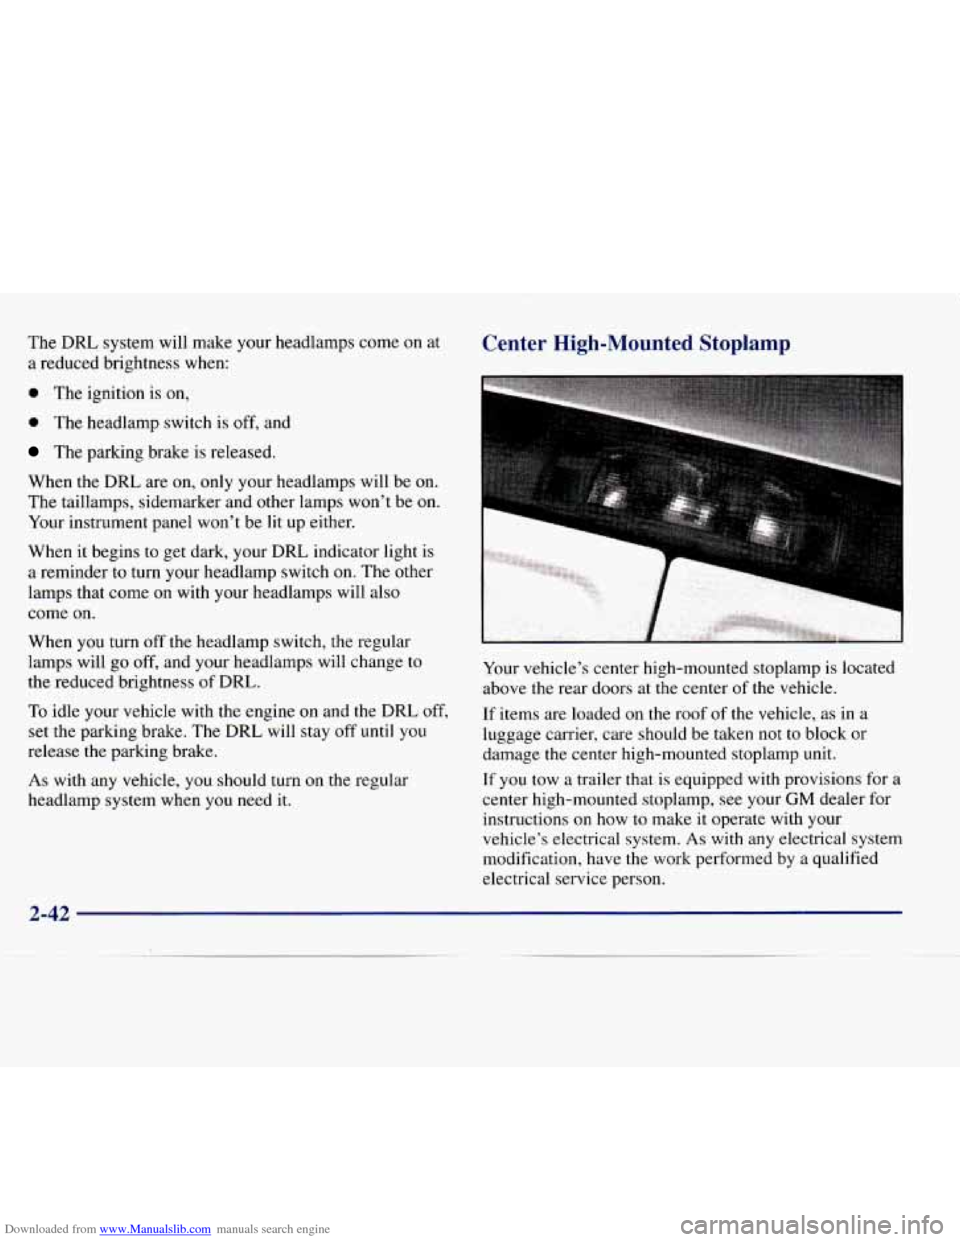
Your vehicle’s center high-mounted stoplamp is located
above the rear doors at the center
of the vehicle.
If items are loaded
on the roof of the vehicle, as in a
luggage carrier, care should be taken not
to block or
damage the center high-mounted stoplamp unit.
If you tow a trailer that is equipped with provisions for
a
center high-mounted stoplamp, see your GM dealer for
instructions
on how to make it operate with your
vehicle’s electrical system. As with any electrical system
modification, have the work performed
by a qualified
electrical service person.
2-42
Page 114 of 386
Downloaded from www.Manualslib.com manuals search engine 3
Interior Lamps
Dome Lamps
The dome lamps will come on when you open the doors.
You can also turn the dome lamps
on by rotating the
thumbwheel, located next
to the headlamp knob, all
the way up to the second notch.
In this position, the
dome lamps will remain
on whether the doors are open
or closed.
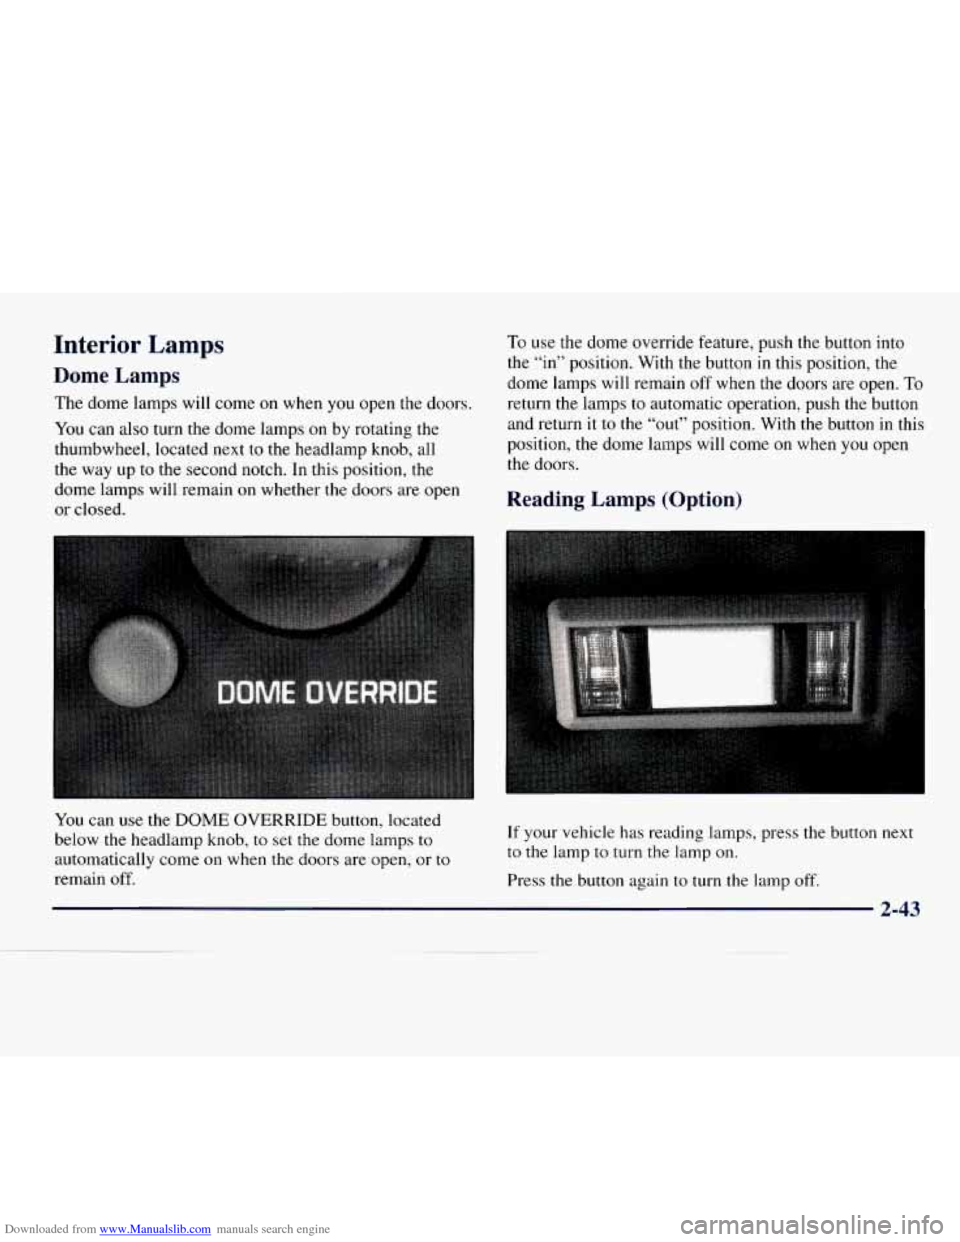
To use the dome override feature, push the button into
the “in” position. With the button
in this position, the
dome lamps will remain
off when the doors are open. To
return the lamps
to automatic operation, push the button
and return
it to the “out” position. With the button in this
position, the dome lamps will come on when
you open
the doors.
Reading Lamps (Option)
You can use the DOME OVERRIDE button, located
below
the headlamp knob, to set the dome lamps to
automatically come on when the doors are open, or to
remain
off.
If your vehicle has reading lamps, press the button next
to the lamp to turn the lamp on.
Press the button again to turn the lamp off.
2-43
Page 115 of 386
Downloaded from www.Manualslib.com manuals search engine Underhood Reel Lamp (Option)
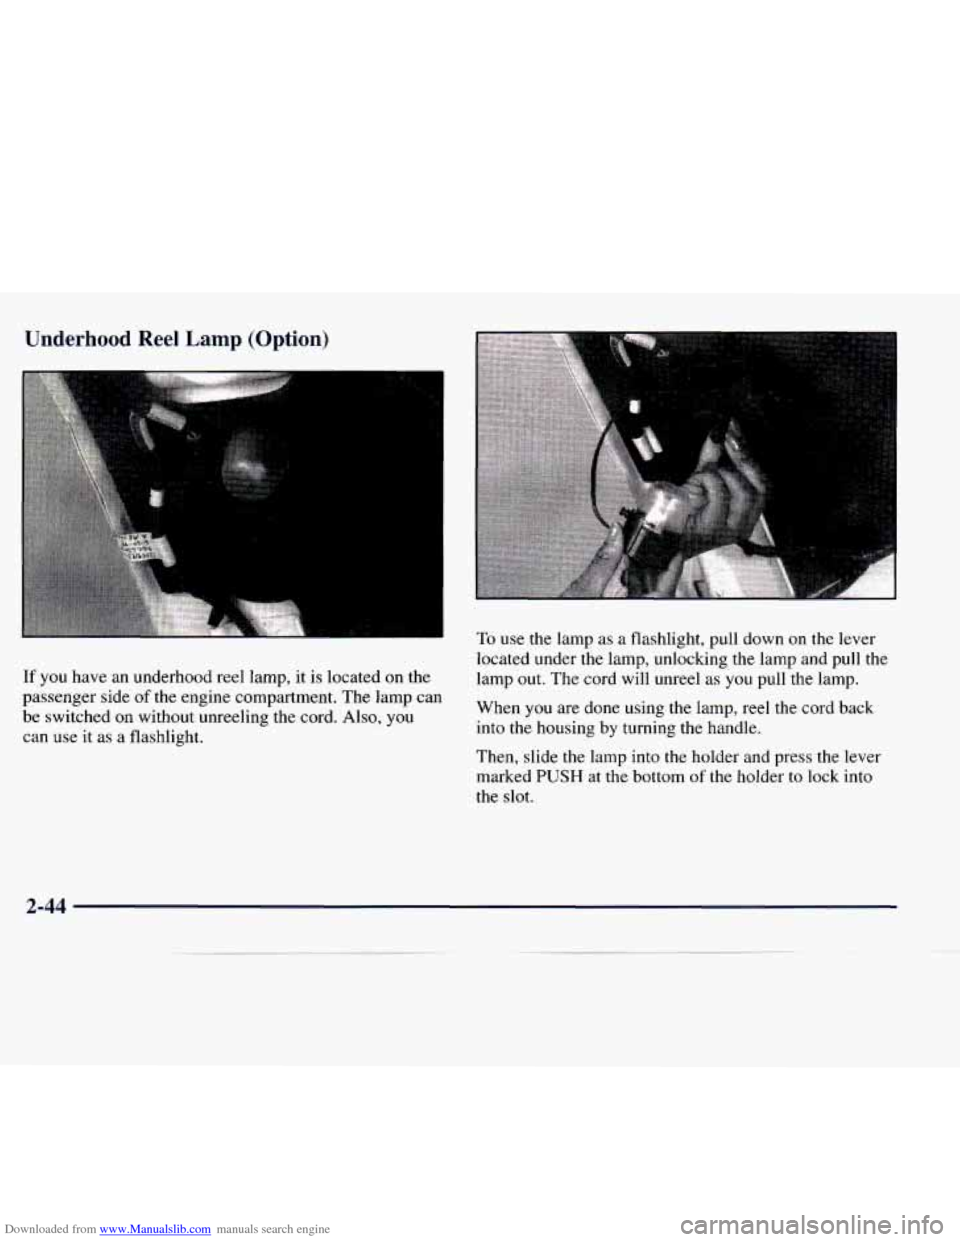
If you have an underhood reel lamp, it is located on the
passenger side
of the engine compartment. The lamp can
be switched on without unreeling the cord. Also,
you
can use it as a flashlight.
To use the lamp as a flashlight, pull down on the lever
located under the lamp, unlocking the lamp and pull the
lamp out. The cord will unreel as
you pull the lamp.
When you are done using the lamp, reel the cord back
into the housing by turning the handle.
Then, slide the lamp into the holder and press the lever
marked
PUSH at the bottom of the holder to lock into
the slot.
2-44
Page 116 of 386
Downloaded from www.Manualslib.com manuals search engine Mirrors
Inside Daymight Rearview Mirror
Pull the tab under the mirror toward you to reduce glare
from headlamps behind you after dark. Push the tab
away from you to restore mirror to original position.
Outside Mirrors
Adjust your outside mirrors so you can just see the
side of your vehicle, and have
a clear view of objects
behind
you. Some mirrors can be folded in to enter
narrow doorways.
Electric Outside Rearview Mirrors (Option)
If you have electric mirrors, they can be adjusted to
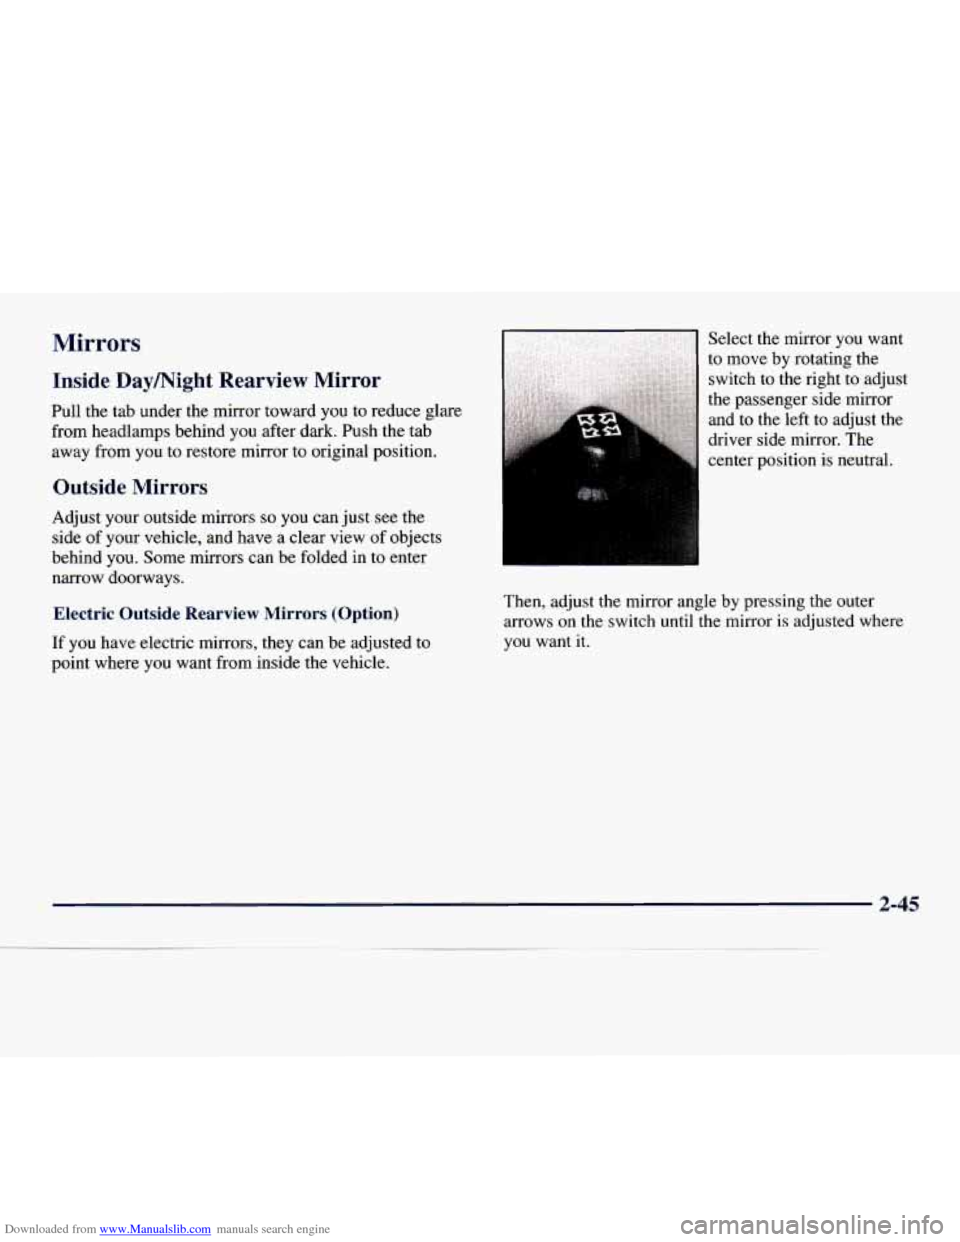
point where you want from inside the vehicle. Select
the mirror you want
to
move by rotating the
switch to the right to adjust
the passenger side mirror
and to the left to adjust the
driver side mirror. The
center position is neutral.
Then, adjust the mirror angle by pressing the outer
arrows
on the switch until the mirror is adjusted where
you want it.
2-45
Page 117 of 386
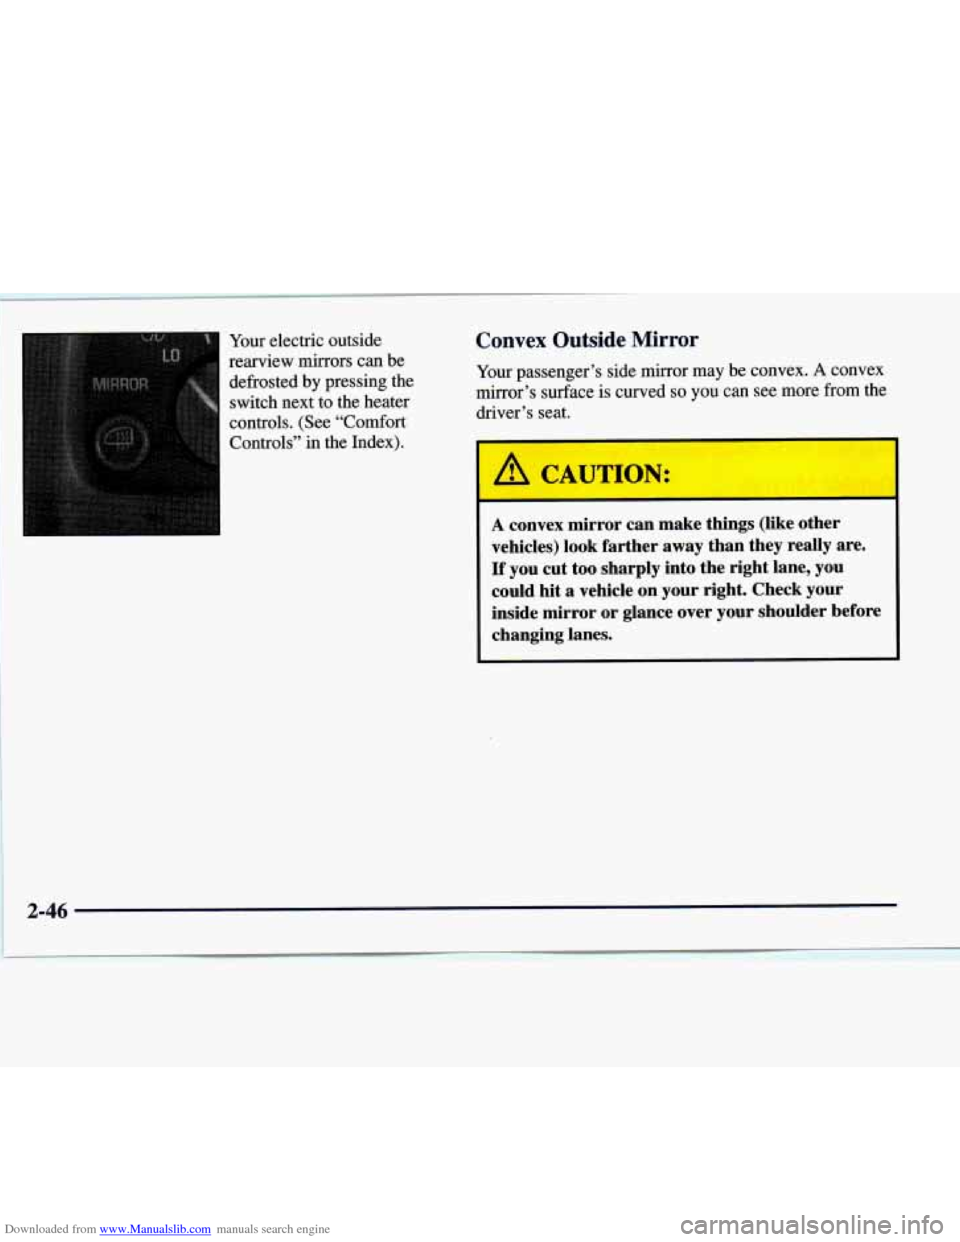
Downloaded from www.Manualslib.com manuals search engine Your electric outside
rearview
mirrors can be
defiosted’by pressing the switch next
to the heater
contsols. (See “Comfort
Controls” in the Index).
Convex Outside Mirror
Your passenger’s side mirror may be convex. A convex
mirror’s surface is curved so you can see more from the
driver’s seat.
A CAUTION:
A convex mirror can make things (like other
vehicles) look farther away than they really are.
If you cut too sharply into the right lane, you
could hit a vehicle
on your right. Check your
inside mirror
or glance over your shoulder before
changing lanes.
2-46
Page 118 of 386
Downloaded from www.Manualslib.com manuals search engine Camper-’l[r--- ~ Mirrors (If Equipped)
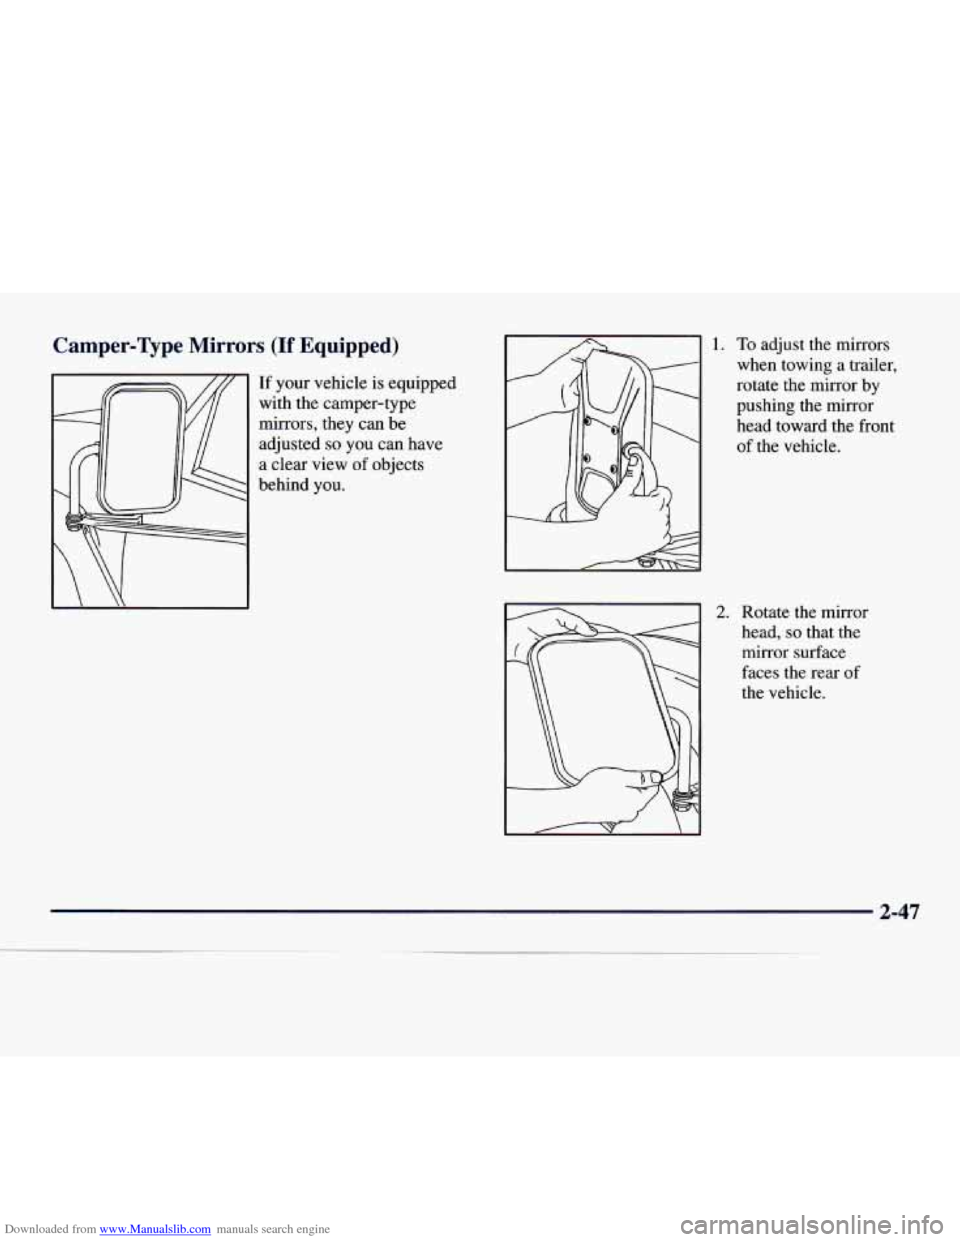
If your vehicle is equipped
with the camper-type
mirrors, they can be
adjusted
so you can have
a clear
view of objects
behind you.
1. To adjust the mirrors
when towing a trailer,
rotate the mirror by
pushing the mirror
head toward the front
of the vehicle.
2. Rotate the mirror
head,
so that the
mirror surface
faces
the rear of
the vehicle.
2-47
Page 119 of 386
Downloaded from www.Manualslib.com manuals search engine Storage Compartments
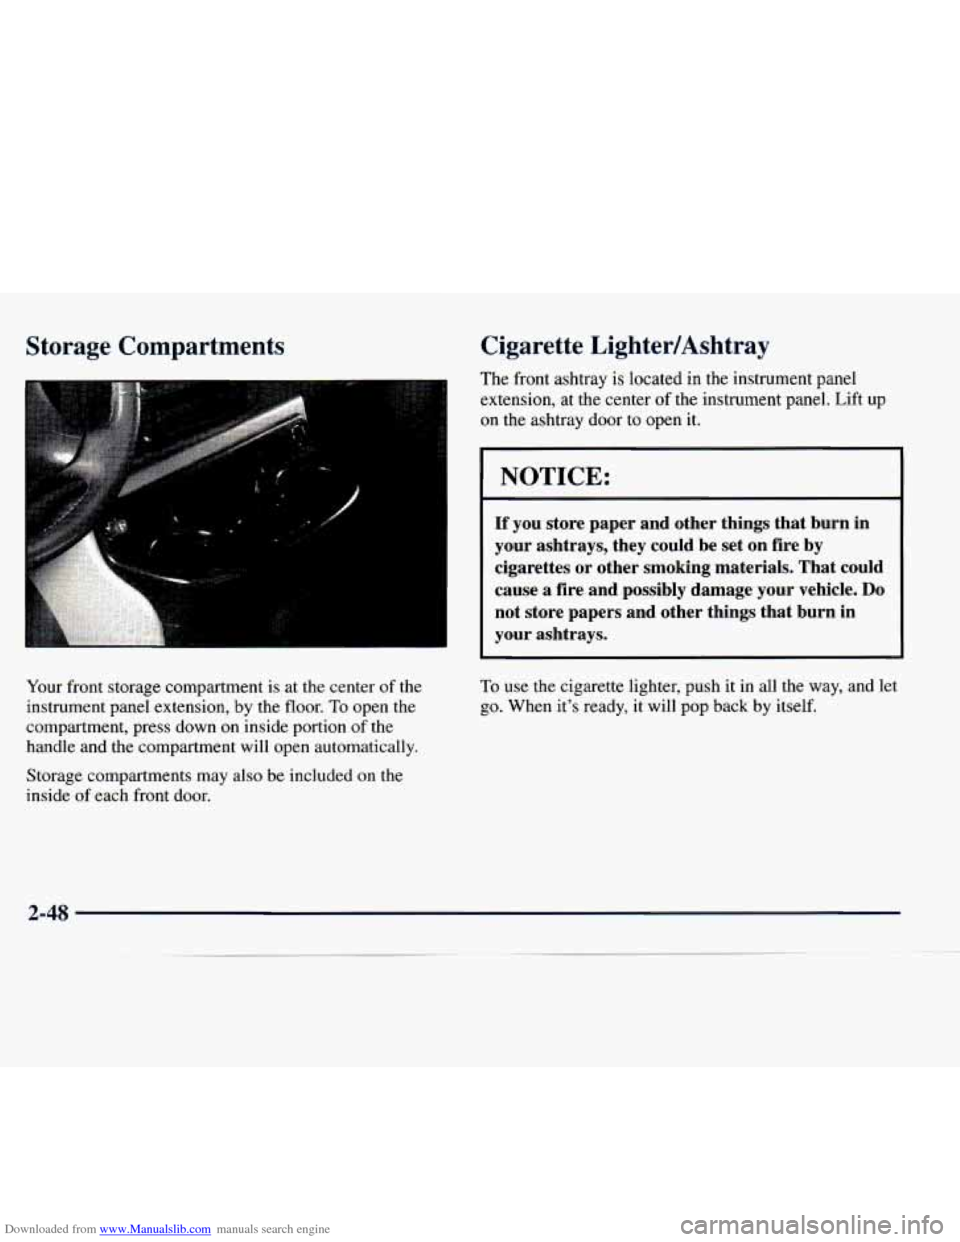
Your front storage compartment is at the center of the
instrument panel extension, by the floor.
To open the
compartment, press down on inside portion
of the
handle and the compartment will open automatically.
Cigarette LightedAshtray
The front ashtray is located in the instrument panel
extension, at the center
of the instrument panel. Lift up
on the ashtray door to open
it.
NOTICE:
If you store paper and other things that burn in
your ashtrays, they could be set
on fire by
cigarettes or other smoking materials. That could
cause a fire and possibly damage your vehicle. Do
not store papers and other things that burn in
your ashtrays.
To use the cigarette lighter, push it in all the way, and let
go. When it’s ready, it will pop back
by itself.
Storage compartments may also be included on the
inside
of each front door.
2-48
Page 120 of 386
Downloaded from www.Manualslib.com manuals search engine NOTICE:
Holding a cigarette lighter in with your hand
while it is heating can make it overload.
Sun Visors
To block out glare, you can swing down the visors. You
can also swing them from side
to side. Your visors have
elastic straps you can use to hold items such as maps.
damaging the lighter and the heating element. Visor Vanity Mirror (Option)
Just push the lighter all the way in and let go.
When it’s done, it will pop back by itself. lamps. Just lift the mirror cover on each visor to turn the
Some
visors have mirrors built in, with or without
lamps on, if
you have them.
To remove the front ashtray, pull up on the tab with a
key or screw driver inserted in the tab, and lift the
ashtray out. Lighted
mirrors also have an intensity switch to make
the mirror lamps brighter or dimmer. Just slide the
switch
to the top for brighter light and to the bottom for
dimmer light.
2-49