tow CHEVROLET EXPRESS 1998 1.G Owner's Manual
[x] Cancel search | Manufacturer: CHEVROLET, Model Year: 1998, Model line: EXPRESS, Model: CHEVROLET EXPRESS 1998 1.GPages: 386, PDF Size: 20.74 MB
Page 101 of 386
Downloaded from www.Manualslib.com manuals search engine Running Your Engine While
You’re Parked
It’s better not to park with the engine running. But if
ever
you have to, here are some things to know.
Idling the engine with the air system control
off
could allow dangerous exhaust into your vehicle
(see the earlier Caution under “Engine Exhaust”).
Also, idling in
a closed-in place can let deadly
carbon monoxide (CO) into your vehicle even
if the fan switch
is at the highest setting. One
place this can happen
is a garage. Exhaust -- with
CO -- can come in easily. NEVER park in a
garage with the engine running.
Another closed-in place can be
a blizzard.
(See “Blizzard” in the Index.)
A CAUTlON:
~
It can be dangerbus to get out of your vehicle if
the shift lever is not fully in PARK
(P) with the
parking brake firmly set. Your vehicle can roll.
Don’t leave your vehicle when the engine is
running unless you have to. If you’ve left the
engine running, the vehicle can move suddenly.
You or others could be injured. To be sure your
vehicle won’t move, even when you’re on fairly
level ground, always set your parking brake and
move the shift lever to
PARK (P).
Follow the proper steps to be sure your vehicle won’t
move. See “Shifting Into
PARK (P)” in the Index.
If you’re pulling a trailer, see “Towing a Trailer” in
the Index.
Locking Rear Axle (If Equipped)
If you have this feature, your locking rear axle can give
you additional traction on snow, mud, ice, sand or
gravel. It works like
a standard axle most of the time,
but when one
of the rear wheels has no traction and the
other does, this feature will allow the wheel with
traction to move the vehicle.
2-30
Page 103 of 386
Downloaded from www.Manualslib.com manuals search engine Swing-Out Windows
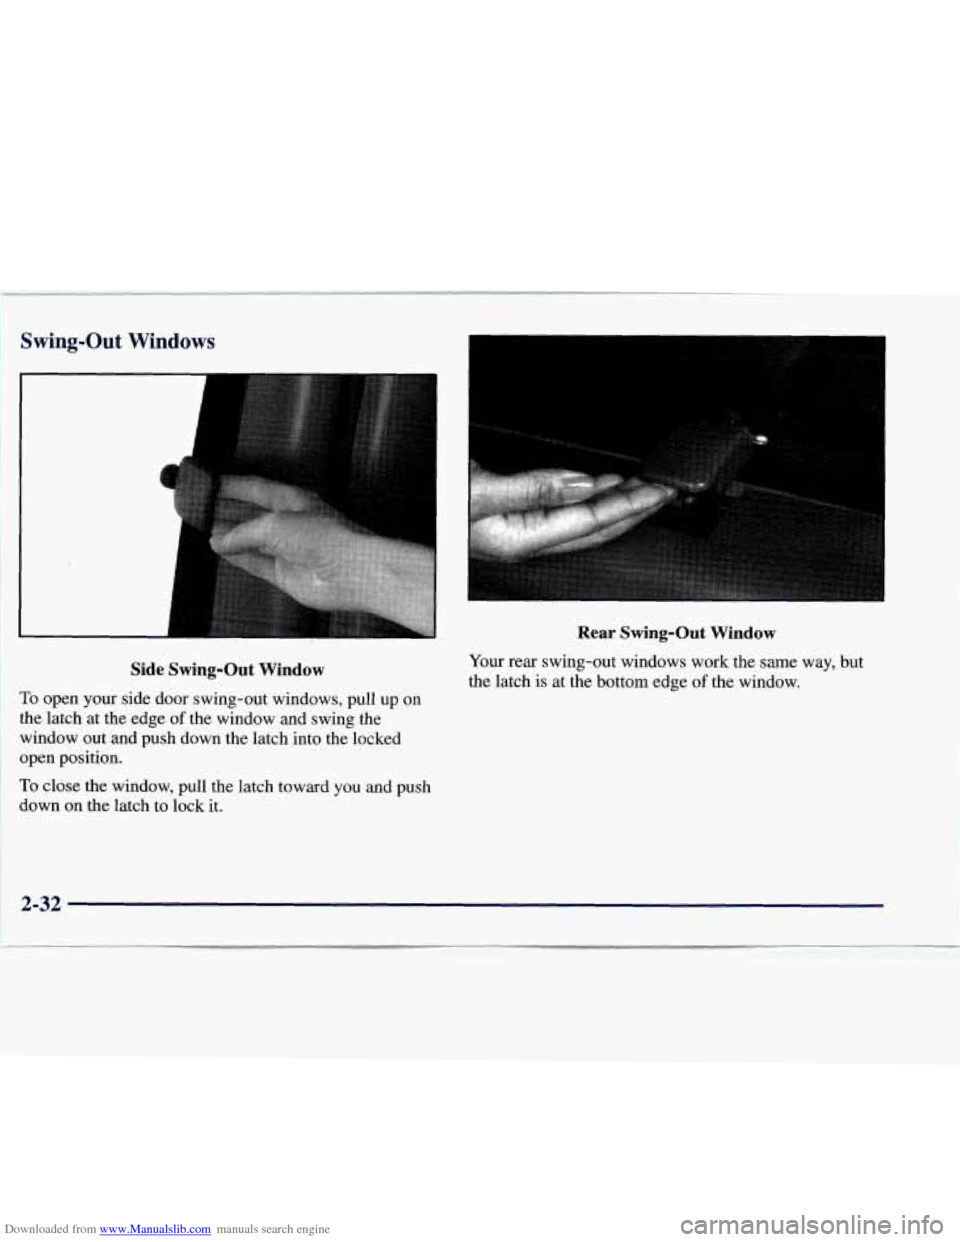
Side Swing-Out Window
To open your side door swing-out windows, pull up on
the latch at the edge of the window and swing the
1 window out and push down the latch into the locked
open position.
1 To close the window, pull the latch toward you and push
' down on the latch to lock it.
Rear Swing-Out Window
Your rear swing-out windows work the same way, but
the latch is at the bottom edge
of the window.
2-32
Page 106 of 386
Downloaded from www.Manualslib.com manuals search engine Turn Signal and Lane Change Signals
The turn signal has two upward (for right) and two
downward (for left) positions. These positions allow
you to signal a turn or a lane change.
To signal a turn, move the lever all the way up
or down. When the turn is finished, the lever
will return automatically.
H
LI
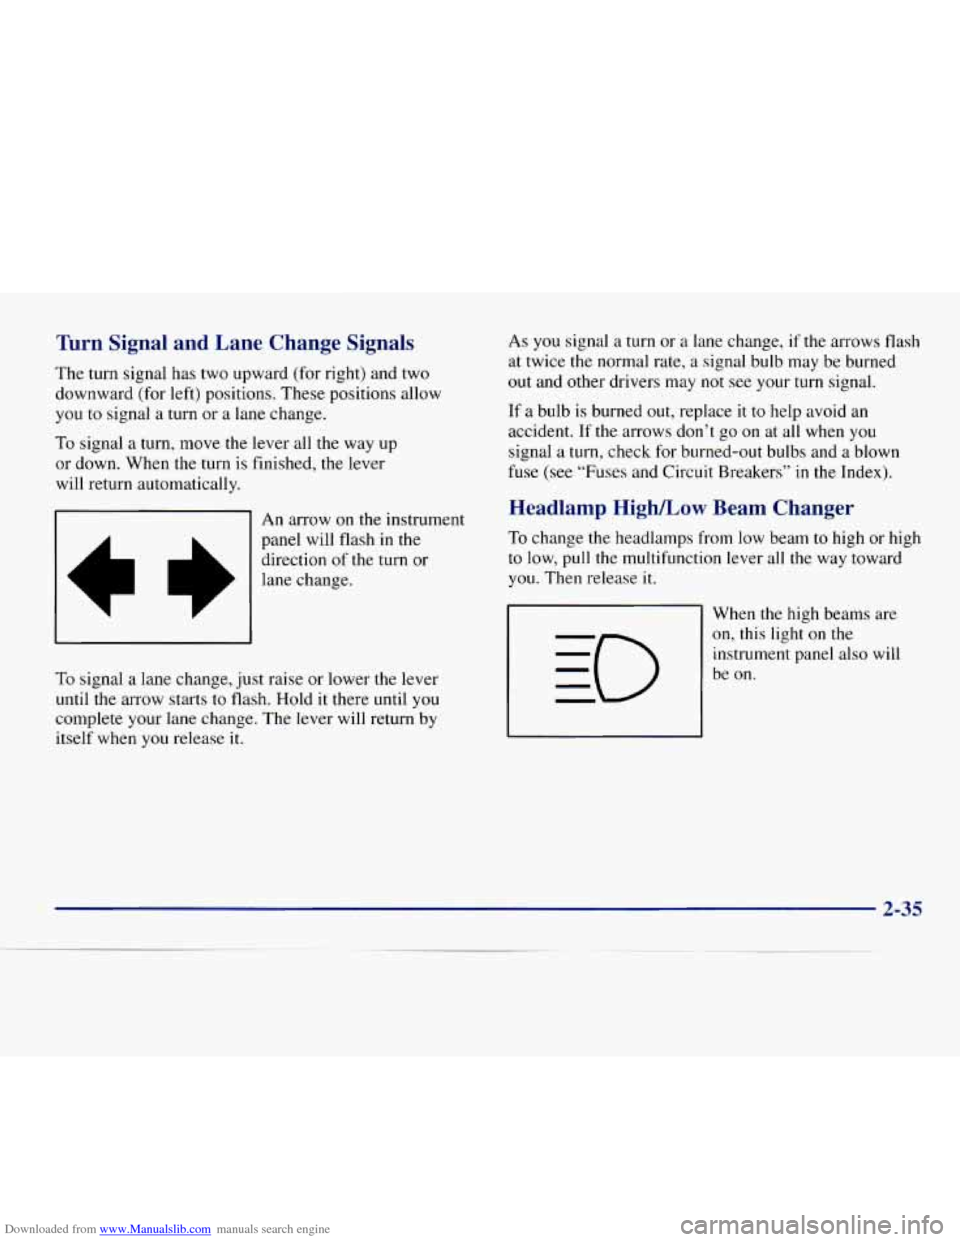
An arrow on the instrument
panel will flash
in the
direction of the turn or
lane change.
To signal
a lane change, just raise or lower the lever
until the arrow starts to flash. Hold it there until you
complete your lane change. The lever will return by
itself when you release it. As
you signal a
turn or a lane change, if the arrows flash
at twice the normal rate,
a signal bulb may be burned
out and other drivers may not see your turn signal.
If
a bulb is burned out, replace it to help avoid an
accident. If
the arrows don’t go on at all when you
signal a turn, check for burned-out bulbs and a blown
fuse (see “Fuses and Circuit Breakers”
in the Index).
Headlamp High/Low Beam Changer
To change the headlamps from low beam to high or high
to low, pull the multifunction lever all the way toward
you. Then release it.
When the high beams are
on, this light on the
instrument panel also will
be on.
2-35
Page 113 of 386
Downloaded from www.Manualslib.com manuals search engine The DRL system will make your headlamps come on at
a reduced brightness when:
0 The ignition is on,
0 The headlamp switch is off, and
The parking brake is released.
When the DRL are on, only your headlamps will be on.
The taillamps, sidemarker and other lamps won’t be on.
Your instrument panel won’t be lit up either.
When it begins to get dark, your
DRL indicator light is
a reminder to turn y,our headlamp switch on. The other
lamps that come
on with your headlamps will also
come on.
When you turn off the headlamp switch, the regular
lamps will go off, and your headlamps will change to
the reduced brightness of DRL.
To idle your vehicle with the engine on and the DRL off,
set the parking brake. The DRL will stay off until you
release
the parking brake.
As with any vehicle, you should turn on the regular
headlamp system when you need
it.
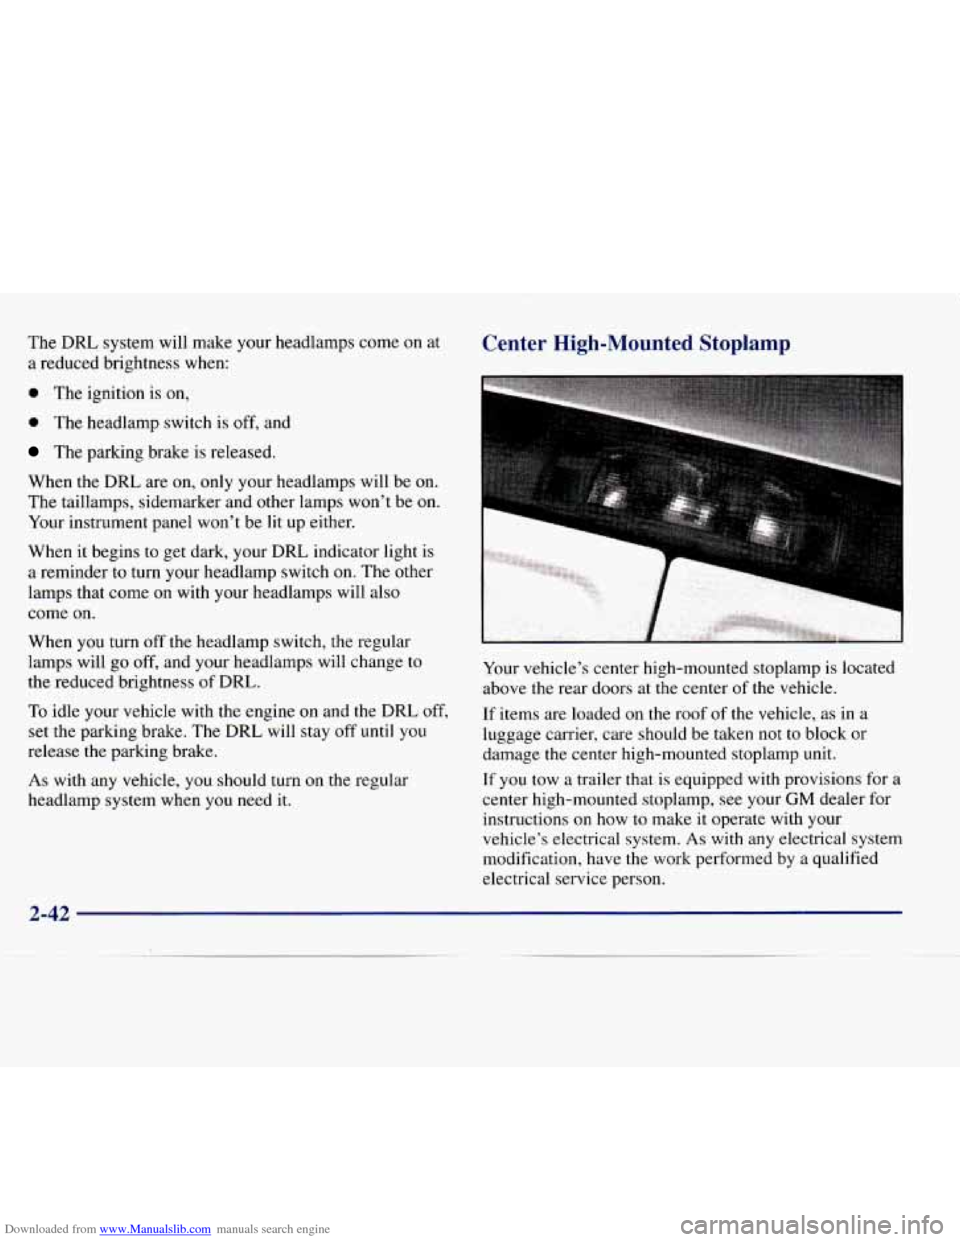
Center High-Mounted Stoplamp
Your vehicle’s center high-mounted stoplamp is located
above the rear doors at the center
of the vehicle.
If items are loaded
on the roof of the vehicle, as in a
luggage carrier, care should be taken not
to block or
damage the center high-mounted stoplamp unit.
If you tow a trailer that is equipped with provisions for
a
center high-mounted stoplamp, see your GM dealer for
instructions
on how to make it operate with your
vehicle’s electrical system. As with any electrical system
modification, have the work performed
by a qualified
electrical service person.
2-42
Page 116 of 386
Downloaded from www.Manualslib.com manuals search engine Mirrors
Inside Daymight Rearview Mirror
Pull the tab under the mirror toward you to reduce glare
from headlamps behind you after dark. Push the tab
away from you to restore mirror to original position.
Outside Mirrors
Adjust your outside mirrors so you can just see the
side of your vehicle, and have
a clear view of objects
behind
you. Some mirrors can be folded in to enter
narrow doorways.
Electric Outside Rearview Mirrors (Option)
If you have electric mirrors, they can be adjusted to
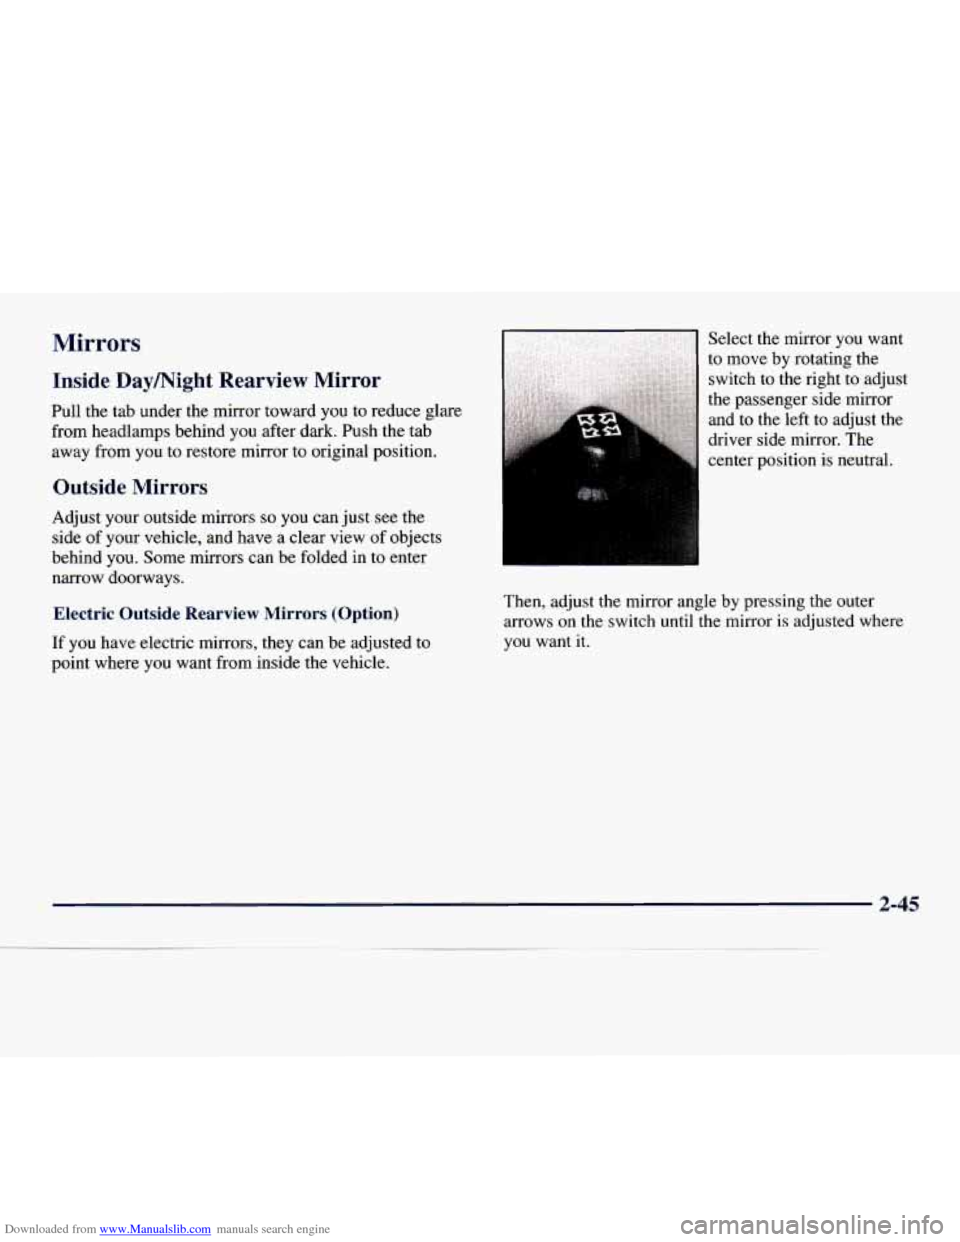
point where you want from inside the vehicle. Select
the mirror you want
to
move by rotating the
switch to the right to adjust
the passenger side mirror
and to the left to adjust the
driver side mirror. The
center position is neutral.
Then, adjust the mirror angle by pressing the outer
arrows
on the switch until the mirror is adjusted where
you want it.
2-45
Page 118 of 386
Downloaded from www.Manualslib.com manuals search engine Camper-’l[r--- ~ Mirrors (If Equipped)
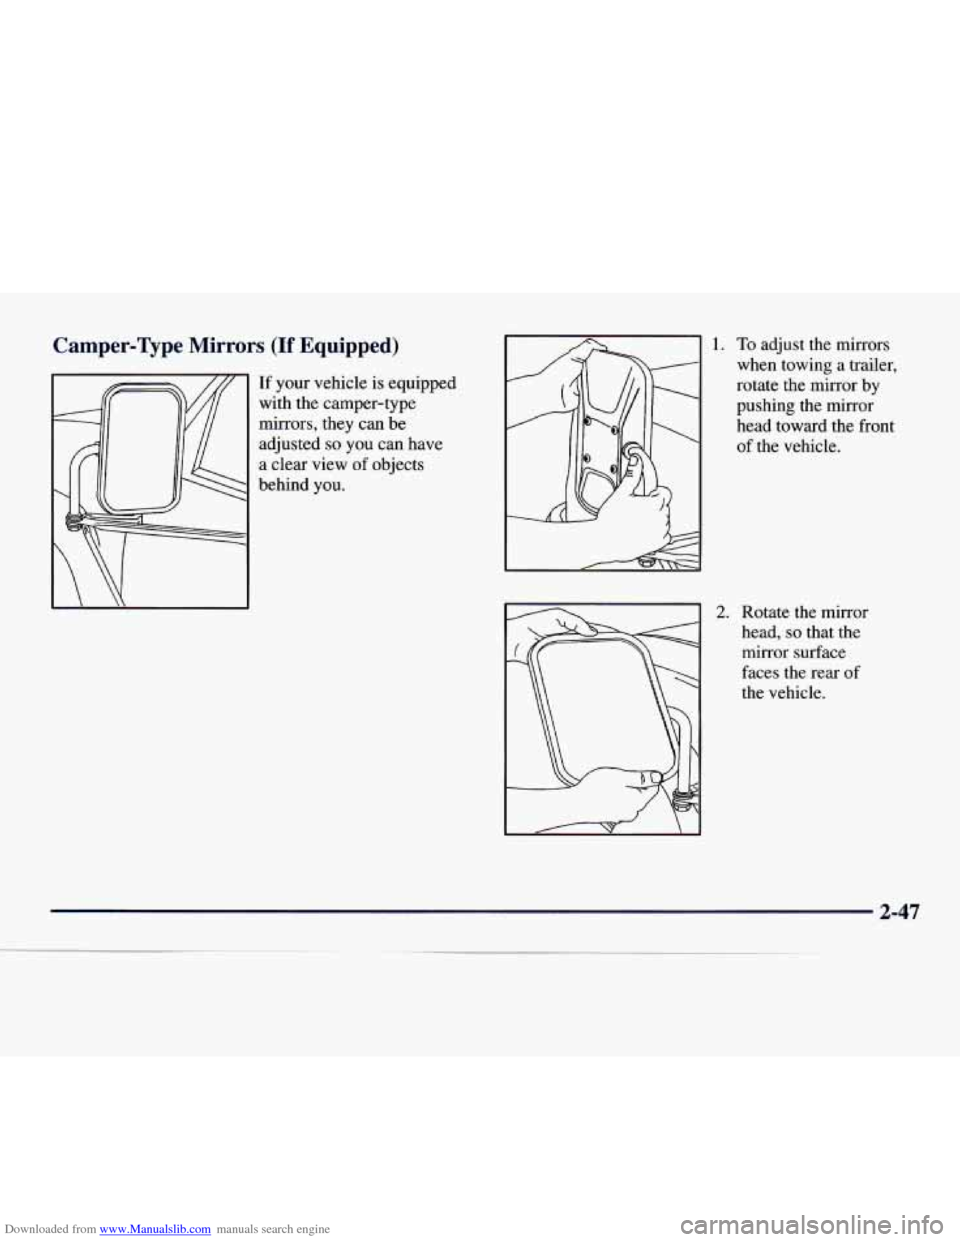
If your vehicle is equipped
with the camper-type
mirrors, they can be
adjusted
so you can have
a clear
view of objects
behind you.
1. To adjust the mirrors
when towing a trailer,
rotate the mirror by
pushing the mirror
head toward the front
of the vehicle.
2. Rotate the mirror
head,
so that the
mirror surface
faces
the rear of
the vehicle.
2-47
Page 127 of 386
Downloaded from www.Manualslib.com manuals search engine Brake System Warning Light This iiiht should come on briefly when you turn the
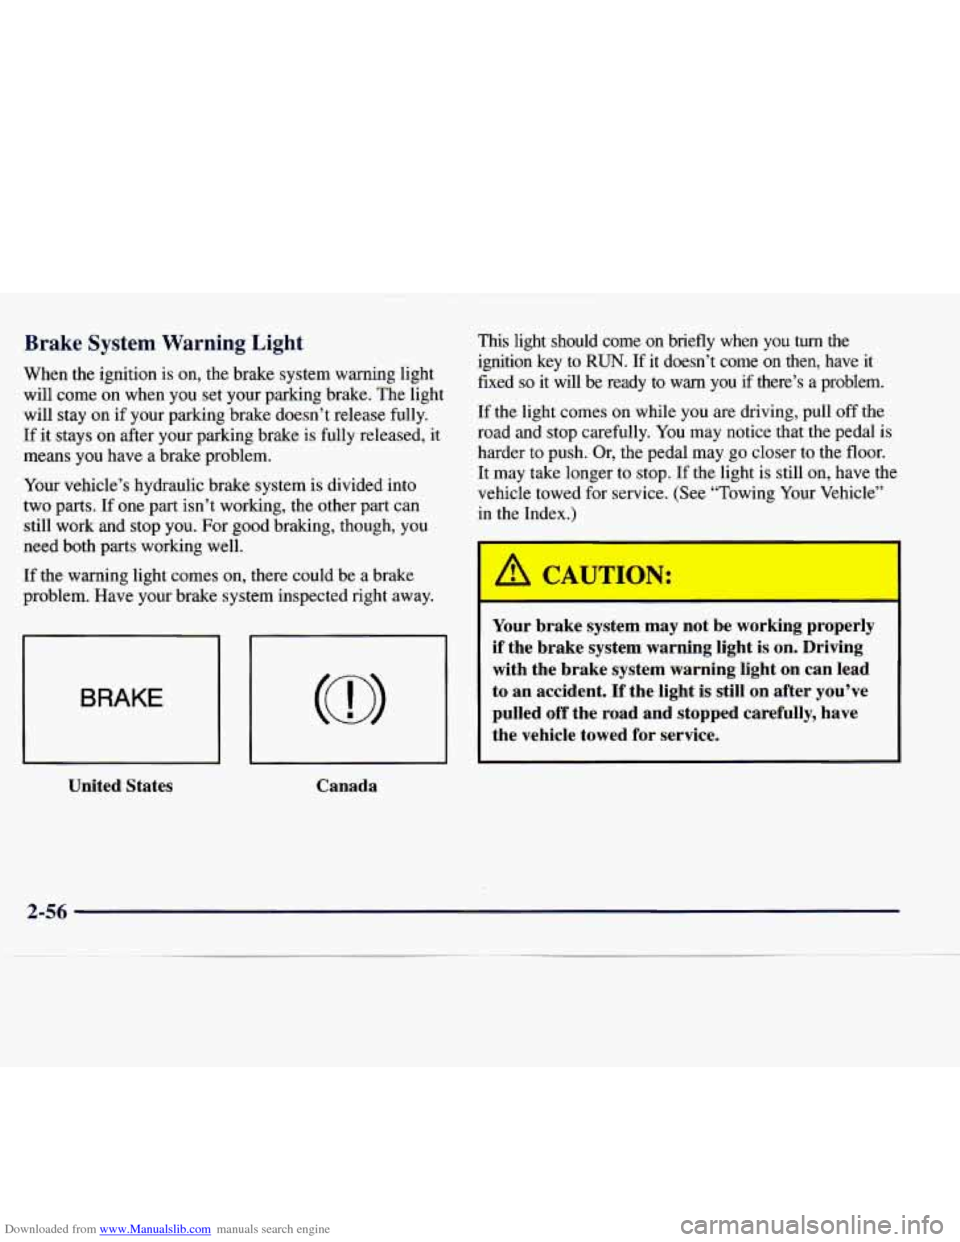
When the ignition
is on, the brake system warning light fixed so it will be ready to warn you if a problem.
will come
on when you set your parking brake. The light
will stay on if your parking brake doesn’t release fully.
If the light comes on while you are driving, pull off the
If it stays on after your parking brake is fully released, it road and stop Carefully. YOU may notice that the Pedal is
ignition key
to RUN. If it doesn’t come on then, have it
means you have a brake problem.
Your vehicle’s hydraulic brake system
is divided into
two parts.
If one part isn’t working, the other part can
still work and stop you. For good braking, though, you
need both parts working well.
If the warning light comes on, there could be a brake
problem. Have your brake system inspected right away.
BRAKE
United States Canada
harder to push. Or, the pedal may go closer to the floor.
It may take longer to stop. If the light is still on, have the
vehicle towed for service. (See “Towing Your Vehicle”
in the Index.)
I-
Your brake system may not be working properly
if the brake system warning light
is on. Driving
with the brake system warning light on can lead
to an accident.
If the light is still on after you’ve
pulled
off the road and stopped carefully, have
the vehicle towed for service.
2-56
Page 130 of 386
Downloaded from www.Manualslib.com manuals search engine If the Light Is Flashing If the Light Is On Steady
b I
The following may prevent more serious damage to
your vehicle:
Reducing vehicle speed.
0 Avoiding hard accelerations.
Avoiding steep uphill grades.
If you are towing a trailer, reduce the amount of
cargo being hauled as soon as it is possible.
If
the light stops flashing and remains on steady, see “If
the Light Is On Steady” following.
If the light continues to flash, when it is safe
to do so,
stop the vehicle. Find a safe place to park your vehicle.
Turn the key off, wait at least
10 seconds and restart the
engine. If the light remains on steady, see “If the Light
Is On Steady” following. If the light is still flashing,
follow the previous steps, and drive the vehicle
to your
dealer or qualified service center for service.
You may be able to correct the emission system
malfunction by considering the following:
Did you recently put fuel into your vehicle?
If so, reinstall the fuel cap, making sure to fully install
the cap. The diagnostic system can determine if the fuel
cap has been left
off or improperly installed. A loose or
missing fuel cap will allow fuel to evaporate into the
atmosphere. A few driving trips with the cap properly
installed should turn the light off.
Did you just drive through a deep puddle of water?
If
so, your electrical system may be wet. The condition
will usually be corrected when the electrical system
dries out. A few driving trips should turn the light off.
Are
you low on fuel?
As your engine starts
to run out of fuel, your engine may
not run as efficiently as designed since small amounts of
air are sucked into the
fuel line causing a misfire. The
system can detect this. Adding fuel should correct this
condition. Make sure to install
the fuel cap properly. It
will take a few driving trips to turn the light off.
2-59
Page 137 of 386
Downloaded from www.Manualslib.com manuals search engine Comfort Controls Fan Knob
This section tells you how to make your air system
work for you. Your comfort control system uses
ozone-friendly
R- 134a refrigerant.
With these systems,
you can control the heating,
cooling and ventilation in your van. Your vehicle also
has a flow-through ventilation system described later
in this section. The
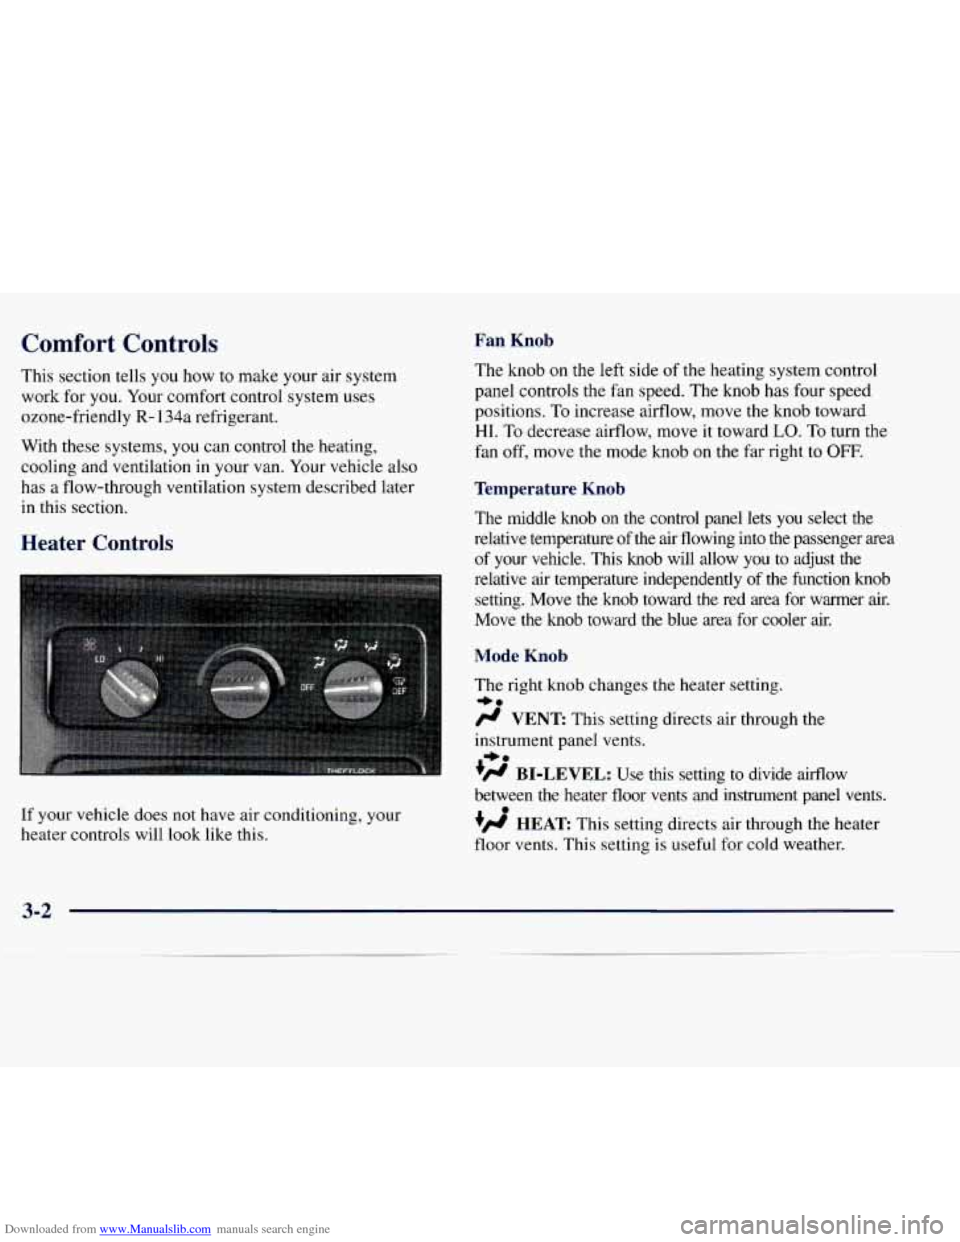
knob on the left side of the heating system control
panel controls the fan speed. The knob has four speed
positions. To increase airflow, move the knob toward
HI. To decrease airflow, move it toward LO. To turn the
fan off, move the mode knob on the
far right to OFF.
Temperature Knob
The middle knob on the control panel lets you select the
relative temperature
of the air flowing into the passenger area
of your vehicle. This knob will allow you to adjust
the
Heater Controls
relative air temperature independently of the function knob
setting. Move
the knob toward the red area for warmer air.
Move the knob toward the blue area for cooler
air.
Mode Knob
If your vehicle does not have air conditioning, your
heater controls will look like this. The
right knob changes the heater setting.
+.
/J VENT This setting directs air through the
instrument panel vents.
- +.
+fl BI-LEVEL: Use this setting to divide airflow
between the heater floor vents and instrument panel vents.
+’ HEAT This setting directs air through the heater
floor vents. This setting
is useful for cold weather.
e
3-2
Page 138 of 386
Downloaded from www.Manualslib.com manuals search engine w.
+’ HEAT/DEFROST Use this setting to divide
airflow between the heater floor vents and windshield.
DEFROST This setting directs air through the
windshield defroster vents. This setting is useful when
you have fog or ice
on the windshield.
Heater/Air Conditioning Controls
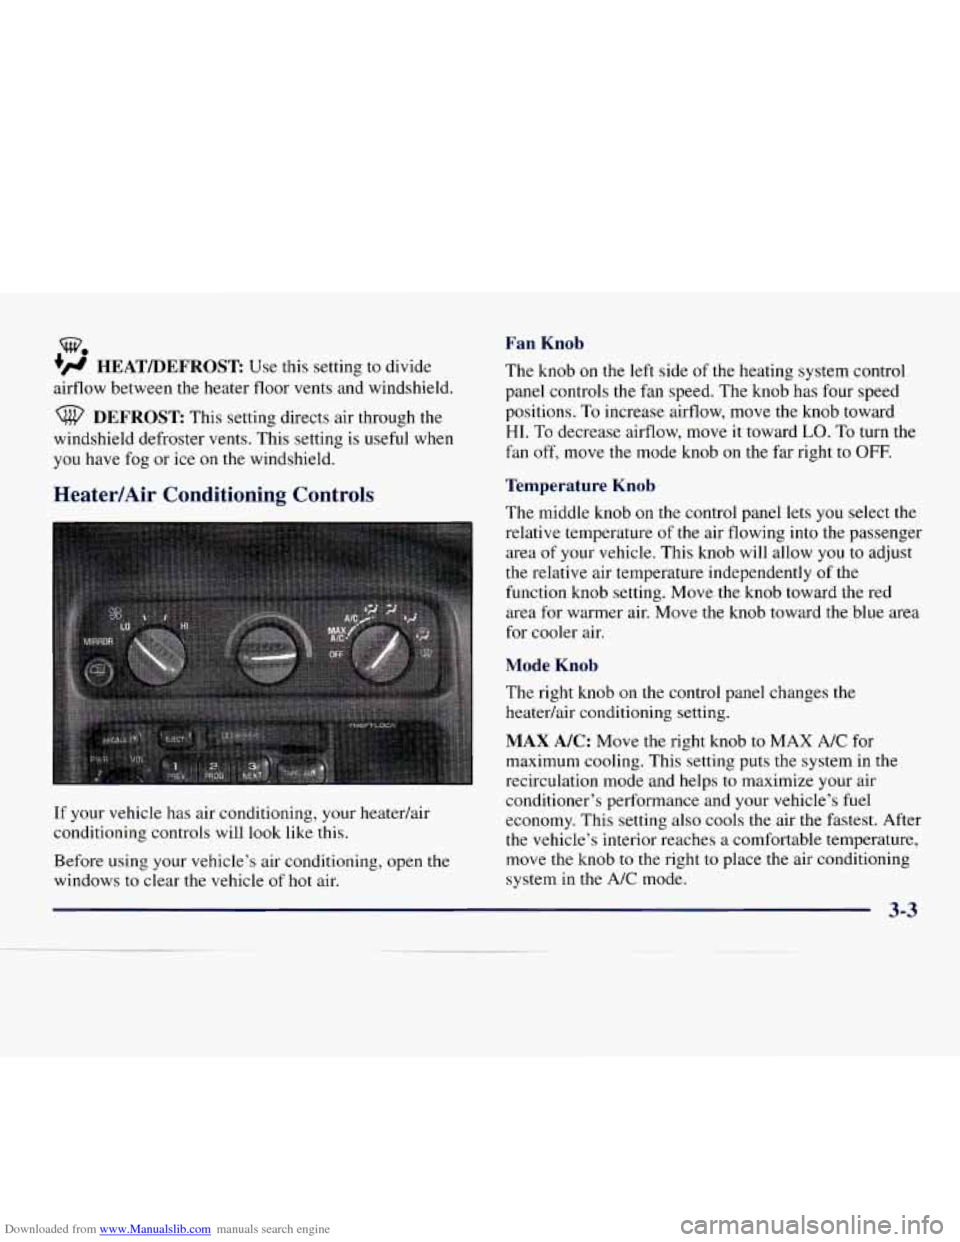
If your vehicle has air conditioning, your heatedair
conditioning controls will look like
this.
Before using your vehicle’s air conditioning, open the
windows to clear the vehicle
of hot air.
Fan Knob
The knob on the left side of the heating system control
panel controls
the fan speed. The knob has four speed
positions. To increase airflow, move the knob toward
HI. To decrease airflow, move it toward LO. To turn the
fan off, move the mode knob
on the far right to OFF.
Temperature Knob
The middle knob on the control panel lets you select the
relative temperature
of the air flowing into the passenger
area
of your vehicle. This knob will allow you to adjust
the relative air temperature independently
of the
function knob setting. Move the knob toward the red
area for warmer air. Move the knob toward the blue area
for cooler air.
Mode Knob
The right knob on the control panel changes the
heatedair conditioning setting.
MAX A/C: Move the right knob to MAX A/C for
maximum cooling. This setting puts the system in the
recirculation mode and helps
to maximize your air
conditioner’s performance and your vehicle’s fuel
economy. This setting also cools the air the fastest. After
the vehicle’s interior reaches
a comfortable temperature,
move the knob
to the right to place the air conditioning
system in the
A/C mode.
3-3