ABS CHEVROLET EXPRESS CARGO VAN 2004 1.G Owners Manual
[x] Cancel search | Manufacturer: CHEVROLET, Model Year: 2004, Model line: EXPRESS CARGO VAN, Model: CHEVROLET EXPRESS CARGO VAN 2004 1.GPages: 406, PDF Size: 2.66 MB
Page 207 of 406

Anti-lock Brake System
Your vehicle has anti-lock brakes. ABS is an advanced
electronic braking system that will help prevent a
braking skid.
When you start your engine and begin to drive away,
your anti-lock brake system will check itself. You
may hear a momentary motor or clicking noise while
this test is going on. This is normal.
If there is a problem with
the anti-lock brake system,
this warning light will
stay on. SeeAnti-Lock
Brake System Warning
Light on page 3-32.
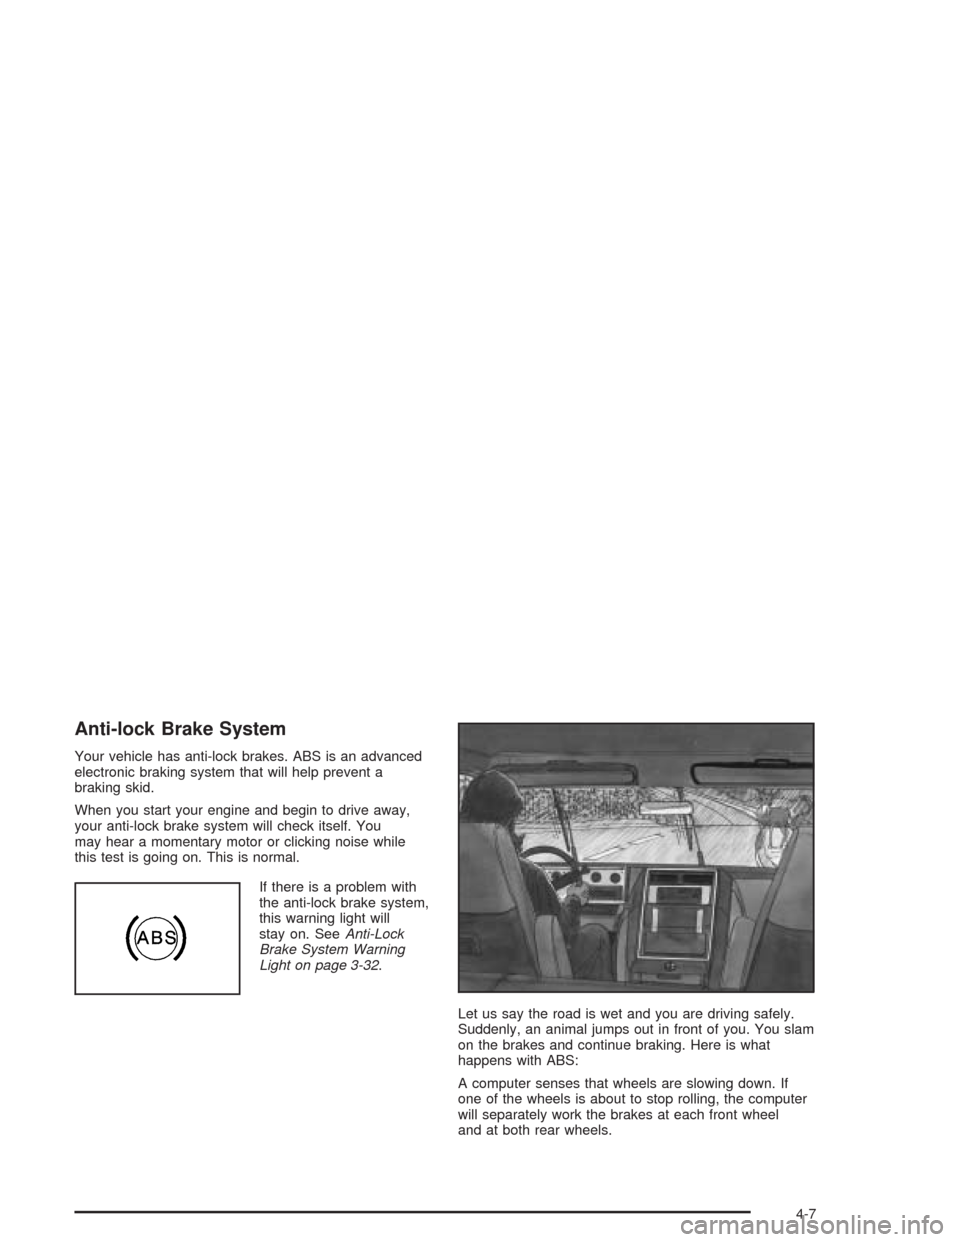
Let us say the road is wet and you are driving safely.
Suddenly, an animal jumps out in front of you. You slam
on the brakes and continue braking. Here is what
happens with ABS:
A computer senses that wheels are slowing down. If
one of the wheels is about to stop rolling, the computer
will separately work the brakes at each front wheel
and at both rear wheels.
4-7
Page 216 of 406

If your vehicle starts to slide, ease your foot off the
accelerator pedal and quickly steer the way you want
the vehicle to go. If you start steering quickly enough,
your vehicle may straighten out. Always be ready
for a second skid if it occurs.
Of course, traction is reduced when water, snow, ice,
gravel or other material is on the road. For safety,
you will want to slow down and adjust your driving to
these conditions. It is important to slow down on slippery
surfaces because stopping distance will be longer and
vehicle control more limited.
While driving on a surface with reduced traction, try
your best to avoid sudden steering, acceleration
or braking (including engine braking by shifting to a
lower gear). Any sudden changes could cause the tires
to slide. You may not realize the surface is slippery
until your vehicle is skidding. Learn to recognize warning
clues — such as enough water, ice or packed snow
on the road to make a “mirrored surface” — and slow
down when you have any doubt.
Remember: Any anti-lock brake system (ABS) helps
avoid only the braking skid.Driving at Night
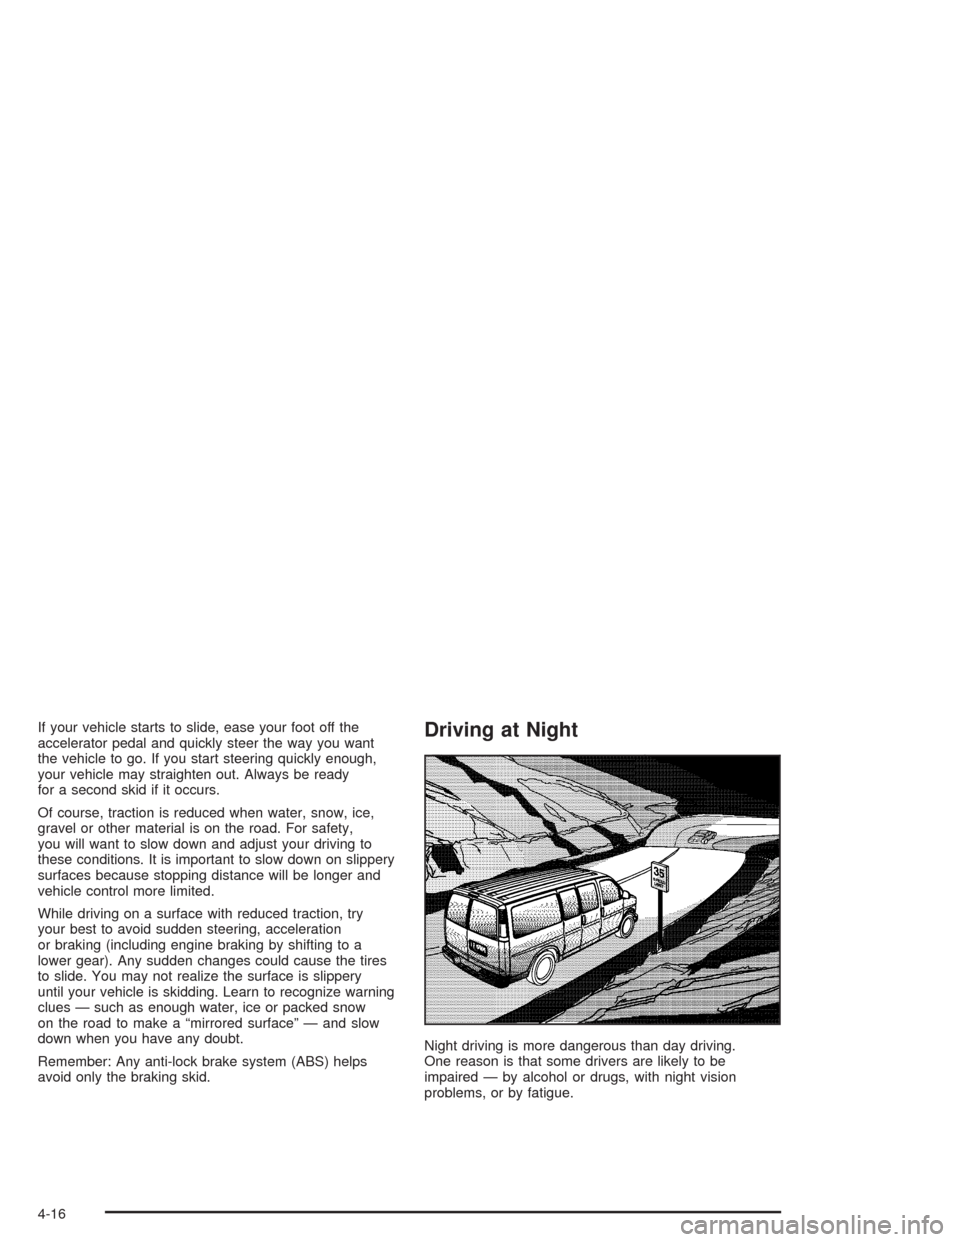
Night driving is more dangerous than day driving.
One reason is that some drivers are likely to be
impaired — by alcohol or drugs, with night vision
problems, or by fatigue.
4-16
Page 250 of 406

Parking on Hills
{CAUTION:
You really should not park your vehicle, with a
trailer attached, on a hill. If something goes
wrong, your rig could start to move. People
can be injured, and both your vehicle and the
trailer can be damaged.
But if you ever have to park your rig on a hill, here’s
how to do it:
1. Apply your regular brakes, but don’t shift into
PARK (P) yet. Then turn your wheels into the curb if
facing downhill or into traffic if facing uphill.
2. Have someone place chocks under the trailer
wheels.
3. When the wheel chocks are in place, release the
regular brakes until the chocks absorb the load.
4. Reapply the regular brakes. Then apply your
parking brake and then shift to PARK (P).
5. Release the regular brakes.
When You Are Ready to Leave After
Parking on a Hill
1. Apply your regular brakes and hold the pedal down
while you:
start your engine,
shift into a gear, and
release the parking brake.
2. Let up on the brake pedal.
3. Drive slowly until the trailer is clear of the chocks.
4. Stop and have someone pick up and store the
chocks.
Maintenance When Trailer Towing
Your vehicle will need service more often when you’re
pulling a trailer. See the Maintenance Schedule for more
on this. Things that are especially important in trailer
operation are automatic transmission �uid (don’t over�ll),
engine oil, axle lubricant, belt, cooling system and
brake system. Each of these is covered in this manual,
and the Index will help you �nd them quickly. If
you’re trailering, it’s a good idea to review these sections
before you start your trip.
Check periodically to see that all hitch nuts and bolts
are tight.
4-50
Page 306 of 406

Front Turn Signal, Sidemarker and
Parking Lamps
1. Use a small tool to unlatch the outboard clip on
this lamp.
2. Pull the lamp forward to completely unlatch the clip.
Move the lamp outboard to loosen the tabs.
3. Remove the lamp from the grille.
4. Squeeze the tab on the side of the bulb assembly
while turning it counterclockwise.
5. Remove the bulb assembly from the back of the
lens and replace the bulb.
6. Turn the socket clockwise to reinstall it in the lens
assembly.
Taillamps
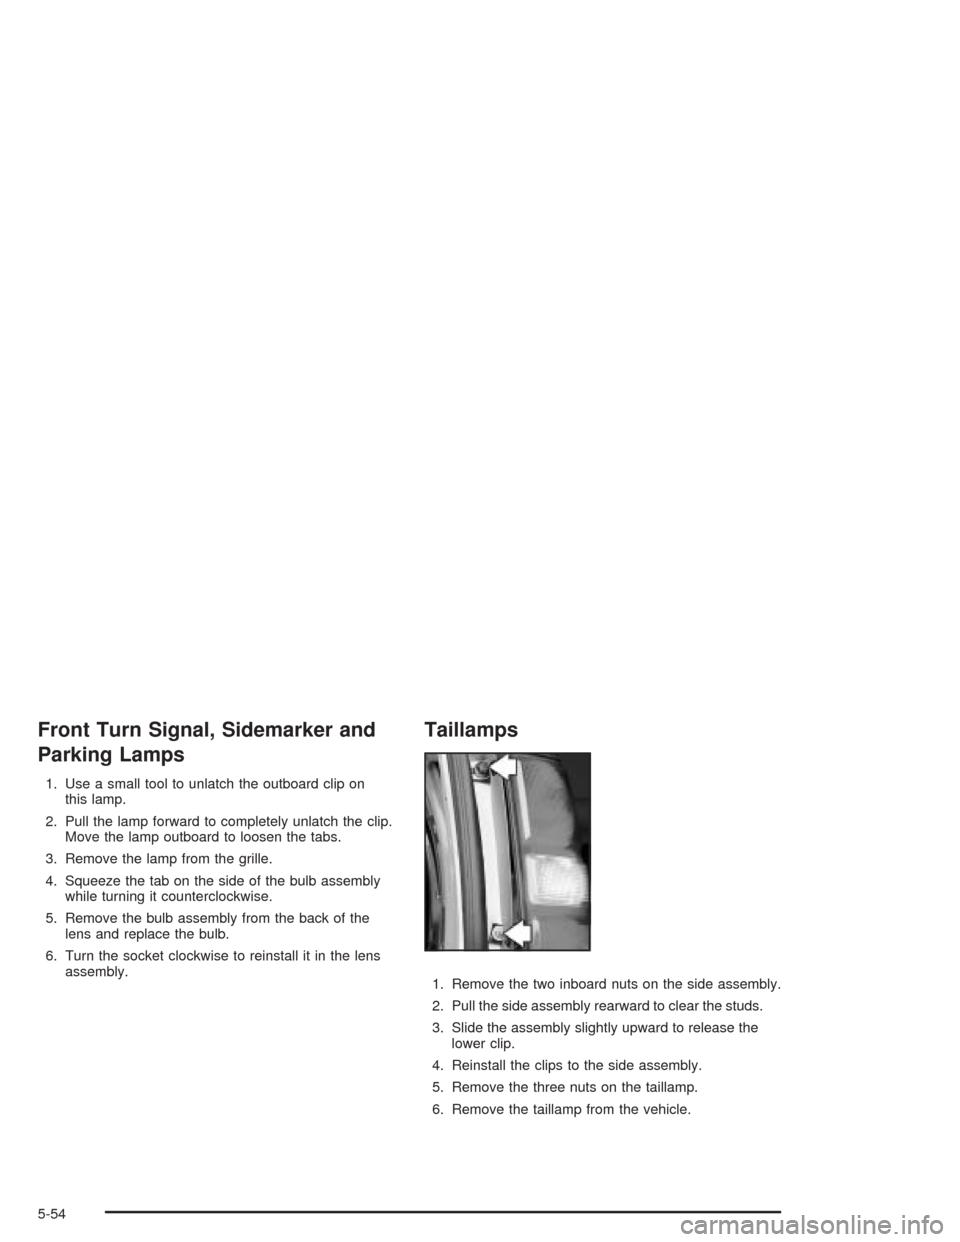
1. Remove the two inboard nuts on the side assembly.
2. Pull the side assembly rearward to clear the studs.
3. Slide the assembly slightly upward to release the
lower clip.
4. Reinstall the clips to the side assembly.
5. Remove the three nuts on the taillamp.
6. Remove the taillamp from the vehicle.
5-54