display CHEVROLET EXPRESS CARGO VAN 2004 1.G Owners Manual
[x] Cancel search | Manufacturer: CHEVROLET, Model Year: 2004, Model line: EXPRESS CARGO VAN, Model: CHEVROLET EXPRESS CARGO VAN 2004 1.GPages: 406, PDF Size: 2.66 MB
Page 162 of 406
A reading in the low pressure zone may be caused by a
dangerously low oil level or other problem causing
low oil pressure. Check your oil as soon as possible.
{CAUTION:
Do not keep driving if the oil pressure is low.
If you do, your engine can become so hot that
it catches �re. You or others could be burned.
Check your oil as soon as possible and have
your vehicle serviced.
Notice:Lack of proper engine oil maintenance may
damage the engine. The repairs would not be
covered by your warranty. Always follow the
maintenance schedule in this manual for changing
engine oil.
Change Engine Oil Light
This light is displayed
when the engine oil needs
to be changed.
If your vehicle has a V8 engine and this light is �ashing,
it indicates that the oil level is low.
When this light is on steady, it indicates the oil needs to
be changed soon.
Once the engine oil has been changed, the change
engine oil light must be reset. Until it is reset, the light
will be displayed when the engine is on. For more
information on resetting the system, seeEngine Oil on
page 5-13.
3-38
Page 164 of 406
Reduced Engine Power Light
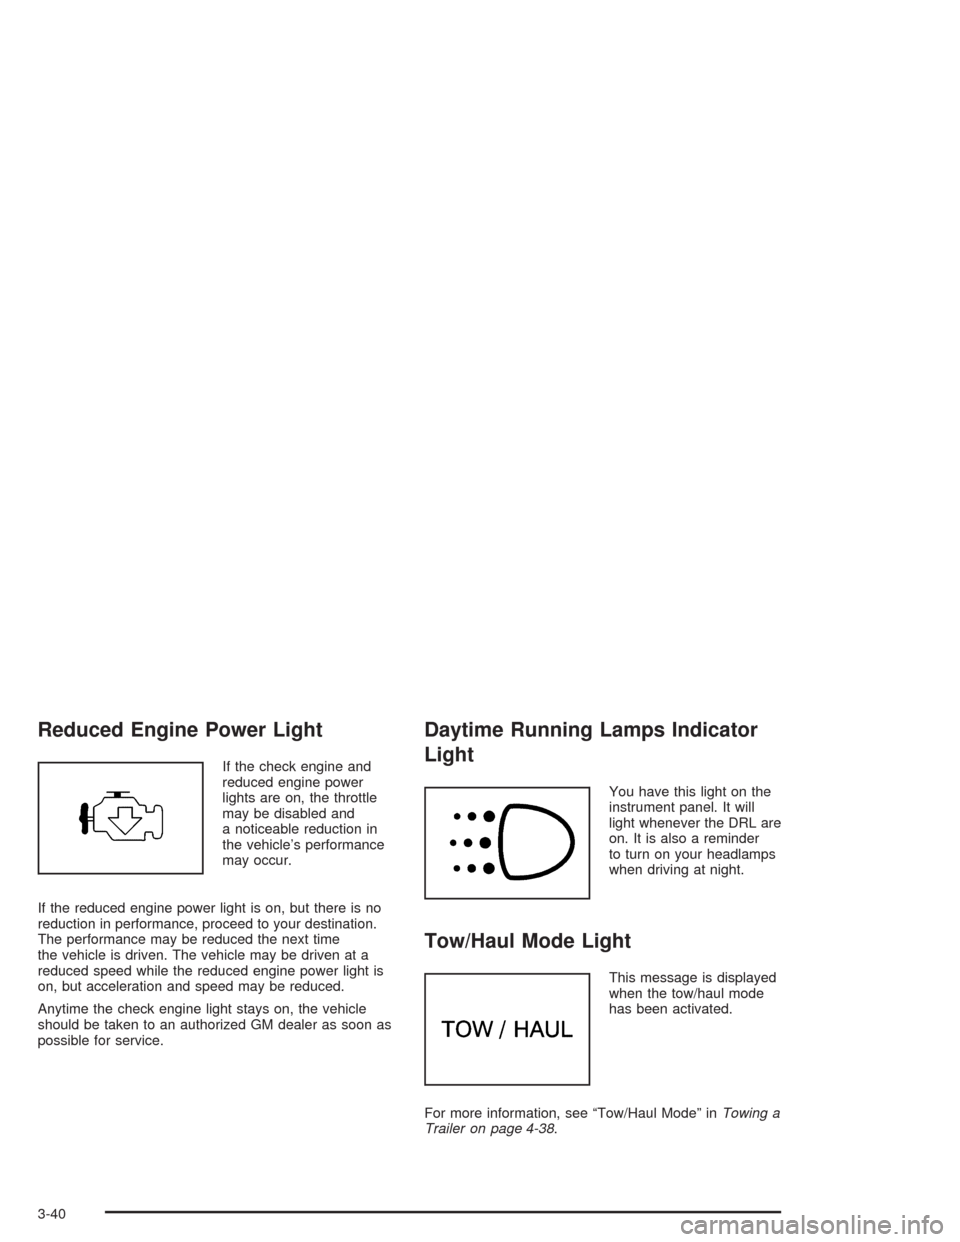
If the check engine and
reduced engine power
lights are on, the throttle
may be disabled and
a noticeable reduction in
the vehicle’s performance
may occur.
If the reduced engine power light is on, but there is no
reduction in performance, proceed to your destination.
The performance may be reduced the next time
the vehicle is driven. The vehicle may be driven at a
reduced speed while the reduced engine power light is
on, but acceleration and speed may be reduced.
Anytime the check engine light stays on, the vehicle
should be taken to an authorized GM dealer as soon as
possible for service.
Daytime Running Lamps Indicator
Light
You have this light on the
instrument panel. It will
light whenever the DRL are
on. It is also a reminder
to turn on your headlamps
when driving at night.
Tow/Haul Mode Light
This message is displayed
when the tow/haul mode
has been activated.
For more information, see “Tow/Haul Mode” inTowing a
Trailer on page 4-38.
3-40
Page 167 of 406
Setting the Time for Radios without
Radio Data Systems (RDS)
Press and hold the HR or MIN arrow for two seconds.
Then press HR until the correct hour appears on the
display. Press and hold MIN until the correct minute
appears on the display. The time can be set with the
ignition on or off.
Setting the Time for Radios with
Radio Data Systems (RDS)
The radio may have a button marked with an H or HR to
represent hours and an M or MN to represent minutes.
Press and hold the hour button until the correct hour
appears on the display. Press and hold the minute
button until the correct minute appears on the display.
The time can be set with the ignition on or off.
To synchronize the time with an FM station broadcasting
Radio Data System (RDS) information, press and hold
the hour and minute buttons at the same time until RDS
TIME appears on the display. To accept this time, press
and hold the hour and minute buttons, at the same time,
for another two seconds. If the time is not available from
the station, NO UPDAT will appear on the display.
RDS time is broadcast once a minute. After tuning to an
RDS broadcast station, it may take a few minutes for
the time to update.
AM-FM Radio
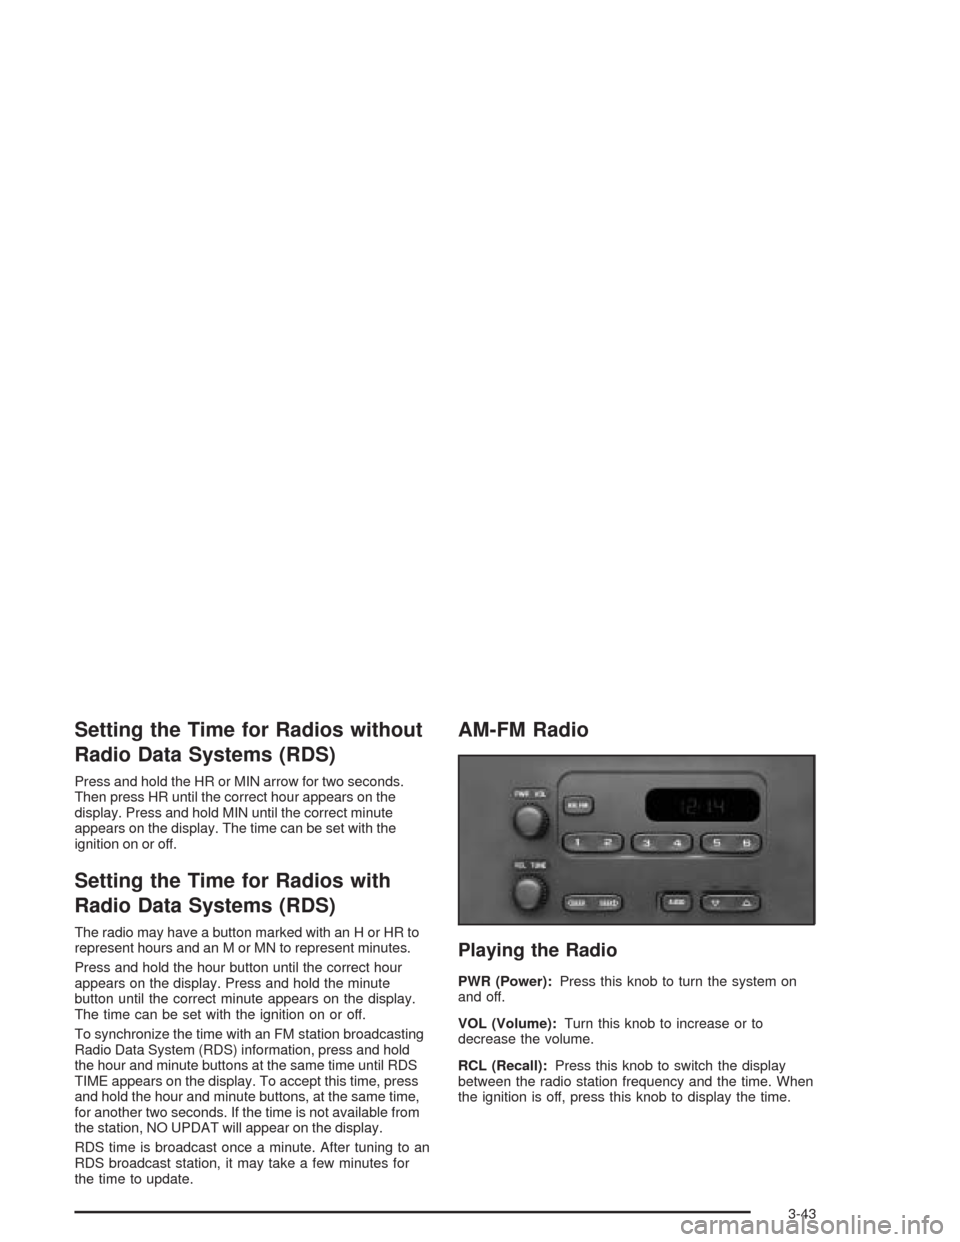
Playing the Radio
PWR (Power):Press this knob to turn the system on
and off.
VOL (Volume):Turn this knob to increase or to
decrease the volume.
RCL (Recall):Press this knob to switch the display
between the radio station frequency and the time. When
the ignition is off, press this knob to display the time.
3-43
Page 168 of 406
Finding a Station
AM FM:Press this button to switch between FM1,
FM2, or AM. The display will show the selection.
TUNE:Turn this knob to select radio stations.
oSEEKp:Press the right or the left arrow to go to
the next or to the previous station and stay there.
To scan stations, press and hold either SEEK arrow for
two seconds until you hear a beep. The radio will go
to a station, play for a few seconds, then go on to
the next station. Press either SEEK arrow again to stop
scanning.
To scan preset stations, press and hold either SEEK
arrow for more than four seconds until you hear
two beeps. The radio will go to the �rst preset station
stored on your pushbuttons, play for a few seconds, then
go on to the next preset station. Press either SEEK
arrow again to stop scanning presets.
The radio will only seek and scan stations with a strong
signal that are in the selected band.
Setting Preset Stations
Up to 18 stations (six FM1, six FM2, and six AM) can be
programmed on the six numbered pushbuttons, by
performing the following steps:
1. Turn the radio on.
2. Press AM FM to select FM1, FM2, or AM.
3. Tune in the desired station.
4. Press and hold one of the six numbered
pushbuttons until you hear a beep. Whenever that
numbered pushbutton is pressed, the station
that was set will return.
5. Repeat the steps for each pushbutton.
Setting the Tone (Bass/Treble)
AUDIO:To adjust the bass and the treble, press and
release AUDIO until BAS or TRE appears on the
display. Then press and hold the up or the down arrow
to increase or to decrease. If a station is weak or
noisy, decrease the treble.
To adjust bass or treble to the middle position, select
BAS or TRE. Then press and hold AUDIO for more than
two seconds until you hear a beep. B and a zero or T
and a zero will appear on the display.
3-44
Page 169 of 406
To adjust both tone controls and both speaker controls
to the middle position, �rst end out of audio mode
by pressing another button, causing the radio to perform
that function, or by waiting �ve seconds for the display
to return to time of day. Then press and hold AUDIO for
more than two seconds until you hear a beep. CEN
will appear on the display.
Adjusting the Speakers (Balance/Fade)
AUDIO:To adjust the balance between the right
and the left speakers, press and release the AUDIO
button until BAL appears on the display. Then press and
hold the up or the down arrow to move the sound
toward the right or the left speakers.
To adjust the fade between the front and the rear
speakers, press and release AUDIO until FAD appears
on the display. Then press and hold the up or the
down arrow to move the sound toward the front or the
rear speakers.
To adjust balance or fade to the middle position, select
BAL or FAD. Then press and hold AUDIO for more
than two seconds until you hear a beep. L and a zero
or F and a zero will appear on the display.To adjust both tone controls and both speaker controls
to the middle position, �rst end out of audio mode
by pressing another button, causing the radio to perform
that function, or by waiting �ve seconds for the display
to return to time of day. Then press and hold AUDIO for
more than two seconds until you hear a beep. CEN
will appear on the display.
Radio Messages
CAL (Calibration):The audio system has been
calibrated for your vehicle from the factory. If CAL
appears on the display it means that the radio has not
been con�gured properly for your vehicle and must
be returned to the dealer for service.
LOC (Locked):This message is displayed when the
THEFTLOCK
®system has locked up. Take the vehicle
to the dealer for service.
If any error occurs repeatedly or if an error cannot be
corrected, contact your dealer.
3-45
Page 170 of 406
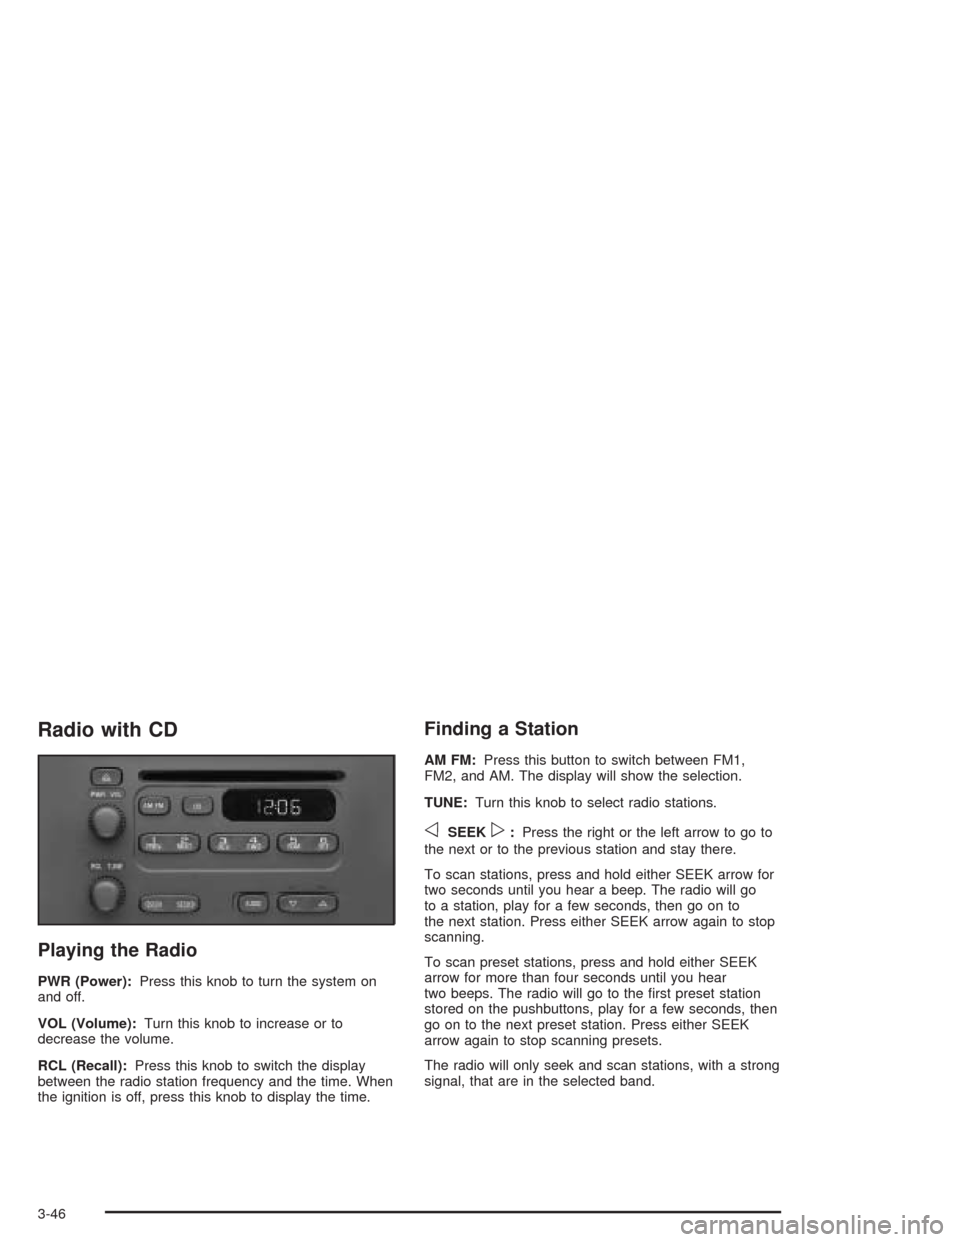
Radio with CD
Playing the Radio
PWR (Power):Press this knob to turn the system on
and off.
VOL (Volume):Turn this knob to increase or to
decrease the volume.
RCL (Recall):Press this knob to switch the display
between the radio station frequency and the time. When
the ignition is off, press this knob to display the time.
Finding a Station
AM FM:Press this button to switch between FM1,
FM2, and AM. The display will show the selection.
TUNE:Turn this knob to select radio stations.
oSEEKp:Press the right or the left arrow to go to
the next or to the previous station and stay there.
To scan stations, press and hold either SEEK arrow for
two seconds until you hear a beep. The radio will go
to a station, play for a few seconds, then go on to
the next station. Press either SEEK arrow again to stop
scanning.
To scan preset stations, press and hold either SEEK
arrow for more than four seconds until you hear
two beeps. The radio will go to the �rst preset station
stored on the pushbuttons, play for a few seconds, then
go on to the next preset station. Press either SEEK
arrow again to stop scanning presets.
The radio will only seek and scan stations, with a strong
signal, that are in the selected band.
3-46
Page 171 of 406
Setting Preset Stations
Up to 18 stations (six FM1, six FM2, and six AM), can
be programmed on the six numbered pushbuttons,
by performing the following steps:
1. Turn the radio on.
2. Press AM FM to select FM1, FM2, or AM.
3. Tune in the desired station.
4. Press and hold one of the six numbered
pushbuttons until you hear a beep. Whenever that
numbered pushbutton is pressed, the station
that was set will return.
5. Repeat the steps for each pushbutton.
Setting the Tone (Bass/Treble)
AUDIO:To adjust the bass or the treble, press and
release the AUDIO button until BAS or TRE appears on
the display. Then press and hold the up or the down
arrow to increase or to decrease. If a station is weak or
noisy, decrease the treble.
To adjust bass or treble to the middle position, select
BAS or TRE. Then press and hold the AUDIO button for
more than two seconds until you hear a beep. B and
a zero or T and a zero will appear on the display.To adjust both tone controls and both speaker controls
to the middle position, �rst end out of audio mode
by pressing another button, causing the radio to perform
that function, or by waiting �ve seconds for the display
to return to the time of day. Then press and hold
the AUDIO button for more than two seconds until you
hear a beep. CEN will appear on the display.
Adjusting the Speakers (Balance/Fade)
AUDIO:To adjust the balance between the right
and the left speakers, press and release the AUDIO
button until BAL appears on the display. Then press and
hold the up or the down arrow to move the sound
toward the right or the left speakers.
To adjust the fade between the front and the rear
speakers, press and release the AUDIO button until
FAD appears on the display. Then press and hold the up
or the down arrow to move the sound toward the front
or the rear speakers.
To adjust balance or fade to the middle position, select
BAL or FAD. Then press and hold AUDIO for more
than two seconds until you hear a beep. L and a zero
or F and a zero will appear on the display.
3-47
Page 172 of 406
To adjust both tone controls and both speaker controls
to the middle position, �rst end out of audio mode
by pressing another button, causing the radio to perform
that function, or by waiting �ve seconds for the display
to return to the time of day. Then press and hold
the AUDIO button for more than two seconds until you
hear a beep. CEN will appear on the display.
Radio Messages
CAL (Calibration):The audio system has been
calibrated for your vehicle from the factory. If CAL
appears on the display it means that the radio has not
been con�gured properly for your vehicle and must
be returned to the dealer for service.
LOC (Locked):This message is displayed when the
THEFTLOCK
®system has locked up. Take the vehicle
to the dealer for service.
If any error occurs repeatedly or cannot be corrected,
contact your dealer.
Playing a CD
Insert a CD partway into the slot, label side up. The
player will pull it in and the CD should begin playing. CD
will appear on the display. If you want to insert a CD
with the ignition off, �rst press the eject button or
the RCL knob.If you insert a CD with the radio off and the ignition on,
it will start to play
If the ignition or radio is turned off, with a CD in the
player, it will stay in the player. When the ignition
or radio is turned on, the CD will start playing where it
stopped, if it was the last selected audio source.
As each new track starts to play, the track number will
appear on the display.
The CD player can play the smaller 3 inch (8 cm) single
CDs with an adapter ring. Full-size CDs and the
smaller CDs are loaded in the same manner.
If playing a CD-R the sound quality may be reduced
due to CD-R quality, the method of recording, the quality
of the music that has been recorded, and the way the
CD-R has been handled. There may be an increase
in skipping, difficulty in �nding tracks, and/or difficulty in
loading and ejecting. If these problems occur try a
known good CD.
Do not add paper labels to CDs, they could get caught
in the CD player.
If an error appears on the display, see “CD Messages”
later in this section.
3-48
Page 173 of 406
1 PREV (Previous):Press this pushbutton to go to the
beginning of the current track if more than eight
seconds have played. The track number will appear on
the display. If this pushbutton is held or pressed
more than once, the player will continue moving
backward through the CD.
2 NEXT:Press this pushbutton to go to the next track.
The track number will appear on the display. If this
pushbutton is held or pressed more than once,
the player will continue moving forward through the CD.
3 REV (Reverse):Press and hold this pushbutton to
reverse quickly within a track. Release this pushbutton
to play the passage. The elapsed time of the track
will appear on the display.
4 FWD (Forward):Press and hold this pushbutton to
advance quickly within a track. Release this pushbutton
to play the passage. The elapsed time of the track
will appear on the display.
5 RDM (Random):Press this pushbutton to hear the
tracks in random, rather than sequential, order. RND will
appear on the display. Press RDM again to turn off
random play. OFF will appear on the display.6 RPT (Repeat):Press this pushbutton once to hear a
track over again. RPT will appear on the display.
The current track will continue to repeat. Press RPT
again to turn off repeat play. OFF will appear on
the display.
oSEEKp:Press the right or the left arrow to go to
the next or to the previous track. The track number
will appear on the display. If either arrow is held
or pressed more than once, the player will continue
moving backward or forward through the CD.
RCL (Recall):Press this knob to see the current track
number or how long the current track has been
playing.
AM FM:Press this button to listen to the radio when a
CD is playing. The inactive CD will remain safely
inside the radio for future listening.
CD:Press this button to play a CD when listening to
the radio. CD will appear on the display if a CD is
loaded.
Z(Eject):Press this button to eject a CD. Eject may
be activated with either the ignition or radio off. CDs
may be loaded with the ignition and radio off if this
button is pressed �rst.
3-49
Page 174 of 406
CD Messages
If the CD comes out, it could be for one of the following
reasons:
It is very hot. When the temperature returns to
normal, the CD should play.
You are driving on a very rough road. When the
road becomes smoother, the CD should play.
The CD is dirty, scratched, wet, or upside down.
The air is very humid. If so, wait about an hour and
try again.
There may have been a problem while burning
the CD.
The label may be caught in the CD player.
If the CD is not playing correctly, for any other reason,
try a known good CD.
If any error occurs repeatedly or if an error cannot be
corrected, contact your dealer. If the radio displays
an error message, write it down and provide it to your
dealer when reporting the problem.
Radio with Cassette and CD
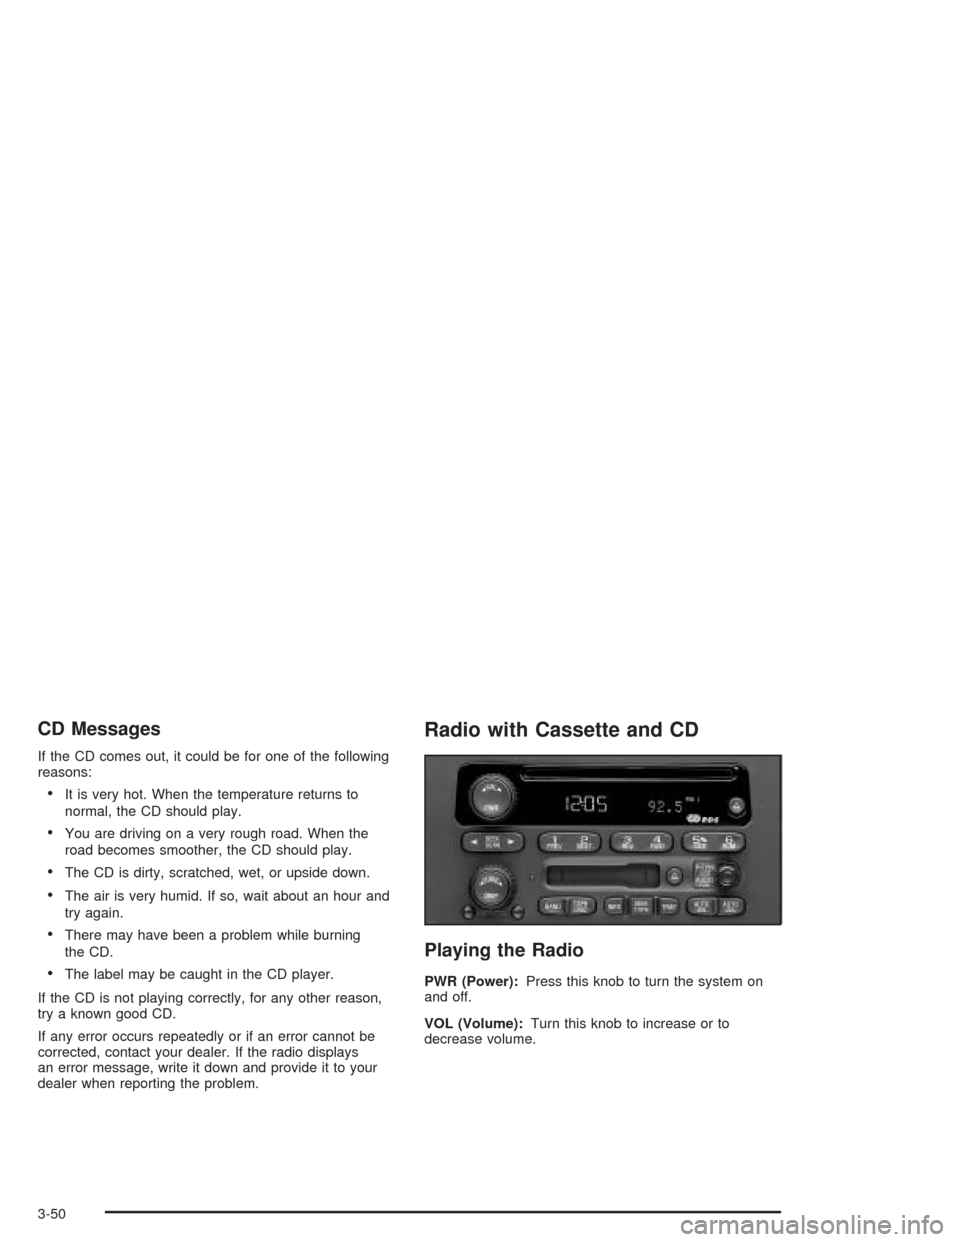
Playing the Radio
PWR (Power):Press this knob to turn the system on
and off.
VOL (Volume):Turn this knob to increase or to
decrease volume.
3-50