change time CHEVROLET HHR 2011 1.G Owners Manual
[x] Cancel search | Manufacturer: CHEVROLET, Model Year: 2011, Model line: HHR, Model: CHEVROLET HHR 2011 1.GPages: 430, PDF Size: 4.57 MB
Page 15 of 430
Black plate (9,1)Chevrolet HHR Owner Manual - 2011
Heated Seats
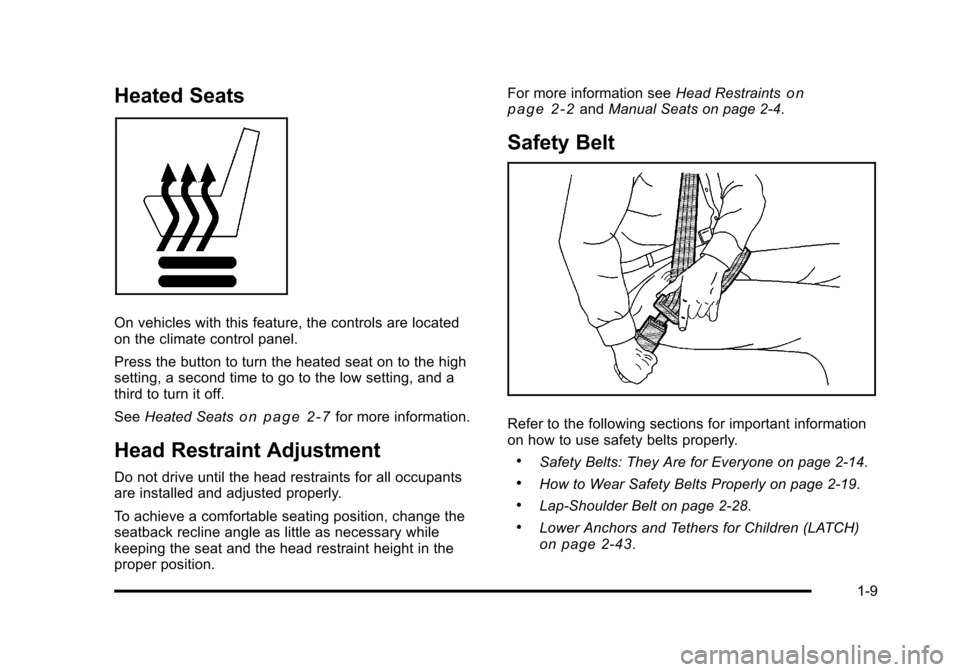
On vehicles with this feature, the controls are located
on the climate control panel.
Press the button to turn the heated seat on to the high
setting, a second time to go to the low setting, and a
third to turn it off.
SeeHeated Seats
on page 2‑7for more information.
Head Restraint Adjustment
Do not drive until the head restraints for all occupants
are installed and adjusted properly.
To achieve a comfortable seating position, change the
seatback recline angle as little as necessary while
keeping the seat and the head restraint height in the
proper position. For more information see
Head Restraints
on
page 2‑2and Manual Seats on page 2‑4.
Safety Belt
Refer to the following sections for important information
on how to use safety belts properly.
.Safety Belts: They Are for Everyone on page 2‑14.
.How to Wear Safety Belts Properly on page 2‑19.
.Lap-Shoulder Belt on page 2‑28.
.Lower Anchors and Tethers for Children (LATCH)on page 2‑43.
1-9
Page 22 of 430
Black plate (16,1)Chevrolet HHR Owner Manual - 2011
Setting the Clock
To set the time and date for the Radio with CD (MP3)
and USB port or Radio with a Single CD (MP3) player:1. Turn the ignition key to ACC/ACCESSORY or ON/RUN.
2. Press
Oto turn the radio on.
3. Press
Hand the HR, MIN, MM, DD, YYYY
(hour, minute, month, day, and year) displays.
4. Press the softkey located below any one of the tabs that you want to change.
5. Increase or decrease the time or date by turning
fclockwise or counterclockwise.
For detailed instructions on setting the clock for your
specific audio system, see Setting the Clock
on
page 4‑51.
Satellite Radio
XM is a satellite radio service that is based in the
48 contiguous United States and 10 Canadian
provinces. XM satellite radio has a wide variety of
programming and commercial-free music,
coast-to-coast, and in digital-quality sound. A fee is required to receive the XM service.
For more information, refer to:
.www.xmradio.com or call 1-800-929-2100 (U.S.)
.www.xmradio.ca or call 1-877-438-9677 (Canada)
See “XM Satellite Radio Service” underRadio(s)
on
page 4‑53.
Portable Audio Devices (Auxiliary
Input or USB Port)
This vehicle may have an auxiliary input jack and a
USB port, located on the audio faceplate. External
devices such as iPods
®, laptop computers,
MP3 players, CD changers, USB storage devices, etc.
can be connected to the auxiliary input jack using a
3.5 mm (1/8 in) cable or the USB port depending on the
audio system.
Press the CD/AUX button to play audio from the
portable player.
See “Using the Auxiliary Input Jack” and“Using the
USB Port” underRadio(s) on page 4‑53.
1-16
Page 27 of 430
Black plate (21,1)Chevrolet HHR Owner Manual - 2011
Tire Pressure Monitor
This vehicle may have a Tire Pressure Monitor
System (TPMS).
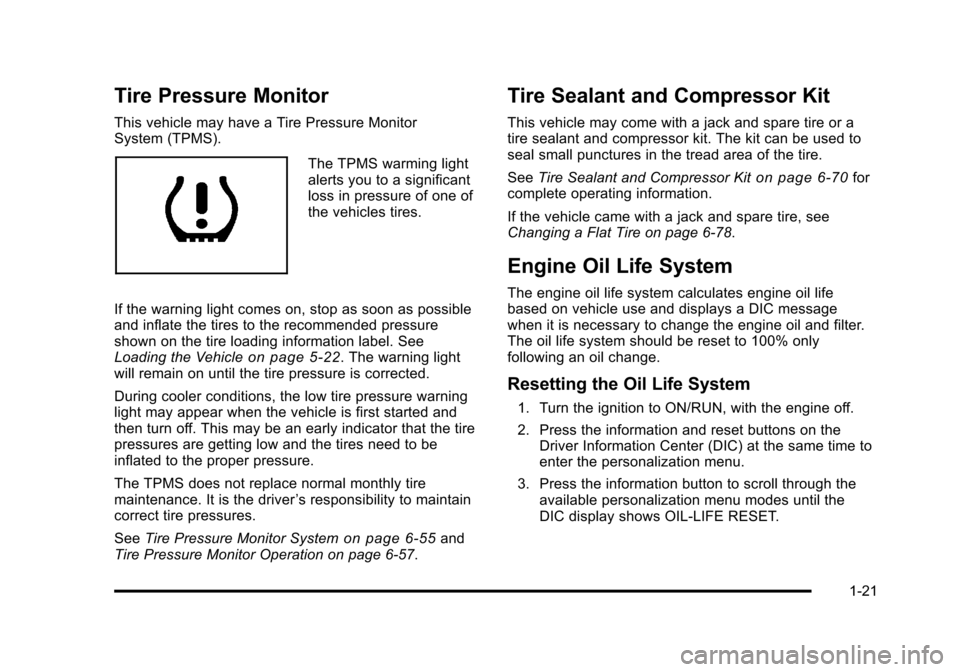
The TPMS warming light
alerts you to a significant
loss in pressure of one of
the vehicles tires.
If the warning light comes on, stop as soon as possible
and inflate the tires to the recommended pressure
shown on the tire loading information label. See
Loading the Vehicle
on page 5‑22. The warning light
will remain on until the tire pressure is corrected.
During cooler conditions, the low tire pressure warning
light may appear when the vehicle is first started and
then turn off. This may be an early indicator that the tire
pressures are getting low and the tires need to be
inflated to the proper pressure.
The TPMS does not replace normal monthly tire
maintenance. It is the driver ’s responsibility to maintain
correct tire pressures.
See Tire Pressure Monitor System
on page 6‑55and
Tire Pressure Monitor Operation on page 6‑57.
Tire Sealant and Compressor Kit
This vehicle may come with a jack and spare tire or a
tire sealant and compressor kit. The kit can be used to
seal small punctures in the tread area of the tire.
See Tire Sealant and Compressor Kit
on page 6‑70for
complete operating information.
If the vehicle came with a jack and spare tire, see
Changing a Flat Tire on page 6‑78.
Engine Oil Life System
The engine oil life system calculates engine oil life
based on vehicle use and displays a DIC message
when it is necessary to change the engine oil and filter.
The oil life system should be reset to 100% only
following an oil change.
Resetting the Oil Life System
1. Turn the ignition to ON/RUN, with the engine off.
2. Press the information and reset buttons on the Driver Information Center (DIC) at the same time to
enter the personalization menu.
3. Press the information button to scroll through the available personalization menu modes until the
DIC display shows OIL-LIFE RESET.
1-21
Page 39 of 430
Black plate (7,1)Chevrolet HHR Owner Manual - 2011
Heated Seats
{WARNING:
If you cannot feel temperature change or pain to
the skin, the seat heater may cause burns even at
low temperatures. To reduce the risk of burns,
people with such a condition should use care
when using the seat heater, especially for long
periods of time. Do not place anything on the seat
that insulates against heat, such as a blanket,
cushion, cover or similar item. This may cause the
seat heater to overheat. An overheated seat
heater may cause a burn or may damage
the seat.
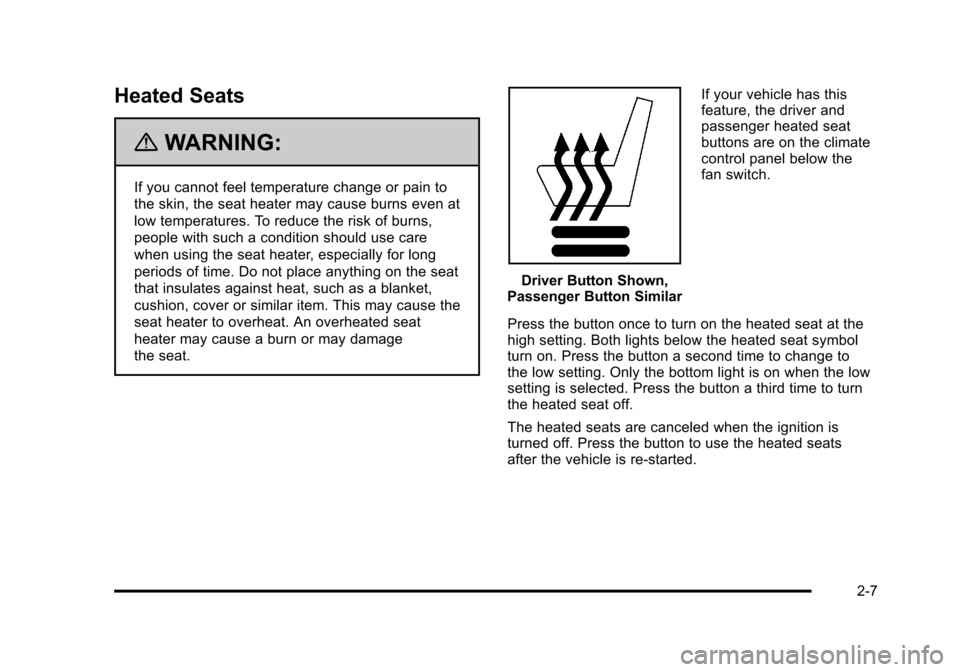
Driver Button Shown,
Passenger Button Similar If your vehicle has this
feature, the driver and
passenger heated seat
buttons are on the climate
control panel below the
fan switch.
Press the button once to turn on the heated seat at the
high setting. Both lights below the heated seat symbol
turn on. Press the button a second time to change to
the low setting. Only the bottom light is on when the low
setting is selected. Press the button a third time to turn
the heated seat off.
The heated seats are canceled when the ignition is
turned off. Press the button to use the heated seats
after the vehicle is re‐started.
2-7
Page 131 of 430
Black plate (25,1)Chevrolet HHR Owner Manual - 2011
Notice:Cranking the engine for long periods of
time, by returning the key to the START position
immediately after cranking has ended, can overheat
and damage the cranking motor, and drain the
battery. Wait at least 15 seconds between each try,
to let the cranking motor cool down.
2. If the engine does not start after 5‐10 seconds, especially in very cold weather (below 0°F or
−18°C), it could be flooded with too much gasoline.
Push the accelerator pedal all the way to the floor
and holding it there as you hold the key in START
for a maximum of 15 seconds. Wait at least
15 seconds between each try, to allow the cranking
motor to cool. When the engine starts, let go of the
key and accelerator. If the vehicle starts briefly but
then stops again, repeat the procedure. This clears
the extra gasoline from the engine. Do not race the
engine immediately after starting it. Operate the
engine and transmission gently until the oil warms
up and lubricates all moving parts. Notice:
The engine is designed to work with the
electronics in the vehicle. If you add electrical parts
or accessories, you could change the way the
engine operates. Before adding electrical
equipment, check with your dealer. If you do not,
the engine might not perform properly. Any
resulting damage would not be covered by the
vehicle warranty.
Engine Coolant Heater
The engine coolant heater can provide easier starting
and better fuel economy during engine warm‐up in cold
weather condition at or below −18°C (0°F). Vehicles
with an engine coolant heater should be plugged in at
least four hours before starting. An internal thermostat
in the plug-end of the cord may exist which will prevent
engine coolant heater operation at temperatures
above −18°C (0°F).
3-25
Page 136 of 430
Black plate (30,1)Chevrolet HHR Owner Manual - 2011
Shift Speeds
{WARNING:
If you skip a gear when you downshift, you could
lose control of the vehicle. You could injure
yourself or others. Do not shift down more than
one gear at a time when you downshift.
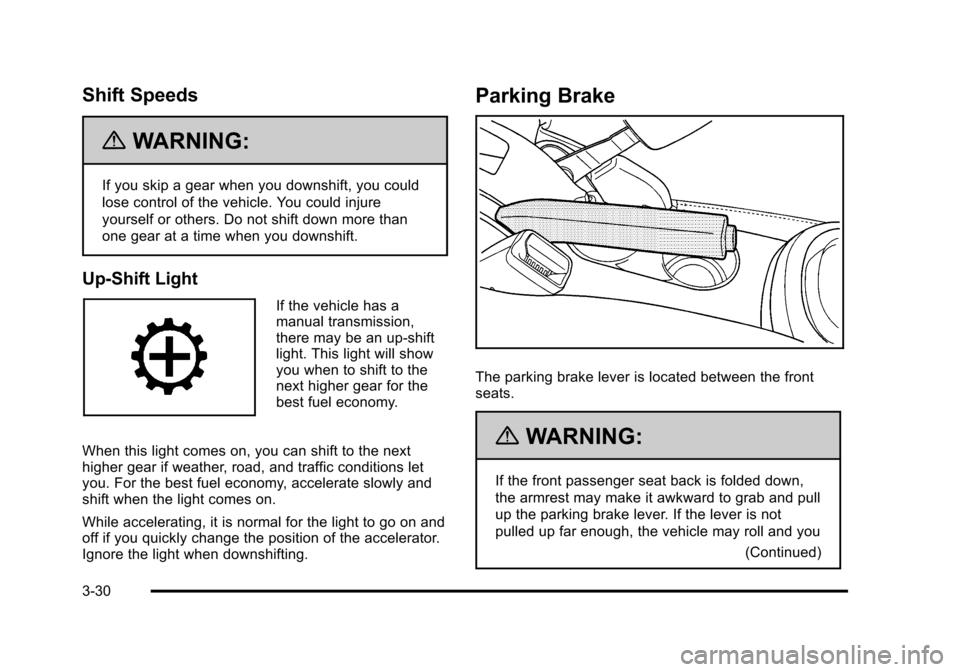
Up-Shift Light
If the vehicle has a
manual transmission,
there may be an up-shift
light. This light will show
you when to shift to the
next higher gear for the
best fuel economy.
When this light comes on, you can shift to the next
higher gear if weather, road, and traffic conditions let
you. For the best fuel economy, accelerate slowly and
shift when the light comes on.
While accelerating, it is normal for the light to go on and
off if you quickly change the position of the accelerator.
Ignore the light when downshifting.
Parking Brake
The parking brake lever is located between the front
seats.
{WARNING:
If the front passenger seat back is folded down,
the armrest may make it awkward to grab and pull
up the parking brake lever. If the lever is not
pulled up far enough, the vehicle may roll and you (Continued)
3-30
Page 147 of 430
Black plate (41,1)Chevrolet HHR Owner Manual - 2011
A. View displayed by the camera.
B. Corner of the rear bumper.
When the System Does Not Seem To
Work Properly
The rear vision camera system might not work properly
or display a clear image if:
.The RVC is turned off. See“Turning the Rear
Camera System On or Off” earlier in this section.
.It is dark.
.The sun or the beam of headlights is shining
directly into the camera lens.
.Ice, snow, mud, or anything else builds up on the
camera lens. Clean the lens, rinse it with water,
and wipe it with a soft cloth.
.The back of the vehicle is in an accident, the
position and mounting angle of the camera can
change or the camera can be affected. Be sure to
have the camera and its position and mounting
angle checked at your dealer.
.There are extreme temperature changes. The rear vision camera system display in the rearview
mirror may turn off or not appear as expected due to
one of the following conditions. If this occurs the left
indicator light on the mirror will flash.
.A slow flash may indicate a loss of video signal,
or no video signal present during the reverse cycle.
.A fast flash may indicate that the display has been
on for the maximum allowable time during a
reverse cycle, or the display has reached an Over
Temperature limit.
The fast flash conditions are used to protect the
video device from high temperature conditions.
Once conditions return to normal the device will
reset and the green indicator will stop flashing.
During any of these fault conditions, the display will be
blank and the indicator will continue to flash as long as
the vehicle is in R (Reverse) or until the conditions
return to normal.
Pressing and holding
zwhen the left indicator light is
flashing will turn off the video display along with the left
indicator light.
3-41
Page 157 of 430
Black plate (1,1)Chevrolet HHR Owner Manual - 2011
Section 4 Instrument Panel
Instrument Panel Overview. . . . . . . . . . . . . . . . . . . . . . . .4-3
Hazard Warning Flashers . . . . . . . . . . . . . . . . . . . . . . . 4-3
Horn . . . . . . . . . . . . . . . . . . . . . . . . . . . . . . . . . . . . . . . . . . . . 4-3
Tilt Wheel . . . . . . . . . . . . . . . . . . . . . . . . . . . . . . . . . . . . . . . 4-3
Turn Signal/Multifunction Lever . . . . . . . . . . . . . . . . . . 4-4
Turn and Lane-Change Signals . . . . . . . . . . . . . . . . . 4-4
Headlamp High/Low-Beam Changer . . . . . . . . . . . . 4-5
Flash-to-Pass . . . . . . . . . . . . . . . . . . . . . . . . . . . . . . . . . . . 4-5
Windshield Wipers . . . . . . . . . . . . . . . . . . . . . . . . . . . . . . 4-5
Windshield Washer . . . . . . . . . . . . . . . . . . . . . . . . . . . . . 4-6
Rear Window Wiper/Washer . . . . . . . . . . . . . . . . . . . . 4-7
Cruise Control . . . . . . . . . . . . . . . . . . . . . . . . . . . . . . . . . . 4-8
Headlamps . . . . . . . . . . . . . . . . . . . . . . . . . . . . . . . . . . . . 4-11
Wiper Activated Headlamps . . . . . . . . . . . . . . . . . . . 4-12
Headlamps on Reminder . . . . . . . . . . . . . . . . . . . . . . 4-12
Daytime Running Lamps (DRL) . . . . . . . . . . . . . . . . 4-12
Automatic Headlamp System . . . . . . . . . . . . . . . . . . 4-13
Fog Lamps . . . . . . . . . . . . . . . . . . . . . . . . . . . . . . . . . . . . 4-13
Instrument Panel Brightness . . . . . . . . . . . . . . . . . . . 4-14
Dome Lamp . . . . . . . . . . . . . . . . . . . . . . . . . . . . . . . . . . . 4-14
Entry/Exit Lighting . . . . . . . . . . . . . . . . . . . . . . . . . . . . . 4-14
Reading Lamps . . . . . . . . . . . . . . . . . . . . . . . . . . . . . . . . 4-14
Electric Power Management . . . . . . . . . . . . . . . . . . . 4-15
Battery Run-Down Protection . . . . . . . . . . . . . . . . . . 4-15
Accessory Power Outlet(s) . . . . . . . . . . . . . . . . . . . . . 4-15
Ashtray(s) and Cigarette Lighter . . . . . . . . . . . . . . . 4-17 Climate Controls
. . . . . . . . . . . . . . . . . . . . . . . . . . . . . . . . . . 4-18
Climate Control System . . . . . . . . . . . . . . . . . . . . . . . . 4-18
Outlet Adjustment . . . . . . . . . . . . . . . . . . . . . . . . . . . . . . 4-20
Passenger Compartment Air Filter . . . . . . . . . . . . . 4-21
Warning Lights, Gauges, and Indicators . . . . . . . .4-22
Instrument Panel Cluster . . . . . . . . . . . . . . . . . . . . . . . 4-23
Speedometer and Odometer . . . . . . . . . . . . . . . . . . . 4-24
Tachometer . . . . . . . . . . . . . . . . . . . . . . . . . . . . . . . . . . . . 4-24
Safety Belt Reminders . . . . . . . . . . . . . . . . . . . . . . . . . 4-25
Airbag Readiness Light . . . . . . . . . . . . . . . . . . . . . . . . 4-26
Passenger Airbag Status Indicator . . . . . . . . . . . . . 4-27
Charging System Light . . . . . . . . . . . . . . . . . . . . . . . . 4-28
Up-Shift Light . . . . . . . . . . . . . . . . . . . . . . . . . . . . . . . . . . 4-28
Brake System Warning Light . . . . . . . . . . . . . . . . . . . 4-29
Antilock Brake System (ABS) Warning Light . . . 4-30
Enhanced Traction System (ETS) Indicator/ Warning Light . . . . . . . . . . . . . . . . . . . . . . . . . . . . . . . . 4-30
Electronic Stability Control (ESC)/Traction Control System (TCS) Indicator/Warning
Light . . . . . . . . . . . . . . . . . . . . . . . . . . . . . . . . . . . . . . . . . 4-31
Engine Coolant Temperature Warning Light . . . . 4-32
Engine Coolant Temperature Gauge . . . . . . . . . . . 4-32
Tire Pressure Light . . . . . . . . . . . . . . . . . . . . . . . . . . . . 4-33
Malfunction Indicator Lamp . . . . . . . . . . . . . . . . . . . . 4-33
Oil Pressure Light . . . . . . . . . . . . . . . . . . . . . . . . . . . . . 4-36
Security Light . . . . . . . . . . . . . . . . . . . . . . . . . . . . . . . . . . 4-36
4-1
Page 161 of 430
Black plate (5,1)Chevrolet HHR Owner Manual - 2011
Headlamp High/Low-Beam Changer
To change the headlamps from low beam to high beam,
push the turn signal lever away from you.
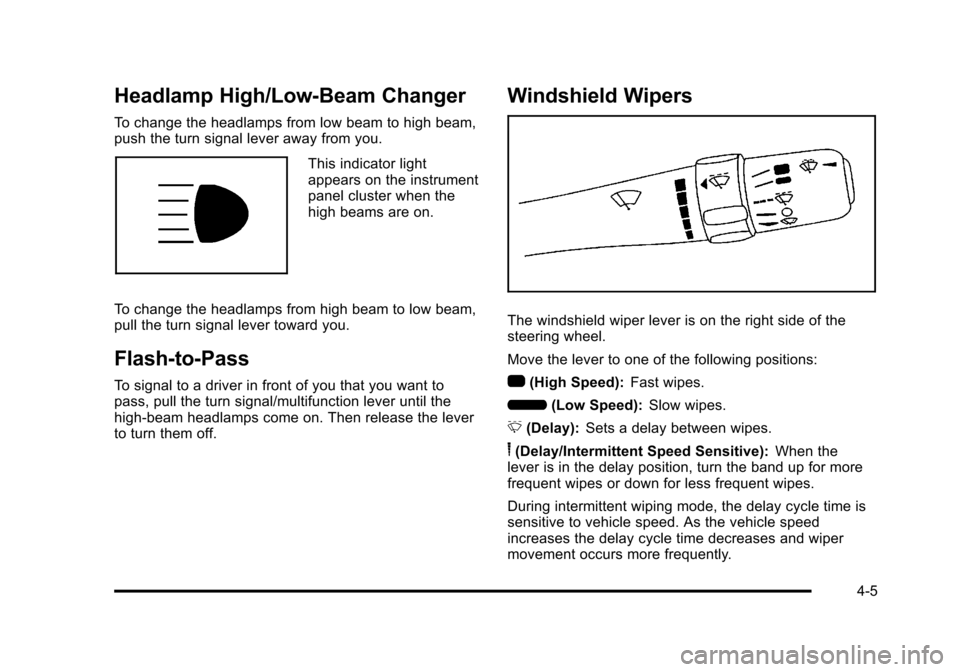
This indicator light
appears on the instrument
panel cluster when the
high beams are on.
To change the headlamps from high beam to low beam,
pull the turn signal lever toward you.
Flash-to-Pass
To signal to a driver in front of you that you want to
pass, pull the turn signal/multifunction lever until the
high-beam headlamps come on. Then release the lever
to turn them off.
Windshield Wipers
The windshield wiper lever is on the right side of the
steering wheel.
Move the lever to one of the following positions:
1 (High Speed): Fast wipes.
6 (Low Speed): Slow wipes.
& (Delay): Sets a delay between wipes.
6(Delay/Intermittent Speed Sensitive): When the
lever is in the delay position, turn the band up for more
frequent wipes or down for less frequent wipes.
During intermittent wiping mode, the delay cycle time is
sensitive to vehicle speed. As the vehicle speed
increases the delay cycle time decreases and wiper
movement occurs more frequently.
4-5
Page 164 of 430
Black plate (8,1)Chevrolet HHR Owner Manual - 2011
Cruise Control
With cruise control, a speed of about 40 km (25 mph) or
more can be maintained without keeping your foot on
the accelerator. Cruise control does not work at speeds
below 40 km (25 mph).
The brake must be applied at least one time, after the
vehicle has been started, before cruise control will
function.
{WARNING:
Cruise control can be dangerous where you
cannot drive safely at a steady speed. So, do not
use the cruise control on winding roads or in
heavy traffic.
Cruise control can be dangerous on slippery
roads. On such roads, fast changes in tire traction
can cause excessive wheel slip, and you could
lose control. Do not use cruise control on slippery
roads.
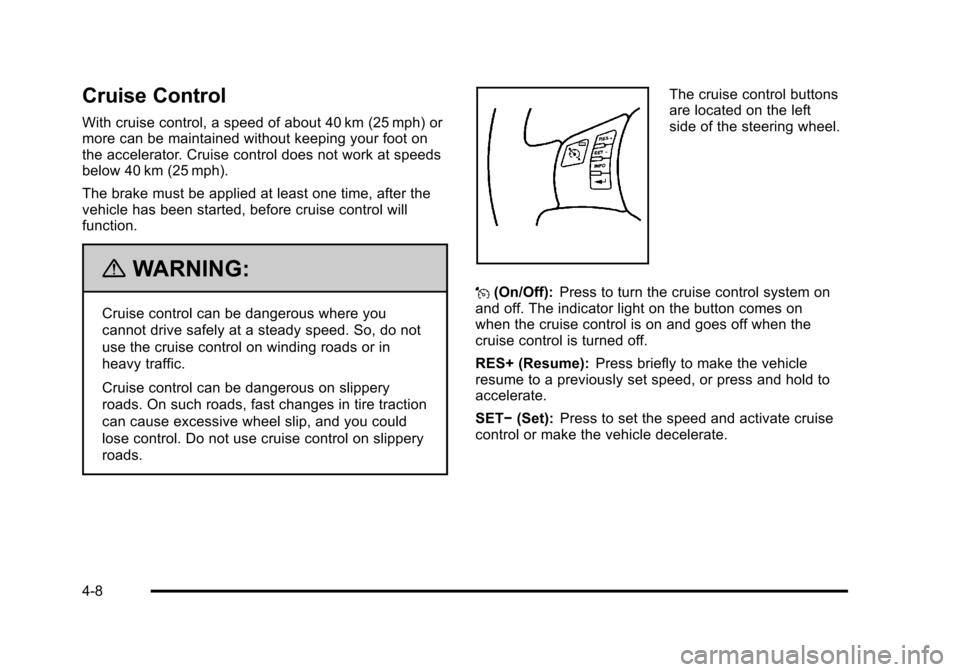
The cruise control buttons
are located on the left
side of the steering wheel.
J (On/Off): Press to turn the cruise control system on
and off. The indicator light on the button comes on
when the cruise control is on and goes off when the
cruise control is turned off.
RES+ (Resume): Press briefly to make the vehicle
resume to a previously set speed, or press and hold to
accelerate.
SET− (Set): Press to set the speed and activate cruise
control or make the vehicle decelerate.
4-8