clock set CHEVROLET IMPALA 2015 10.G Owners Manual
[x] Cancel search | Manufacturer: CHEVROLET, Model Year: 2015, Model line: IMPALA, Model: CHEVROLET IMPALA 2015 10.GPages: 413, PDF Size: 5.51 MB
Page 24 of 413
Black plate (17,1)Chevrolet Impala Owner Manual (GMNA-Localizing-U.S./Canada-7576026) -
2015 - crc 2nd edition - 8/21/14
In Brief 1-17
Vehicle Features
Infotainment System
The base radio information is
included in this manual. See the
infotainment manual for information
on the uplevel radios, audio players,
phone, navigation system, and
voice or speech recognition. There
is also information on settings and
downloadable applications (if
equipped).
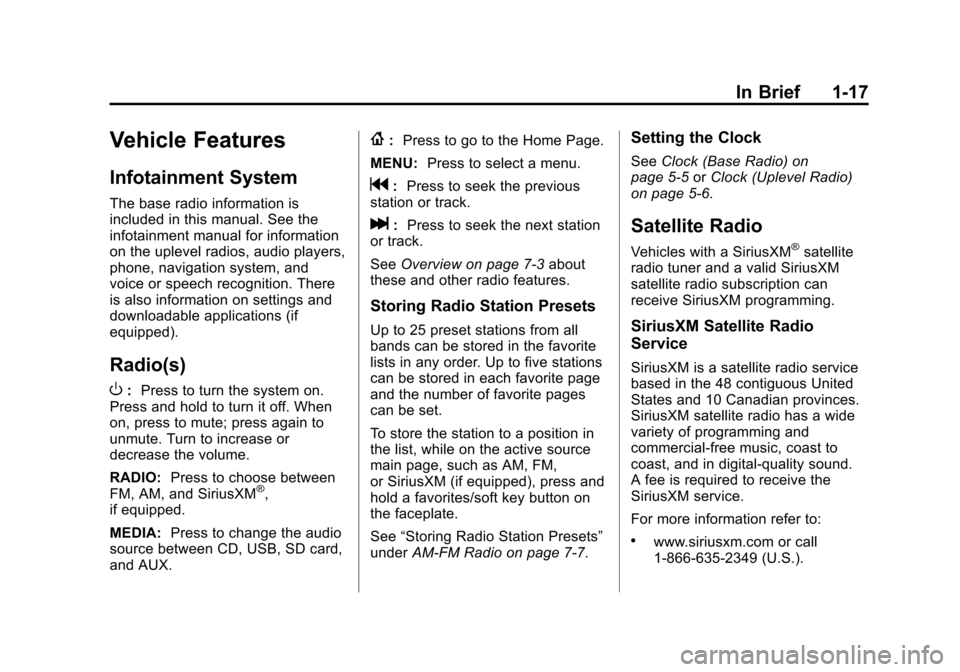
Radio(s)
O
:Press to turn the system on.
Press and hold to turn it off. When
on, press to mute; press again to
unmute. Turn to increase or
decrease the volume.
RADIO: Press to choose between
FM, AM, and SiriusXM
®,
if equipped.
MEDIA: Press to change the audio
source between CD, USB, SD card,
and AUX.
{: Press to go to the Home Page.
MENU: Press to select a menu.
g:Press to seek the previous
station or track.
l: Press to seek the next station
or track.
See Overview on page 7-3 about
these and other radio features.
Storing Radio Station Presets
Up to 25 preset stations from all
bands can be stored in the favorite
lists in any order. Up to five stations
can be stored in each favorite page
and the number of favorite pages
can be set.
To store the station to a position in
the list, while on the active source
main page, such as AM, FM,
or SiriusXM (if equipped), press and
hold a favorites/soft key button on
the faceplate.
See “Storing Radio Station Presets”
under AM-FM Radio on page 7-7.
Setting the Clock
SeeClock (Base Radio) on
page 5-5 orClock (Uplevel Radio)
on page 5-6.
Satellite Radio
Vehicles with a SiriusXM®satellite
radio tuner and a valid SiriusXM
satellite radio subscription can
receive SiriusXM programming.
SiriusXM Satellite Radio
Service
SiriusXM is a satellite radio service
based in the 48 contiguous United
States and 10 Canadian provinces.
SiriusXM satellite radio has a wide
variety of programming and
commercial-free music, coast to
coast, and in digital-quality sound.
A fee is required to receive the
SiriusXM service.
For more information refer to:
.www.siriusxm.com or call
1-866-635-2349 (U.S.).
Page 120 of 413
Black plate (5,1)Chevrolet Impala Owner Manual (GMNA-Localizing-U.S./Canada-7576026) -
2015 - crc 2nd edition - 8/21/14
Instruments and Controls 5-5
If the windshield wiper lever is then
moved to off before the driver door
is opened or within 10 minutes, the
wipers will restart and move to the
base of the windshield.
If the ignition is turned to LOCK/
OFF while the wipers are performing
wipes due to windshield washing,
the wipers continue to run until they
reach the base of the windshield.
Compass
The vehicle may have a compass
display on the Driver Information
Center (DIC). The compass receives
its heading and other information
from the Global Positioning
System (GPS) antenna,
StabiliTrak
®, and vehicle speed
information.
The compass system is designed to
operate for a certain number of
miles or degrees of turn before
needing a signal from the GPS
satellites. When the compass
display shows CAL, drive the
vehicle for a short distance in an open area where it can receive a
GPS signal. The compass system
will automatically determine when a
GPS signal is restored and provide
a heading again. See
Compass
Messages on page 5-29 for the
messages that may be displayed for
the compass.
Clock (Base Radio)
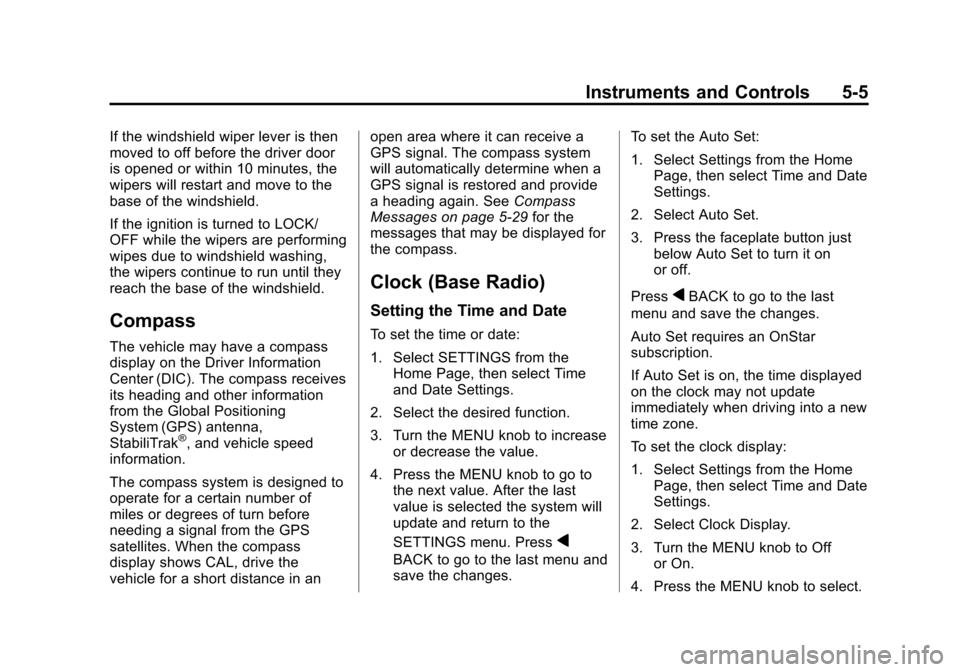
Setting the Time and Date
To set the time or date:
1. Select SETTINGS from the Home Page, then select Time
and Date Settings.
2. Select the desired function.
3. Turn the MENU knob to increase or decrease the value.
4. Press the MENU knob to go to the next value. After the last
value is selected the system will
update and return to the
SETTINGS menu. Press
q
BACK to go to the last menu and
save the changes. To set the Auto Set:
1. Select Settings from the Home
Page, then select Time and Date
Settings.
2. Select Auto Set.
3. Press the faceplate button just below Auto Set to turn it on
or off.
Press
qBACK to go to the last
menu and save the changes.
Auto Set requires an OnStar
subscription.
If Auto Set is on, the time displayed
on the clock may not update
immediately when driving into a new
time zone.
To set the clock display:
1. Select Settings from the Home Page, then select Time and Date
Settings.
2. Select Clock Display.
3. Turn the MENU knob to Off or On.
4. Press the MENU knob to select.
Page 121 of 413
Black plate (6,1)Chevrolet Impala Owner Manual (GMNA-Localizing-U.S./Canada-7576026) -
2015 - crc 2nd edition - 8/21/14
5-6 Instruments and Controls
PressqBACK to go to the last
menu and save the changes.
Clock (Uplevel Radio)
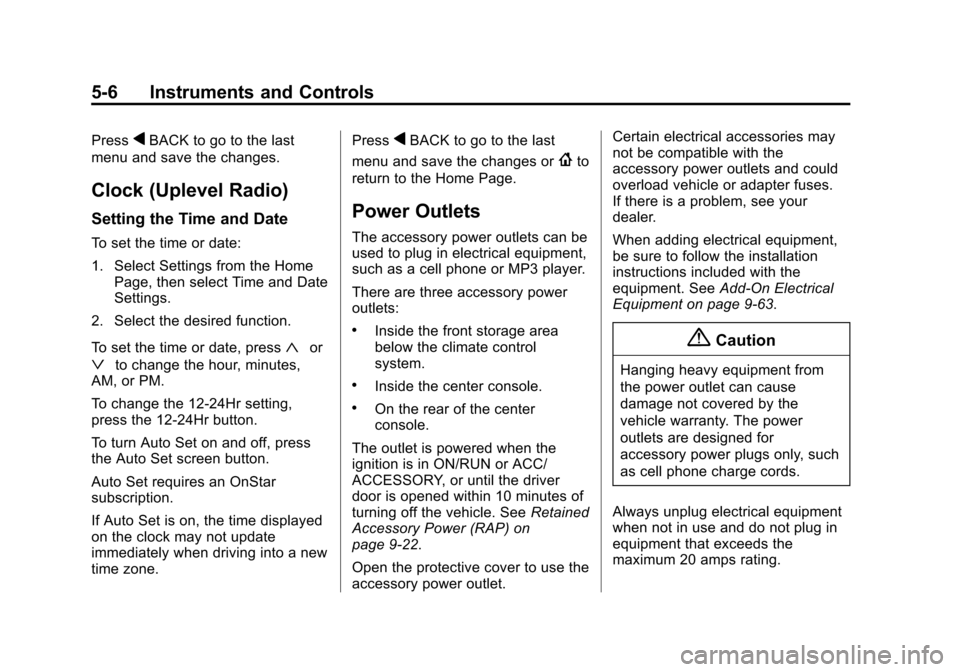
Setting the Time and Date
To set the time or date:
1. Select Settings from the Home Page, then select Time and Date
Settings.
2. Select the desired function.
To set the time or date, press
«or
ªto change the hour, minutes,
AM, or PM.
To change the 12-24Hr setting,
press the 12-24Hr button.
To turn Auto Set on and off, press
the Auto Set screen button.
Auto Set requires an OnStar
subscription.
If Auto Set is on, the time displayed
on the clock may not update
immediately when driving into a new
time zone. Press
qBACK to go to the last
menu and save the changes or
{to
return to the Home Page.
Power Outlets
The accessory power outlets can be
used to plug in electrical equipment,
such as a cell phone or MP3 player.
There are three accessory power
outlets:
.Inside the front storage area
below the climate control
system.
.Inside the center console.
.On the rear of the center
console.
The outlet is powered when the
ignition is in ON/RUN or ACC/
ACCESSORY, or until the driver
door is opened within 10 minutes of
turning off the vehicle. See Retained
Accessory Power (RAP) on
page 9-22.
Open the protective cover to use the
accessory power outlet. Certain electrical accessories may
not be compatible with the
accessory power outlets and could
overload vehicle or adapter fuses.
If there is a problem, see your
dealer.
When adding electrical equipment,
be sure to follow the installation
instructions included with the
equipment. See
Add-On Electrical
Equipment on page 9-63.
{Caution
Hanging heavy equipment from
the power outlet can cause
damage not covered by the
vehicle warranty. The power
outlets are designed for
accessory power plugs only, such
as cell phone charge cords.
Always unplug electrical equipment
when not in use and do not plug in
equipment that exceeds the
maximum 20 amps rating.
Page 153 of 413
Black plate (38,1)Chevrolet Impala Owner Manual (GMNA-Localizing-U.S./Canada-7576026) -
2015 - crc 2nd edition - 8/21/14
5-38 Instruments and Controls
5. PressqBACK to return to the
previous menu.
Uplevel Radio Audio System
Controls
To access the personalization
menus:
1. Press SETTINGS on the Home page on the infotainment system
display.
2. Press the desired feature to display a list of available
options.
3. Press the desired option.
4. Press to select the desired option setting.
5. Press
qBACK to return to the
previous menu.
Personalization Menus
The following list of features may be
available:
.Time and Date
.Language (Language)
.Valet Mode
.Radio
.Vehicle
.Bluetooth
.Voice
.Display
.Rear Camera
.Return to Factory Settings
.Software Information
Each menu is detailed in the
following information.
Time and Date
Manually set the time and date. See
Clock (Base Radio) on page 5-5 or
Clock (Uplevel Radio) on page 5-6.
Language (Language)
Select Language, then select from
the available language(s).
Valet Mode (If Equipped)
This will lock the infotainment
system and steering wheel controls.
It may also limit top speed, power,
and access to vehicle storage
locations (if equipped).
To enable valet mode:
1. Enter a four-digit code on the keypad.
2. Press Enter to go to the confirmation screen.
3. Re-enter the four-digit code.
Press LOCK or UNLOCK to lock or
unlock the system. Press Back to go
back to the previous menu.
Radio
To manage the radio features, see
“Radio Setup” under“Setting Radio
Preferences” inHome Page on
page 7-4.
Page 176 of 413
Black plate (5,1)Chevrolet Impala Owner Manual (GMNA-Localizing-U.S./Canada-7576026) -
2015 - crc 2nd edition - 8/21/14
Infotainment System 7-5
PHONE:Select the PHONE screen
icon to display the Phone main
page. See Bluetooth (Overview) on
page 7-19 orBluetooth
(Infotainment Controls - Base
Radio) on page 7-21 orBluetooth
(Voice Recognition - Base Radio) on
page 7-25.
NAV: Select the NAV screen icon
to display the last Turn-by-Turn
maneuver if a destination was
downloaded. See Navigation on
page 14-3.
SETTINGS: Select the SETTINGS
screen icon to display the Settings
main page. See “Setting Radio
Preferences” following.
Setting Radio Preferences
Select the SETTINGS screen icon
to display the Settings menu and
the following may display:
Time:SeeClock (Base Radio) on
page 5-5 orClock (Uplevel Radio)
on page 5-6. Language (Language):
This will
set the display language in the radio
and instrument cluster. Select to
display a list of languages. Select
q
BACK to go back to the
previous menu.
Valet Mode:
Type a four-digit code on the
circular numeric keypad:
1. Turn the MENU knob to highlight
a number.
2. Press the MENU knob to select it. Do this for each one of the
four digits. Select Enter to go to
the confirmation screen.
3. Re-enter the four-digit code. Select LOCK to lock the system.
This will also lock out access to
the storage behind the radio,
if equipped. See Instrument
Panel Storage on page 4-1.
4. Type the four-digit code to unlock the system. Select
q
BACK to go back to the
previous menu. Radio:
See“Radio Setup” later in
this section.
Vehicle: SeeVehicle
Personalization on page 5-37.
Display: Press the MENU knob to
turn the display on or off.
Return to Factory Settings: See
“Return to Factory Settings” later in
this section.
Radio Setup
From the RADIO/BAND screen icon,
the following may be displayed:
Manage Favorites:
.Turn the MENU knob and press
to select a favorite.
.To delete a favorite, press
the button just below the
DELETE screen button.
.To move a favorite, press
the MOVE screen button.
Turn the MENU knob to
select a new location, then
press the DROP screen
button to select the new
location.
Page 204 of 413
Black plate (1,1)Chevrolet Impala Owner Manual (GMNA-Localizing-U.S./Canada-7576026) -
2015 - crc 2nd edition - 8/21/14
Climate Controls 8-1
Climate Controls
Climate Control Systems
Climate Control Systems . . . . . . 8-1
Dual Automatic Climate ControlSystem . . . . . . . . . . . . . . . . . . . . . . 8-3
Air Vents
Air Vents . . . . . . . . . . . . . . . . . . . . . . 8-7
Maintenance
Passenger Compartment AirFilter . . . . . . . . . . . . . . . . . . . . . . . . . 8-8
Climate Control Systems
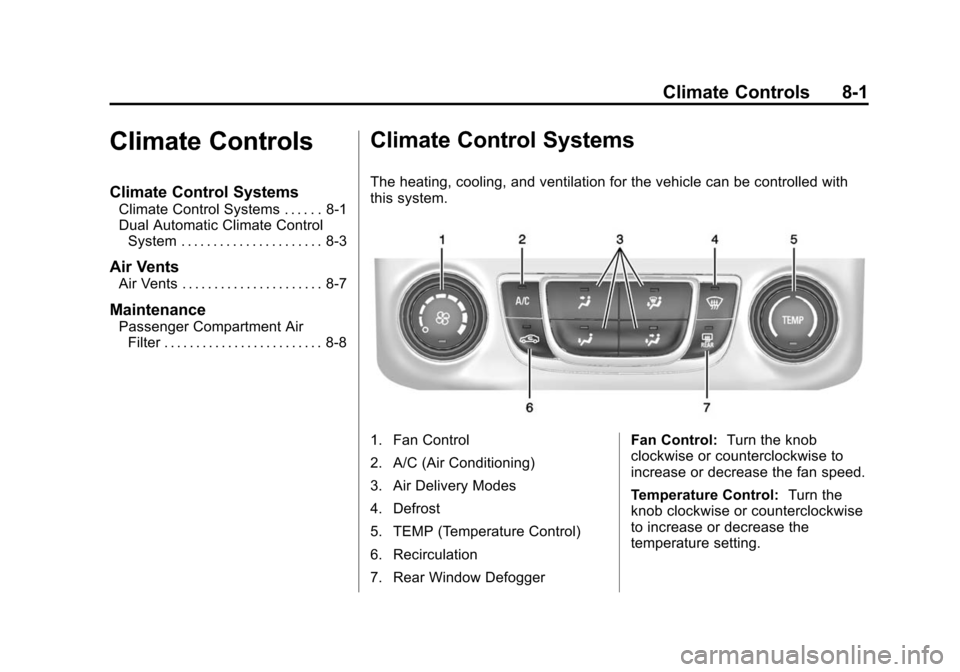
The heating, cooling, and ventilation for the vehicle can be controlled with
this system.
1. Fan Control
2. A/C (Air Conditioning)
3. Air Delivery Modes
4. Defrost
5. TEMP (Temperature Control)
6. Recirculation
7. Rear Window Defogger Fan Control:
Turn the knob
clockwise or counterclockwise to
increase or decrease the fan speed.
Temperature Control: Turn the
knob clockwise or counterclockwise
to increase or decrease the
temperature setting.
Page 207 of 413
Black plate (4,1)Chevrolet Impala Owner Manual (GMNA-Localizing-U.S./Canada-7576026) -
2015 - crc 2nd edition - 8/21/14
8-4 Climate Controls
.Select a temperature setting that
is higher in hot weather and
lower in cold weather.
.Turn off the air conditioning
when it is not needed.
.Only use defrost when needed
to clear the windows.
Automatic Operation
The system automatically controls
the fan speed, air delivery, air
conditioning, and recirculation in
order to heat or cool the vehicle to
the desired temperature.
When the indicator light is on, the
system is in full automatic operation.
If the air delivery mode or fan
setting is manually adjusted, the
auto indicator turns off and displays
will show the selected settings.
To place the system in
automatic mode:
1. Press AUTO. 2. Set the temperature. Allow the
system time to stabilize. Then
adjust the temperature as
needed for best comfort.
To improve fuel efficiency and to
cool the vehicle faster, recirculation
may be automatically selected in
warm weather.
The recirculation light will not come
on when automatically controlled.
Press
hto manually select
recirculation; press it again to select
outside air.
Manual Operation
Driver and Passenger
Temperature Control: The
temperature can be adjusted
separately for the driver and
passenger.
Turn the knob clockwise or
counterclockwise to increase or
decrease the driver or passenger
temperature setting.
SYNC: Press to link all climate
zone settings to the driver settings.
The SYNC indicator light will turn on. When the passenger settings
are adjusted, the SYNC indicator
light is off.
O(Fan On/Off):
Press the knob to
turn the fan on or off.
Fan Control: Turn the knob
clockwise or counterclockwise to
increase or decrease the fan speed.
Press AUTO to return to automatic
operation.
Air Delivery Modes: Press
Y,\,
[, or-to change the direction of
the airflow. An indicator light comes
on in the selected mode button.
Changing the mode cancels the
automatic operation and the system
goes into manual mode. Press
AUTO to return to automatic
operation.
Y(Vent): Air is directed to the
instrument panel outlets.
\(Bi-Level): Air is directed to the
instrument panel outlets and the
floor outlets.