instrument panel CHEVROLET KODIAK 2006 Owner's Manual
[x] Cancel search | Manufacturer: CHEVROLET, Model Year: 2006, Model line: KODIAK, Model: CHEVROLET KODIAK 2006Pages: 398, PDF Size: 5.72 MB
Page 114 of 398
For driving with a trailer, the yellow and red, if equipped,
knobs must be pushed in. When you are not pulling a
trailer, the red trailer air supply knob must be pulled out.
{CAUTION:
If you apply any one of the air brake parking
controls while the vehicle is moving, your rig
will stop suddenly. If you are not ready for this,
you or others could be injured. Do not apply any
one of these controls while you are driving,
unless you have to make an emergency stop.
If the air pressure drops below 60 to 70 psi
(413 to 482 kPa), the primary brake light and warning
buzzer will come on. If the air pressure drops to
35 to 45 psi (241 to 310 kPa), the red trailer air supply
knob will automatically pop out and apply the spring
brakes on the trailer.
If the air pressure drops to 35 to 45 psi (241 to 310 kPa),
the yellow park brake knob will automatically pop out
and apply the spring brakes on the truck or tractor.
If you ever have a complete loss of air so that your air
brakes automatically apply, there is a way that the
tow operator can release the parking brakes to tow the
vehicle. SeeTowing Your Vehicle on page 4-37.
Air Suspension
Your vehicle may have the Hendrickson HAS Series
single-axle air suspension which is designed for a
single-axle on-highway use. This feature is available in
19,000 lb (8 613.3 kg), 21,000 lb (9 525.4 kg) and
23,000 lb (10 432.6 kg) capacities.
Rear Air Suspension Dump Control
If your vehicle is equipped with the Hendrickson HAS
Series single-axle air suspension, you may have
this control. The air suspension dump control allows the
operator to lower the deck height approximately
4.5 inches (11.5 cm) from the normal frame height.
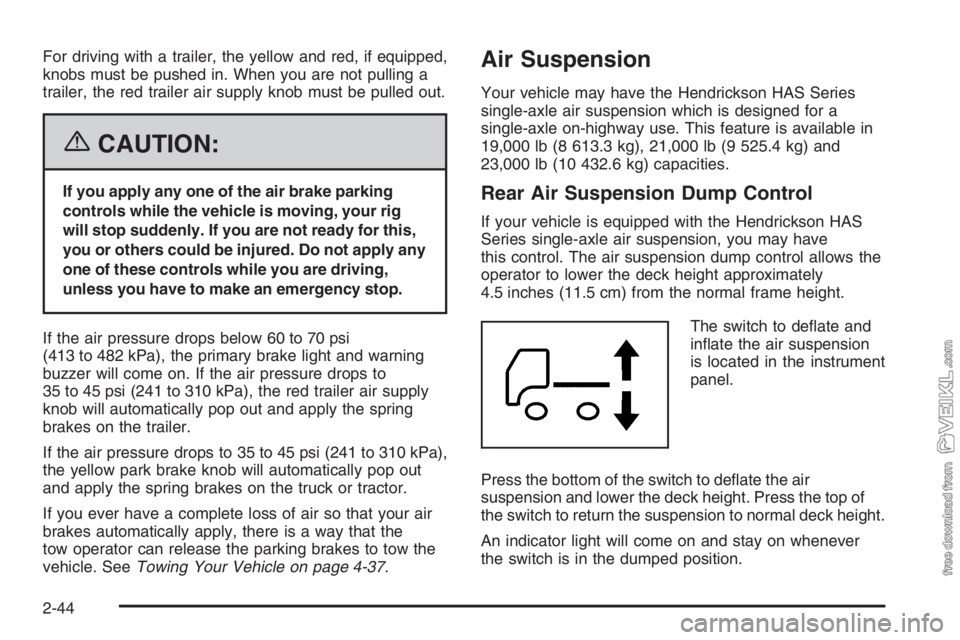
The switch to deflate and
inflate the air suspension
is located in the instrument
panel.
Press the bottom of the switch to deflate the air
suspension and lower the deck height. Press the top of
the switch to return the suspension to normal deck height.
An indicator light will come on and stay on whenever
the switch is in the dumped position.
2-44
Page 118 of 398
Outside Convex Mirrors
{CAUTION:
A convex mirror can make things (like other
vehicles) look farther away than they really are.
If you cut too sharply into the right or left lane,
you could hit a vehicle. Check your regular
outside mirrors (or your inside mirror, if you
have one) before changing lanes.
Your vehicle may have convex mirrors on both the
driver’s side and the passenger’s side. They are curved
to allow more to be seen from the driver’s seat. A
convex mirror can make things look farther away than
they really are.
Outside Heated Mirrors
If your vehicle has this feature, your outside rearview
mirrors can be defrosted.
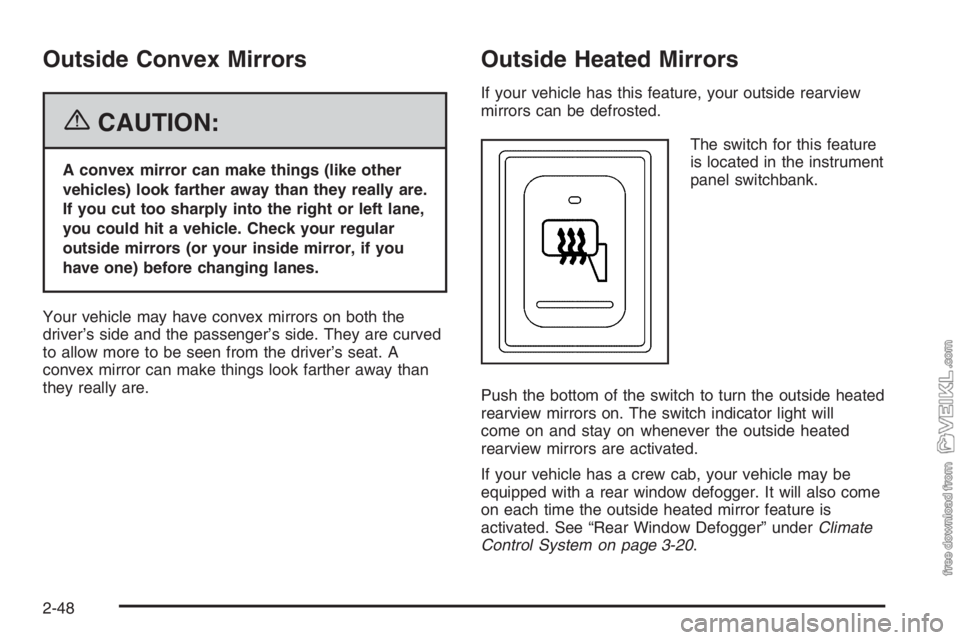
The switch for this feature
is located in the instrument
panel switchbank.
Push the bottom of the switch to turn the outside heated
rearview mirrors on. The switch indicator light will
come on and stay on whenever the outside heated
rearview mirrors are activated.
If your vehicle has a crew cab, your vehicle may be
equipped with a rear window defogger. It will also come
on each time the outside heated mirror feature is
activated. See “Rear Window Defogger” underClimate
Control System on page 3-20.
2-48
Page 119 of 398
Storage Areas
Your vehicle includes a number of storage
compartments.
Some vehicles have storage areas in the instrument
panel. Another small storage area may be located
overhead. Other models may have more storage area
underneath the front passenger’s bench seat. Lift
the seat cushion to use the storage area.
Your vehicle may have a storage tray located behind
the driver and passenger seats.
All models have storage pockets and cupholders on
each of the doors. Some models may have additional
cupholders in the center floor console.
All models also have storage compartments located
beneath the floorboard on both sides of the vehicle.
Center Console Storage Area
Your vehicle may have a center console compartment if
you have the bucket or suspension seats.
The back of your center bench seat may also fold
forward to reveal a console compartment.
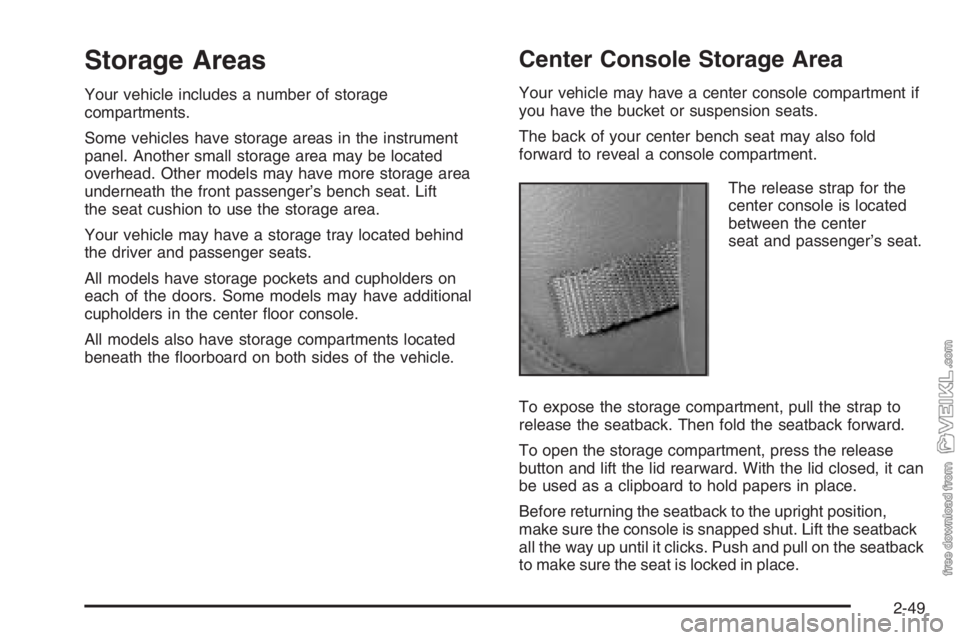
The release strap for the
center console is located
between the center
seat and passenger’s seat.
To expose the storage compartment, pull the strap to
release the seatback. Then fold the seatback forward.
To open the storage compartment, press the release
button and lift the lid rearward. With the lid closed, it can
be used as a clipboard to hold papers in place.
Before returning the seatback to the upright position,
make sure the console is snapped shut. Lift the seatback
all the way up until it clicks. Push and pull on the seatback
to make sure the seat is locked in place.
2-49
Page 121 of 398
Instrument Panel Overview...............................3-4
Hazard Warning Flashers................................3-6
Other Warning Devices...................................3-6
Horn .............................................................3-6
Tilt Wheel.....................................................3-7
Turn Signal/Multifunction Lever.........................3-7
Turn and Lane-Change Signals........................3-8
Headlamp High/Low-Beam Changer..................3-8
Windshield Wipers..........................................3-9
Windshield Washer.......................................3-10
Cruise Control..............................................3-10
Exterior Lamps.............................................3-14
Headlamps on Reminder................................3-15
Daytime Running Lamps (DRL).......................3-15
Marker Lamps..............................................3-16
Instrument Panel Brightness...........................3-16
Dome Lamps ...............................................3-16
Entry Lighting...............................................3-17
Reading Lamps............................................3-17
Instrument Panel Switchbank..........................3-18
Accessory Power Outlet(s).............................3-19
Ashtray(s) and Cigarette Lighter......................3-20Climate Controls............................................3-20
Climate Control System.................................3-20
Outlet Adjustment.........................................3-24
Rear Heating System....................................3-24
Warning Lights, Gages, and Indicators............3-25
Instrument Panel Cluster................................3-26
Speedometer and Odometer...........................3-27
Trip Odometer..............................................3-27
Tachometer.................................................3-27
Engine Speed Limiter....................................3-28
Safety Belt Reminder Light.............................3-28
Safety Belt Reminder Tone............................3-28
Airbag Readiness Light..................................3-29
Airbag Off Light............................................3-30
Charging System Light..................................3-31
Voltmeter Gage............................................3-32
Service Transmission Warning Light................3-32
Range Inhibit Warning Indicator......................3-33
Brake System Warning Light..........................3-33
Anti-Lock Brake System Warning Light.............3-35
Trailer Anti-Lock Brake System Warning Light . . .3-36
Engine Coolant Temperature Gage..................3-36
Section 3 Instrument Panel
3-1
Page 122 of 398
Low Coolant Warning Light............................3-37
Wait to Start Indicator (Diesel Engine).............3-37
Malfunction Indicator Lamp.............................3-38
Oil Pressure Gage........................................3-38
Low Oil Level Light.......................................3-39
Change Engine Oil Light................................3-40
Engine Overspeed Warning Light....................3-40
Engine Shutdown Warning Light.....................3-40
Transmission Temperature Gage.....................3-41
Exhaust Brake Indicator Light.........................3-41
Differential Lock Indicator Light.......................3-42
Reduced Engine Power Light.........................3-42
Highbeam On Light.......................................3-43
Daytime Running Lamps (DRL)
Indicator Light...........................................3-43
Low Washer Fluid Warning Light.....................3-44
Check Gages Warning Light...........................3-44Fuel Gage...................................................3-45
Water in Fuel Warning Light...........................3-46
Air Filter Restriction Indicator..........................3-46
Air Pressure Gage........................................3-47
Hourmeter Gage...........................................3-47
Audio System(s).............................................3-48
Setting the Time...........................................3-49
AM-FM Radio...............................................3-50
Radio with Cassette......................................3-53
Radio with CD..............................................3-59
Theft-Deterrent Feature (Non-RDS Radios).......3-64
Radio Reception...........................................3-64
Care of the Cassette Tape Player...................3-65
Care of Your CDs.........................................3-66
Care of the CD Player...................................3-67
Fixed Mast Antenna......................................3-67
Chime Level Adjustment................................3-67
Section 3 Instrument Panel
3-2
Page 124 of 398
Instrument Panel Overview
Automatic Transmission Shown
3-4
Page 125 of 398
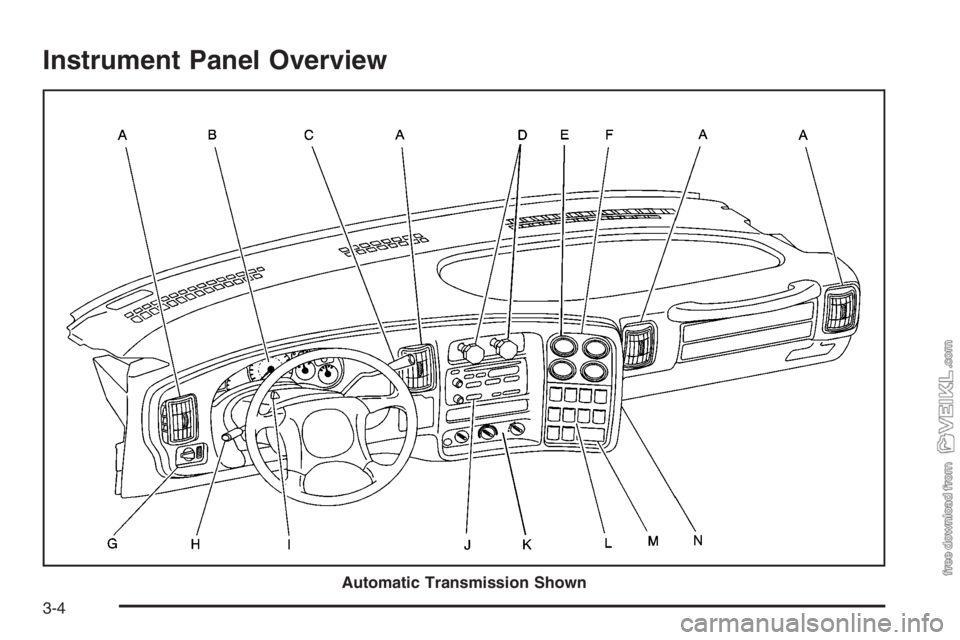
A. Air Outlets. SeeOutlet Adjustment on page 3-24.
B. Instrument Panel Cluster. SeeInstrument Panel
Cluster on page 3-26.
C. Shift Lever. SeeAutomatic Transmission Operation
on page 2-30orManual Transmission Operation
on page 2-31.
D. Air Brake Controls. SeeAir Brake on page 2-42.
E. Transfer Case Controls (If Equipped). See
Four-Wheel Drive on page 2-35. Air Filter Gage
(If Equipped). SeeAir Filter Restriction Indicator on
page 3-46.
F. Auxiliary Gages. SeeWarning Lights, Gages, and
Indicators on page 3-25.
G. Exterior Lamp Control. SeeExterior Lamps on
page 3-14.H. Turn Signal/Multifunction Lever. SeeTurn
Signal/Multifunction Lever on page 3-7.
I. Hazard Warning Flashers Button. SeeHazard
Warning Flashers on page 3-6.
J. Audio System(s). SeeAudio System(s) on
page 3-48.
K. Climate Controls. SeeClimate Control System on
page 3-20.
L. Instrument Panel Switchbank. SeeInstrument Panel
Switchbank on page 3-18.
M. Airbag Off Switch. SeeAirbag Off Switch on
page 1-58.
N. Accessory Power Outlets. SeeAccessory Power
Outlet(s) on page 3-19.
3-5
Page 128 of 398
Turn and Lane-Change Signals
The turn signal has two upward (for right) and
two downward (for left) positions. These positions allow
you to signal a turn or a lane change.
To signal a turn, move the lever all the way up or down.
When the turn is finished, the lever will return
automatically.
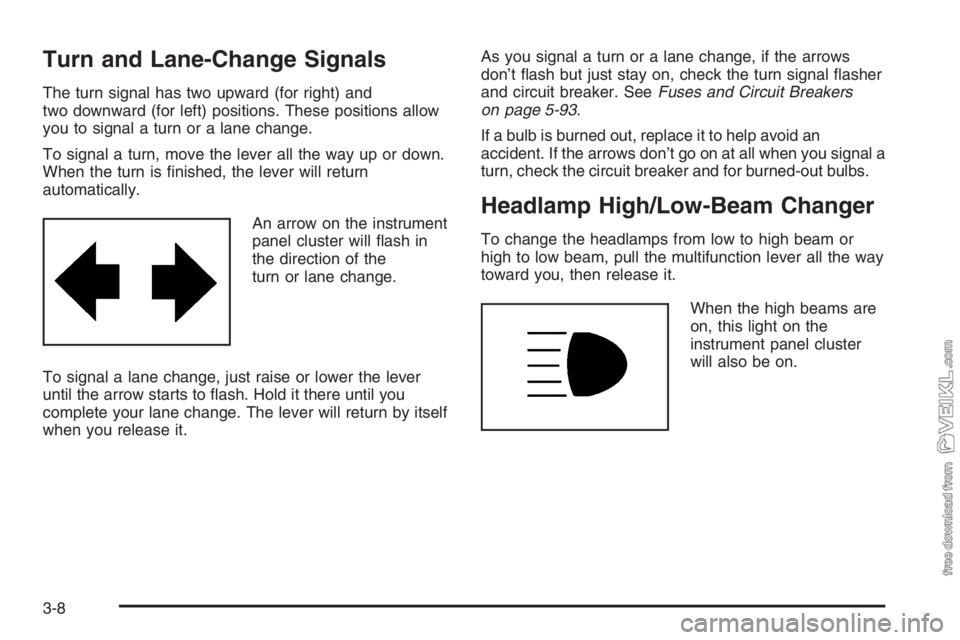
An arrow on the instrument
panel cluster will flash in
the direction of the
turn or lane change.
To signal a lane change, just raise or lower the lever
until the arrow starts to flash. Hold it there until you
complete your lane change. The lever will return by itself
when you release it.As you signal a turn or a lane change, if the arrows
don’t flash but just stay on, check the turn signal flasher
and circuit breaker. SeeFuses and Circuit Breakers
on page 5-93.
If a bulb is burned out, replace it to help avoid an
accident. If the arrows don’t go on at all when you signal a
turn, check the circuit breaker and for burned-out bulbs.
Headlamp High/Low-Beam Changer
To change the headlamps from low to high beam or
high to low beam, pull the multifunction lever all the way
toward you, then release it.
When the high beams are
on, this light on the
instrument panel cluster
will also be on.
3-8
Page 134 of 398
Exterior Lamps
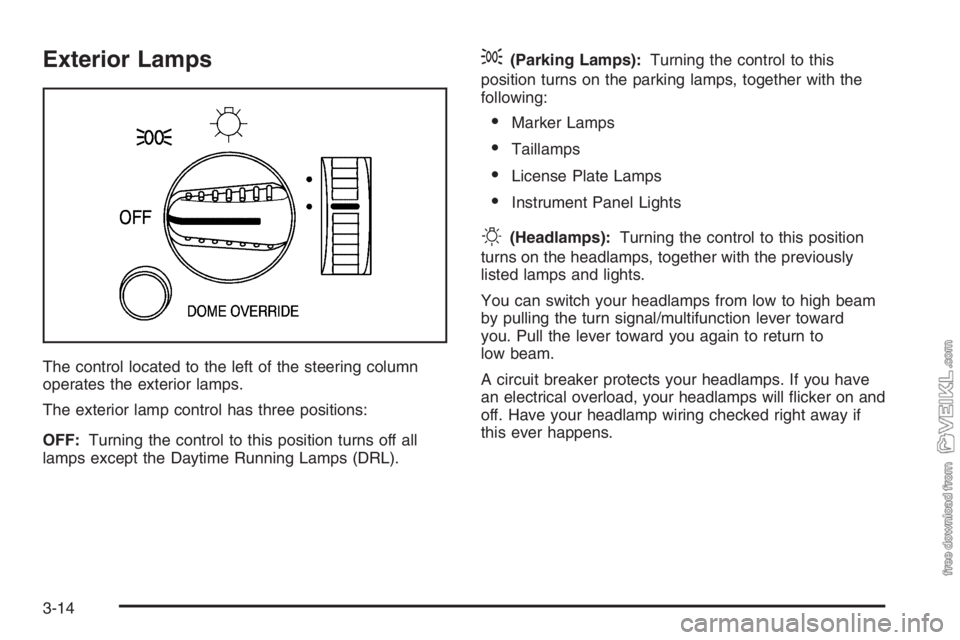
The control located to the left of the steering column
operates the exterior lamps.
The exterior lamp control has three positions:
OFF:Turning the control to this position turns off all
lamps except the Daytime Running Lamps (DRL).
;(Parking Lamps):Turning the control to this
position turns on the parking lamps, together with the
following:
•Marker Lamps
•Taillamps
•License Plate Lamps
•Instrument Panel Lights
O(Headlamps):Turning the control to this position
turns on the headlamps, together with the previously
listed lamps and lights.
You can switch your headlamps from low to high beam
by pulling the turn signal/multifunction lever toward
you. Pull the lever toward you again to return to
low beam.
A circuit breaker protects your headlamps. If you have
an electrical overload, your headlamps will flicker on and
off. Have your headlamp wiring checked right away if
this ever happens.
3-14
Page 135 of 398
Headlamps on Reminder
If you have this system, a tone will sound when your
headlamps and/or parking lamps are turned on and your
ignition is in LOCK or ACCESSORY.
Daytime Running Lamps (DRL)
Daytime Running Lamps (DRL) can make it easier for
others to see the front of your vehicle during the
day. DRL can be helpful in many different driving
conditions, but they can be especially helpful in the short
periods after dawn and before sunset. Fully functional
daytime running lamps are required on all vehicles
first sold in Canada.
The DRL system will make your headlamps come
on at reduced brightness when the following conditions
are met:
•The ignition is on,
•the exterior lamp control is off, and
•the parking brake is released.When the DRL are on, only your headlamps will be on.
The taillamps, sidemarker and other lamps won’t be
on. Your instrument panel won’t be lit up either.
When it begins to get dark,
your DRL indicator light is
a reminder to turn the
headlamps on. The other
lamps that come on
with your headlamps, will
also come on.
When you turn the headlamps off, the regular lamps will
go off, and your low-beam headlamps will change to
the reduced brightness of DRL.
To idle your vehicle with the DRL off, set the parking
brake. The DRL will stay off until you release the
parking brake.
As with any vehicle, you should turn on the regular
headlamp system when you need it.
3-15