headlamp CHEVROLET KODIAK 2007 Owners Manual
[x] Cancel search | Manufacturer: CHEVROLET, Model Year: 2007, Model line: KODIAK, Model: CHEVROLET KODIAK 2007Pages: 430, PDF Size: 6.06 MB
Page 133 of 430
Mirrors
Manual Rearview Mirror
If your vehicle has this feature, pull the tab under
the mirror toward you to reduce glare from
headlamps behind you after dark. Push the tab
away from you to restore the mirror to the daytime
position.
Outside Manual Mirrors
Adjust the outside rearview mirrors so you can
see a little of the side of your vehicle, and the area
beside your vehicle from a comfortable driving
position. All mirrors can be folded in to enter
narrow passageways.
Outside Power Mirrors
If you have outside power mirrors, they can be
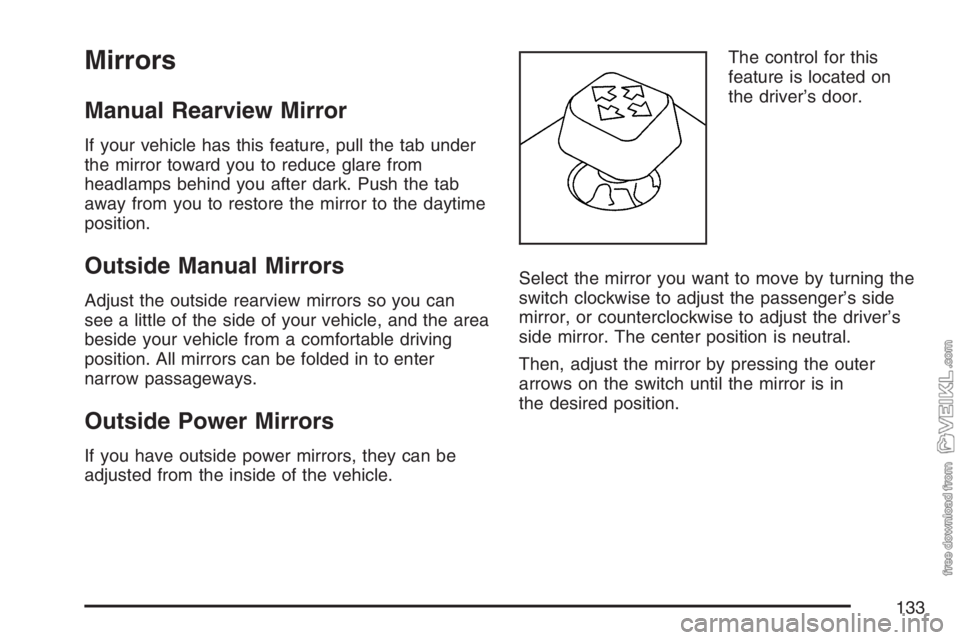
adjusted from the inside of the vehicle.The control for this
feature is located on
the driver’s door.
Select the mirror you want to move by turning the
switch clockwise to adjust the passenger’s side
mirror, or counterclockwise to adjust the driver’s
side mirror. The center position is neutral.
Then, adjust the mirror by pressing the outer
arrows on the switch until the mirror is in
the desired position.
133
Page 137 of 430
Instrument Panel Overview........................ 140
Hazard Warning Flashers.......................... 142
Other Warning Devices............................. 142
Horn.......................................................... 142
Tilt Wheel.................................................. 142
Turn Signal/Multifunction Lever.................. 143
Turn and Lane-Change Signals................. 144
Headlamp High/Low-Beam Changer.......... 144
Windshield Wipers..................................... 145
Windshield Washer.................................... 146
Cruise Control........................................... 146
Exterior Lamps.......................................... 150
Headlamps on Reminder........................... 150
Daytime Running Lamps (DRL)................. 151
Marker Lamps........................................... 152
Instrument Panel Brightness...................... 152
Dome Lamps............................................. 153
Entry Lighting............................................ 154
Reading Lamps......................................... 154
Instrument Panel Switchbank..................... 154
Accessory Power Outlet(s)........................ 156
Ashtray(s) and Cigarette Lighter................ 157Climate Controls......................................... 157
Climate Control System............................. 157
Outlet Adjustment...................................... 160
Rear Heating System................................ 161
Warning Lights, Gages, and Indicators..... 161
Instrument Panel Cluster........................... 162
Speedometer and Odometer...................... 163
Trip Odometer........................................... 163
Tachometer............................................... 163
Engine Speed Limiter................................ 164
Safety Belt Reminder Light........................ 164
Safety Belt Reminder Tone....................... 164
Airbag Readiness Light............................. 165
Airbag Off Light......................................... 166
Charging System Light.............................. 167
Voltmeter Gage......................................... 168
Service Transmission Warning Light.......... 168
Range Inhibit Warning Indicator................. 169
Brake System Warning Light..................... 169
Anti-Lock Brake System Warning Light...... 172
Trailer Anti-Lock Brake System
Warning Light........................................ 172
Section 3 Instrument Panel
137
Page 143 of 430
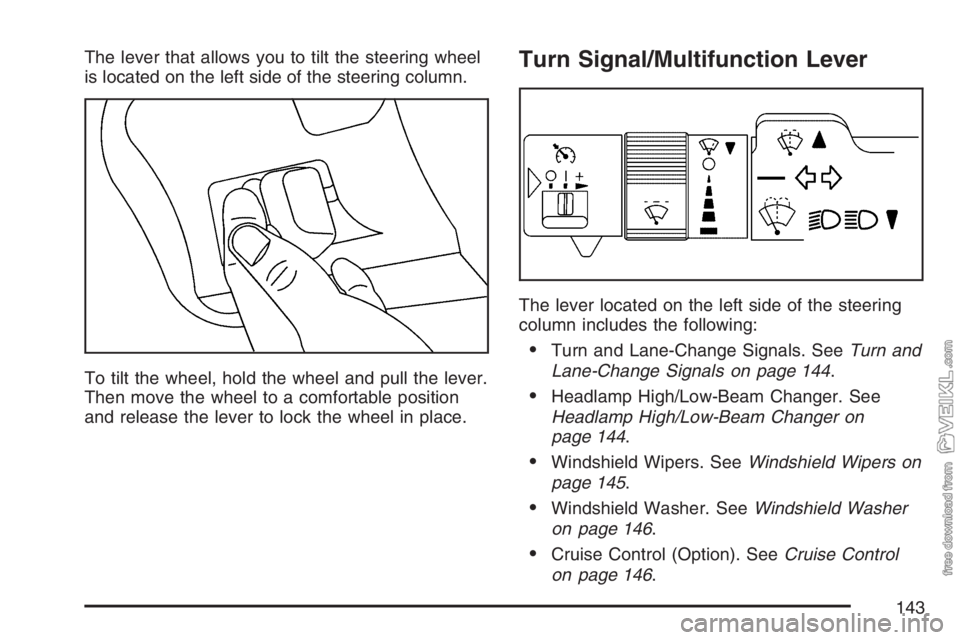
The lever that allows you to tilt the steering wheel
is located on the left side of the steering column.
To tilt the wheel, hold the wheel and pull the lever.
Then move the wheel to a comfortable position
and release the lever to lock the wheel in place.Turn Signal/Multifunction Lever
The lever located on the left side of the steering
column includes the following:
•Turn and Lane-Change Signals. SeeTurn and
Lane-Change Signals on page 144.
•Headlamp High/Low-Beam Changer. See
Headlamp High/Low-Beam Changer on
page 144.
•Windshield Wipers. SeeWindshield Wipers on
page 145.
•Windshield Washer. SeeWindshield Washer
on page 146.
•Cruise Control (Option). SeeCruise Control
on page 146.
143
Page 144 of 430
Turn and Lane-Change Signals
The turn signal has two upward (for right) and
two downward (for left) positions. These positions
allow you to signal a turn or a lane change.
To signal a turn, move the lever all the way up or
down. When the turn is finished, the lever will
return automatically.
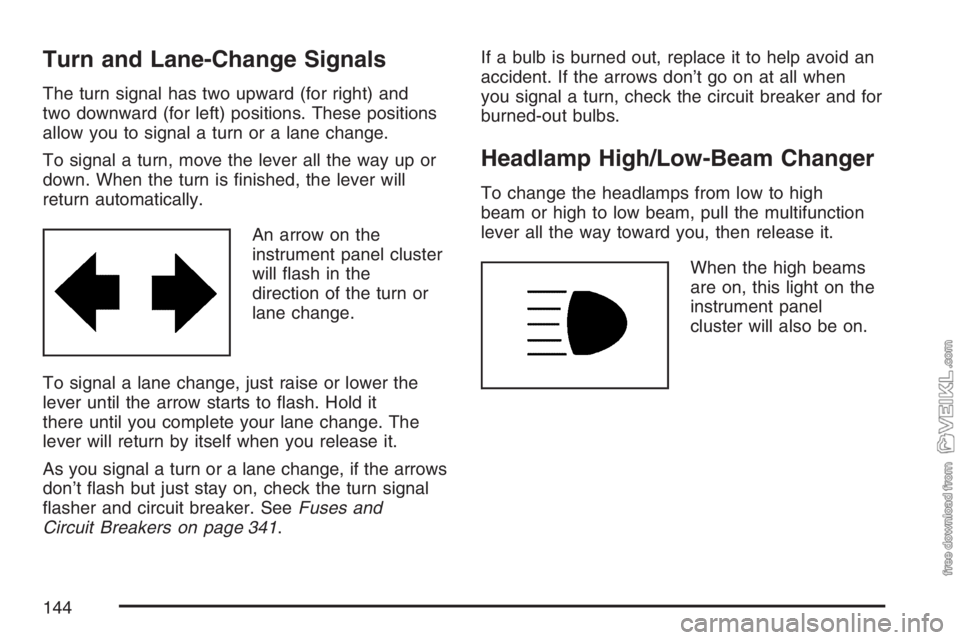
An arrow on the
instrument panel cluster
will flash in the
direction of the turn or
lane change.
To signal a lane change, just raise or lower the
lever until the arrow starts to flash. Hold it
there until you complete your lane change. The
lever will return by itself when you release it.
As you signal a turn or a lane change, if the arrows
don’t flash but just stay on, check the turn signal
flasher and circuit breaker. SeeFuses and
Circuit Breakers on page 341.If a bulb is burned out, replace it to help avoid an
accident. If the arrows don’t go on at all when
you signal a turn, check the circuit breaker and for
burned-out bulbs.
Headlamp High/Low-Beam Changer
To change the headlamps from low to high
beam or high to low beam, pull the multifunction
lever all the way toward you, then release it.
When the high beams
are on, this light on the
instrument panel
cluster will also be on.
144
Page 150 of 430
Exterior Lamps
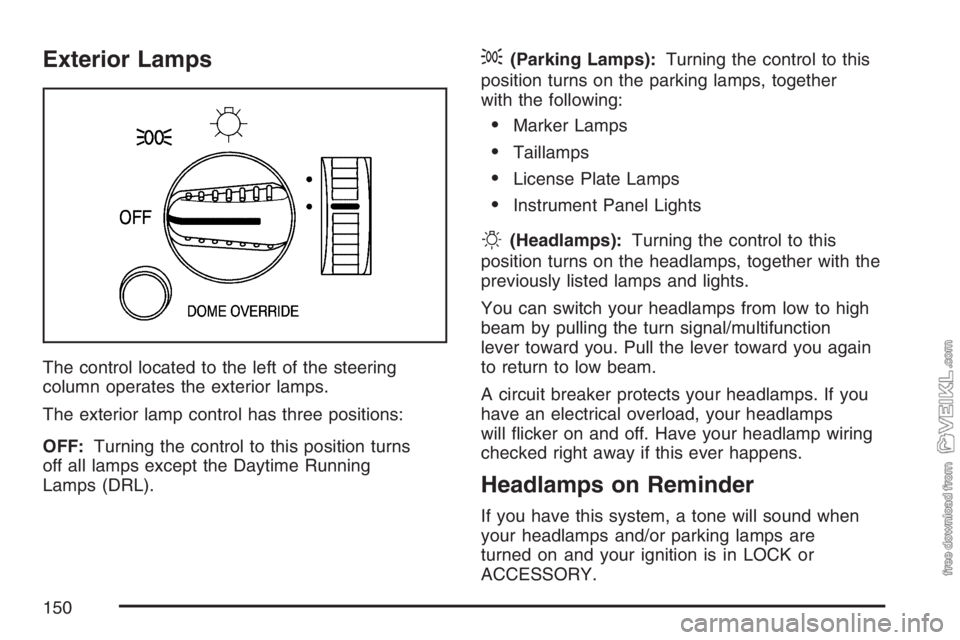
The control located to the left of the steering
column operates the exterior lamps.
The exterior lamp control has three positions:
OFF:Turning the control to this position turns
off all lamps except the Daytime Running
Lamps (DRL).
;(Parking Lamps):Turning the control to this
position turns on the parking lamps, together
with the following:
•Marker Lamps
•Taillamps
•License Plate Lamps
•Instrument Panel Lights
O(Headlamps):Turning the control to this
position turns on the headlamps, together with the
previously listed lamps and lights.
You can switch your headlamps from low to high
beam by pulling the turn signal/multifunction
lever toward you. Pull the lever toward you again
to return to low beam.
A circuit breaker protects your headlamps. If you
have an electrical overload, your headlamps
will flicker on and off. Have your headlamp wiring
checked right away if this ever happens.
Headlamps on Reminder
If you have this system, a tone will sound when
your headlamps and/or parking lamps are
turned on and your ignition is in LOCK or
ACCESSORY.
150
Page 151 of 430
Daytime Running Lamps (DRL)
Daytime Running Lamps (DRL) can make it easier
for others to see the front of your vehicle during
the day. DRL can be helpful in many different
driving conditions, but they can be especially
helpful in the short periods after dawn and before
sunset. Fully functional daytime running lamps
are required on all vehicles first sold in Canada.
The DRL system will make your headlamps come
on at reduced brightness when the following
conditions are met:
•The ignition is on,
•the exterior lamp control is off, and
•the parking brake is released.
When the DRL are on, only your headlamps will
be on. The taillamps, sidemarker and other lamps
won’t be on. Your instrument panel won’t be lit
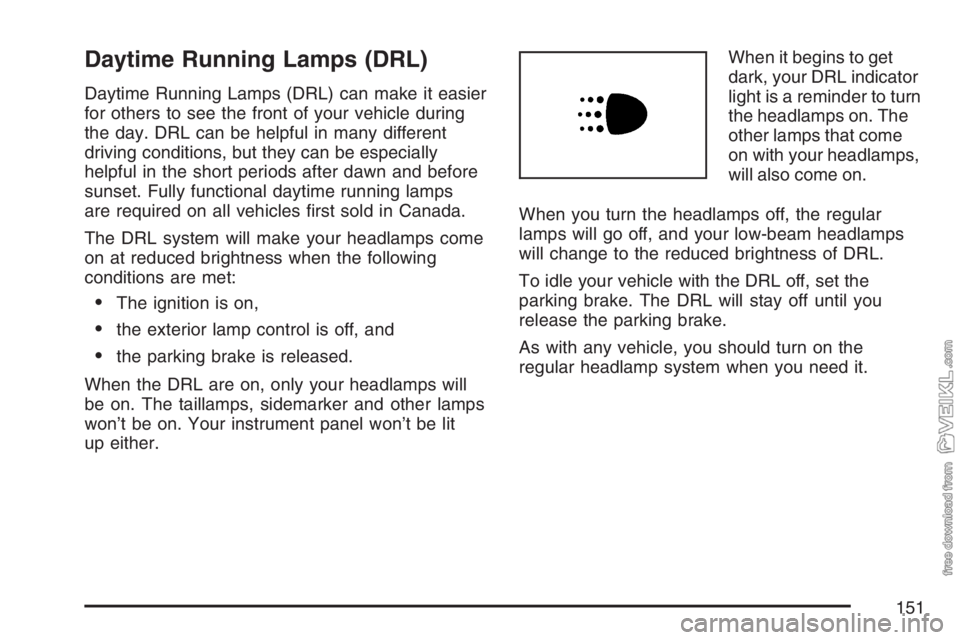
up either.When it begins to get
dark, your DRL indicator
light is a reminder to turn
the headlamps on. The
other lamps that come
on with your headlamps,
will also come on.
When you turn the headlamps off, the regular
lamps will go off, and your low-beam headlamps
will change to the reduced brightness of DRL.
To idle your vehicle with the DRL off, set the
parking brake. The DRL will stay off until you
release the parking brake.
As with any vehicle, you should turn on the
regular headlamp system when you need it.
151
Page 179 of 430
The light will come on momentarily during starting.
If the light fails to come on, have it repaired as
soon as possible so you will be aware when
the lock system is in use.
SeeRear Axle Differential Lock Control on
page 215for more information.
Reduced Engine Power Light
If the check engine and
reduced engine power
lights are on, the
electronic throttle control
may be disabled, and a
noticeable change in the
vehicle’s performance
may occur.
If the reduced engine power light is on, but there
is no change in performance, proceed to your
destination. The performance may be reduced the
next time the vehicle is driven. The vehicle may
be driven at a slower speed while the reduced
engine power light is on, but acceleration
and speed may be limited.
Anytime the check engine light stays on, the
vehicle should be taken to an authorized dealer as
soon as possible for service.
Highbeam On Light
This light comes on
when the high-beam
headlamps are in use.
SeeHeadlamp High/Low-Beam Changer on
page 144.
Daytime Running Lamps (DRL)
Indicator Light
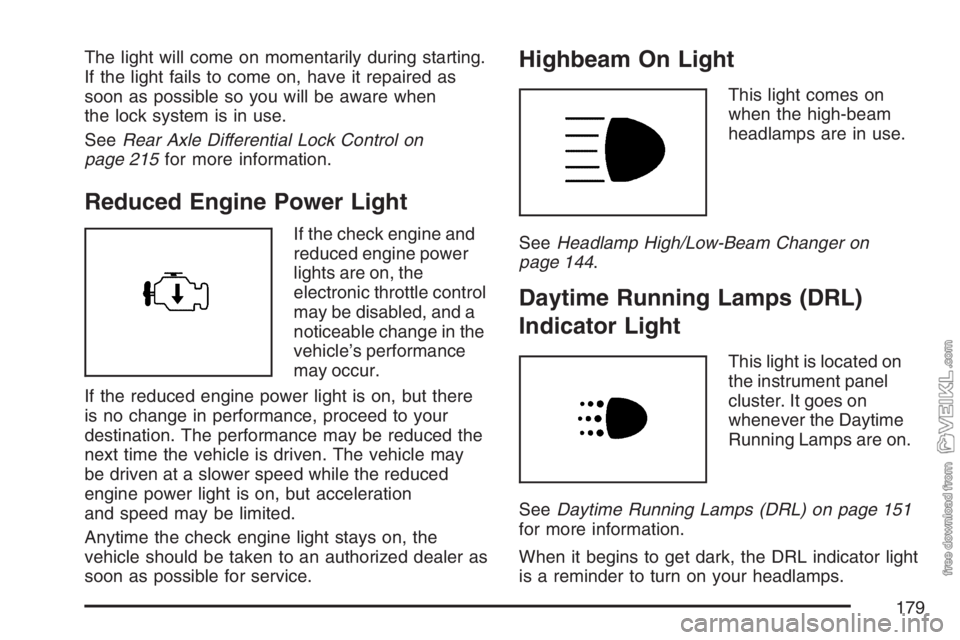
This light is located on
the instrument panel
cluster. It goes on
whenever the Daytime
Running Lamps are on.
SeeDaytime Running Lamps (DRL) on page 151
for more information.
When it begins to get dark, the DRL indicator light
is a reminder to turn on your headlamps.
179
Page 223 of 430
Driving at Night
Night driving is more dangerous than day driving.
One reason is that some drivers are likely to
be impaired — by alcohol or drugs, with night
vision problems, or by fatigue.
Here are some tips on night driving.
•Drive defensively.
•Do not drink and drive.
•Adjust the inside rearview mirror to reduce the
glare from headlamps behind you.
•Since you cannot see as well, you may need
to slow down and keep more space between
you and other vehicles.
•Slow down, especially on higher speed roads.
Your vehicle’s headlamps can light up only so
much road ahead.
•In remote areas, watch for animals.
•If you are tired, pull off the road in a safe
place and rest.No one can see as well at night as in the daytime.
But as we get older these differences increase.
A 50-year-old driver may require at least twice as
much light to see the same thing at night as a
20-year-old.
What you do in the daytime can also affect your
night vision. For example, if you spend the
day in bright sunshine you are wise to wear
sunglasses. Your eyes will have less trouble
adjusting to night. But if you are driving, do not
wear sunglasses at night. They may cut down
on glare from headlamps, but they also make a
lot of things invisible.
You can be temporarily blinded by approaching
headlamps. It can take a second or two, or
even several seconds, for your eyes to re-adjust
to the dark. When you are faced with severe glare,
as from a driver who does not lower the high
beams, or a vehicle with misaimed headlamps,
slow down a little. Avoid staring directly into
the approaching headlamps.
223
Page 224 of 430
Keep the windshield and all the glass on your
vehicle clean — inside and out. Glare at night is
made much worse by dirt on the glass. Even
the inside of the glass can build up a film caused
by dust. Dirty glass makes lights dazzle and
flash more than clean glass would, making the
pupils of your eyes contract repeatedly.
Remember that the headlamps light up far less of a
roadway when you are in a turn or curve. Keep your
eyes moving; that way, it is easier to pick out dimly
lighted objects. Just as the headlamps should be
checked regularly for proper aim, so should your
eyes be examined regularly. Some drivers suffer
from night blindness — the inability to see in dim
light — and are not even aware of it.Driving in Rain and on Wet Roads
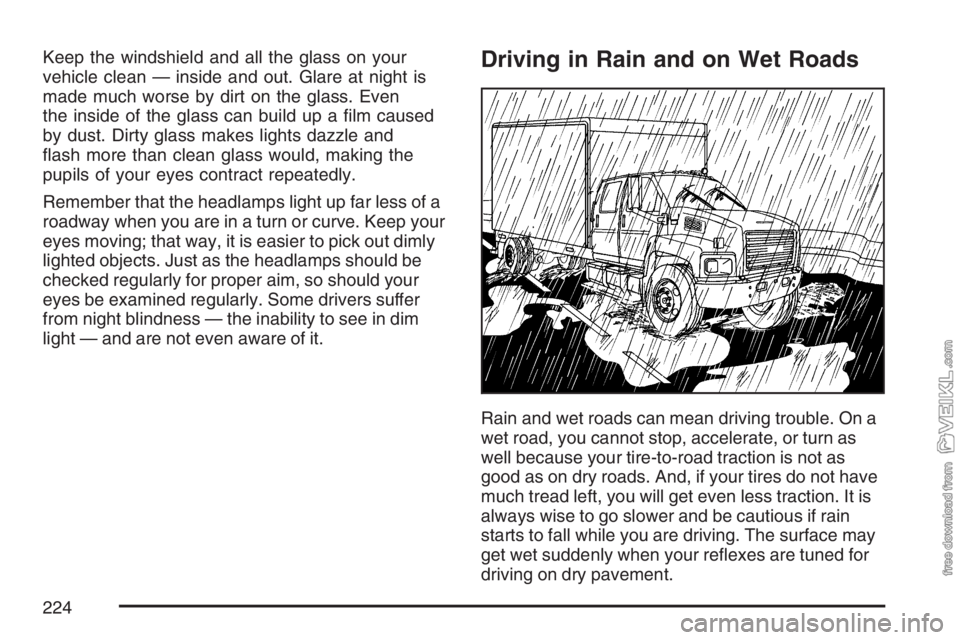
Rain and wet roads can mean driving trouble. On a
wet road, you cannot stop, accelerate, or turn as
well because your tire-to-road traction is not as
good as on dry roads. And, if your tires do not have
much tread left, you will get even less traction. It is
always wise to go slower and be cautious if rain
starts to fall while you are driving. The surface may
get wet suddenly when your reflexes are tuned for
driving on dry pavement.
224
Page 226 of 430
Driving Through Deep Standing Water
Notice:If you drive too quickly through deep
puddles or standing water, water can come in
through your engine’s air intake and badly
damage your engine. Never drive through water
that is slightly lower than the underbody of your
vehicle. If you cannot avoid deep puddles or
standing water, drive through them very slowly.
Driving Through Flowing Water
{CAUTION:
Flowing or rushing water creates strong
forces. If you try to drive through �owing
water, as you might at a low water
crossing, your vehicle can be carried away.
As little as six inches of �owing water
can carry away a smaller vehicle. If this
happens, you and other vehicle occupants
could drown. Do not ignore police warning
signs, and otherwise be very cautious
about trying to drive through �owing water.
Some Other Rainy Weather Tips
•Turn on your low-beam headlamps and your
marker and clearance lamps, if your vehicle
has them — not just your parking lamps — to
help make you more visible to others.
•Besides slowing down, allow some extra
following distance. And be especially careful
when you pass another vehicle. Allow yourself
more clear room ahead, and be prepared to
have your view restricted by road spray.
•Have good tires with proper tread depth.
SeeTires on page 321.
226