check CHEVROLET KODIAK 2009 Repair Manual
[x] Cancel search | Manufacturer: CHEVROLET, Model Year: 2009, Model line: KODIAK, Model: CHEVROLET KODIAK 2009Pages: 376, PDF Size: 5.39 MB
Page 264 of 376
Jump Starting
If the vehicle’s battery (or batteries) has run down, you
may want to use another vehicle and some jumper
cables to start your vehicle. Be sure to use the following
steps to do it safely.
{CAUTION:
Batteries can hurt you. They can be dangerous
because:
•They contain acid that can burn you.
•They contain gas that can explode or ignite.
•They contain enough electricity to burn you.
If you do not follow these steps exactly, some or
all of these things can hurt you.Notice:Ignoring these steps could result in costly
damage to the vehicle that would not be covered
by the warranty.
Trying to start the vehicle by pushing or pulling it
will not work, and it could damage the vehicle.
1. Check the other vehicle. It must have a 12-volt
battery (or batteries) with a negative ground
system.
Notice:If the other vehicle’s system is not a 12-volt
system with a negative ground, both vehicles can
be damaged. Only use vehicles with 12-volt systems
with negative grounds to jump start your vehicle.
If you have a diesel engine vehicle with two batteries
(or more), you should know before you begin that,
especially in cold weather, you may not be able to get
enough power from a single battery in another
vehicle to start your diesel engine.
If your vehicle has more than one battery, use the
one closest to the starter — this will reduce electrical
resistance.
5-62
Page 266 of 376
{CAUTION:
Using a match near a battery can cause battery
gas to explode. People have been hurt doing this,
and some have been blinded. Use a flashlight if
you need more light.
Be sure the batteries have enough water. You do
not need to add water to the ACDelco
®battery (or
batteries) installed in your new vehicle. But if a
battery has filler caps, be sure the right amount of
fluid is there. If it is low, add water to take care of
that first. If you do not, explosive gas could be
present.
Battery fluid contains acid that can burn you.
Do not get it on you. If you accidentally get it in
your eyes or on your skin, flush the place with
water and get medical help immediately.
{CAUTION:
Fans or other moving engine parts can injure you
badly. Keep your hands away from moving parts
once the engine is running.
5. Check that the jumper cables do not have loose or
missing insulation. If they do, you could get a
shock. The vehicles could be damaged too.
Before you connect the cables, here are some
basic things you should know. Positive (+) will go to
positive (+) or to a remote positive (+) terminal if
the vehicle has one. Negative (−) will go to a heavy,
unpainted metal engine part or to a remote
negative (−) terminal if the vehicle has one.
Do not connect positive (+) to negative (−)oryou
will get a short that would damage the battery
and maybe other parts too. And do not connect the
negative (−) cable to the negative (−) terminal on
the dead battery because this can cause sparks.
5-64
Page 269 of 376
Rear Axle
When to Check and Change Lubricant
Refer to the Maintenance Schedule to determine
how often to check the lubricant and when to change it.
SeeScheduled Maintenance on page 6-5.
Notice:If you drive your vehicle through deep
water that is higher than the front or rear axle, water
may enter the axle housing and cause the axle
lubricant to break down. This could damage
the gears inside. Avoid driving your vehicle through
deep water.
You should avoid driving your vehicle through deep
puddles or standing water. If you must drive through
water that is higher than the front or rear axle, see your
dealer immediately afterward to have the condition of
the axle lubricant checked.
How to Check Lubricant
To get an accurate reading, the vehicle should be on a
level surface.
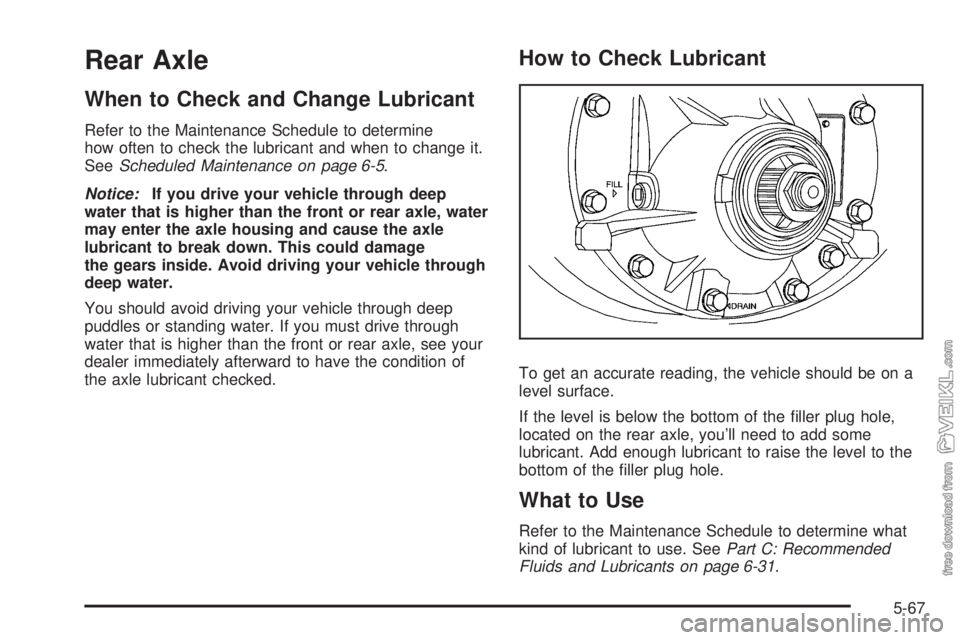
If the level is below the bottom of the filler plug hole,
located on the rear axle, you’ll need to add some
lubricant. Add enough lubricant to raise the level to the
bottom of the filler plug hole.
What to Use
Refer to the Maintenance Schedule to determine what
kind of lubricant to use. SeePart C: Recommended
Fluids and Lubricants on page 6-31.
5-67
Page 270 of 376
Rear Axle Shift Motor
When to Check and Change Fluid
If you have an optional air-shift two-speed, controlled
traction, or locking differential type rear axle, a good time
to check the fluid level in the axle shift motor is when
the rear axle lubricant is checked.
How to Check Fluid
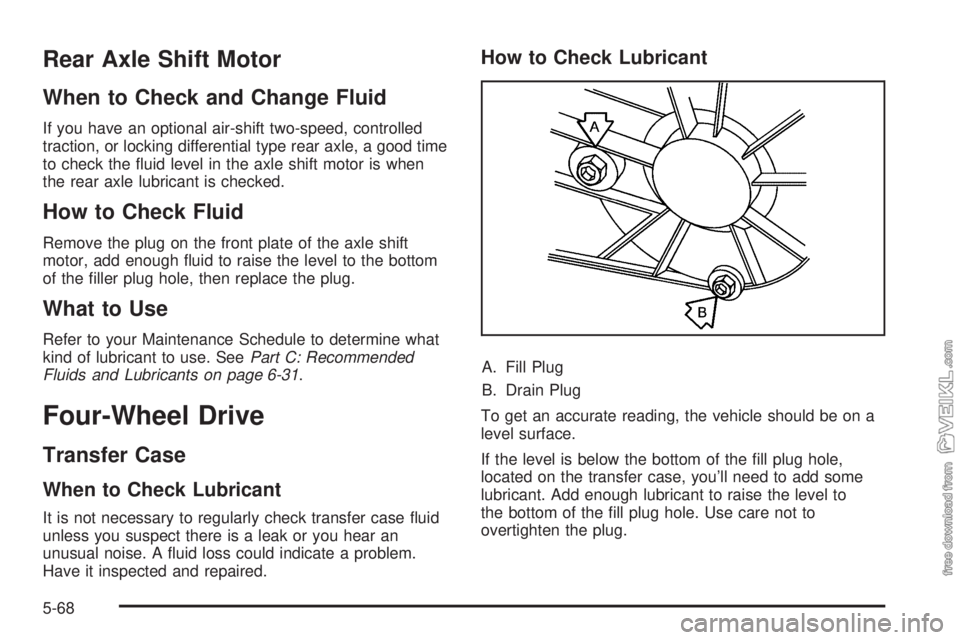
Remove the plug on the front plate of the axle shift
motor, add enough fluid to raise the level to the bottom
of the filler plug hole, then replace the plug.
What to Use
Refer to your Maintenance Schedule to determine what
kind of lubricant to use. SeePart C: Recommended
Fluids and Lubricants on page 6-31.
Four-Wheel Drive
Transfer Case
When to Check Lubricant
It is not necessary to regularly check transfer case fluid
unless you suspect there is a leak or you hear an
unusual noise. A fluid loss could indicate a problem.
Have it inspected and repaired.
How to Check Lubricant
A. Fill Plug
B. Drain Plug
To get an accurate reading, the vehicle should be on a
level surface.
If the level is below the bottom of the fill plug hole,
located on the transfer case, you’ll need to add some
lubricant. Add enough lubricant to raise the level to
the bottom of the fill plug hole. Use care not to
overtighten the plug.
5-68
Page 271 of 376
When to Change Lubricant
Refer to the Maintenance Schedule to determine how
often to change the lubricant. SeeScheduled
Maintenance on page 6-5.
What to Use
Refer to the Maintenance Schedule to determine what
kind of lubricant to use. SeePart C: Recommended
Fluids and Lubricants on page 6-31.
Front Axle
When to Check Lubricant
It is not necessary to regularly check front axle fluid
unless you suspect there is a leak or you hear an
unusual noise. A fluid loss could indicate a problem.
Have it inspected and repaired.
Notice:If you drive your vehicle through deep water
that is higher than the front or rear axle, water may
enter the axle housing and cause the axle lubricant to
break down. This could damage the gears inside.
Avoid driving your vehicle through deep water.
You should avoid driving your vehicle through deep
puddles or standing water. If you must drive through
water that is higher than the front or rear axle, see your
dealer immediately afterward to have the condition of
the axle lubricant checked.
How to Check Lubricant
To get an accurate reading, the vehicle should be on a
level surface.
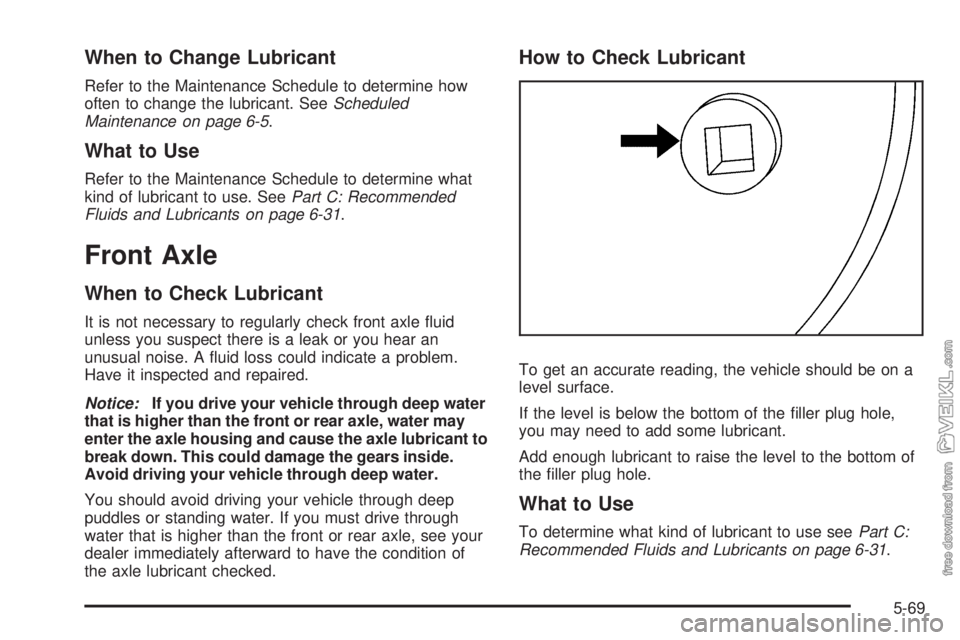
If the level is below the bottom of the filler plug hole,
you may need to add some lubricant.
Add enough lubricant to raise the level to the bottom of
the filler plug hole.
What to Use
To determine what kind of lubricant to use seePart C:
Recommended Fluids and Lubricants on page 6-31.
5-69
Page 273 of 376
Bulb Replacement
It is recommended that all bulbs be replaced by your
dealer/retailer.
Windshield Wiper Blade
Replacement
Windshield wiper blades should be inspected at least
twice a year for wear or cracking. See “Wiper Blade
Check” underAt Least Twice a Year on page 6-27for
more information.
Replacement blades come in different types and are
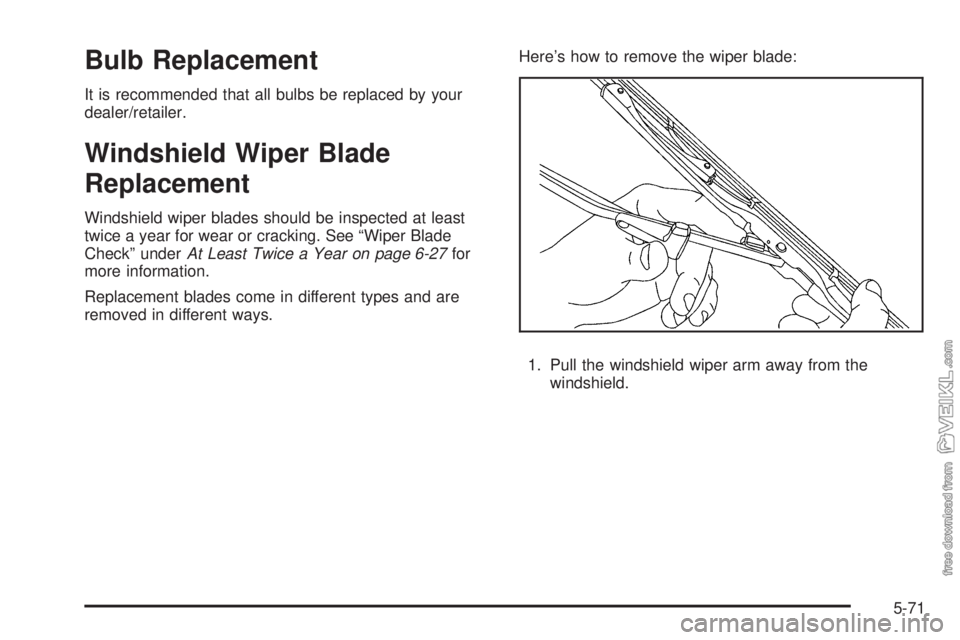
removed in different ways.Here’s how to remove the wiper blade:
1. Pull the windshield wiper arm away from the
windshield.
5-71
Page 275 of 376
Primary Fuel Filter and Water
Separator
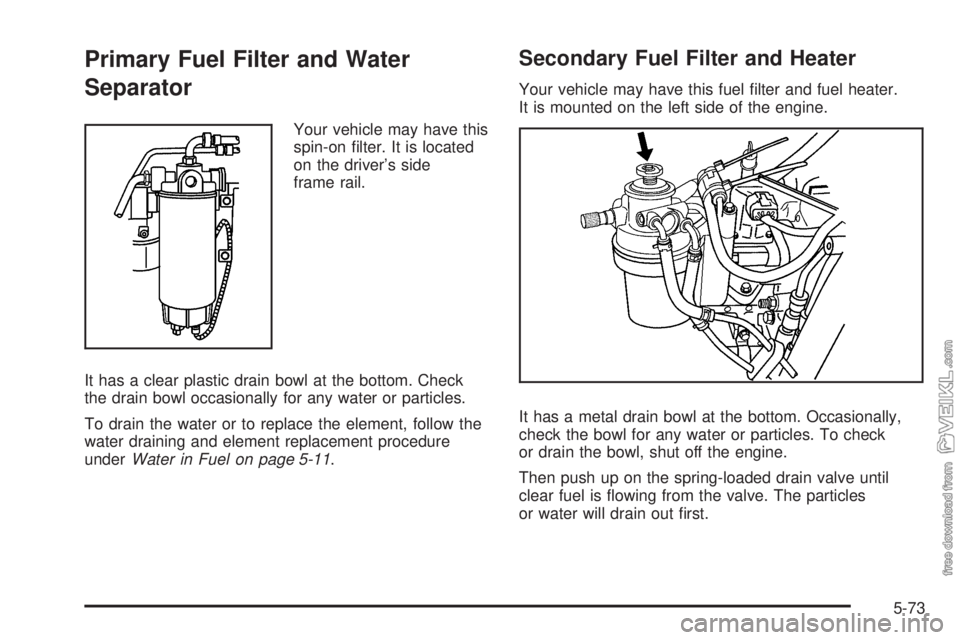
Your vehicle may have this
spin-on filter. It is located
on the driver’s side
frame rail.
It has a clear plastic drain bowl at the bottom. Check
the drain bowl occasionally for any water or particles.
To drain the water or to replace the element, follow the
water draining and element replacement procedure
underWater in Fuel on page 5-11.
Secondary Fuel Filter and Heater
Your vehicle may have this fuel filter and fuel heater.
It is mounted on the left side of the engine.
It has a metal drain bowl at the bottom. Occasionally,
check the bowl for any water or particles. To check
or drain the bowl, shut off the engine.
Then push up on the spring-loaded drain valve until
clear fuel is flowing from the valve. The particles
or water will drain out first.
5-73
Page 276 of 376
Secondary Fuel Filter and Water
Separator/Heater (Caterpillar Diesel)
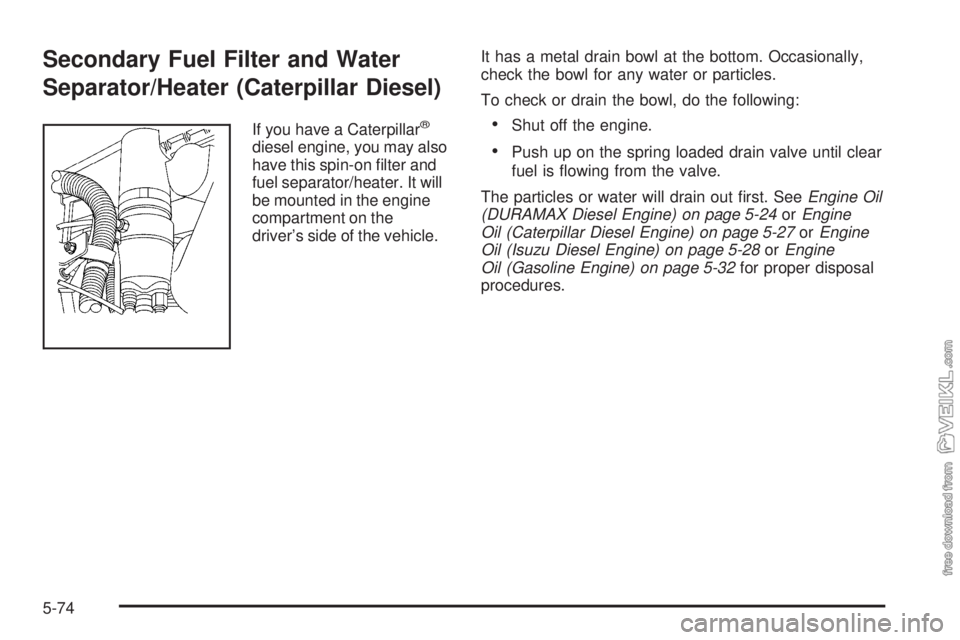
If you have a Caterpillar®
diesel engine, you may also
have this spin-on filter and
fuel separator/heater. It will
be mounted in the engine
compartment on the
driver’s side of the vehicle.It has a metal drain bowl at the bottom. Occasionally,
check the bowl for any water or particles.
To check or drain the bowl, do the following:
•Shut off the engine.
•Push up on the spring loaded drain valve until clear
fuel is flowing from the valve.
The particles or water will drain out first. SeeEngine Oil
(DURAMAX Diesel Engine) on page 5-24orEngine
Oil (Caterpillar Diesel Engine) on page 5-27orEngine
Oil (Isuzu Diesel Engine) on page 5-28orEngine
Oil (Gasoline Engine) on page 5-32for proper disposal
procedures.
5-74
Page 277 of 376
Front Wheel Bearings with
Oil-Filled Hubs
Notice:If you drive your vehicle through deep water
that is higher than the front or rear axle, water may
enter the axle housing and cause the axle lubricant to
break down. This could damage the gears inside.
Avoid driving your vehicle through deep water.
You should avoid driving your vehicle through deep
puddles or standing water. If you must drive through
water that is higher than the front or rear axle, see your
dealer immediately afterward to have the condition of
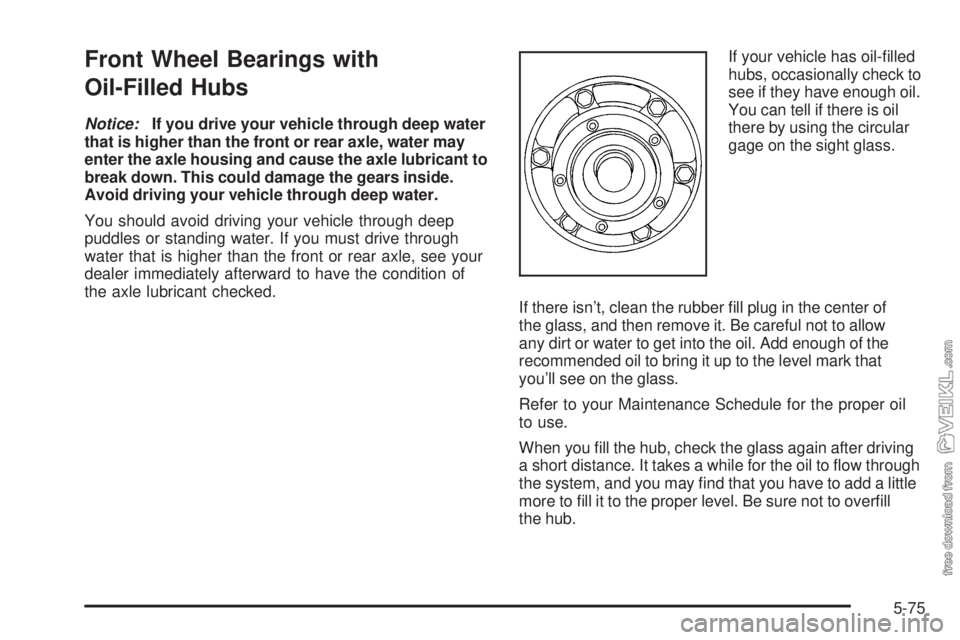
the axle lubricant checked.If your vehicle has oil-filled
hubs, occasionally check to
see if they have enough oil.
You can tell if there is oil
there by using the circular
gage on the sight glass.
If there isn’t, clean the rubber fill plug in the center of
the glass, and then remove it. Be careful not to allow
any dirt or water to get into the oil. Add enough of the
recommended oil to bring it up to the level mark that
you’ll see on the glass.
Refer to your Maintenance Schedule for the proper oil
to use.
When you fill the hub, check the glass again after driving
a short distance. It takes a while for the oil to flow through
the system, and you may find that you have to add a little
more to fill it to the proper level. Be sure not to overfill
the hub.
5-75
Page 278 of 376
Tires
Your new vehicle comes with high-quality tires
made by a leading tire manufacturer. If you ever
have questions about your tire warranty and where
to obtain service, see your vehicle Warranty booklet
for details. For additional information refer to the tire
manufacturer.
{CAUTION:
Poorly maintained and improperly used tires
are dangerous.
•Overloading your vehicle’s tires can
cause overheating as a result of too
much flexing. You could have an air-out
and a serious accident. SeeLoading the
Vehicle on page 4-20.
CAUTION: (Continued)
CAUTION: (Continued)
•
Underinflated tires pose the same danger
as overloaded tires. The resulting accident
could cause serious injury. Check all tires
frequently to maintain the recommended
pressure. Tire pressure should be
checked when your vehicle’s tires are
cold. SeeInflation - Tire Pressure on
page 5-77.
•Overinflated tires are more likely to be
cut, punctured, or broken by a sudden
impact — such as when you hit a pothole.
Keep tires at the recommended pressure.
•Worn, old tires can cause accidents. If the
tire’s tread is badly worn, or if your
vehicle’s tires have been damaged,
replace them.
5-76