change time CHEVROLET KODIAK 2009 Owners Manual
[x] Cancel search | Manufacturer: CHEVROLET, Model Year: 2009, Model line: KODIAK, Model: CHEVROLET KODIAK 2009Pages: 376, PDF Size: 5.39 MB
Page 2 of 376
GENERAL MOTORS, GM, the GM Emblem,
CHEVROLET, the CHEVROLET Emblem, and the
name KODIAK are registered trademarks of General
Motors Corporation.
This manual includes the latest information at the time it
was printed. GM reserves the right to make changes
after that time without further notice.
This manual describes features that may or may not be
on your specific vehicle.
Read this manual from beginning to end to learn about
the vehicle’s features and controls. Pictures, symbols,
and words work together to explain vehicle operation.
Keep this manual in the vehicle for quick reference.
Index
To quickly locate information about the vehicle use the
Index in the back of the manual. It is an alphabetical
list of what is in the manual and the page number where
it can be found.
Safety Warnings and Symbols
A circle with a slash
through it is a safety
symbol which means
“Do Not,” “Do not do
this” or “Do not let this
happen.”
A box with the word CAUTION is used to tell about
things that could hurt you or others if you were to ignore
the warning.
Litho in U.S.A.
Part No. 25778612 A First Printing
©2008 General Motors Corporation. All Rights Reserved.
ii
Page 36 of 376
Infants and Young Children
Everyone in a vehicle needs protection! This includes
infants and all other children. Neither the distance
traveled nor the age and size of the traveler changes the
need, for everyone, to use safety restraints. In fact, the
law in every state in the United States and in every
Canadian province says children up to some age must
be restrained while in a vehicle.{CAUTION:
Children can be seriously injured or strangled if a
shoulder belt is wrapped around their neck and
the safety belt continues to tighten. Never leave
children unattended in a vehicle and never allow
children to play with the safety belts.
Airbags plus lap-shoulder belts offer protection for adults
and older children, but not for young children and infants.
Neither the vehicle’s safety belt system nor its airbag
system is designed for them. Every time infants and
young children ride in vehicles, they should have the
protection provided by appropriate child restraints.
Children who are not restrained properly can strike other
people, or can be thrown out of the vehicle.
1-32
Page 80 of 376
Cold Weather Starting (Caterpillar®
Diesel)
Because the diesel engine uses compression ignition, it
is harder to start in cold weather than a gasoline engine.
The air intake heater, use of the proper engine oil,
optional engine coolant heater and optional ether
injection system help cold weather starting. See the
Caterpillar
®Diesel Engine Operation & Maintenance
Manual for more information.
Restarting the Diesel Engine While
Moving (Automatic Transmission)
If you have to restart the engine while the vehicle is
moving, shift to N (Neutral).
Stopping the Diesel Engine
1. Apply the parking brake. SeeParking Brake (With
Hydraulic Brakes) on page 2-38orParking Brake
(With Air Brakes) on page 2-41for parking
brake apply procedure.
2. Shift into N (Neutral) for a manual transmission or
P (Park) for an automatic transmission.3. Turn the ignition key to OFF.
If the vehicle has a two-speed axle, seeTwo-Speed
Rear Axle on page 2-36.
If you have a Caterpillar
®diesel engine, see the
Caterpillar®Diesel Engine Operation & Maintenance
Manual for additional information.
Diesel Engine Warm-Up
Several factors affect how quickly the diesel engine
warms up. These can include outside temperature,
engine load, idle time and the vehicle’s option content.
The vehicle may be equipped with some features
that can help the engine reach operating temperature
sooner. Some of these features are discussed below.
Also, remember that an automatic transmission
adds heat to the cooling system through the heat
exchanger in the radiator. Because of this, vehicles
equipped with automatic transmissions are often able to
retain engine coolant heat better than manual
transmission vehicles.
See the Caterpillar
®Operation & Maintenance manual
for additional diesel engine warm-up information.
2-16
Page 81 of 376
If the Diesel Engine Will Not Start
If you have run out of fuel, seeRunning Out of Fuel on
page 5-17.
If you are not out of fuel, and the engine will not start,
do this:
Turn the ignition key to ON/RUN. Immediately after the
wait to start light goes off, turn the ignition key to START.
If the light does not go off, wait a few seconds, then try
starting the engine again. And, see your dealer/retailer
as soon as you can for a starting system check.
If the light comes on and then goes off and you know
the batteries are charged, but the engine still will
not start, the vehicle needs service.
If the light does not come on when the engine is cold,
the vehicle needs service.If the batteries do not have enough charge to start the
engine, seeBattery on page 5-61.
Be sure you have the right oil for the engine, and that
you have changed the oil at the proper times. If you use
the wrong oil, the engine may be harder to start.
Be sure you are using the proper fuel for existing
weather conditions. SeeWhat Fuel to Use on page 5-8.
If the engine starts, runs a short time, then stops, the
vehicle needs service.
{CAUTION:
Do not use gasoline or starting aids, such as
ether, in the air intake. They could damage the
engine. There could also be a fire, which could
cause serious personal injury.
2-17
Page 85 of 376
This system can be used to increase the engine idle
speed whenever the following conditions are met:
•The brake pedal is not pressed.
•The vehicle is at a complete stop for vehicles with
diesel engines. The vehicle must not be moving
and the accelerator must not be pressed for vehicles
with gasoline engines.
•If the vehicle has manual transmission the clutch
pedal is not pressed or, if the vehicle has the
automatic transmission it is in N (Neutral) or
P (Park).
The manual high idle feature is activated by pressing
the switch on the instrument panel. When the switch is
pressed again, or any of the previous conditions are
not met, manual high idle will be deactivated.
The manual high idle has been preset at the factory.
Your dealer/retailer may change the setting to fit
your needs.
For vehicles with Caterpillar
®diesel engines, the high
idle switch can be used to set any desired high idle
speed.To set a new temporary engine idle speed do the
following:
1. Make sure all of the previously described conditions
are met.
2. Press the accelerator pedal to the desired engine
speed.
3. Momentarily press the manual high idle switch.
The temporary high idle speed will be set. This new high
idle rpm level will be remembered by the system until
either the ignition is turned to OFF or a new high
idle speed is set.
Automatic High Idle System
The automatic high idle feature will engage whenever
you start the vehicle and the engine is below the preset
operating temperature. This will help decrease engine
warm-up time.
On vehicles that have the Caterpillar
®diesel engine you
may have an exhaust restrictor that will operate in
High Idle mode. The exhaust brake switch must be on
for this feature to operate. SeeDiesel Engine Exhaust
Brake on page 2-26for more information.
Idle speed will then return to normal when the engine
reaches the preset operating temperature or has
been operating for at least 10 minutes.
2-21
Page 119 of 376
Instrument Panel Overview...............................3-4
Hazard Warning Flashers................................3-6
Horn .............................................................3-6
Tilt Wheel.....................................................3-6
Turn Signal/Multifunction Lever.........................3-7
Turn and Lane-Change Signals........................3-7
Headlamp High/Low-Beam Changer..................3-8
Windshield Wipers..........................................3-8
Windshield Washer.........................................3-9
Cruise Control..............................................3-10
Exterior Lamps.............................................3-14
Headlamps on Reminder................................3-14
Daytime Running Lamps (DRL).......................3-15
Marker Lamps..............................................3-16
Instrument Panel Brightness...........................3-16
Dome Lamps ...............................................3-16
Entry Lighting...............................................3-17
Reading Lamps............................................3-17
Instrument Panel Switchbank..........................3-18
Accessory Power Outlet(s).............................3-19
Ashtray(s) and Cigarette Lighter......................3-19Climate Controls............................................3-20
Climate Control System.................................3-20
Outlet Adjustment.........................................3-22
Rear Heating System....................................3-23
Warning Lights, Gages, and Indicators............3-23
Instrument Panel Cluster................................3-24
Speedometer and Odometer...........................3-25
Trip Odometer..............................................3-25
Tachometer.................................................3-25
Engine Speed Limiter....................................3-25
Safety Belt Reminders...................................3-26
Airbag Readiness Light..................................3-27
Airbag Off Light............................................3-28
Charging System Light
..................................3-29
Voltmeter Gage............................................3-30
Service Transmission Warning Light................3-30
Range Inhibit Warning Indicator......................3-31
Brake System Warning Light..........................3-31
Antilock Brake System (ABS) Warning Light........3-33
Trailer Antilock Brake System Warning Light.......3-34
Engine Coolant Temperature Gage..................3-34
Section 3 Instrument Panel
3-1
Page 120 of 376
Low Coolant Warning Light............................3-35
Wait to Start Light........................................3-35
Malfunction Indicator Lamp.............................3-36
Oil Pressure Gage........................................3-38
Low Oil Level Light.......................................3-39
Change Engine Oil Light................................3-39
Engine Overspeed Warning Light....................3-40
Engine Shutdown Warning Light.....................3-40
Transmission Temperature Gage.....................3-40
Exhaust Brake Indicator Light.........................3-41
Differential Lock Indicator Light.......................3-41
Reduced Engine Power Light.........................3-42
Highbeam On Light.......................................3-42
Daytime Running Lamps (DRL)
Indicator Light...........................................3-42
Low Washer Fluid Warning Light.....................3-43
Power Take-Off Light (PTO)...........................3-43Check Gages Warning Light...........................3-43
Fuel Gage...................................................3-44
Water in Fuel Warning Light...........................3-45
Change Fuel Filter Warning Light....................3-45
Diesel Particulate Filter Warning Light..............3-46
Air Filter Restriction Indicator..........................3-46
Air Pressure Gage........................................3-47
Hourmeter Gage...........................................3-47
Audio System(s).............................................3-48
Setting the Clock..........................................3-48
Radio(s)......................................................3-49
Theft-Deterrent Feature..................................3-57
Radio Reception...........................................3-58
Fixed Mast Antenna......................................3-58
Chime Level Adjustment................................3-58
Section 3 Instrument Panel
3-2
Page 126 of 376
Headlamp High/Low-Beam Changer
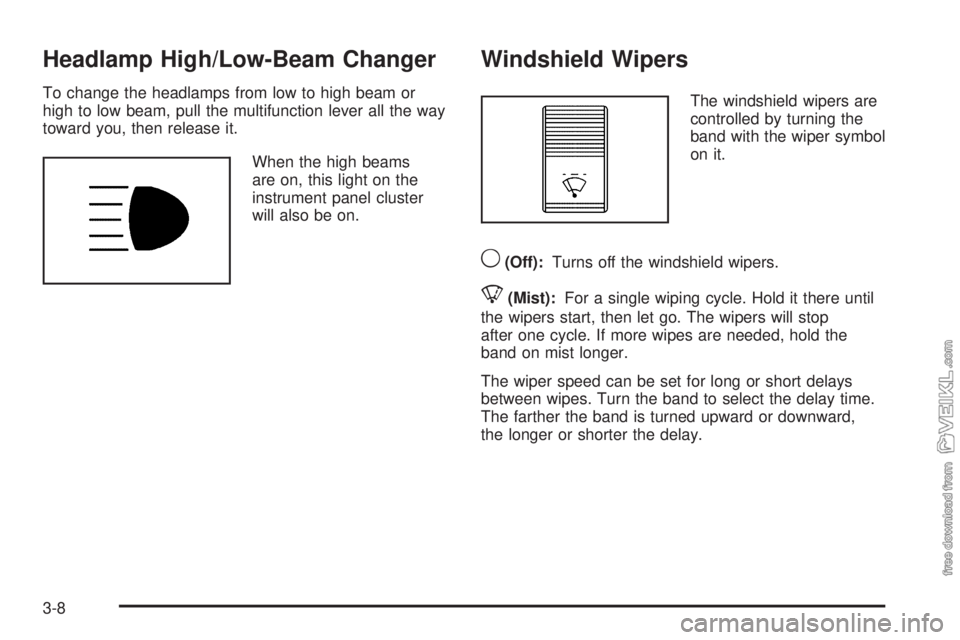
To change the headlamps from low to high beam or
high to low beam, pull the multifunction lever all the way
toward you, then release it.
When the high beams
are on, this light on the
instrument panel cluster
will also be on.
Windshield Wipers
The windshield wipers are
controlled by turning the
band with the wiper symbol
on it.
9(Off):Turns off the windshield wipers.
8(Mist):For a single wiping cycle. Hold it there until
the wipers start, then let go. The wipers will stop
after one cycle. If more wipes are needed, hold the
band on mist longer.
The wiper speed can be set for long or short delays
between wipes. Turn the band to select the delay time.
The farther the band is turned upward or downward,
the longer or shorter the delay.
3-8
Page 132 of 376
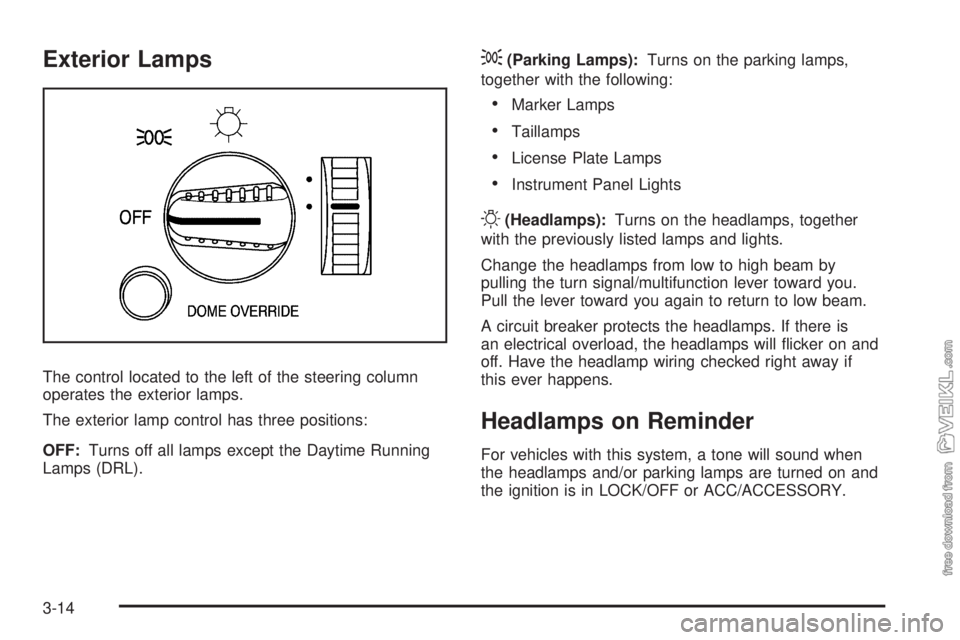
Exterior Lamps
The control located to the left of the steering column
operates the exterior lamps.
The exterior lamp control has three positions:
OFF:Turns off all lamps except the Daytime Running
Lamps (DRL).
;(Parking Lamps):Turns on the parking lamps,
together with the following:
•Marker Lamps
•Taillamps
•License Plate Lamps
•Instrument Panel Lights
O(Headlamps):Turns on the headlamps, together
with the previously listed lamps and lights.
Change the headlamps from low to high beam by
pulling the turn signal/multifunction lever toward you.
Pull the lever toward you again to return to low beam.
A circuit breaker protects the headlamps. If there is
an electrical overload, the headlamps will flicker on and
off. Have the headlamp wiring checked right away if
this ever happens.
Headlamps on Reminder
For vehicles with this system, a tone will sound when
the headlamps and/or parking lamps are turned on and
the ignition is in LOCK/OFF or ACC/ACCESSORY.
3-14
Page 133 of 376
Daytime Running Lamps (DRL)
Daytime Running Lamps (DRL) can make it easier for
others to see the front of your vehicle during the
day. Fully functional daytime running lamps are required
on all vehicles first sold in Canada.
The DRL system will make the headlamps come on
at reduced brightness when the following conditions
are met:
•The ignition is on,
•the exterior lamp control is off, and
•the parking brake is released.
When the DRL are on, only the headlamps will be on.
The taillamps, sidemarker, instrument panel lights,
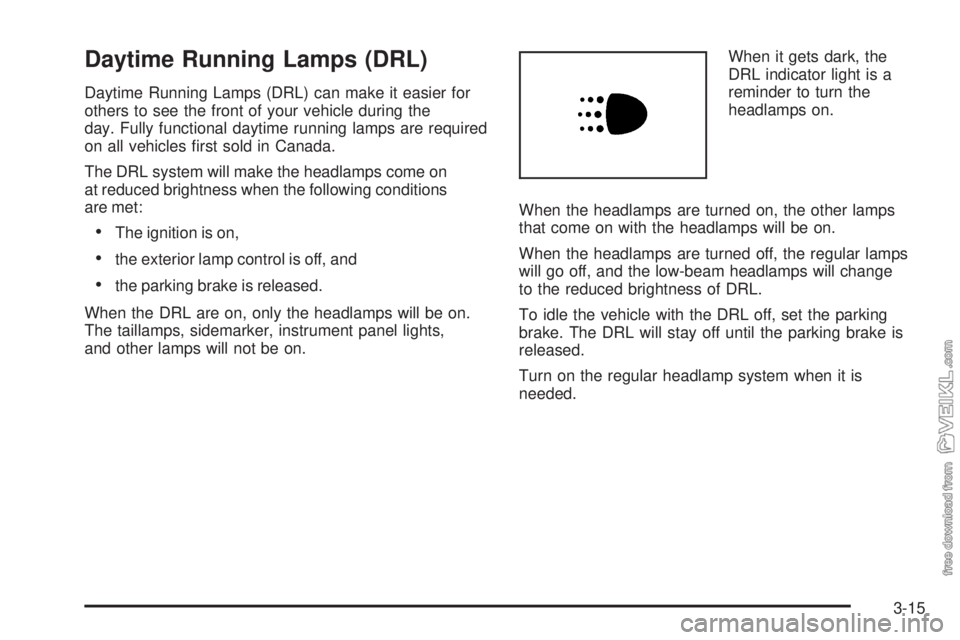
and other lamps will not be on.When it gets dark, the
DRL indicator light is a
reminder to turn the
headlamps on.
When the headlamps are turned on, the other lamps
that come on with the headlamps will be on.
When the headlamps are turned off, the regular lamps
will go off, and the low-beam headlamps will change
to the reduced brightness of DRL.
To idle the vehicle with the DRL off, set the parking
brake. The DRL will stay off until the parking brake is
released.
Turn on the regular headlamp system when it is
needed.
3-15