CHEVROLET MALIBU 2004 5.G Owners Manual
Manufacturer: CHEVROLET, Model Year: 2004, Model line: MALIBU, Model: CHEVROLET MALIBU 2004 5.GPages: 426, PDF Size: 3.98 MB
Page 101 of 426
Engine Exhaust
{CAUTION:
Engine exhaust can kill. It contains the gas
carbon monoxide (CO), which you can not see
or smell. It can cause unconsciousness and
death.
You might have exhaust coming in if:
Your exhaust system sounds strange or
different.
Your vehicle gets rusty underneath.
Your vehicle was damaged in a collision.
CAUTION: (Continued)
CAUTION: (Continued)
Your vehicle was damaged when driving
over high points on the road or over road
debris.
Repairs were not done correctly.
Your vehicle or exhaust system had been
modi�ed improperly.
If you ever suspect exhaust is coming into
your vehicle:
Drive it only with all the windows down to
blow out any CO; and
Have your vehicle �xed immediately.
2-33
Page 102 of 426
Running Your Engine While You
Are Parked
It is better not to park with the engine running. But if
you ever have to, here are some things to know.
{CAUTION:
Idling the engine with the climate control
system off could allow dangerous exhaust into
your vehicle. See the earlier Caution under
Engine Exhaust on page 2-33.
Also, idling in a closed-in place can let deadly
carbon monoxide (CO) into your vehicle even if
the climate control fan is at the highest setting.
One place this can happen is a garage.
Exhaust — with CO — can come in easily.
NEVER park in a garage with the engine
running.
Another closed-in place can be a blizzard. See
Winter Driving on page 4-26.
{CAUTION:
It can be dangerous to get out of your vehicle if
the shift lever is not fully in PARK (P) with the
parking brake �rmly set. Your vehicle can roll.
Do not leave your vehicle when the engine is
running unless you have to. If you have left the
engine running, the vehicle can move suddenly.
You or others could be injured. To be sure your
vehicle will not move, even when you are on
fairly level ground, always set your parking
brake and move the shift lever to PARK (P).
Follow the proper steps to be sure your vehicle will not
move. SeeShifting Into Park (P) on page 2-30.
If you are parking on a hill and if you are pulling a
trailer, also seeTowing a Trailer on page 4-40.
2-34
Page 103 of 426
Mirrors
Manual Rearview Mirror
This mirror can be adjusted two ways. First, to adjust
the angle of the mirror, move the mirror to a position that
allows you to see out of the back window. To adjust
the height of the mirror, adjust the arm that connects the
mirror to the windshield.
To reduce glare from lights behind you, move the lever
toward you to the night position.
Manual Rearview Mirror with
OnStar
®
If your vehicle has this feature, this mirror has a knob
located at the bottom of the mirror. It is used to change
the mirror from day to night position. To reduce glare
from headlamps behind you while driving at night, rotate
the knob clockwise. For daytime driving rotate the
knob counterclockwise.
There are also three OnStar
®buttons located at the
bottom of the mirror face. See your dealer for more
information on the system and how to subscribe
to OnStar
®. SeeOnStar®System on page 2-38for
more information about the services OnStar®provides.
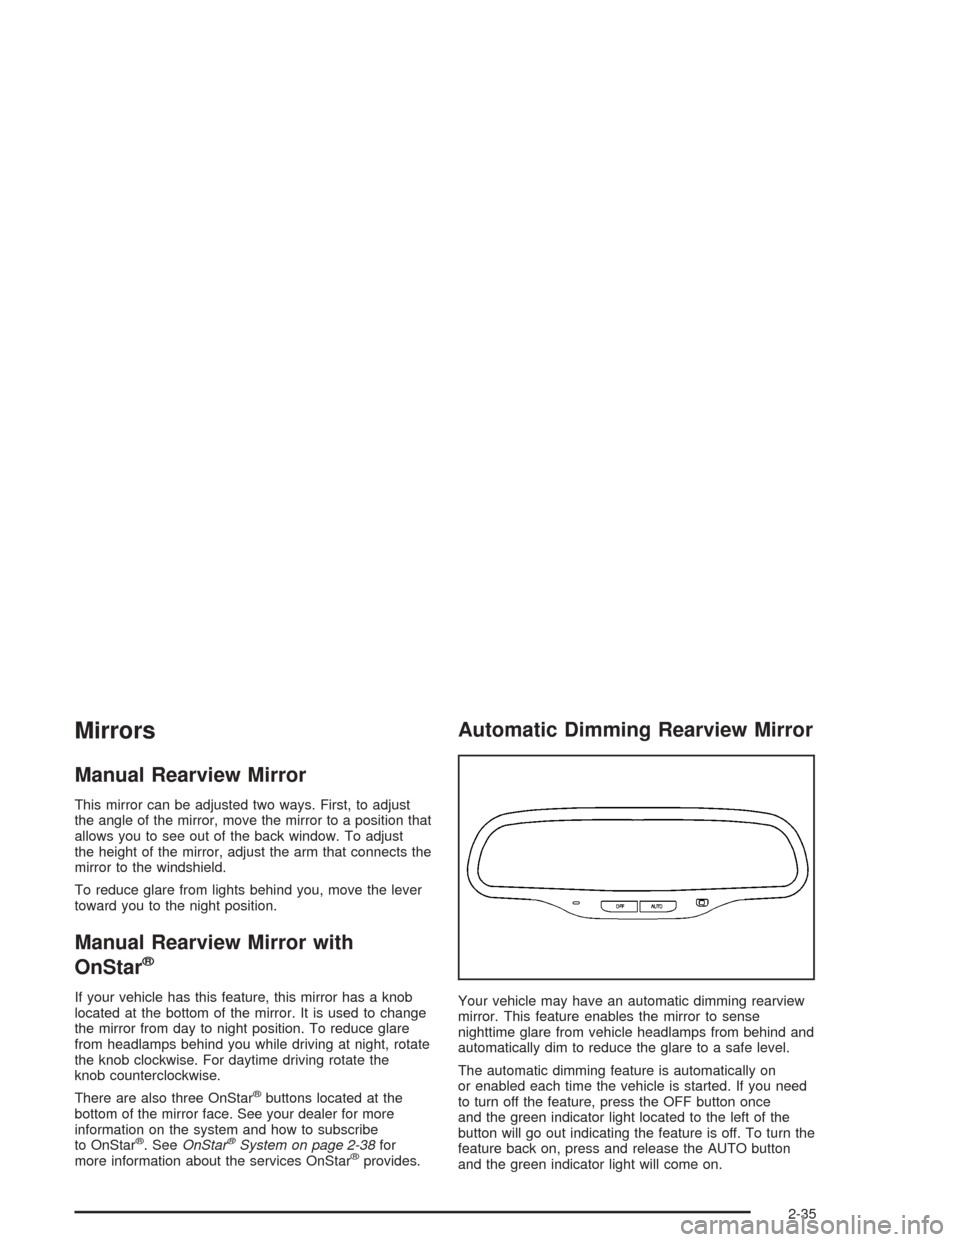
Automatic Dimming Rearview Mirror
Your vehicle may have an automatic dimming rearview
mirror. This feature enables the mirror to sense
nighttime glare from vehicle headlamps from behind and
automatically dim to reduce the glare to a safe level.
The automatic dimming feature is automatically on
or enabled each time the vehicle is started. If you need
to turn off the feature, press the OFF button once
and the green indicator light located to the left of the
button will go out indicating the feature is off. To turn the
feature back on, press and release the AUTO button
and the green indicator light will come on.
2-35
Page 104 of 426
Automatic Dimming Rearview Mirror
with OnStar
®
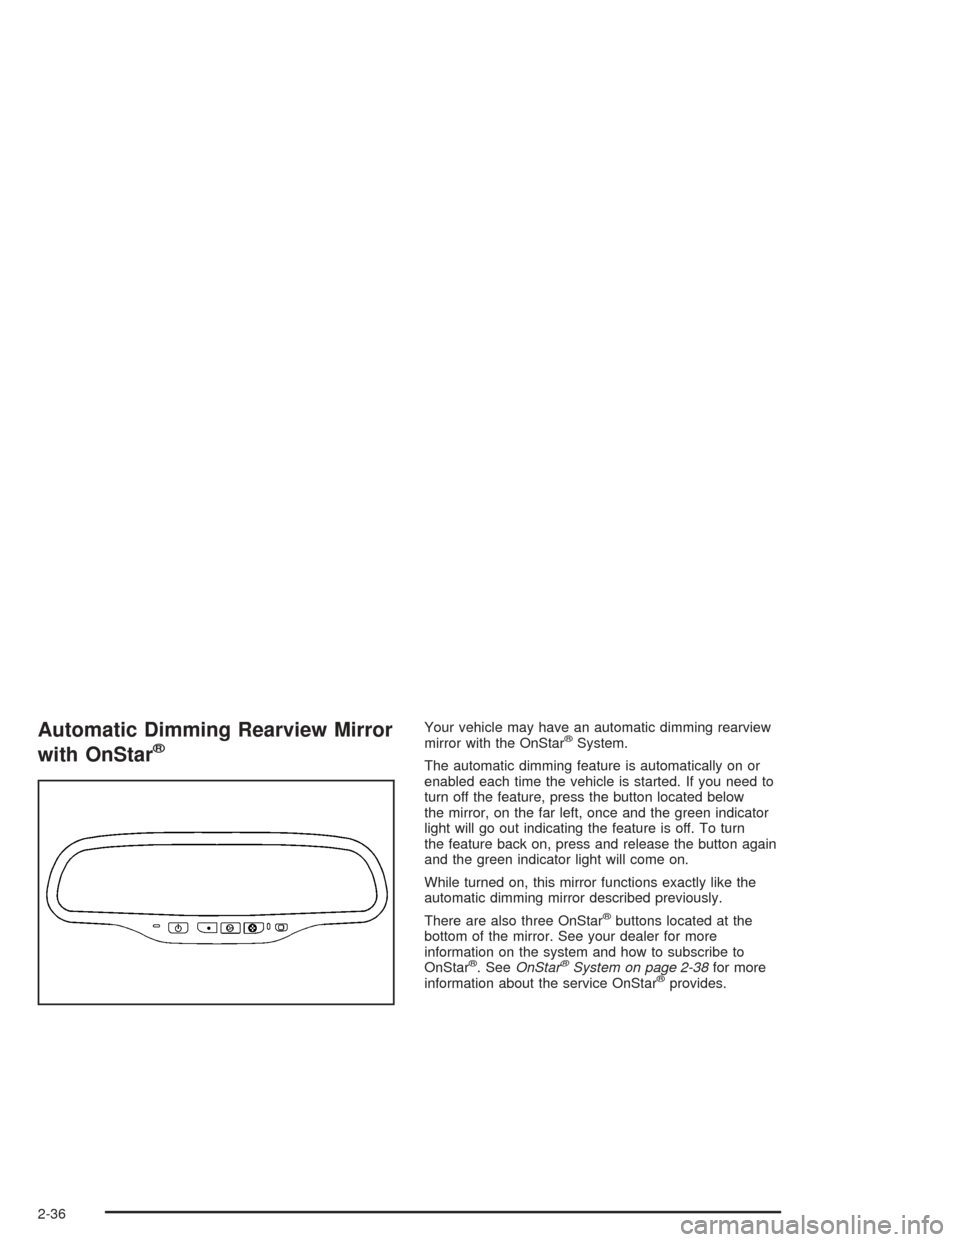
Your vehicle may have an automatic dimming rearview
mirror with the OnStar®System.
The automatic dimming feature is automatically on or
enabled each time the vehicle is started. If you need to
turn off the feature, press the button located below
the mirror, on the far left, once and the green indicator
light will go out indicating the feature is off. To turn
the feature back on, press and release the button again
and the green indicator light will come on.
While turned on, this mirror functions exactly like the
automatic dimming mirror described previously.
There are also three OnStar
®buttons located at the
bottom of the mirror. See your dealer for more
information on the system and how to subscribe to
OnStar
®. SeeOnStar®System on page 2-38for more
information about the service OnStar®provides.
2-36
Page 105 of 426
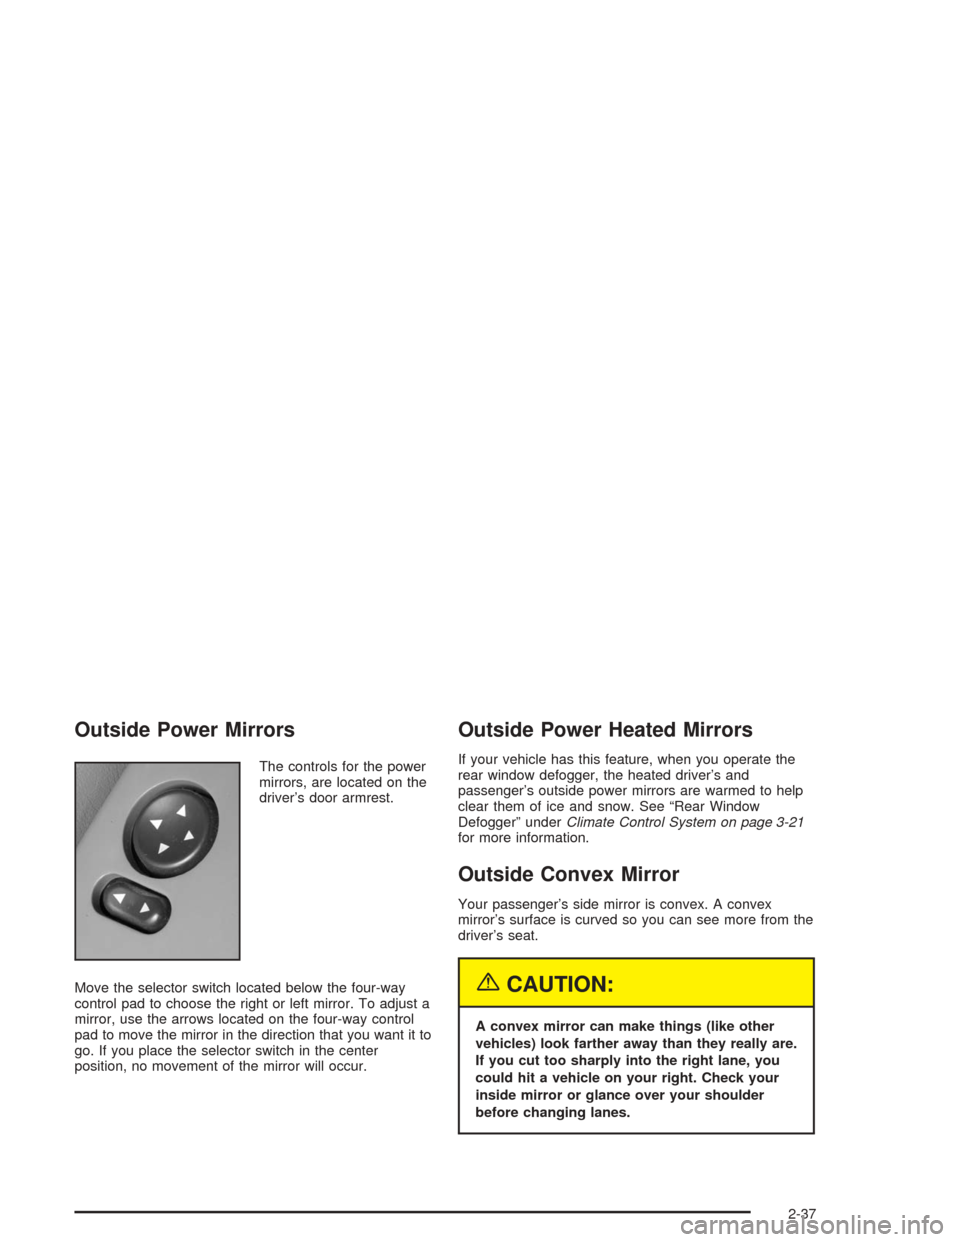
Outside Power Mirrors
The controls for the power
mirrors, are located on the
driver’s door armrest.
Move the selector switch located below the four-way
control pad to choose the right or left mirror. To adjust a
mirror, use the arrows located on the four-way control
pad to move the mirror in the direction that you want it to
go. If you place the selector switch in the center
position, no movement of the mirror will occur.
Outside Power Heated Mirrors
If your vehicle has this feature, when you operate the
rear window defogger, the heated driver’s and
passenger’s outside power mirrors are warmed to help
clear them of ice and snow. See “Rear Window
Defogger” underClimate Control System on page 3-21
for more information.
Outside Convex Mirror
Your passenger’s side mirror is convex. A convex
mirror’s surface is curved so you can see more from the
driver’s seat.
{CAUTION:
A convex mirror can make things (like other
vehicles) look farther away than they really are.
If you cut too sharply into the right lane, you
could hit a vehicle on your right. Check your
inside mirror or glance over your shoulder
before changing lanes.
2-37
Page 106 of 426
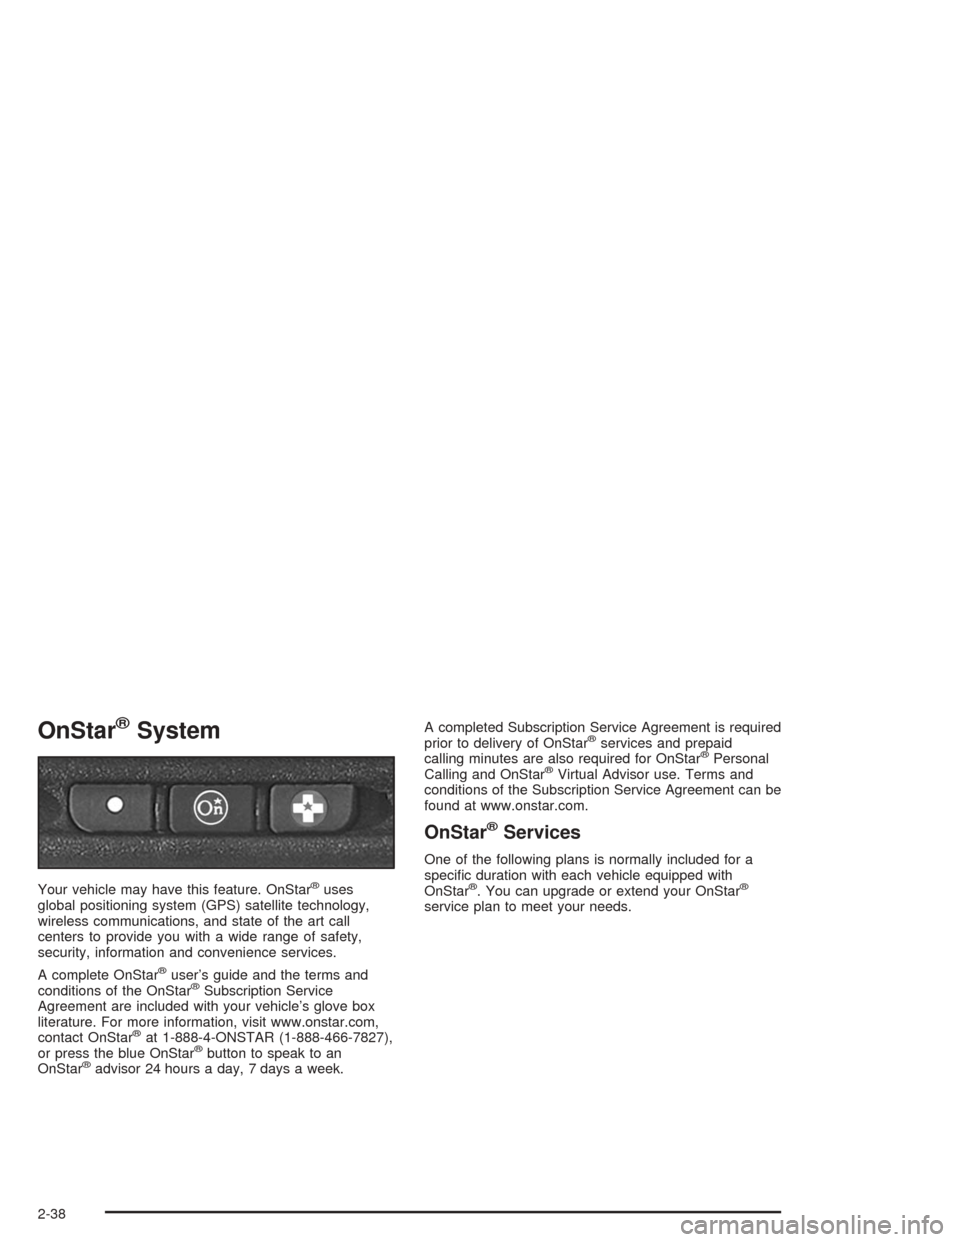
OnStar®System
Your vehicle may have this feature. OnStar®uses
global positioning system (GPS) satellite technology,
wireless communications, and state of the art call
centers to provide you with a wide range of safety,
security, information and convenience services.
A complete OnStar
®user’s guide and the terms and
conditions of the OnStar®Subscription Service
Agreement are included with your vehicle’s glove box
literature. For more information, visit www.onstar.com,
contact OnStar
®at 1-888-4-ONSTAR (1-888-466-7827),
or press the blue OnStar®button to speak to an
OnStar®advisor 24 hours a day, 7 days a week.A completed Subscription Service Agreement is required
prior to delivery of OnStar
®services and prepaid
calling minutes are also required for OnStar®Personal
Calling and OnStar®Virtual Advisor use. Terms and
conditions of the Subscription Service Agreement can be
found at www.onstar.com.
OnStar®Services
One of the following plans is normally included for a
speci�c duration with each vehicle equipped with
OnStar
®. You can upgrade or extend your OnStar®
service plan to meet your needs.
2-38
Page 107 of 426
Safe and Sound Plan
Automatic Noti�cation of Air Bag Deployment
Advanced Automatic Collision Noti�cation
Emergency Services
Roadside Assistance
Stolen Vehicle Assistance
AccidentAssist
Remote Door Unlock
Remote Diagnostics
Online Concierge
Hands-Free Voice Activated Calling
Directions and Connections Plan
All Safe and Sound Plan services
Route Support
RideAssist
Information and Convenience Services
Luxury and Leisure Plan
All Directions and Connections Plan services
Personal Concierge
OnStar®Personal Calling
As an OnStar®subscriber, the Personal Calling
capability is there for you if your hand-held cell phone is
lost, forgotten or has a low battery. It’s a hands-free
wireless phone that’s integrated into your vehicle. You
can place calls nationwide using simple voice
commands with no additional contracts and no additional
roaming charges. To �nd out more about OnStar
®
Personal Calling, refer to the OnStar®user’s guide in
your vehicle’s glove box, visit www.onstar.com or talk to
an OnStar advisor by pressing the blue OnStar button
or calling 1-888-4-ONSTAR (1-888-466-7827).
OnStar®Virtual Advisor
Virtual Advisor is a feature of OnStar®Personal Calling
that uses minutes to access up-to-date weather and
traffic reports for your area, news and sports updates,
stock quotes, entertainment and more. You are also able
to listen and reply to your e-mail through your vehicle’s
speakers. See the OnStar
®user’s guide for more
information.
2-39
Page 108 of 426
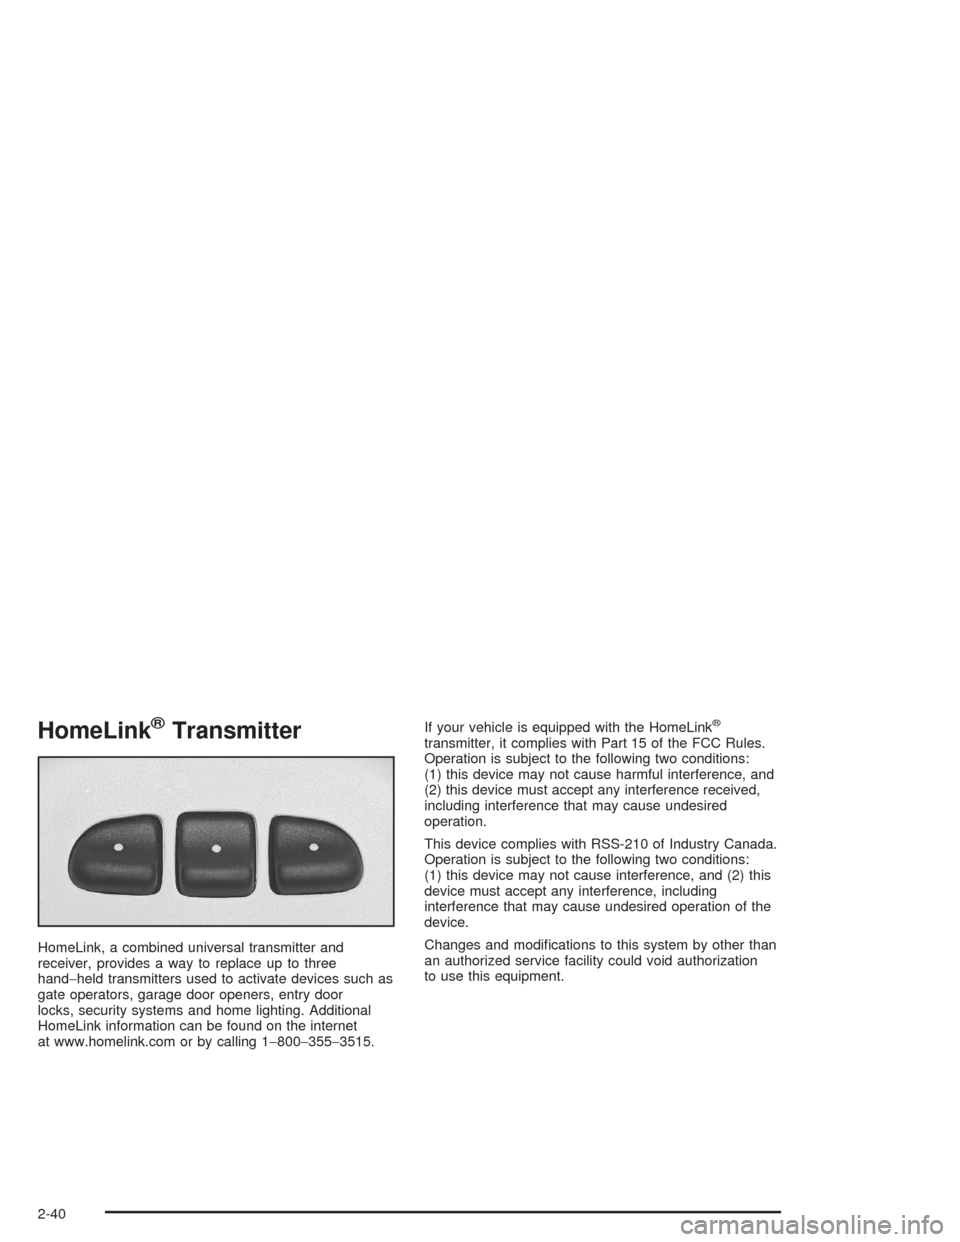
HomeLink®Transmitter
HomeLink, a combined universal transmitter and
receiver, provides a way to replace up to three
hand−held transmitters used to activate devices such as
gate operators, garage door openers, entry door
locks, security systems and home lighting. Additional
HomeLink information can be found on the internet
at www.homelink.com or by calling 1−800−355−3515.If your vehicle is equipped with the HomeLink
®
transmitter, it complies with Part 15 of the FCC Rules.
Operation is subject to the following two conditions:
(1) this device may not cause harmful interference, and
(2) this device must accept any interference received,
including interference that may cause undesired
operation.
This device complies with RSS-210 of Industry Canada.
Operation is subject to the following two conditions:
(1) this device may not cause interference, and (2) this
device must accept any interference, including
interference that may cause undesired operation of the
device.
Changes and modi�cations to this system by other than
an authorized service facility could void authorization
to use this equipment.
2-40
Page 109 of 426
Programming the HomeLink®
Transmitter
Do not use the HomeLink®Transmitter with any garage
door opener that does not have the “stop and reverse”
feature. This includes any garage door opener model
manufactured before April 1, 1982. If you have a newer
garage door opener with rolling codes, please be
sure to follow steps 6 through 8 to complete the
programming of your HomeLink
®Transmitter.
Read the instructions completely before attempting to
program the HomeLink
®Transmitter. Because of
the steps involved, it may be helpful to have another
person available to assist you in programming the
transmitter.
Keep the original transmitter for use in other vehicles as
well as for future HomeLink
®programming. It is also
recommended that upon the sale of the vehicle,
the programmed HomeLink
®buttons should be erased
for security purposes. Refer to “Erasing HomeLink®
Buttons” or, for assistance, contact HomeLink®on the
internet at: www.homelink.com or by calling
1-800-355-3515.Be sure that people and objects are clear of the garage
door or gate operator you are programming. When
programming a garage door, it is advised to park outside
of the garage.
It is recommended that a new battery be installed in
your hand-held transmitter for quicker and more
accurate transmission of the radio frequency.
Your vehicle’s engine should be turned off while
programming the transmitter. Follow these steps to
program up to three channels:
1. Press and hold down the two outside buttons,
releasing only when the indicator light begins to
�ash, after 20 seconds. Do not hold down the
buttons for longer than 30 seconds and do not
repeat this step to program a second and/or third
transmitter to the remaining two HomeLink
®buttons.
2. Position the end of your hand-held transmitter about
1 to 3 inches (3 to 8 cm) away from the HomeLink
®
buttons while keeping the indicator light in view.
3. Simultaneously press and hold both the desired
button on HomeLink
®and the hand-held transmitter
button. Do not release the buttons until Step 4
has been completed.
Some entry gates and garage door openers may
require you to substitute Step 3 with the procedure
noted in “Gate Operator and Canadian
Programming” later in this section.
2-41
Page 110 of 426
4. The indicator light will �ash slowly at �rst and then
rapidly after HomeLink®successfully receives the
frequency signal from the hand-held transmitter.
Release both buttons.
5. Press and hold the newly-trained HomeLink
®button
and observe the indicator light.
If the indicator light stays on constantly,
programming is complete and your device should
activate when the HomeLink
®button is pressed and
released.
To program the remaining two HomeLink
®buttons,
begin with Step 2 under “Programming HomeLink®.”
Do not repeat Step 1 as this will erase all of the
programmed channels.
If the indicator light blinks rapidly for two seconds
and then turns to a constant light, continue with
Steps 6 through 8 following to complete the
programming of a rolling-code equipped device
(most commonly, a garage door opener).
6. Locate in the garage, the garage door opener
receiver (motor-head unit). Locate the “Learn”
or “Smart” button. This can usually be found where
the hanging antenna wire is attached to the
motor-head unit.7. Firmly press and release the “Learn” or “Smart”
button. The name and color of the button may
vary by manufacturer.
You will have 30 seconds to start Step 8.
8. Return to the vehicle. Firmly press and hold the
programmed HomeLink
®button for two seconds,
then release. Repeat the press/hold/release
sequence a second time, and depending on the
brand of the garage door opener (or other rolling
code device), repeat this sequence a third time
to complete the programming.
HomeLink
®should now activate your rolling-code
equipped device.
To program the remaining two HomeLink
®buttons,
begin with Step 2 of “Programming HomeLink®.” Do not
repeat Step 1.
2-42