CHEVROLET MONTE CARLO 1973 2.G Service Manual
Manufacturer: CHEVROLET, Model Year: 1973, Model line: MONTE CARLO, Model: CHEVROLET MONTE CARLO 1973 2.GPages: 86, PDF Size: 33.46 MB
Page 41 of 86
Downloaded from www.Manualslib.com manuals search engine and repeat procedures outlined
for AM band setting.
NOTE: Bands cannot be changed
if push button
is unlocked.
Antenna
The radio antenna is incorpo
rated in the windshield glass.
If
necessary, adjustments for maxi
mum antenna effectiveness can be
made
by your authorized Chevro
let dealer.
To Tune Your AM-FM
Stereo Radio
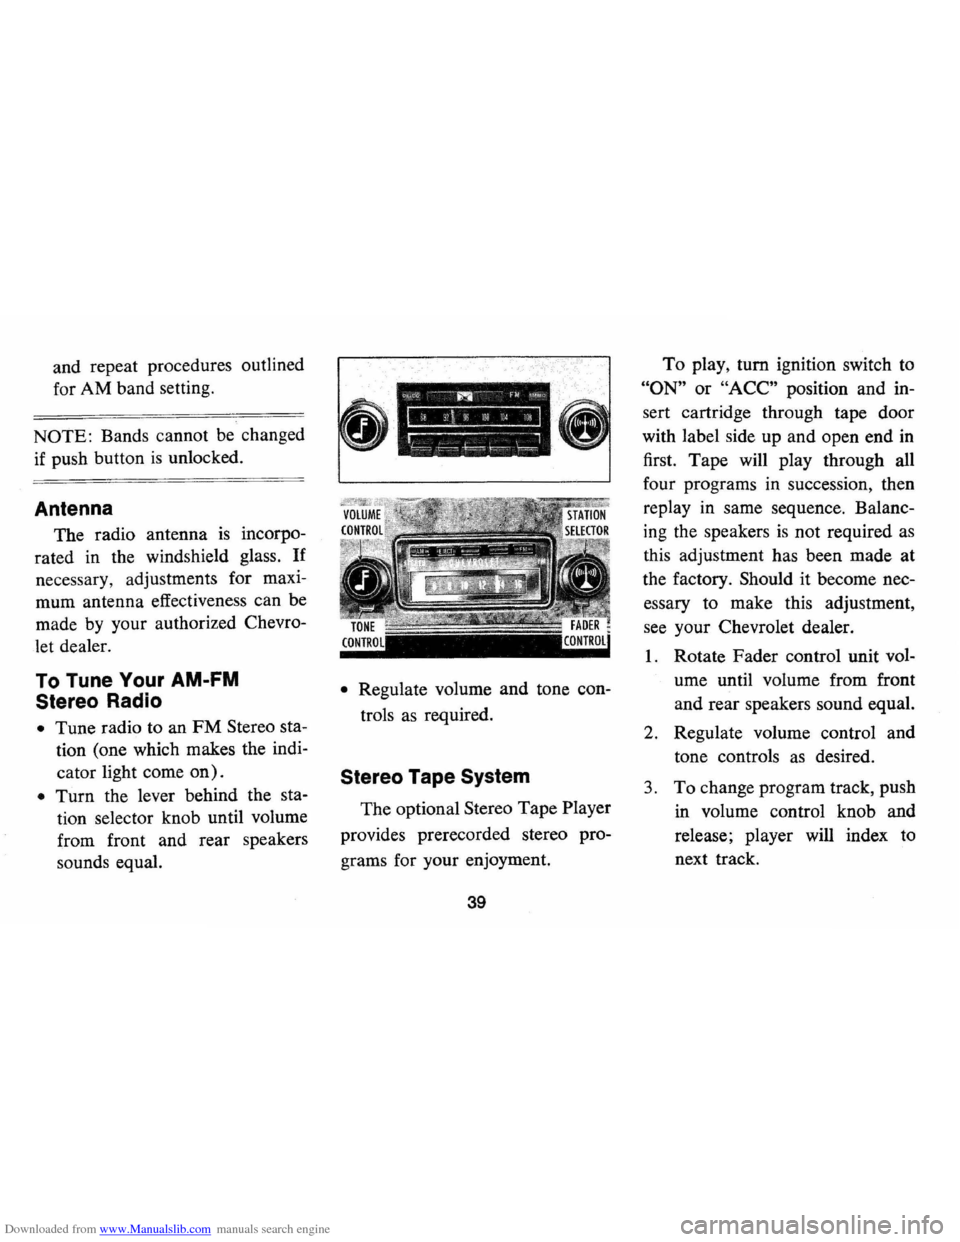
• Tune radio to an FM Stereo sta
tion (one which makes the indi
cator light come
on).
• Turn the lever behind the sta
tion selector knob until volume
from front and rear speakers
sounds equal.
• Regulate volume and tone con
trols
as required.
Stereo Tape System
The optional Stereo Tape Player
provides prerecorded stereo pro
grams for your enjoyment.
39
To play, turn ignition switch to
"ON" or "ACC" position and in
sert cartridge through tape door
with label side up and open end
in
first. Tape will play through all
four programs in succession , then
replay in same sequence. Balanc
ing the speakers
is not required as
this adjustment has been made at
the factory. Should it become nec
essary to make this adjustment,
see your Chevrolet dealer.
1. Rotate Fader control unit vol
ume until volume from front
and rear speakers sound equal.
2. Regulate volume control and
tone controls
as desired.
3. To change program track, push
in volume control knob and
release; player will index to
next track.
Page 42 of 86
Downloaded from www.Manualslib.com manuals search engine Push in the "eject" button to re
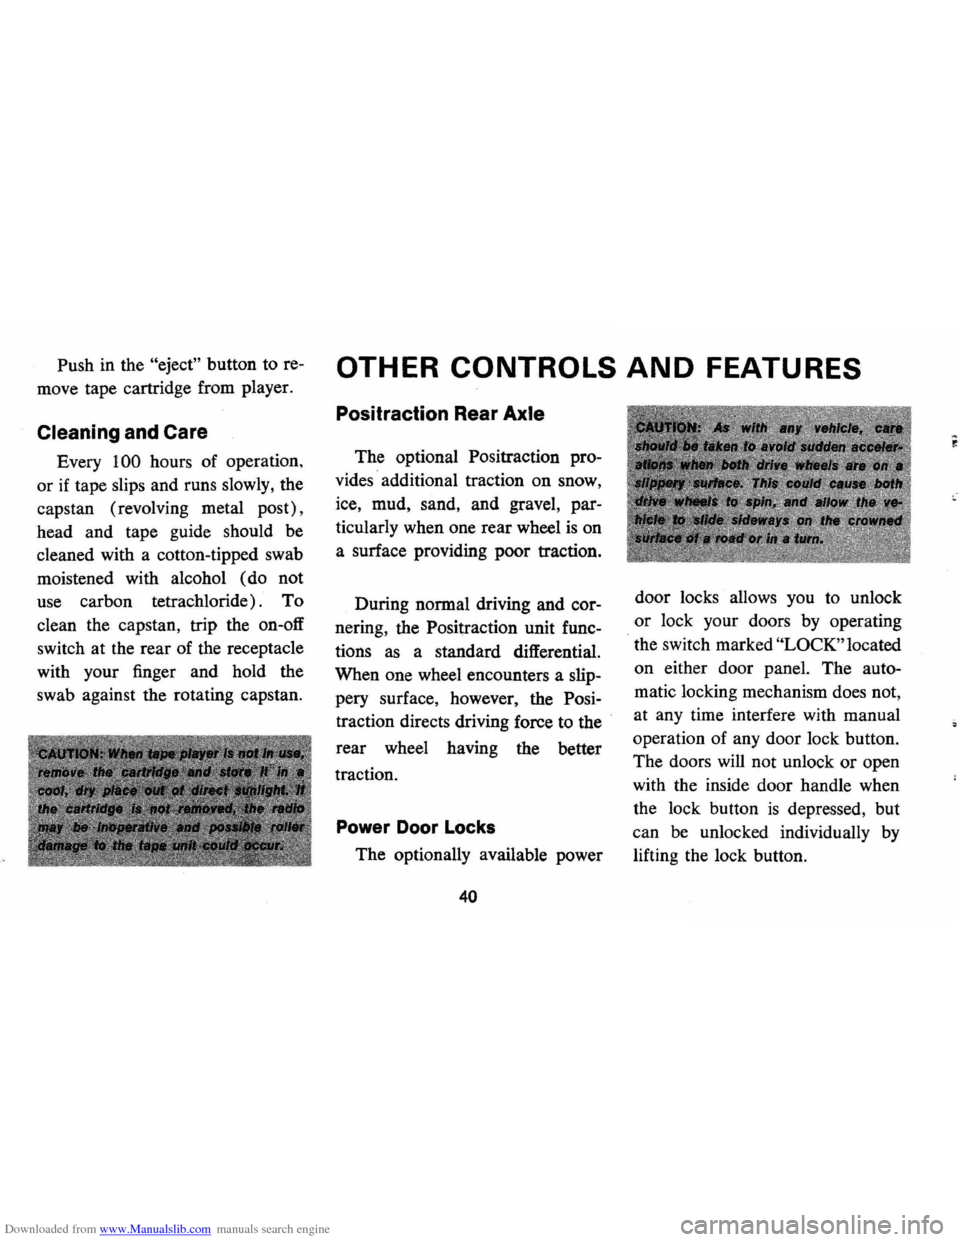
move tape cartridge from player.
Cleaning and Care
Every 100 hours of operation ,
or
if tape slips and runs slowly, the
capstan (revolving metal post) ,
head and tape guide should be
cleaned with a cotton-tipped swab
moistened with alcohol (do not
use carbon tetrachloride) . To
clean the capstan , trip the on-off
switch at the rear of the receptacle
with your finger and hold the
swab against the rotating capstan.
OTHER CONTROLS AND FEATURES
Positraction Rear Axle
The optional Positraction pro
vides · additional traction on snow,
ice, mud, sand, and gravel, par
ticularly when one rear wheel
is on
a surface providing poor traction.
During normal driving and cor
nering , the Positraction unit func
tions as a standard differential.
When one wheel encounters a slip
pery surface, however, the Posi
traction directs driving force to the
.
rear wheel having the better
traction.
Power Door Locks
The optionally available power
40
door locks allows you to unlock
or lock your doors by operating
the switch marked
"LOCK" located
on either door panel. The auto
matic locking mechanism does not,
at any time interfere with manual
operation of any door lock button.
The doors
will not unlock or open
with the inside door handle when
the lock button
is depressed, but
can be unlocked individually by
lifting the lock button.
Page 43 of 86
Downloaded from www.Manualslib.com manuals search engine I n Case of Emergency
Four Way Hazard
Warning
Flasher
• Use the warning flasher to warn
other drivers any time your
ve
hicle becomes a traffic hazard,
day
or night.
• Avoid stopping on the roadway
if possible.
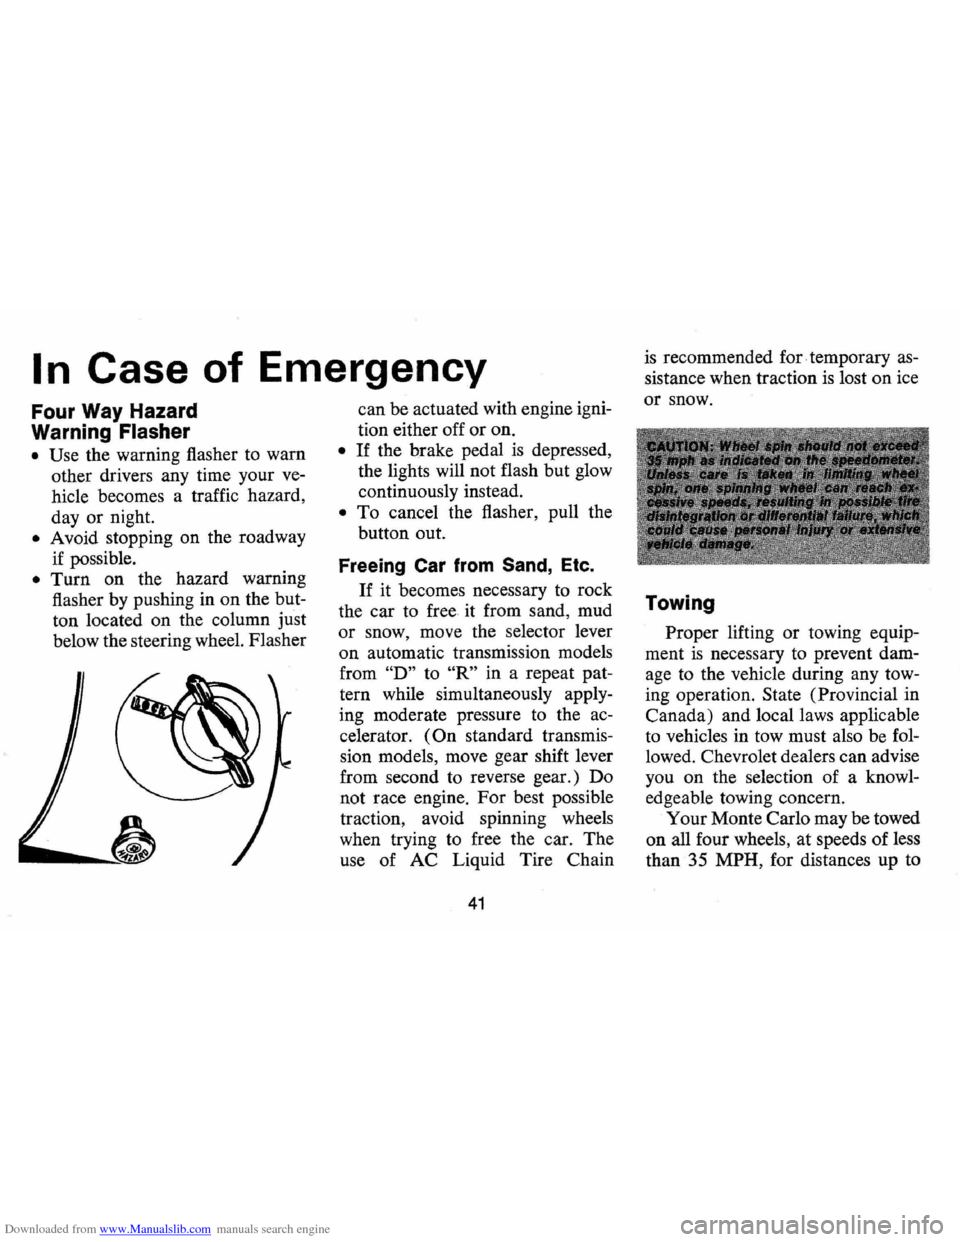
• Turn on the hazard warning
flasher by pushing in on the but
ton located on the column
just
below the steering wheel. Flasher
---~
can be actuated with engine igni
tion either off or on.
• If the brake pedal is depressed,
the lights will not flash but glow
continuously instead.
• To cancel the flasher, pull the
button out.
Freeing Car from Sand, Etc.
If it becomes necessary to rock
the car to free it from sand, mud
or snow, move the selector lever
on automatic transmission models
from
"D" to "R" in a repeat pat
tern while simultaneously apply
ing moderate pressure
to the ac
celerator.
(On standard transmis
sion models, move gear shift lever
from second to reverse gear.) Do
not race engine. For best possible
traction, avoid spinning wheels
when trying to free the car. The
use of AC Liquid Tire Chain
41
is recommended for. temporary as
sistance when traction is lost on ice
or snow.
Towing
Proper lifting or towing equip
ment
is necessary to prevent dam
age to the vehicle during any tow
ing operation.
State (Provincial in
Canada) and local laws applicable
to vehicles in tow must also be fol
lowed. Chevrolet dealers can advise
you on the selection of a knowl
edgeable towing concern.
Your Monte Carlo may be towed
on all four wheels, at speeds of less
than 35 MPH, for distances up to
Page 44 of 86
Downloaded from www.Manualslib.com manuals search engine 50 miles, provided driveline, axle
and transmission are otherwise
nor
mally operable.
Use only towing equipment spe
cifically designed for this purpose,
following the instructions of the
equipment manufacturer. Also, a
safety chain system must be used.
For such towing, the vehicle park
ing brake must be released, trans
mission must be in neutral and
igni
tion lock turned to OFF position.
Remember that power brake and
steering assists will not be available
when engine
is inoperative.
Emergency Starting
• Never tow the car to start be
cause the surge forward when
the engine starts could cause a
collision with the tow vehicle.
• Engines in vehicles with auto
matic transmissions cannot be
started
by towing or pushing
the car.
ENGINE COOLANT
• To start the car when the Ener
gizer (battery) is discharged, use
a single auxiliary battery or
Energizer of the
same nominal
voltage
(12 volts) as the dis
charged battery, with suitable
jumper cables.
• Make connections as set forth
below under
"J ump Starting
with Auxiliary (Booster)
bat
tery"
to lessen the chance of
personal injury or property
damage.
Do
not use these instructions in
connection with any vehicle having
a positive-ground electrical system
42
-either to start your vehicle or the
other
one-an explosion may result
which could cause personal injury
Page 45 of 86
Downloaded from www.Manualslib.com manuals search engine or property damage. All General
Motors cars have negative-ground
electrical systems and can be used
to jump start one another.
If you
cannot determine how the other
vehicle
is grounded (by checking
specifications in the owner's man
ual, etc.) we recommend that you
attempt no jump starting with that
vehicle.
Jump Starting with
Auxiliary (Booster) Battery
Both booster and discharged
battery should be treated carefully
when using jumper cables. Follow
exactly the procedure outlined be
low, being careful not to cause
sparks:
1.
Set parking brake and place
automatic transmission in
"PARK" (neutral for manual
transmission).
Turn off lights,
heater and other electrical loads. 2.
Remove vent caps from both
the booster and the discharged
batteries. Lay a cloth over the
open vent wells of each battery.
These two actions help reduce
the explosion hazard always
present in either battery when
connecting
"live" booster bat
teries to
"dead" batteries.
3. Attach one end of one jumper
cable to the positive terminal of
the booster battery (identified
by a red color,
"+" or "P" on
the battery case, post or clamp)
and the other end of same cable
to positive terminal of discharged
battery. Do
NOT permit cars to
touch each other,
as this could
'establish a ground connection
and counteract the benefits of
this procedure.
4. Attach one end of the remaining
negative cable to the negative
terminal (black color,
"-" or
"N") of the booster battery, and
43
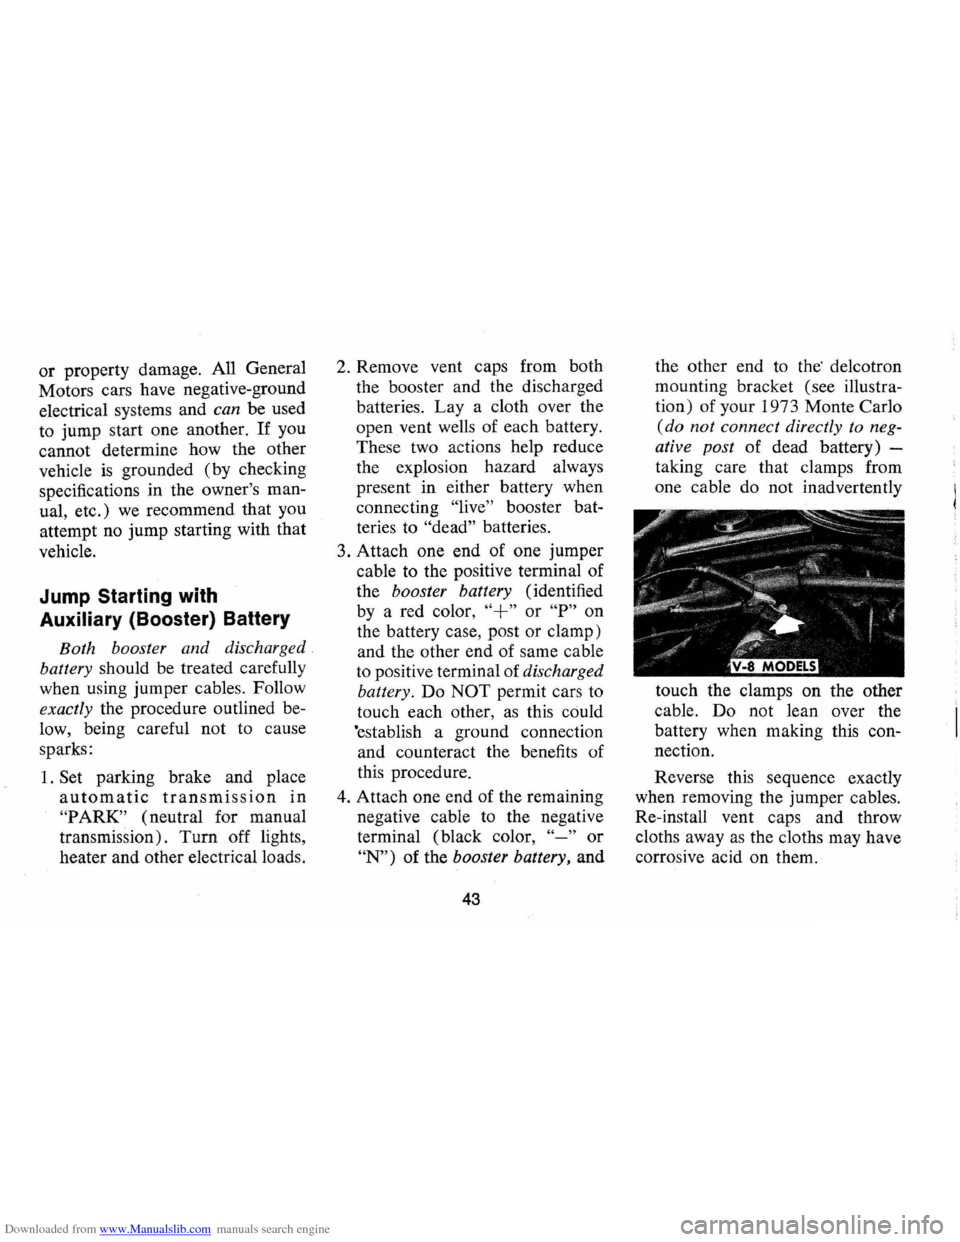
the other end to the' de1cotron
mounting bracket (see illustra
tion) of your 1973 Monte Carlo
(do not connect directly to neg
ative post of dead battery) -
taking care that clamps from
one cable do not inadvertently
touch the clamps on the other
cable. Do not lean over the
battery when making this con
nection.
Reverse this sequence exactly
when removing the jumper cables.
Re-install vent caps and throw
cloths away
as the cloths may have
corrosive acid on them.
Page 46 of 86
Downloaded from www.Manualslib.com manuals search engine Changing Tires
Preparations:
• Park on a level surface and set
parking brake firmly.
• Set automatic transmission in
"P ARK" (manual transmission
in reverse) .
• Activate hazard warning flasher.
• Block both the front and back
of the wheel diagonally oppo
site the
jack position.
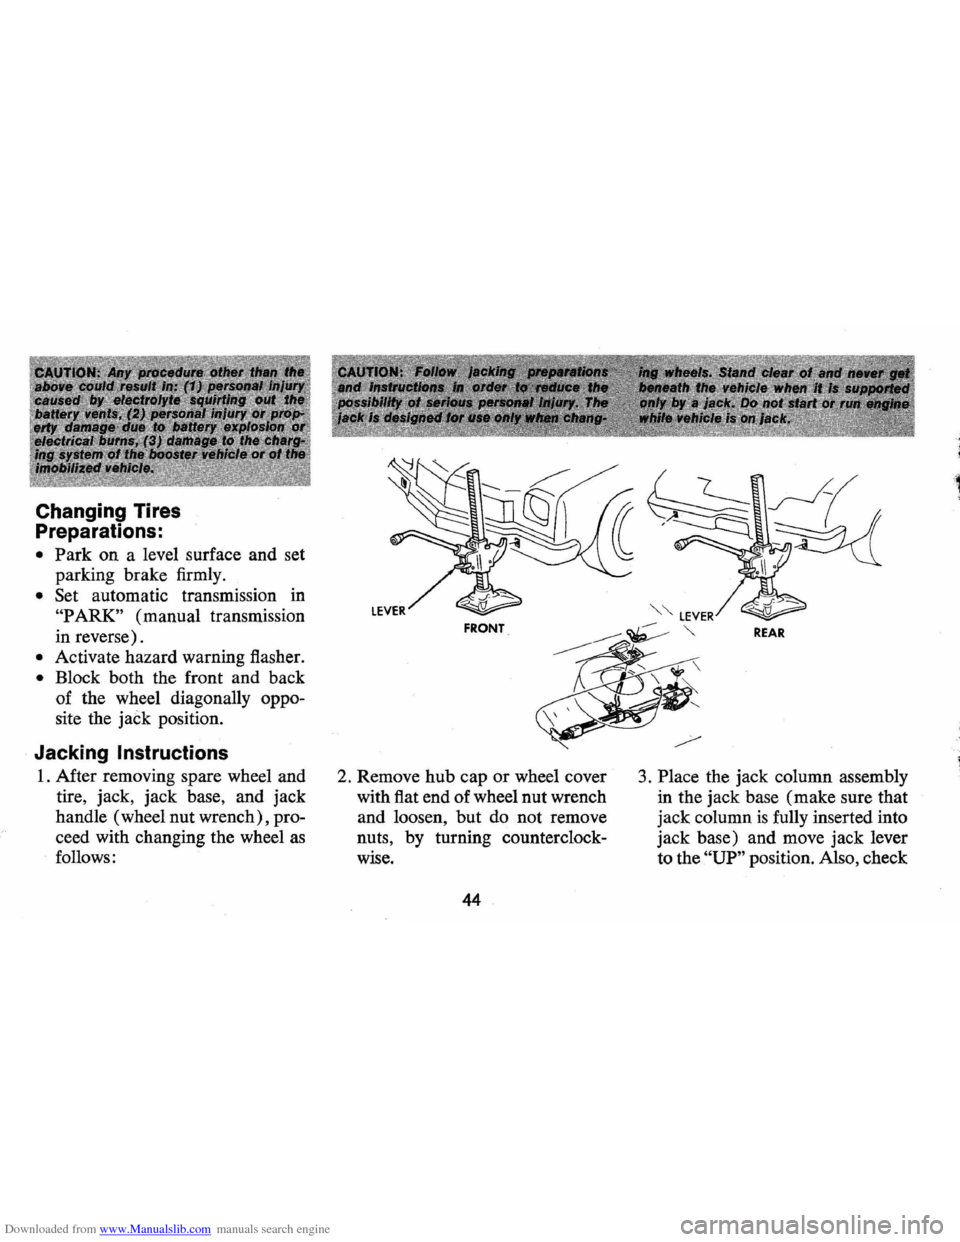
Jacking Instructions
1. After removing spare wheel and
tire, jack, jack base, and jack
handle (wheel nut wrench) , pro
ceed with changing the wheel
as
follows: 2.
Remove hub cap
or wheel cover
with flat end of wheel nut wrench
and loosen, but do not remove
nuts, by turning counterclock
wise.
44
3. Place the jack column assembly
in the jack base (make sure that
jack column
is fully inserted into
jack base) and move jack lever
to the
"UP" position. Also, check
Page 47 of 86
Downloaded from www.Manualslib.com manuals search engine that jack base is level before
raising car.
4. When jacking the car, position
the jack
so that jack hook is fully
inserted in lift slot of the bumper.
NOTE: Always use a smooth mo
tion when raising or lowering car.
5. Insert jack handle in jack and and
raise car until wheel
is just
off the ground.
6. Remove wheel nuts and wheel.
7. Install spare wheel and install
wheel nuts (with beveled end of
nut facing inward) until all are
finger tight.
8. Place jack control lever in
"down" position and lower wheel
until tire just touches ground.
Tighten wheel nuts, lower car
45
and remove jack. Carefully in
stall hub cap or wheel cover.
9. Replace jack assembly and wheel
in luggage compartment.
When possible check inflation of
replacement tire to agree with tire
placard affixed to the left front door.
NOTE: Illustrated instructions on
jack operation and storage are also
provided on underside of trunk lid.
Page 48 of 86
Downloaded from www.Manualslib.com manuals search engine APPEARANCE CARE
Care and Cleaning
of Interior Soft Trim
Dust and loose dirt that accum
ulate on interior fabric trim should
be removed frequently with a
vacuum cleaner, whisk broom or
soft brush. Vinyl
or leather trim
should be wiped clean with a
damp cloth. Normal cleanable trim
soilage, spots or stains can be
cleaned with the proper use of trim
cleaners available through General
Motors dealers or other reputable
supply outlets. Before attempting
to remove spots or stains from
up
holstery, determine as accurately
as possible the nature and age of
the spot or stain.
Some spots or
stains can be removed
satisfactor
ily with water or mild soap solu
tion (refer to accompanying "Re
moval of Specific Stains"). For
best results, spots or stains should
be removed
as soon as possible.
Some types of stains or soilage
such
as lipsticks, some inks, cer
tain types of grease, mustard, etc.,
are extremely difficult and, in some
cases, impossible to completely
re
move. When cleaning this type of
stain or soilage, care must be taken
not to enlarge the soiled area.
It is
sometimes more desirable to have
a small stain than an enlarged stain
as a result of careless cleaning.
46
1
Page 49 of 86
Downloaded from www.Manualslib.com manuals search engine Cleaning Fabrics with
Cleaning
Fluid
This type of cleaner should be
used for cleaning stains containing
grease, oil or fats. Excess stain
should be gently scraped off with
a clean dull knife or scraper.
Use
very little cleaner, light pressure,
and clean cloths (preferably cheese
cloth). Cleaning action with
cloth should be from outside of
stain towards center and constantly
changing to a clean section of
cloth. When stain
is cleaned from
fabric, immediately wipe
area
briskly with a clean absorbent
towel or cheese cloth to help dry
area and prevent a cleaning ring.
If ring forms, immediately clean
entire area or panel section of the
trim assembly.
NOTE: Sometimes a difficult spot
may require a second application
of cleaning fluid followed immedi
ately by a soft brush to completely
remove the spot.
Cleaning Fabrics with
Detergent Foam Cleaners
This type of cleaner is excellent
for cleaning general soilage from
fabrics and for cleaning a panel
section where a minor cleaning
ring may be left from spot clean
ing. Vacuum area to remove ex
cess loose dirt. Always clean at
least a full trim panel or section
of trim. Mask adjacent trim along
stitch or weld lines. Mix detergent
type foam cleaners in strict ac
cordance with directions on label
of container.
Use foam only on a
clean sponge or soft bristle brush
-Do not wet fabric excessively or
47
rub harshly with brush. Wipe clean
with a slightly damp absorbent
towel or cloth. Immediately after
cleaning fabric, dry fabric with a
dry towel or hair dryer. Rewipe
fabric with dry absorbent towel or
cloth to restore luster of the trim
and to eliminate any dried residue.
Seat Belt Care
• Clean only with mild soap solu
tion and lukewarm water.
• Do not bleach or dye belts since
this may severely weaken belts.
Removal of Specific Stains
Candy-Chocolate, use cloth soak
ed in lukewarm water; other than
chocolate, use very hot water. Dry.
If necessary, clean lightly with
fabric cleaning fluid.
Chewing Gum-Harden gum with
ice cube and scrape off with dull
knife. Moisten with fabric cleaning
fluid and scrape again,
Page 50 of 86
Downloaded from www.Manualslib.com manuals search engine Fruit Stains, Coffee, Soft
Drinks, Ice Cream and Milk
Wipe with cloth soaked in cold
water.
If necessary clean lightly
with fabric cleaning fluid.
Soap
and water is not recommended as
it might set the stain .
Catsup-Wipe with cloth soaked
in cool water.
If further cleaning
is necessary, use a detergent foam
cleaner.
Grease, Oil , Butter, Margarine
and Crayon -Scrape off excess
I with dull knife. Use fabric clean
ing fluid.
Paste or Wax Type Shoe Polish
-Light applications of fabric
cleaning fluid.
Exterior Appearance
Your car is finished with General
Motors
" Magic-Mirror" acrylic lac
quer. This
is a finish of maximum
beauty which, in depth of color,
Tar -Remove excess with dull
knife, moisten with fabric clean
ing fluid, scrape again, rub lightly
with additional cleaner.
Blood -Wipe with clean cloth
moistened with cold water.
Use
no soap.
Urine -Sponge stain with luke
warm soap suds from mild neutral
soap on clean cloth, rinse with
cloth soaked in cold water, satu
rate cloth with one part house
hold ammonia and 5 parts water,
apply for 1 minute, rinse with
clean, wet cloth.
Vomitus-Sponge with clean cloth
dipped in clean, cold water. Wash
gloss retention and durability
is
superior to conventional lacquer
finishes.
Washing Your Car
The best way to preserve the
finish and maintain original beauty
48
lightly with lukewarm water and
mild neutral soap.
If odor persists,
treat area with a water-baking soda
solution (1 teaspoon baking soda
to one cup of tepid water). Rub
again with cloth and cold water.
Finally, if necessary, clean lightly
with fabric cleaning fluid.
Interior Glass Surface
The interior glass surface should
be cleaned on a periodic basis for
continued good visibility. A com
mercial household glass cleaning
agent containing ammonia will re
move normal tobacco smoke and
dust
films sometimes caused by
ingredients used in vinyls, plastics
or other interior trim materials.
of appearance
is to keep it clean.
Wash the car in lukewarm or cold
water . Never use strong
soap or
chemical detergents. Cleaning
agents should be quickly flushed
from the surfaces.