set clock CHEVROLET MONTE CARLO 1995 5.G Owners Manual
[x] Cancel search | Manufacturer: CHEVROLET, Model Year: 1995, Model line: MONTE CARLO, Model: CHEVROLET MONTE CARLO 1995 5.GPages: 324, PDF Size: 16.74 MB
Page 112 of 324

Downloaded from www.Manualslib.com manuals search engine System Controls
Fan Knob
The knob with the fan symbol selects the force of air
you want. To
turn the fan off, turn the knob to OFF.
Temperature Control
If your system does not have the auxiliary temperature
control option, the right knob changes the temperature
of the air coming through the system. Turn this knob
toward red (clockwise) for warmer air. Turn it toward
blue (counterclockwise) for cooler air.
If your system does have the auxiliary temperature
control option, the center levers change the temperature
of the air coming through the system. The DRIV lever
sets the temperature for the driver and rear seat
passengers, and the
PASS lever sets the temperature for
the front seat passenger.
Mode Knob
The left knob has several settings to control the direction
of air flow. For each setting, set the temperature
to a
comfortable setting.
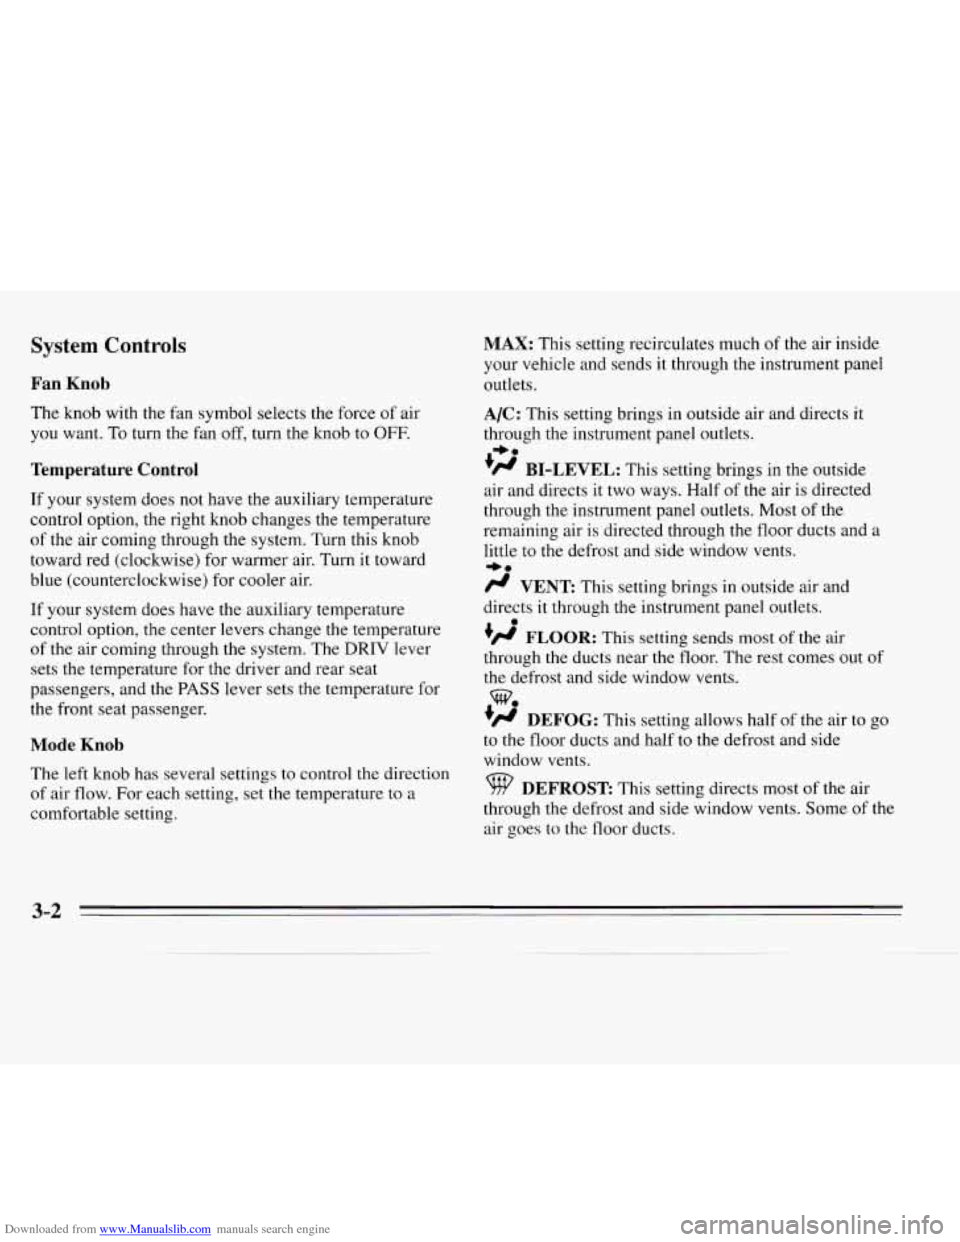
MAX: This setting recirculates much of the air inside
your vehicle and sends
it through the instrument panel
outlets.
A/C: This setting brings in outside air and directs it
through the instrument panel outlets.
'fl BI-LEVEL: This setting brings in the outside
air and directs it two ways. Half of the air is directed
through the instrument panel outlets. Most of
the
remaining air is directed through the floor ducts and a
little to the defrost and side window vents.
fl VENT This setting brings in outside air and
directs it through the instrument panel outlets.
+fl FLOOR: This setting sends most of the air
through the ducts near the floor. The rest comes out of
the defrost and side window vents.
+' DEFOG: This setting allows half of the air to go
to the floor ducts and half to the defrost and side
window vents.
9 DEFROST This setting directs most of the air
through the defrost and side window vents. Some of the
air goes to the floor ducts.
I,.
e.
.
w.
3-2
Page 115 of 324

Downloaded from www.Manualslib.com manuals search engine Audio Systems
Your Delco@ audio system has been designed to operate
easily and give years of listening pleasure.
You will get the
most enjoyment out
of it if you acquaint yourself with
it first. Find
out what your Delco@ system can do and how
to operate all
of its controls, to be sure you’re getting the
most out
of the advanced engineering that went into it.
Setting the Clock
Systems Without Automatic Tone Control
1.
2.
3.
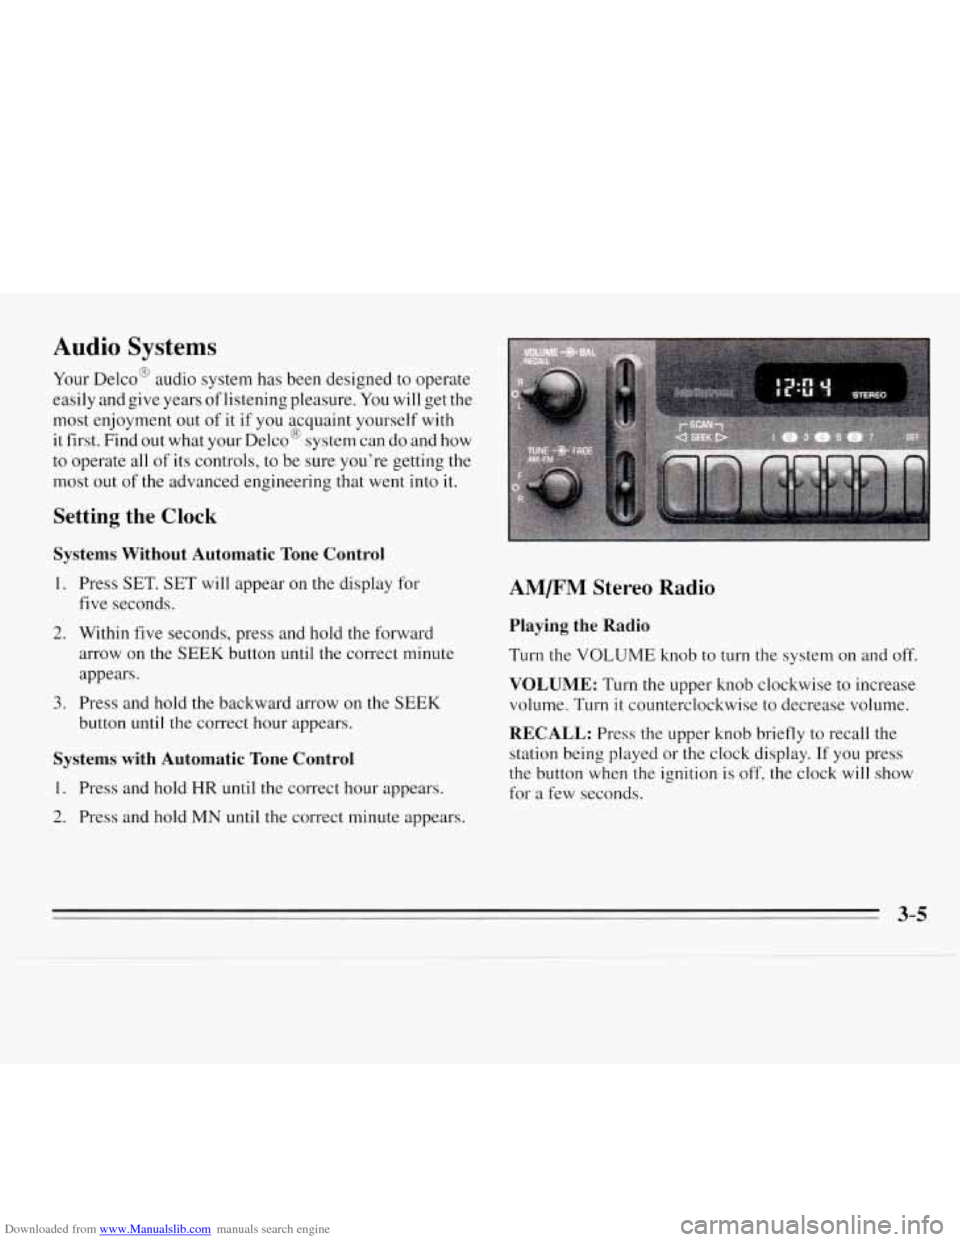
Press SET. SET will appear on the display for
five seconds.
Within five seconds, press and hold the forward
arrow on the
SEEK button until the correct minute
appears.
Press and hold
the backward arrow on the SEEK
button until the correct hour appears.
Systems with Automatic Tone Control
1. Press and hold HR until the correct hour appears.
2. Press and hold MN until the correct minute appears.
AM/FM Stereo Radio
Playing the Radio
Turn the VOLUME knob to turn the system on and off.
VOLUME: Turn the upper knob clockwise to increase
volume. Turn
it counterclockwise to decrease volume.
RECALL: Press the upper knob briefly to recall the
station being played
or the clock display. If you press
the button when the ignition is
off, the clock will show
for a few seconds.
Page 118 of 324

Downloaded from www.Manualslib.com manuals search engine REV: Press this button to reverse the tape rapidly. Press
it again to return
to playing speed. The radio will play
while the tape reverses.
FWD: Press this button to advance quickly to another
part of the tape. Press the button again to return to
playing speed. The radio will play while the tape
advances.
PROGRAM: Press the upper knob to change the side of
the tape that is playing.
EJECT Press this button to remove the tape. The radio
will play.
Cln: This message may appear on the display. If it does,
your cassette tape player needs to be cleaned. It will still
play tapes, but you should clean
it as soon as possible to
prevent damage
to your tapes and player. See “Care of
Your Cassette Tape Player” in the Index. After you clean
the player, press and hold EJECT for five seconds to
reset the Cln indicator.
“- - -” will appear in the display
to show the indicator was reset.
AM/FM Stereo Radios with Automatic Tone
Control
If your Chevrolet has a radio with Automatic Tone
Control,
the instructions below will explain how to use
the radio. To find out if your radio has Automatic Tone
Control, look for an AUTO TONE button. If the system
has one, you have Automatic Tone Control. If not,
see
the systems explained earlier in this section.
Playing the Radio
Press the PWR knob to turn the system on and off.
VOL: Turn this knob clockwise to increase volume.
Turn it counterclockwise to decrease volume.
SCV: Your system has a feature called
speed-compensated volume (SCV). With SCV, your
audio system makes up for road noise by getting louder
as you drive faster. The control behind the upper knob
has SCV positions. The top position has a higher
maximum volume and gets louder faster than the middle
two positions. If you don’t want to use SCV, turn the
control all the way down.
RECALL: Press this button to recall the station being
played. If you press the button when the ignition is off,
the clock will show for a few seconds.
3-8
Page 313 of 324

Downloaded from www.Manualslib.com manuals search engine TopStrap ................................... 1-34
WheretoPut
................................ 1-33
Cigarette Lighter
............................... 2-39
Circuit Breaker. Power Windows and
Other Power Options
........................... 6-59
City Driving
................................... 4-17
Cleaner. Air
................................... 6-15
Cleaning Aluminum Wheels
........................... 6-49
Fabric
..................................... 6-45
Glass
...................................... 6- 47
Inside ..................................... 6-44
Leather
.................................... 6-47
Outside of the Windshield and Wiper Blades
....... 6-48
Outside
.................................... 6-48
Special Problems
............................ 6-46
Stains
...................................... 6-46
Tires
...................................... 6-50
Top of the Instrument Panel
.................... 6-47
Vinyl
...................................... 6- 46
Clock, Setting
the ................................ 3-5
Comfort Controls
................................ 3- 1
Comfort Guides, Rear Safety Belt .................. 1-28
Compact Disc Care
............................. 3- 17
Compact Disc Player
............................ 3- 12
Compact Spare Tire ............................. 5-3 1
Console Shift Lever ............................. 2-20
Console, Center
................................ 2-37
Control of
a Vehicle .............................. 4-5
Control,
Loss Of ................................ 4- 12
Convenience Net ............................... 2-36
Convex Outside Mirror
.......................... 2-35
Coolant
....................................... 6-19
Bleedvalves
................................ 5-19
Heater. Engine
......................... 2-14 13. 6.
How to Add to the Coolant Recovery Tank
........ 5-16
How to Add to the Radiator
.................... 5-18
Temperature Gage
............................ 2-48
Temperature Light
........................... 2-47
Cooling System
................................ 5-14
Courtesy Transportation
........................... 8-6
Cruise Control
................................. 2-28
Erasing Speed Memory
........................ 2-30
Getting Out Of
.............................. 2-30
Passing Another Vehicle While Using
............ 2-30
To Increase Speed ............................ 2-29
ToReduceSpeed
............................ 2-29
To Resume a Set Speed ........................ 2-29
ToSet
..................................... 2-28
UseonHills
................................ 2-30
Cupholders
.................................... 2-36
Customer Assistance for the Hearing or
Speech Impaired
............................... 8-2
Customer Assistance Information
................... 8-1
Customer Satisfaction Procedure
.................... 8-1
Damage. Finish
............................... 6-50
Damage. Sheet Metal
............................ 6-50
Daytime Running Lamps
......................... 2-32
Dead Battery
................................... 5-2
9-3