remove CHEVROLET MONTE CARLO 1996 5.G Owner's Guide
[x] Cancel search | Manufacturer: CHEVROLET, Model Year: 1996, Model line: MONTE CARLO, Model: CHEVROLET MONTE CARLO 1996 5.GPages: 340, PDF Size: 17.79 MB
Page 223 of 340
Downloaded from www.Manualslib.com manuals search engine Air Cleaner
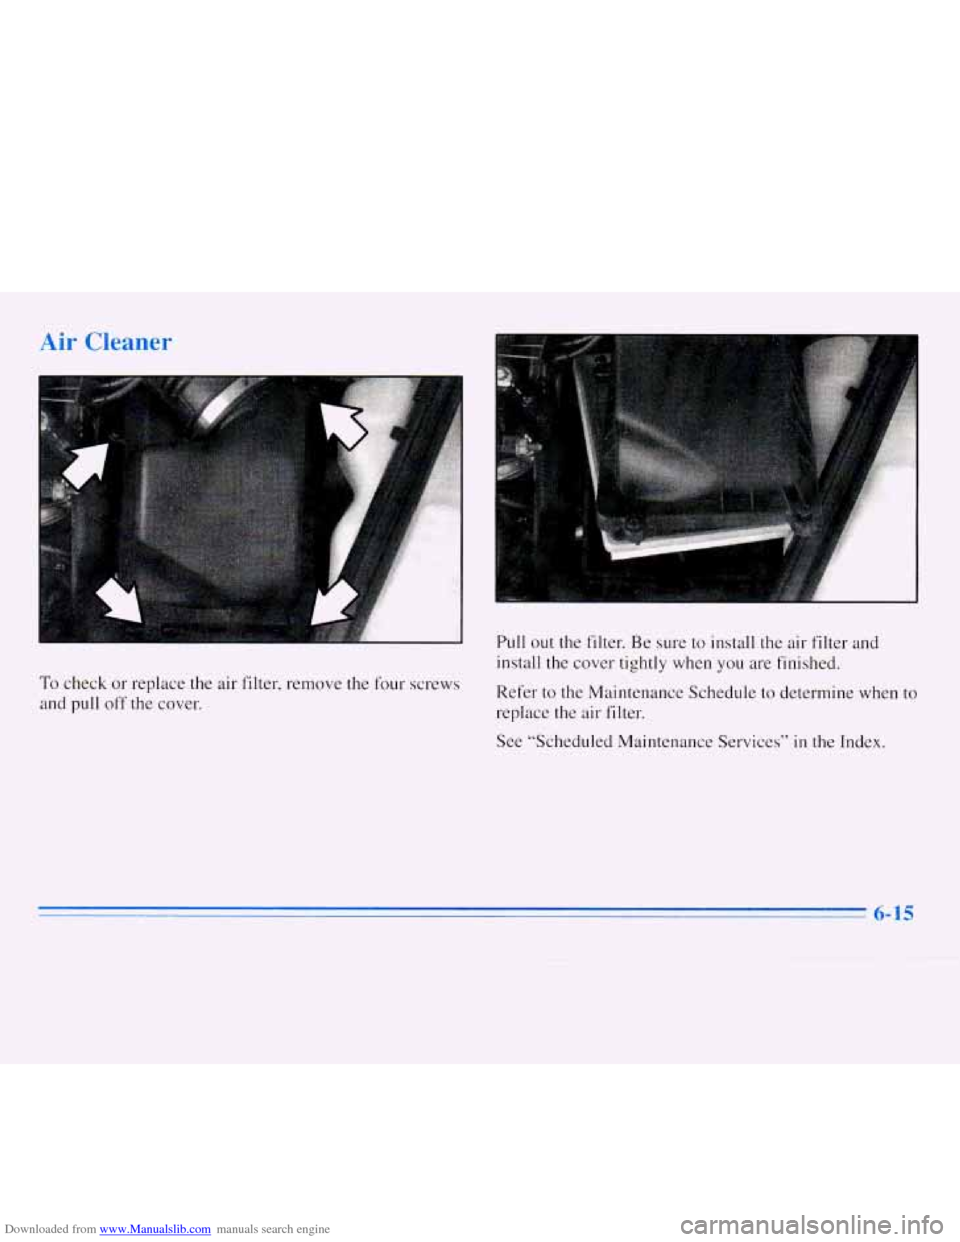
To check or replace the air filter, remove the four screws
and pull
off the cover. Pull
out the filter. Be sure to install the air filter and
install the cover tightly when you are finished.
Refer to the Maintenance Schedule to determine when to
replace the air filter.
See “Scheduled Maintenance Services”
in the Index.
6-15
Page 232 of 340
Downloaded from www.Manualslib.com manuals search engine How To Check Power Steering Fluid Windshield Washer Fluid
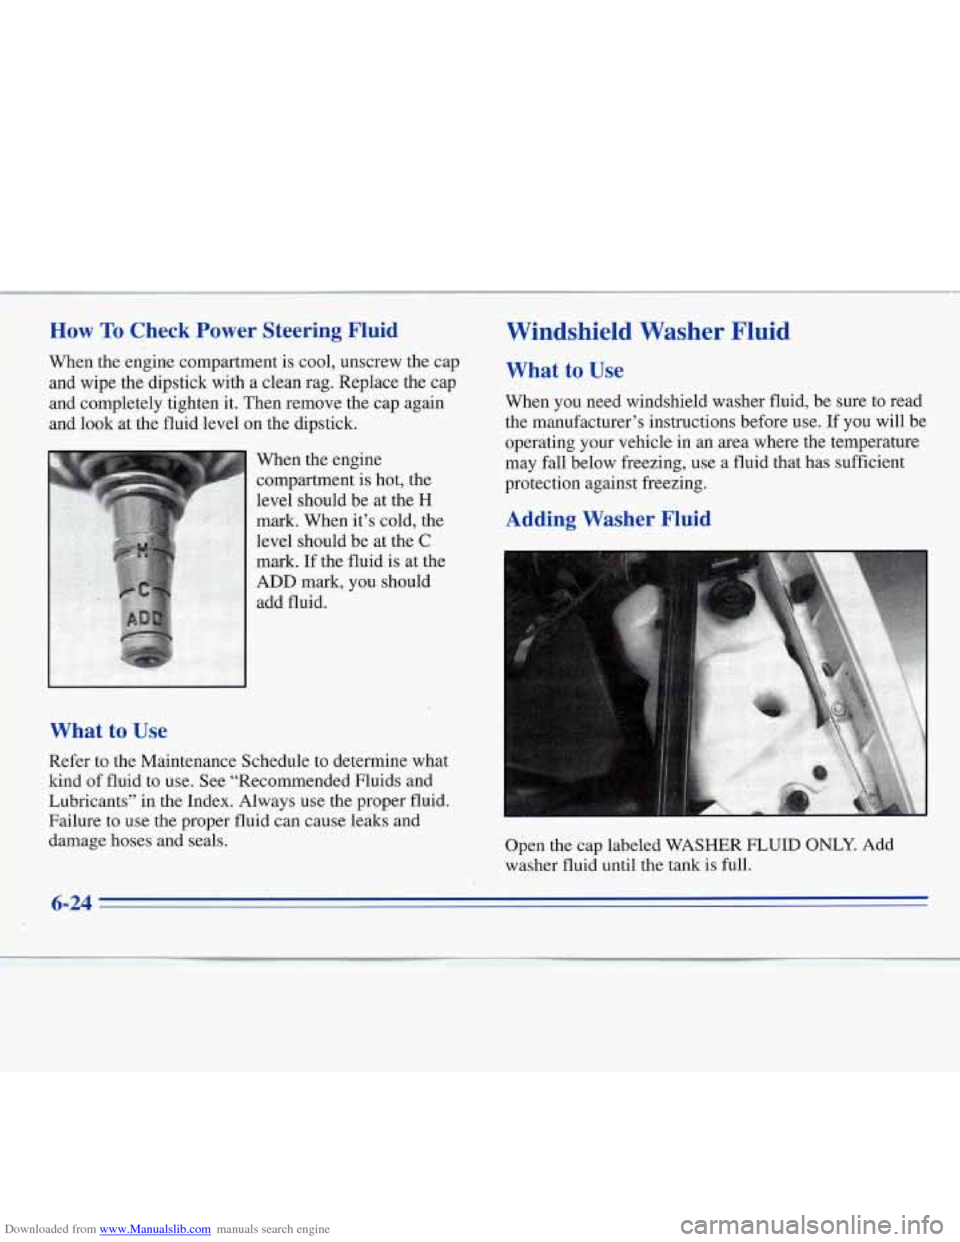
When the engine compartment is cool, unscrew the cap
and wipe the dipstick with a clean rag. Replace the cap
and completely tighten it. Then remove the cap, again
and look at the fluid level on the dipstick.
When the engine
compartment is hot, the
What to Use
Refer to the Maintenance Schedule to determine what
kind of fluid to use. See “Recommended Fluids and
Lubricants” in the Index. Always use the proper fluid.
Failure to use the proper fluid can cause leaks and
damage hoses and seals.
What to Use
When you need windshield washer fluid, be sure to read
the manufacturer’s instructions before use. If you will be
operating your vehicle
in an area where the temperature
may fall below freezing, use a fluid that has sufficient
protection against freezing.
Adding Washer Fluid
Open the cap labeled WASHER FLUID OmY. Add
washer fluid until the tank is full.
Page 234 of 340
Downloaded from www.Manualslib.com manuals search engine There are only two reasons why the brake fluid level in the
reservoir might
go down. The first is that the brake fluid
goes down to an acceptable level during normal brake
lining wear. When new linings are put in, the fluid level
goes back up. The other reason is that fluid
is leaking out
of the brake system.
If it is, you should have your brake
system fixed, since a leak means that sooner or later your
brakes won’t work well, or won’t work at all.
So, it isn’t a good idea to “top off’ your brake fluid.
Adding brake fluid won’t correct a leak.
If you add fluid
when your linings are worn, then
you’ll have too much
fluid when you get new brake linings. You should add
(or remove) brake fluid, as necessary, only when work is
done on the brake hydraulic system. When your brake fluid falls to a low level, your brake
warning light will come on. See “Brake System Warning
Light” in the Index.
What to Add
When you do need brake fluid, use only DOT-3 brake
fluid
-- such as Delco Supreme 11 @ (GM Part
No. 1052535). Use new brake fluid from a sealed
container only, and always clean the brake fluid
reservoir cap before removing it.
If you have too much brake fluid, it can spill on
the engine. The fluid
will burn if the engine is hot
enough. You or others could be burned, and your
vehicle could be damaged. Add brake fluid only
when work is done on the brake hydraulic system. With
the wrong kind
of fluid in your brake
system, your brakes may not work well,
or they
may not even work at all. This could cause
a
crash. Always use the proper brake fluid.
6-26
Page 237 of 340
Downloaded from www.Manualslib.com manuals search engine Vehicle Storage
If you’re not going to drive your vehicle for 25 days
or more, take off the black, negative
(-) cable from
the battery. This
will help keep your battery from
running down.
’ I A CAUTION:
Batteries have acid that can burn you and gas
that can explode. You can be badly hurt
if you
aren’t careful. See “Jump Starting” in the Index
for tips on working around
a battery without
getting hurt.
Bulb Replacement
In this section you’ll find directions for changing the
bulbs
in some of the lamps on your Chevrolet. See
“Replacement Bulbs”
in the Index to find the type
of bulb you should use.
Halogen Bulbs
Contact your dealer to learn how to prepare your vehicle
for longer storage periods.
Also, for your audio system, see “Theft-Deterrent
Feature”
in the Index.
Halogen bulbs have pressurized gas inside and
can burst if you drop or scratch the bulb. You or
others could be injured. Be sure to read and
follow the instructions on the bulb package.
Headlamps
1. Open the hood.
2. Press and turn the base a quarter-turn
(counterclockwise for the driver’s side; clockwise
for the passenger’s side) and remove
it from the
retaining ring by gently pulling
it back and away
from the headlamp.
6-29
Page 238 of 340
Downloaded from www.Manualslib.com manuals search engine 3.
4.
5.
6.
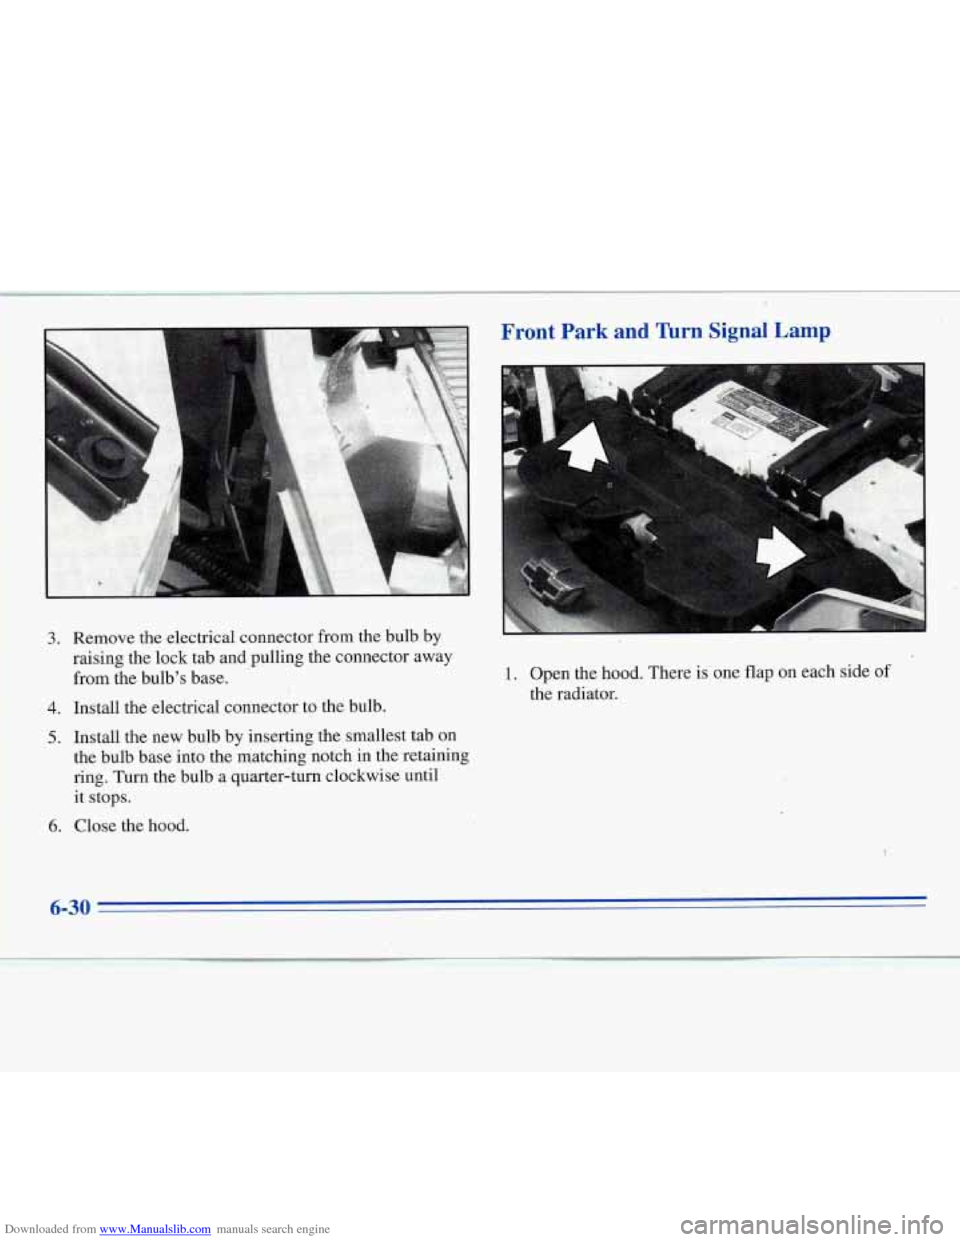
Remove the electrical connector from the bulb by
raising the lock tab and pulling the connector away
from the bulb's base.
Install the electrical connector to the bulb.
Install the new bulb by inserting the smallest tab on
the bulb base into the matching notch
in the retaining
ring.
Turn the bulb a quarter-turn clockwise until
it stops.
Close the hood.
Front Park and Turn Signal Lamp
1. Open the hood. There is one flap on each side of
the radiator.
Page 239 of 340
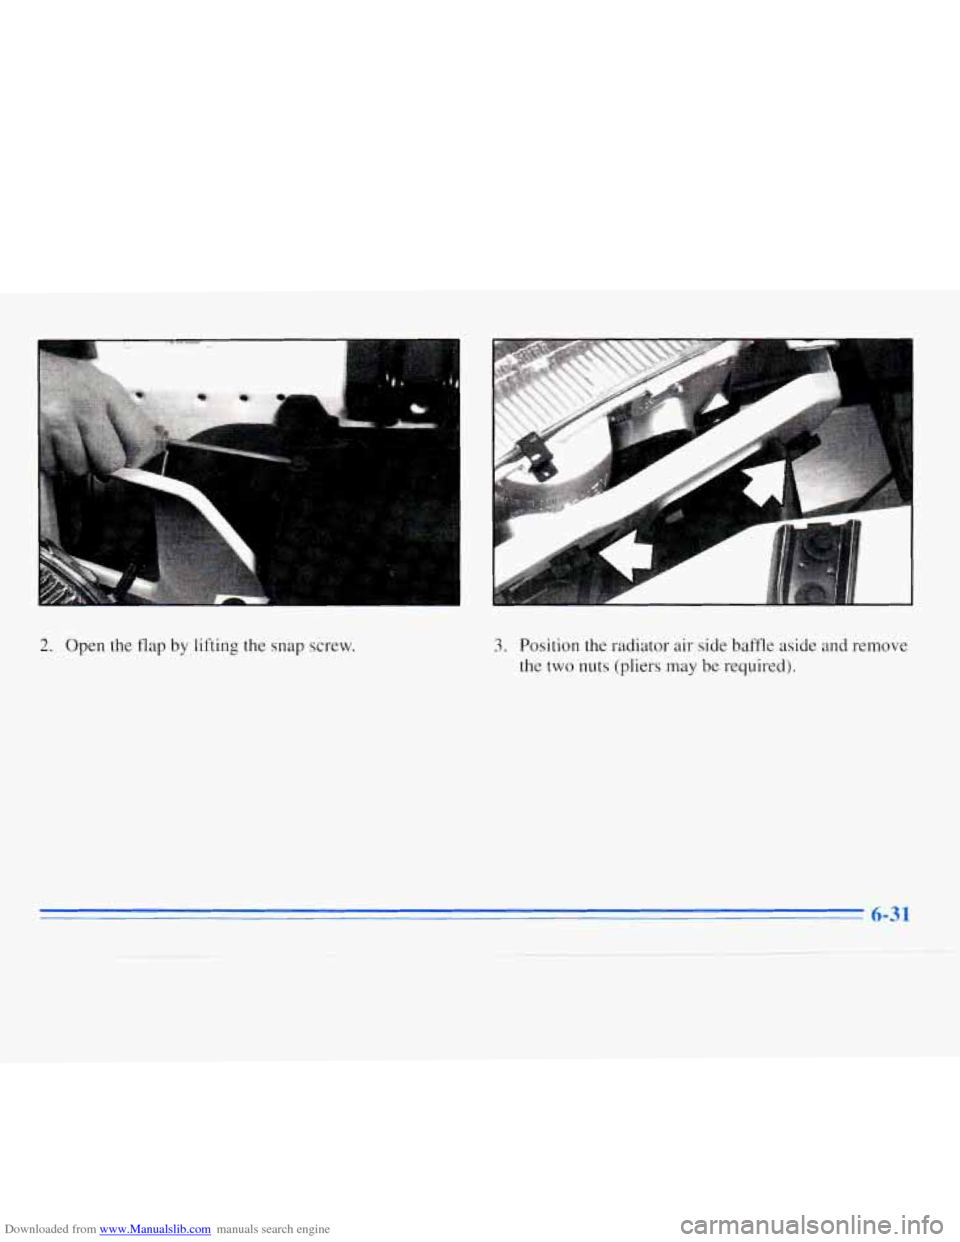
Downloaded from www.Manualslib.com manuals search engine 2. Open the flap by lifting the snap screw. 3. Position the radiator air side baffle aside and remove
the two nuts (pliers
may be required).
Page 240 of 340
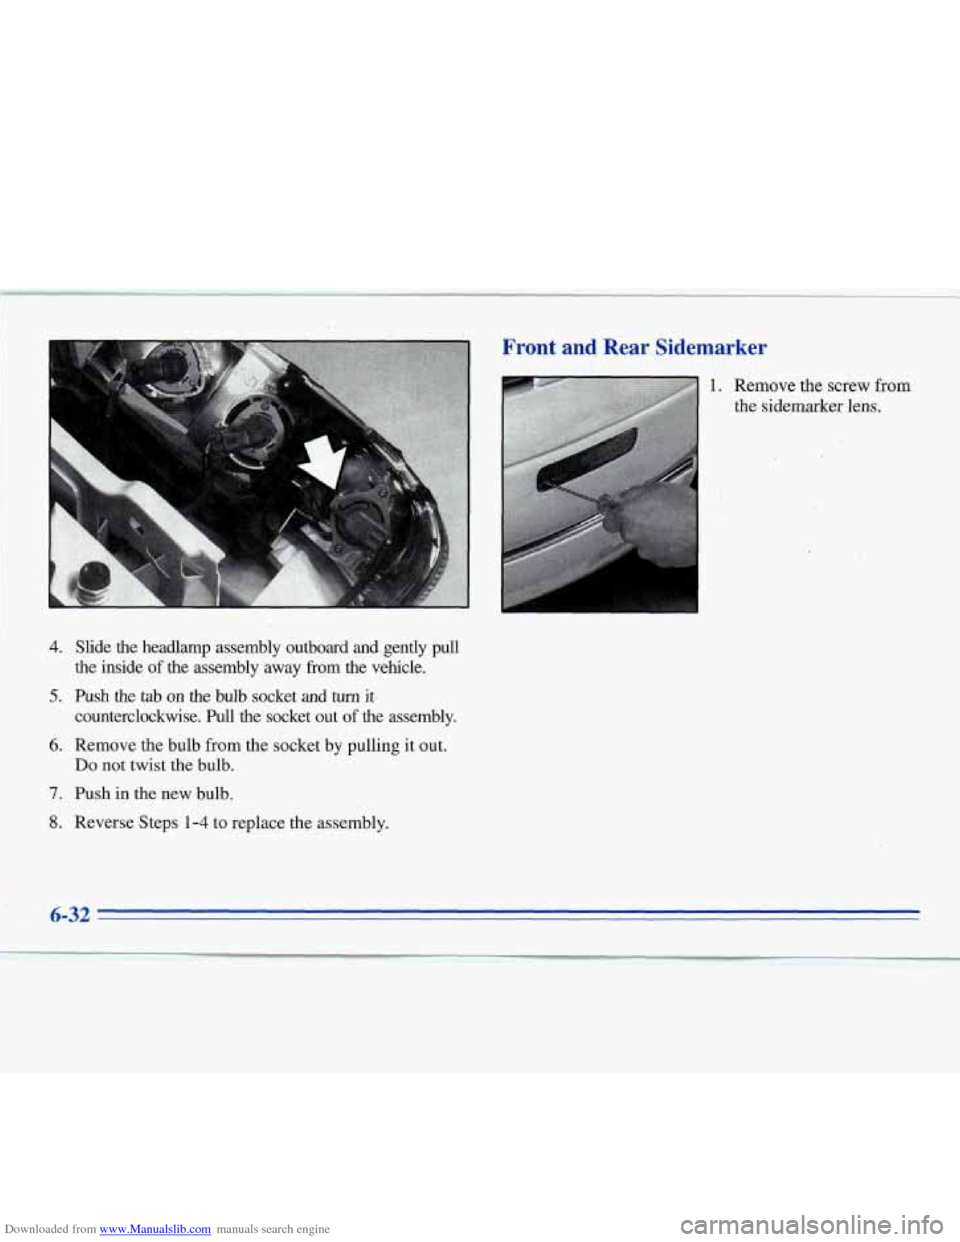
Downloaded from www.Manualslib.com manuals search engine 4. Slide the headlamp assembly outboard and gently pull
the inside
of the assembly away from the vehicle.
5. Push the tab on the bulb socket and turn itj
counterclockwise. Pull the socket out
of the assembly.
Do not twist the bulb.
6. Remove the bulb from the socket by pulling it out.
7. Push in the new bulb.
8. Reverse Steps 1-4 to replace the assembly.
Front and Rear Sidemarker
Front and Rear Sidemarker
1. Remove the screw from
' the sidemarker lens.
1. Remove the screw from
the sidemarker lens.
6-32
Page 242 of 340
Downloaded from www.Manualslib.com manuals search engine 2.
3.
4.
5.
Turn the socket counterclockwise until it stops and
pull the bulb and socket out of the assembly.
Push
in the bulb, turn it counterclockwise and pull it
out of the socket.
Push the new bulb into the socket and turn
it clockwise.
Replace the bulb and socket in the assembly.
Center High-Moun.kd. Stoplamp
(Spoiler-Mounted)
1. Remove the two screws from the stoplamp assembly.
2. Pull the assembly forward out of the spoiler.
3. Remove the three screws from the back of the
stoplamp assembly.
4. Pull the lamp strip out of the stoplamp assembly.
5. Remove the bulb.
6. Install the new bulb and reverse Steps 1-4.
TaiVStop/Turn Signal Lamp
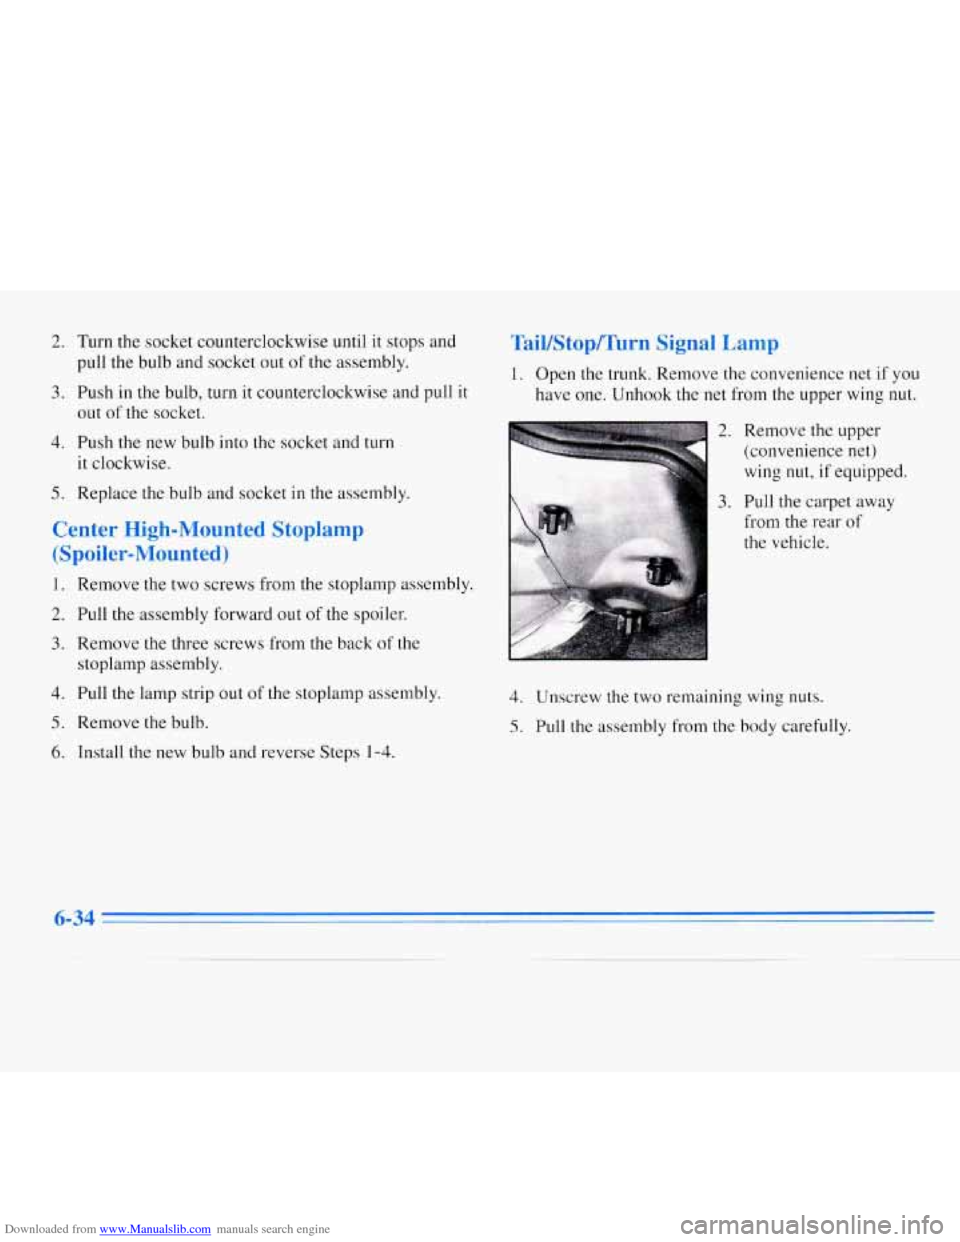
1. Open the trunk. Remove the convenience net if you
have one. Unhook the net from the upper wing
nut.
2.
3.
Remove the upper
(convenience net)
wing
nut, if equipped.
Pull the carpet away
from the rear
of
the vehicle.
4. Unscrew the two remaining wing nuts.
5. Pull the assembly from the body carefully.
6-34
Page 243 of 340
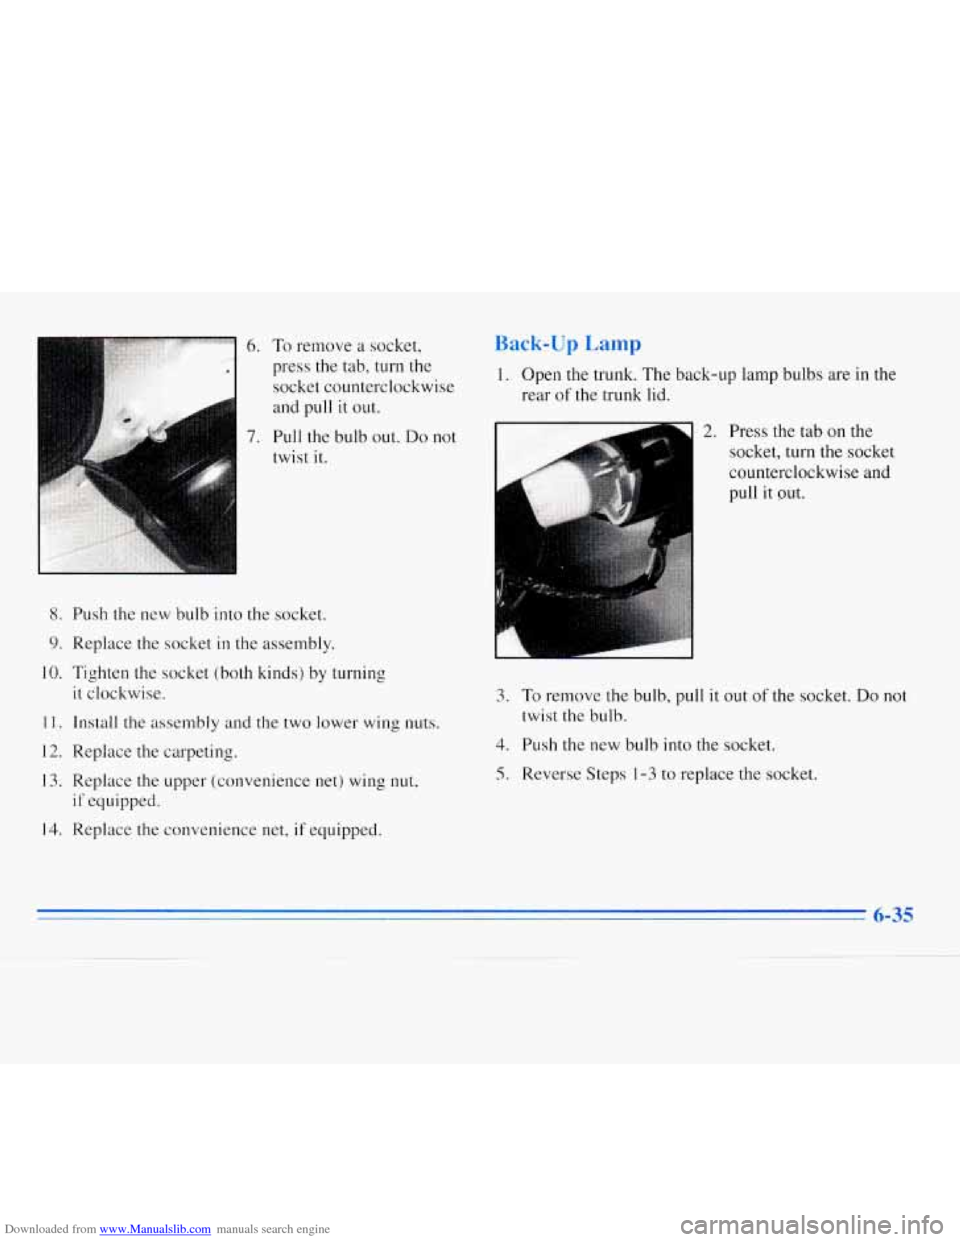
Downloaded from www.Manualslib.com manuals search engine 6. To remove a socket,
press the tab, turn the socket counterclockwise
and pull it out.
7. Pull the bulb out. Do not
twist
it.
8. Push the new bulb into the socket.
9. Replace the socket in the assembly.
10. Tighten the socket (both kinds) by turning
it clockwise.
11. Install the assembly and the two lower wing nuts.
12. Replace the carpeting.
13. Replace the upper (convenience net) wing
nut,
if equipped.
14. Replace the convenience net, if equipped.
Back-up Lamp
1. Open the trunk. The back-up lamp bulbs are in the
rear
of the trunk lid.
2. Press the tab on the
socket, turn the socket
counterclockwise and
pull it out.
3.
To remove the bulb, pull it out of the socket. Do not
twist
the bulb.
4. Push the new bulb into the socket.
5. Reverse Steps 1-3 to replace the socket.
6-35
Page 247 of 340
Downloaded from www.Manualslib.com manuals search engine After the tires have been rotated, adjust the front and
rear inflation pressures as shown on the Tire-Loading
Information label. Make certain that all wheel nuts are properly tightened. See “Wheel Nut Torque” in
I1 the Index.
I
When It’s Time for New Tires
(
Rust or dirt on a wheel, or on the parts to which
it is fastened, can make wheel nuts become loose
after
a time. The wheel could come off and cause
an accident. When you change a wheel, remove
any rust or
dirt from places where the wheel
attaches to the vehicle. In an emergency, you can
use a cloth or a paper towel to do this; but be
sure to use a scraper
or wire brush later, if you
need to, to get all the rust or dirt off. (See
‘(Changing
a Flat Tire? in the Index.)
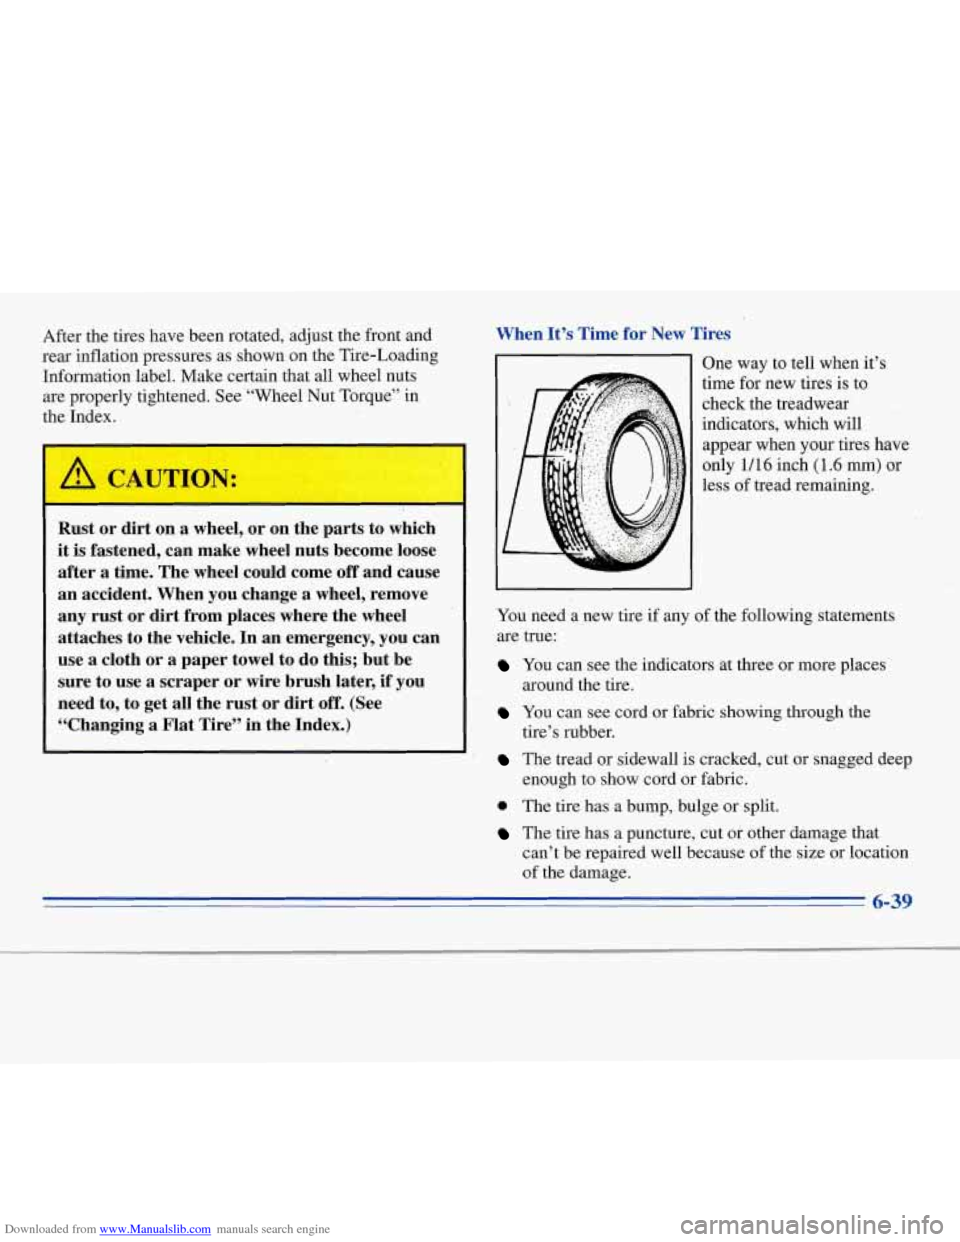
One way to tell when it’s
time for new tires is to
check the treadwear indicators, which will appear when your tires have
only 1/16 inch (1.6
mm) or
less of tread remaining.
You need a new tire if any of the following statements
are true:
You can see the indicators at three or more places
around the tire.
You can see cord or fabric showing through the
tire’s rubber.
The tread or sidewall is cracked, cut or snagged deep
enough to show cord or fabric.
0 The tire has a bump, bulge or split.
The tire has a puncture, cut or other damage that
can’t be repaired well because of the size or location
of the damage.
6-39