clock CHEVROLET MONTE CARLO 2001 6.G Owner's Guide
[x] Cancel search | Manufacturer: CHEVROLET, Model Year: 2001, Model line: MONTE CARLO, Model: CHEVROLET MONTE CARLO 2001 6.GPages: 393, PDF Size: 2.75 MB
Page 282 of 393
5-29
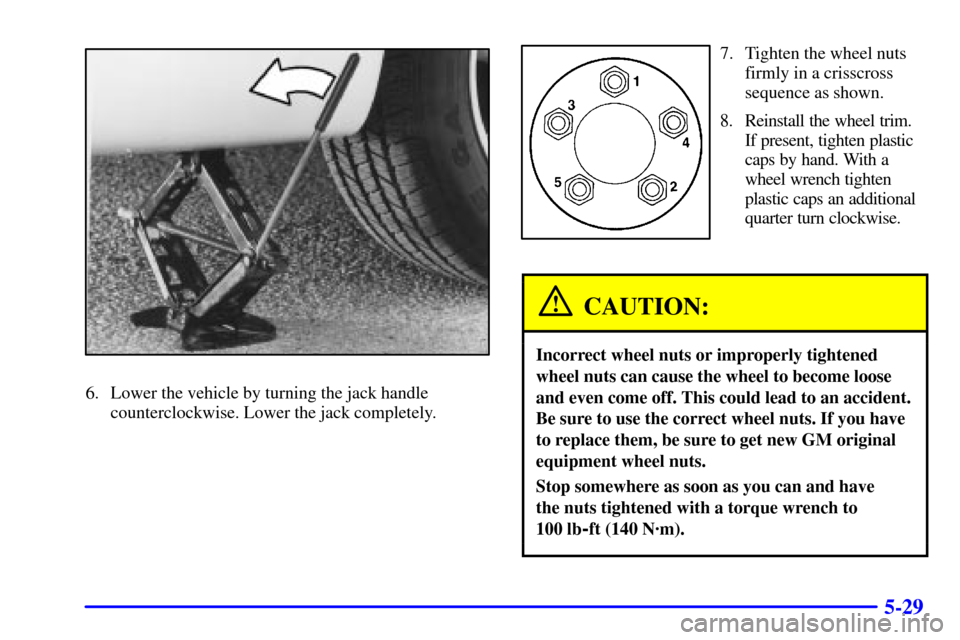
6. Lower the vehicle by turning the jack handle
counterclockwise. Lower the jack completely.
7. Tighten the wheel nuts
firmly in a crisscross
sequence as shown.
8. Reinstall the wheel trim.
If present, tighten plastic
caps by hand. With a
wheel wrench tighten
plastic caps an additional
quarter turn clockwise.
CAUTION:
Incorrect wheel nuts or improperly tightened
wheel nuts can cause the wheel to become loose
and even come off. This could lead to an accident.
Be sure to use the correct wheel nuts. If you have
to replace them, be sure to get new GM original
equipment wheel nuts.
Stop somewhere as soon as you can and have
the nuts tightened with a torque wrench to
100 lb
-ft (140 N´m).
Page 293 of 393
6-6
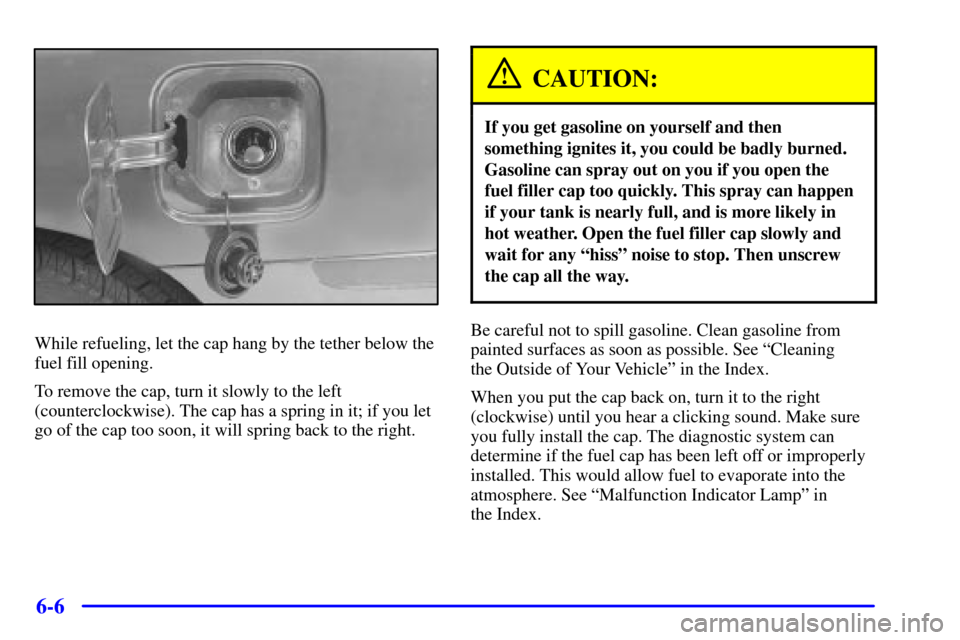
While refueling, let the cap hang by the tether below the
fuel fill opening.
To remove the cap, turn it slowly to the left
(counterclockwise). The cap has a spring in it; if you let
go of the cap too soon, it will spring back to the right.
CAUTION:
If you get gasoline on yourself and then
something ignites it, you could be badly burned.
Gasoline can spray out on you if you open the
fuel filler cap too quickly. This spray can happen
if your tank is nearly full, and is more likely in
hot weather. Open the fuel filler cap slowly and
wait for any ªhissº noise to stop. Then unscrew
the cap all the way.
Be careful not to spill gasoline. Clean gasoline from
painted surfaces as soon as possible. See ªCleaning
the Outside of Your Vehicleº in the Index.
When you put the cap back on, turn it to the right
(clockwise) until you hear a clicking sound. Make sure
you fully install the cap. The diagnostic system can
determine if the fuel cap has been left off or improperly
installed. This would allow fuel to evaporate into the
atmosphere. See ªMalfunction Indicator Lampº in
the Index.
Page 325 of 393
6-38
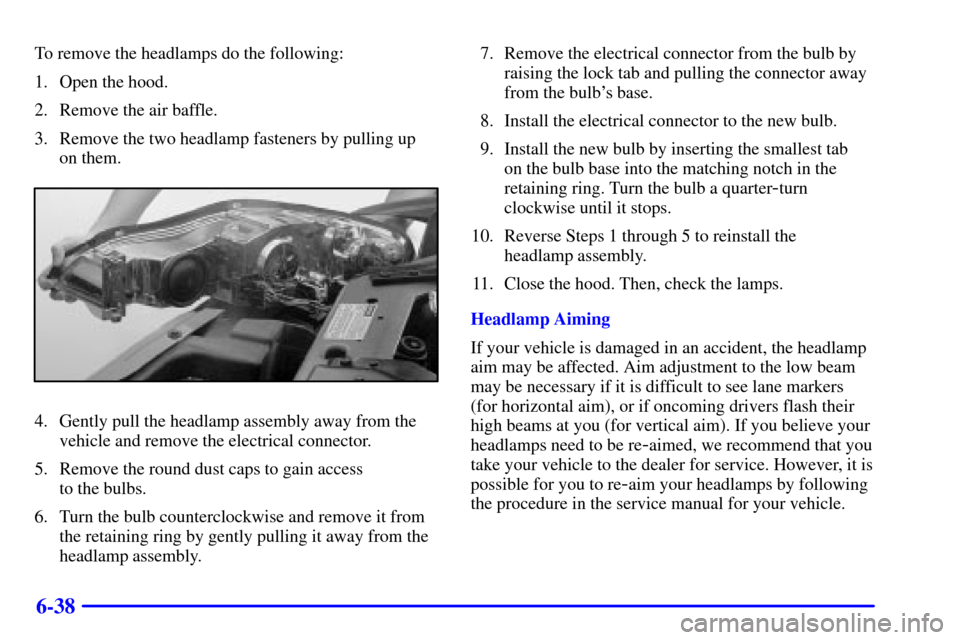
To remove the headlamps do the following:
1. Open the hood.
2. Remove the air baffle.
3. Remove the two headlamp fasteners by pulling up
on them.
4. Gently pull the headlamp assembly away from the
vehicle and remove the electrical connector.
5. Remove the round dust caps to gain access
to the bulbs.
6. Turn the bulb counterclockwise and remove it from
the retaining ring by gently pulling it away from the
headlamp assembly.7. Remove the electrical connector from the bulb by
raising the lock tab and pulling the connector away
from the bulb's base.
8. Install the electrical connector to the new bulb.
9. Install the new bulb by inserting the smallest tab
on the bulb base into the matching notch in the
retaining ring. Turn the bulb a quarter
-turn
clockwise until it stops.
10. Reverse Steps 1 through 5 to reinstall the
headlamp assembly.
11. Close the hood. Then, check the lamps.
Headlamp Aiming
If your vehicle is damaged in an accident, the headlamp
aim may be affected. Aim adjustment to the low beam
may be necessary if it is difficult to see lane markers
(for horizontal aim), or if oncoming drivers flash their
high beams at you (for vertical aim). If you believe your
headlamps need to be re
-aimed, we recommend that you
take your vehicle to the dealer for service. However, it is
possible for you to re
-aim your headlamps by following
the procedure in the service manual for your vehicle.
Page 326 of 393
6-39 Tail/Stop/Turn Signal and Rear
Sidemarker Lamps
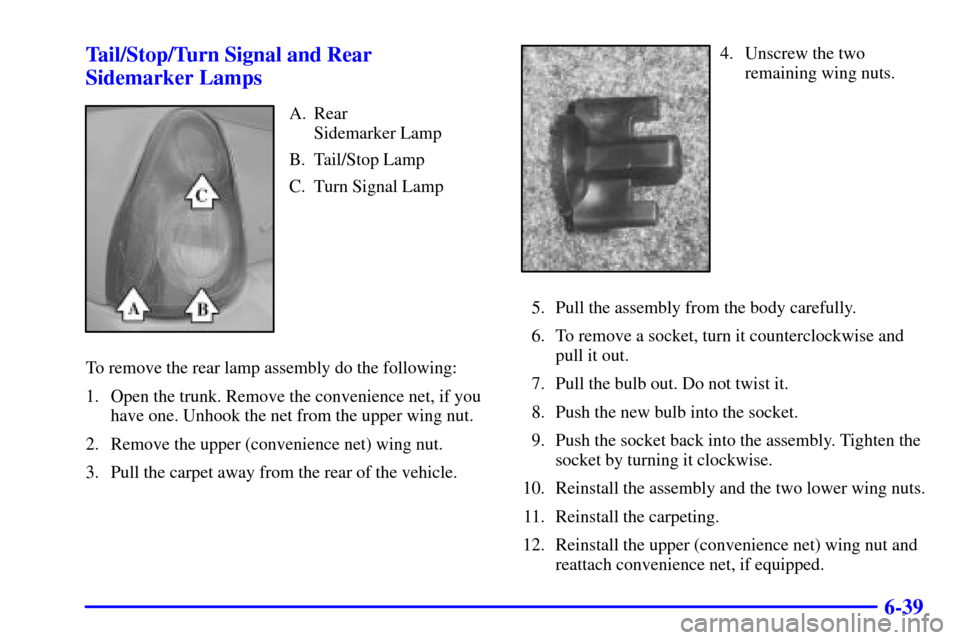
A. Rear
Sidemarker Lamp
B. Tail/Stop Lamp
C. Turn Signal Lamp
To remove the rear lamp assembly do the following:
1. Open the trunk. Remove the convenience net, if you
have one. Unhook the net from the upper wing nut.
2. Remove the upper (convenience net) wing nut.
3. Pull the carpet away from the rear of the vehicle.
4. Unscrew the two
remaining wing nuts.
5. Pull the assembly from the body carefully.
6. To remove a socket, turn it counterclockwise and
pull it out.
7. Pull the bulb out. Do not twist it.
8. Push the new bulb into the socket.
9. Push the socket back into the assembly. Tighten the
socket by turning it clockwise.
10. Reinstall the assembly and the two lower wing nuts.
11. Reinstall the carpeting.
12. Reinstall the upper (convenience net) wing nut and
reattach convenience net, if equipped.
Page 327 of 393
6-40 Back-Up Lamp
The back-up lamps are located in the rear bumper.
To change the back
-up lamp bulbs do the following:
1. Open the trunk.
2. Remove the two screws.
3. Pull the assembly from the body of the vehicle.
4. To remove a socket, turn the socket
counterclockwise and pull it out.
5. Pull the old bulb out. Do not twist it.
6. Push the new bulb into the socket.
7. Push the socket back into the assembly. Tighten the
socket by turning it clockwise.
8. Reinstall the assembly with the two screws.
Windshield Wiper
Blade Replacement
Windshield wiper blades should be inspected at
least twice a year for wear or cracking. See ªWindshield
Wipers, Blade Checkº in the Index for
more information.
Replacement blades come in different types and are
removed in different ways. For proper type and length,
see ªNormal Maintenance Replacement Partsº in the
Index. Here's how to remove the wiper blades:
1. Turn on the wipers to the low wipe setting.
2. Turn off the ignition while the wipers are at the
outer positions of the wiper pattern. The blades are
more accessible for removal/replacement while in
this position.
3. Pull the windshield wiper arm away from
the windshield.