tires CHEVROLET MONTE CARLO 2004 Owners Manual
[x] Cancel search | Manufacturer: CHEVROLET, Model Year: 2004, Model line: MONTE CARLO, Model: CHEVROLET MONTE CARLO 2004Pages: 416, PDF Size: 4.56 MB
Page 1 of 416
Seats and Restraint Systems........................... 1-1
Front Seats
............................................... 1-2
Rear Seats
............................................... 1-8
Safety Belts
.............................................1-10
Child Restraints
.......................................1-29
Air Bag Systems
......................................1-48
Restraint System Check
............................1-57
Features and Controls..................................... 2-1
Keys
........................................................ 2-2
Doors and Locks
....................................... 2-8
Windows
.................................................2-13
Theft-Deterrent Systems
............................2-15
Starting and Operating Your Vehicle
...........2-17
Mirrors
....................................................2-31
OnStar
®System
......................................2-34
HomeLink®Transmitter
.............................2-36
Storage Areas
.........................................2-40
Sunroof
..................................................2-41
Vehicle Personalization
.............................2-42
Instrument Panel............................................. 3-1
Instrument Panel Overview
.......................... 3-4
Climate Controls
......................................3-21
Warning Lights, Gages and Indicators
.........3-28
Message Center
.......................................3-44Driver Information Center (DIC)
..................3-52
Trip Computer
.........................................3-54
Audio System(s)
.......................................3-55
Driving Your Vehicle....................................... 4-1
Your Driving, the Road, and Your Vehicle
..... 4-2
Towing
...................................................4-31
Service and Appearance Care.......................... 5-1
Service
..................................................... 5-3
Fuel
......................................................... 5-4
Checking Things Under
the Hood
.............................................5-10
Headlamp Aiming
.....................................5-60
Bulb Replacement
....................................5-60
Windshield Wiper Blade Replacement
.........5-64
Tires
......................................................5-65
Appearance Care
.....................................5-94
Vehicle Identi�cation
...............................5-102
Electrical System
....................................5-103
Capacities and Speci�cations
...................5-110
Maintenance Schedule..................................... 6-1
Maintenance Schedule
................................ 6-2
Customer Assistance and Information.............. 7-1
Customer Assistance and Information
........... 7-2
Reporting Safety Defects
...........................7-12
Index................................................................ 1
2004 Chevrolet Monte Carlo Owner ManualM
Page 88 of 416

Notice:Driving your vehicle if you notice that it is
moving slowly or not shifting gears as you
increase speed may damage the transaxle. Have
your vehicle serviced right away. You can drive in
SECOND (2) when you are driving less than 35 mph
(55 km/h) and AUTOMATIC OVERDRIVE (D) for
higher speeds until then.
THIRD (3):This position is also used for normal driving,
but it offers more power and lower fuel economy than
AUTOMATIC OVERDRIVE (
X).
Here are some times you might choose THIRD (3)
instead of AUTOMATIC OVERDRIVE (
X):
When driving on hilly, winding roads.
When towing a trailer, so there is less shifting
between gears.
When going down a steep hill.
When driving in non-highway scenarios
(i.e. city streets, etc.).SECOND (2):This position gives you more power than
THIRD (3) but lower fuel economy than THIRD (3). You
can use SECOND (2) on hills. It can help control your
speed as you go down steep mountain roads, but then
you would also want to use your brakes off and on.
Notice:Driving in SECOND (2) for more than
25 miles (40 km) or at speeds over 55 mph (90 km/h)
may damage the transaxle. Also, shifting into
SECOND (2) at speeds above 65 mph (105 km/h) can
cause damage. Drive in THIRD (3) or AUTOMATIC
OVERDRIVE (D) instead of SECOND (2).
FIRST (1):This position gives you even more power
but lower fuel economy than SECOND (2). You can use
it on very steep hills, or in deep snow or mud. If the
shift lever is in FIRST (1), the transaxle won’t shift into
�rst gear until the vehicle is going slowly enough.
Notice:Spinning the tires or holding the vehicle in
one place on a hill using only the accelerator
pedal may damage the transaxle. If you are stuck,
do not spin the tires. When stopping on a hill,
use the brakes to hold the vehicle in place.
2-24
Page 107 of 416

SETTINGS (Display Current Settings)
This displays all current settings.
OIL LIFE (GM Oil Life System Reset)
This feature allows you to reset the GM Oil Life System
Monitor after an oil change. SeeEngine Oil on
page 5-18. Be careful not to reset the OIL LIFE system
at any time other than when the oil has been changed.
To clear the CHANGE ENGINE OIL light from the
instrument panel cluster and reset the oil life system, do
the following:
1. Scroll, using the SEEK PSCAN up or down arrows,
until OIL LIFE appears on the display.
2. Press the 1 PREV or 2 NEXT button to enter the
submenu. RESET will then be displayed.
3. Press the TUNE DISP knob to reset. A chime will
be heard to verify the new setting and DONE will
be displayed for one second.
The CHANGE ENGINE OIL light is now reset. You can
either exit the programming mode by following the
instructions later in this section or program the next
feature available on your vehicle.
TIRE MON (Tire In�ation Monitor Reset)
This feature allows you to reset the tire pressure
monitor after checking all tire pressures. SeeTires on
page 5-65. To clear the LOW TIRE PRESSURE
light from the instrument panel cluster and reset the low
tire pressure monitor, do the following:
1. Scroll, using the SEEK PSCAN up or down arrows,
until TIRE MON appears on the display.
2. Press the 1 PREV or 2 NEXT button to enter the
submenu. RESET will be displayed.
3. Press the TUNE DISP button to reset. A chime will
be heard to verify the new setting and DONE will
be displayed for one second.
The low tire pressure monitor is now reset. You can
either exit the programming mode by following the
instructions later in this section or program the next
feature available on your vehicle.
2-43
Page 153 of 416
Malfunction Indicator Lamp
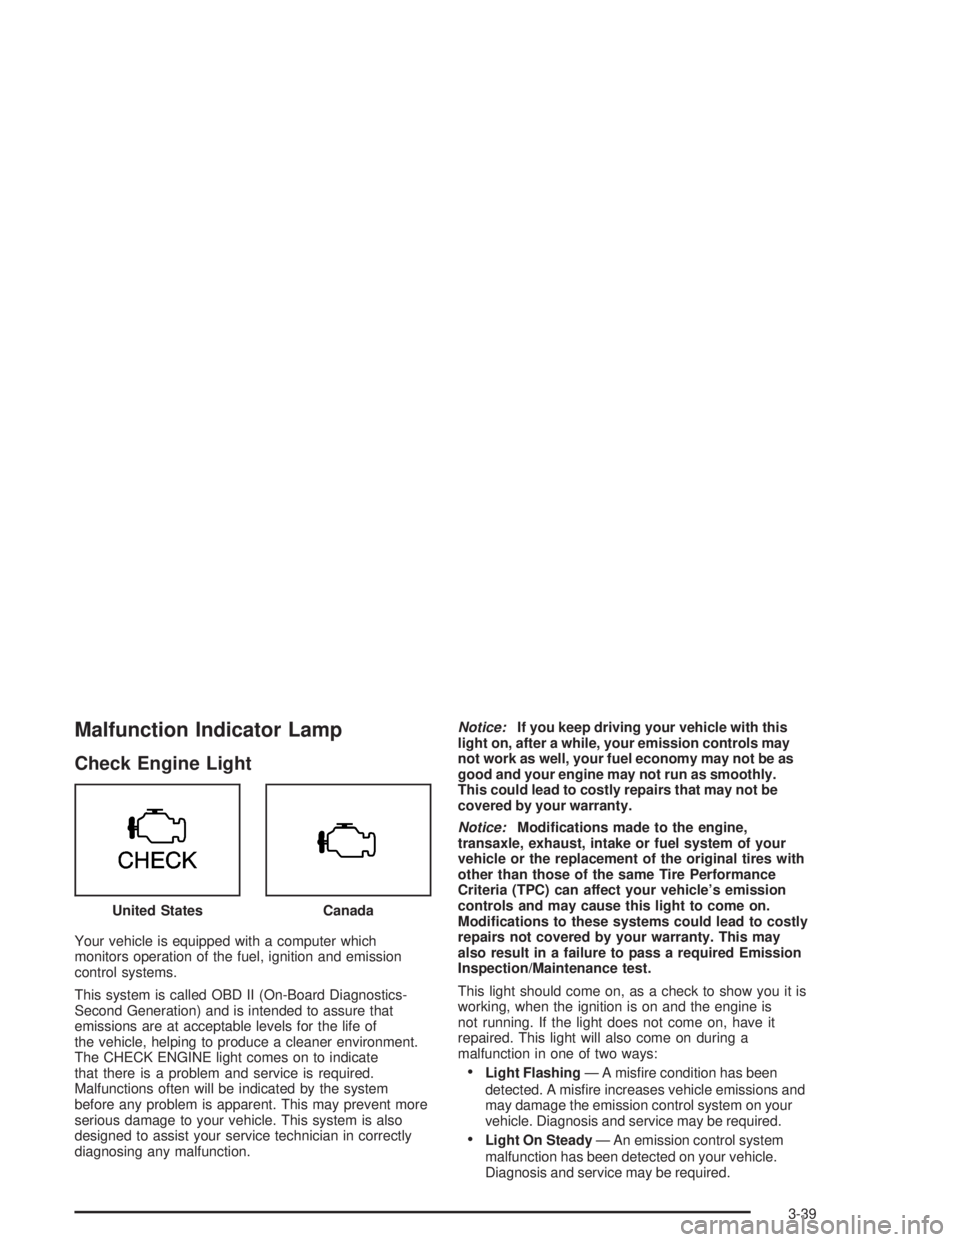
Check Engine Light
Your vehicle is equipped with a computer which
monitors operation of the fuel, ignition and emission
control systems.
This system is called OBD II (On-Board Diagnostics-
Second Generation) and is intended to assure that
emissions are at acceptable levels for the life of
the vehicle, helping to produce a cleaner environment.
The CHECK ENGINE light comes on to indicate
that there is a problem and service is required.
Malfunctions often will be indicated by the system
before any problem is apparent. This may prevent more
serious damage to your vehicle. This system is also
designed to assist your service technician in correctly
diagnosing any malfunction.Notice:If you keep driving your vehicle with this
light on, after a while, your emission controls may
not work as well, your fuel economy may not be as
good and your engine may not run as smoothly.
This could lead to costly repairs that may not be
covered by your warranty.
Notice:Modi�cations made to the engine,
transaxle, exhaust, intake or fuel system of your
vehicle or the replacement of the original tires with
other than those of the same Tire Performance
Criteria (TPC) can affect your vehicle’s emission
controls and may cause this light to come on.
Modi�cations to these systems could lead to costly
repairs not covered by your warranty. This may
also result in a failure to pass a required Emission
Inspection/Maintenance test.
This light should come on, as a check to show you it is
working, when the ignition is on and the engine is
not running. If the light does not come on, have it
repaired. This light will also come on during a
malfunction in one of two ways:
Light Flashing— A mis�re condition has been
detected. A mis�re increases vehicle emissions and
may damage the emission control system on your
vehicle. Diagnosis and service may be required.
Light On Steady— An emission control system
malfunction has been detected on your vehicle.
Diagnosis and service may be required. United States
Canada
3-39
Page 161 of 416
Change Engine Oil Message
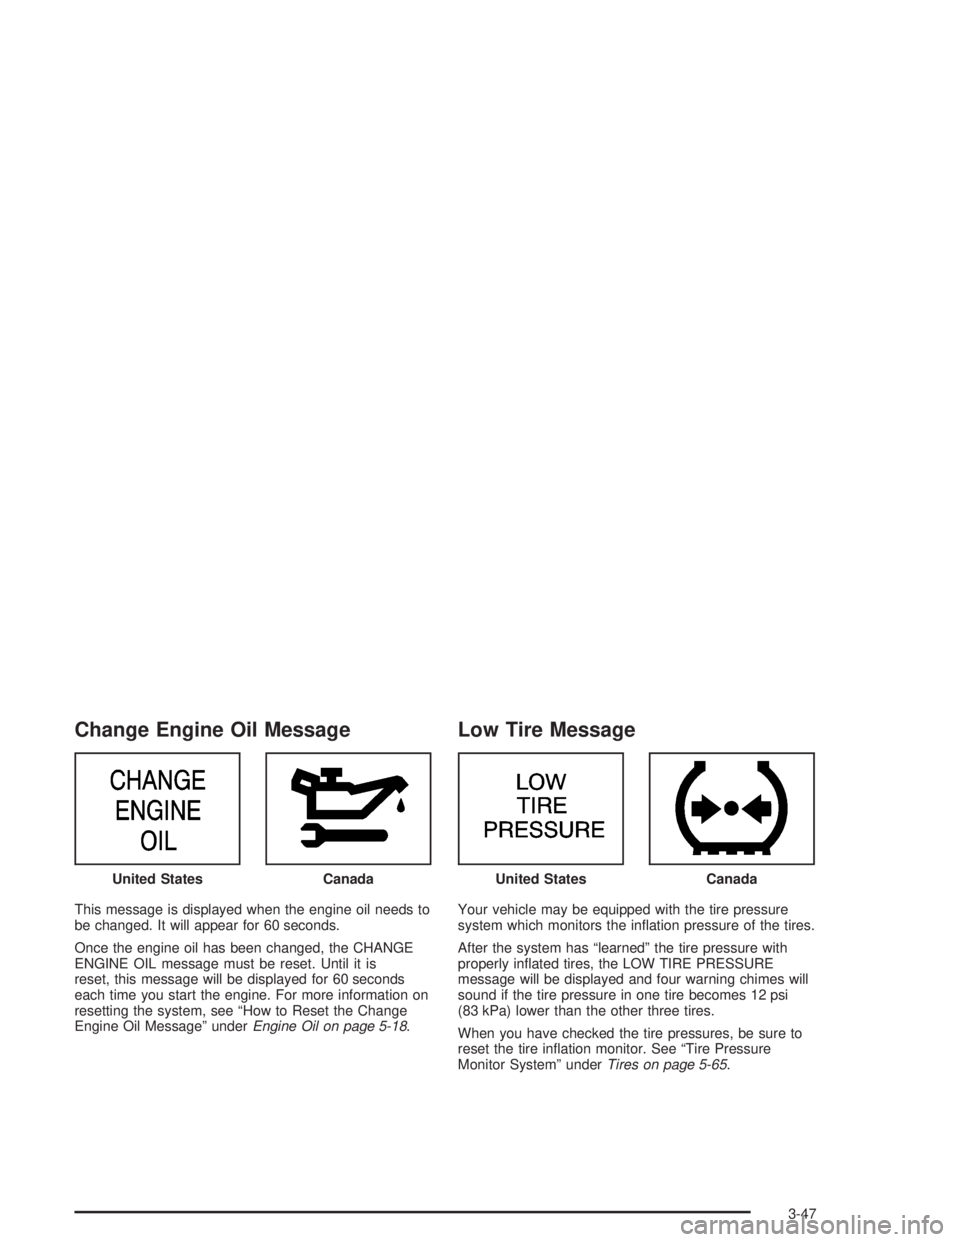
This message is displayed when the engine oil needs to
be changed. It will appear for 60 seconds.
Once the engine oil has been changed, the CHANGE
ENGINE OIL message must be reset. Until it is
reset, this message will be displayed for 60 seconds
each time you start the engine. For more information on
resetting the system, see “How to Reset the Change
Engine Oil Message” underEngine Oil on page 5-18.
Low Tire Message
Your vehicle may be equipped with the tire pressure
system which monitors the in�ation pressure of the tires.
After the system has “learned” the tire pressure with
properly in�ated tires, the LOW TIRE PRESSURE
message will be displayed and four warning chimes will
sound if the tire pressure in one tire becomes 12 psi
(83 kPa) lower than the other three tires.
When you have checked the tire pressures, be sure to
reset the tire in�ation monitor. See “Tire Pressure
Monitor System” underTires on page 5-65. United States
CanadaUnited StatesCanada
3-47
Page 216 of 416
Control of a Vehicle
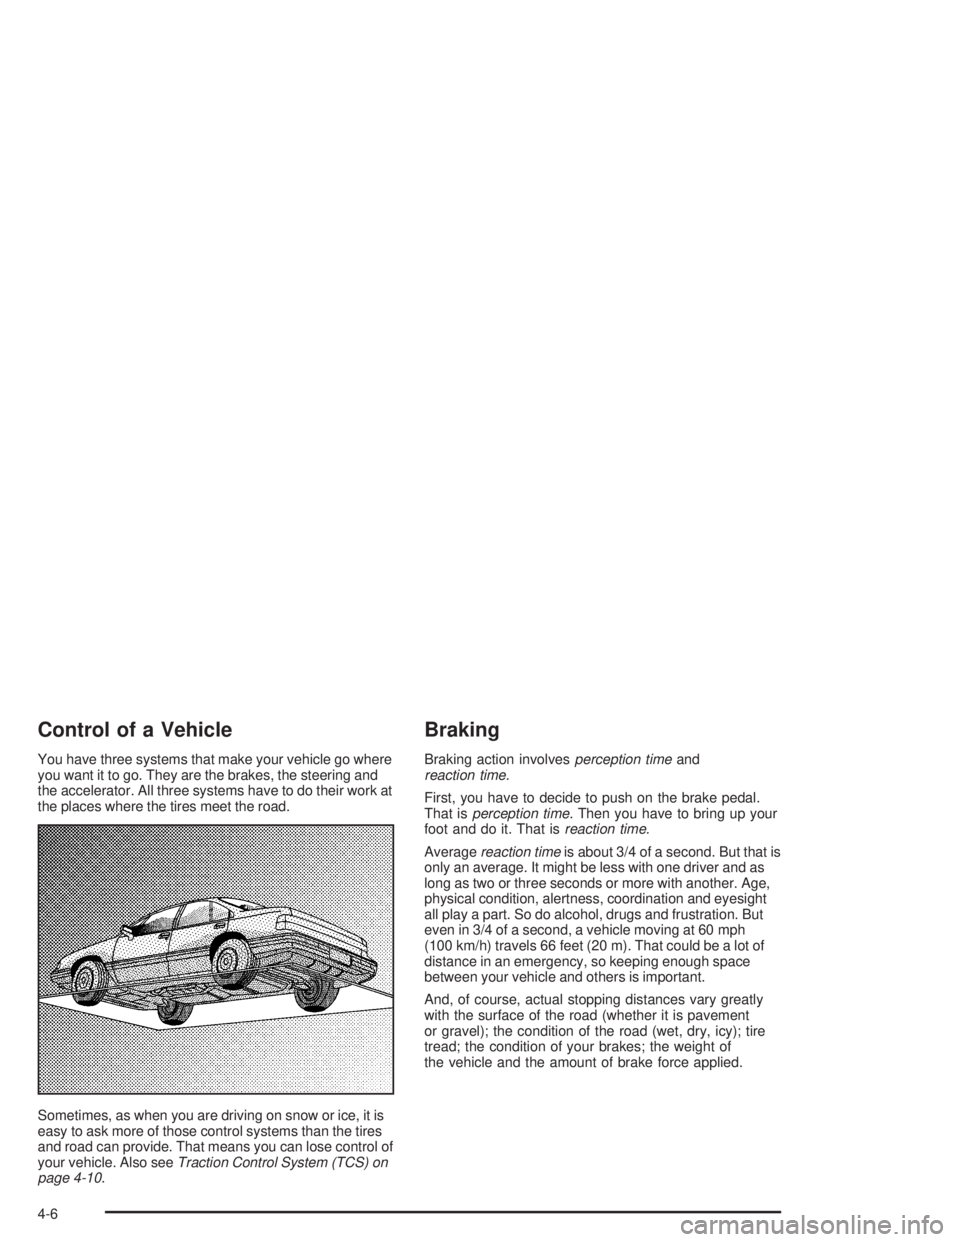
You have three systems that make your vehicle go where
you want it to go. They are the brakes, the steering and
the accelerator. All three systems have to do their work at
the places where the tires meet the road.
Sometimes, as when you are driving on snow or ice, it is
easy to ask more of those control systems than the tires
and road can provide. That means you can lose control of
your vehicle. Also seeTraction Control System (TCS) on
page 4-10.
Braking
Braking action involvesperception timeand
reaction time.
First, you have to decide to push on the brake pedal.
That isperception time.Then you have to bring up your
foot and do it. That isreaction time.
Averagereaction timeis about 3/4 of a second. But that is
only an average. It might be less with one driver and as
long as two or three seconds or more with another. Age,
physical condition, alertness, coordination and eyesight
all play a part. So do alcohol, drugs and frustration. But
even in 3/4 of a second, a vehicle moving at 60 mph
(100 km/h) travels 66 feet (20 m). That could be a lot of
distance in an emergency, so keeping enough space
between your vehicle and others is important.
And, of course, actual stopping distances vary greatly
with the surface of the road (whether it is pavement
or gravel); the condition of the road (wet, dry, icy); tire
tread; the condition of your brakes; the weight of
the vehicle and the amount of brake force applied.
4-6
Page 222 of 416

Steering
Power Steering
If you lose power steering assist because the engine
stops or the system is not functioning, you can steer but
it will take much more effort.
Steering Tips
Driving on Curves
It is important to take curves at a reasonable speed.
A lot of the “driver lost control” accidents mentioned on
the news happen on curves.
Here is why:
Experienced driver or beginner, each of us is subject to
the same laws of physics when driving on curves.
The traction of the tires against the road surface makes
it possible for the vehicle to change its path when
you turn the front wheels. If there is no traction, inertia
will keep the vehicle going in the same direction. If
you have ever tried to steer a vehicle on wet ice, you
will understand this.
The traction you can get in a curve depends on the
condition of your tires and the road surface, the angle at
which the curve is banked, and your speed. While
you are in a curve, speed is the one factor you
can control.Suppose you are steering through a sharp curve.
Then you suddenly apply the brakes. Both control
systems — steering and braking — have to do their work
where the tires meet the road. Unless you have
four-wheel anti-lock brakes, adding the hard braking can
demand too much of those places. You can lose control.
The same thing can happen if you are steering through
a sharp curve and you suddenly accelerate. Those
two control systems — steering and acceleration — can
overwhelm those places where the tires meet the
road and make you lose control.
What should you do if this ever happens? Ease up on
the brake or accelerator pedal, steer the vehicle the way
you want it to go, and slow down.
Speed limit signs near curves warn that you should
adjust your speed. Of course, the posted speeds
are based on good weather and road conditions. Under
less favorable conditions you will want to go slower.
If you need to reduce your speed as you approach
a curve, do it before you enter the curve, while your front
wheels are straight ahead.
Try to adjust your speed so you can “drive” through the
curve. Maintain a reasonable, steady speed. Wait to
accelerate until you are out of the curve, and then
accelerate gently into the straightaway.
4-12
Page 226 of 416
Loss of Control
Let us review what driving experts say about what
happens when the three control systems (brakes,
steering and acceleration) do not have enough friction
where the tires meet the road to do what the driver
has asked.
In any emergency, do not give up. Keep trying to steer
and constantly seek an escape route or area of less
danger.
Skidding
In a skid, a driver can lose control of the vehicle.
Defensive drivers avoid most skids by taking reasonable
care suited to existing conditions, and by not “overdriving”
those conditions. But skids are always possible.
The three types of skids correspond to your vehicle’s
three control systems. In the braking skid, your wheels
are not rolling. In the steering or cornering skid, too much
speed or steering in a curve causes tires to slip and lose
cornering force. And in the acceleration skid, too much
throttle causes the driving wheels to spin.
A cornering skid and an acceleration skid are best
handled by easing your foot off the accelerator pedal.If your vehicle starts to slide, ease your foot off the
accelerator pedal and quickly steer the way you want
the vehicle to go. If you start steering quickly enough,
your vehicle may straighten out. Always be ready
for a second skid if it occurs.
Of course, traction is reduced when water, snow, ice,
gravel or other material is on the road. For safety,
you will want to slow down and adjust your driving to
these conditions. It is important to slow down on slippery
surfaces because stopping distance will be longer and
vehicle control more limited.
While driving on a surface with reduced traction, try
your best to avoid sudden steering, acceleration
or braking (including engine braking by shifting to a
lower gear). Any sudden changes could cause the tires
to slide. You may not realize the surface is slippery
until your vehicle is skidding. Learn to recognize warning
clues — such as enough water, ice or packed snow
on the road to make a “mirrored surface” — and slow
down when you have any doubt.
If you have the anti-lock braking system, remember:
It helps avoid only the braking skid. If you do not have
anti-lock, then in a braking skid (where the wheels
are no longer rolling), release enough pressure on the
brakes to get the wheels rolling again. This restores
steering control. Push the brake pedal down steadily
when you have to stop suddenly. As long as the wheels
are rolling, you will have steering control.
4-16
Page 228 of 416
You can be temporarily blinded by approaching
headlamps. It can take a second or two, or even several
seconds, for your eyes to readjust to the dark. When
you are faced with severe glare (as from a driver
who does not lower the high beams, or a vehicle with
misaimed headlamps), slow down a little. Avoid
staring directly into the approaching headlamps.
Keep your windshield and all the glass on your vehicle
clean — inside and out. Glare at night is made much
worse by dirt on the glass. Even the inside of the glass
can build up a �lm caused by dust. Dirty glass makes
lights dazzle and �ash more than clean glass would,
making the pupils of your eyes contract repeatedly.
Remember that your headlamps light up far less of a
roadway when you are in a turn or curve. Keep
your eyes moving; that way, it is easier to pick out dimly
lighted objects. Just as your headlamps should be
checked regularly for proper aim, so should your eyes
be examined regularly. Some drivers suffer from
night blindness — the inability to see in dim light — and
are not even aware of it.Driving in Rain and on Wet Roads
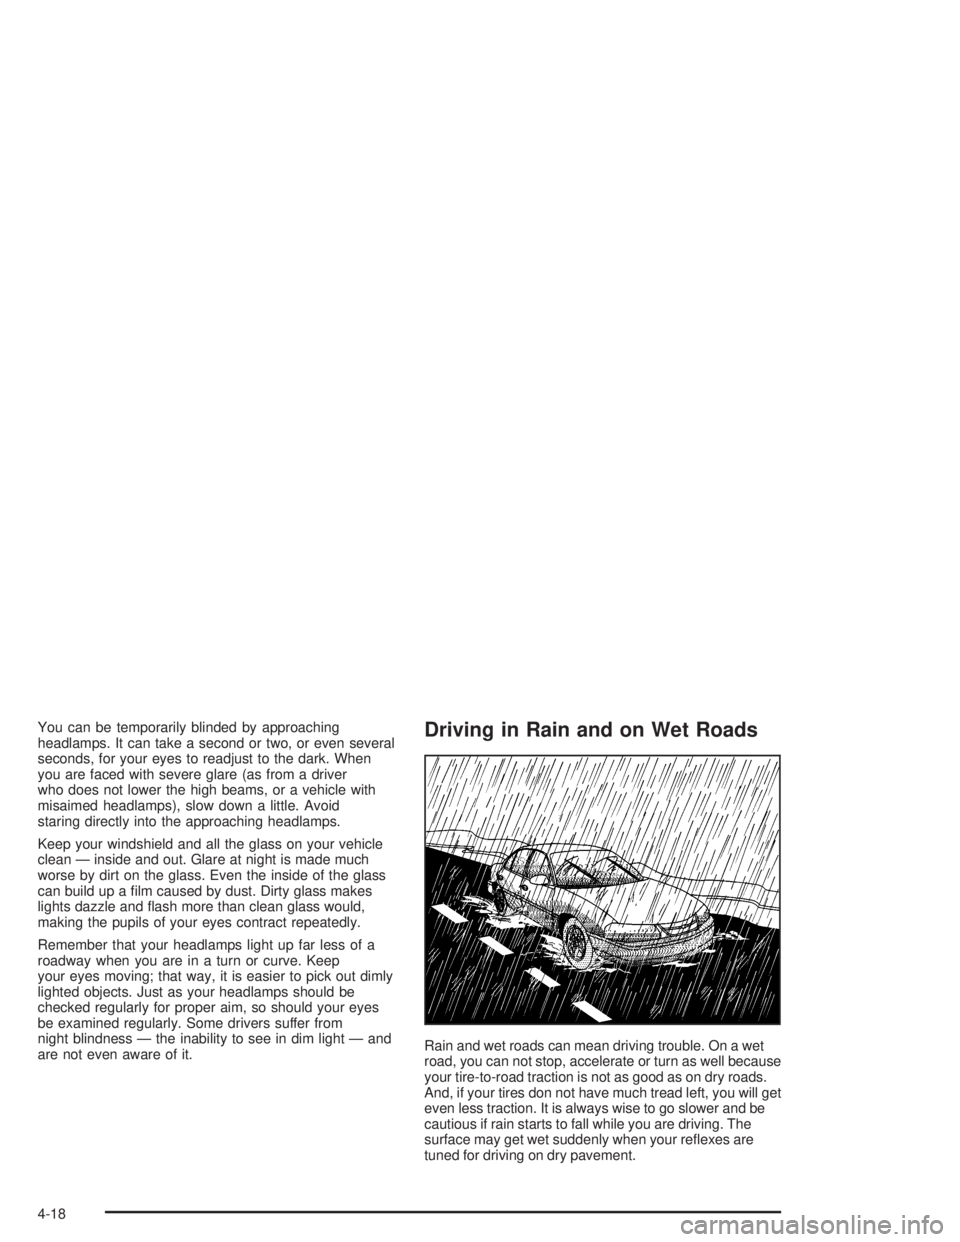
Rain and wet roads can mean driving trouble. On a wet
road, you can not stop, accelerate or turn as well because
your tire-to-road traction is not as good as on dry roads.
And, if your tires don not have much tread left, you will get
even less traction. It is always wise to go slower and be
cautious if rain starts to fall while you are driving. The
surface may get wet suddenly when your re�exes are
tuned for driving on dry pavement.
4-18
Page 230 of 416
Hydroplaning
Hydroplaning is dangerous. So much water can build up
under your tires that they can actually ride on the
water. This can happen if the road is wet enough and
you are going fast enough. When your vehicle is
hydroplaning, it has little or no contact with the road.
Hydroplaning does not happen often. But it can if your
tires do not have much tread or if the pressure in
one or more is low. It can happen if a lot of water is
standing on the road. If you can see re�ections
from trees, telephone poles or other vehicles, and
raindrops “dimple” the water’s surface, there could be
hydroplaning.
Hydroplaning usually happens at higher speeds. There
just is not a hard and fast rule about hydroplaning.
The best advice is to slow down when it is raining.
Driving Through Deep Standing Water
Notice:If you drive too quickly through deep
puddles or standing water, water can come in
through your engine’s air intake and badly damage
your engine. Never drive through water that is
slightly lower than the underbody of your vehicle.
If you can not avoid deep puddles or standing water,
drive through them very slowly.
Driving Through Flowing Water
{CAUTION:
Flowing or rushing water creates strong forces.
If you try to drive through �owing water, as you
might at a low water crossing, your vehicle can
be carried away. As little as six inches of
�owing water can carry away a smaller vehicle.
If this happens, you and other vehicle
occupants could drown. Do not ignore police
warning signs, and otherwise be very cautious
about trying to drive through �owing water.
Some Other Rainy Weather Tips
Besides slowing down, allow some extra following
distance. And be especially careful when you pass
another vehicle. Allow yourself more clear room
ahead, and be prepared to have your view restricted
by road spray.
Have good tires with proper tread depth. SeeTires
on page 5-65.
4-20