adding CHEVROLET ORLANDO 2017 User Guide
[x] Cancel search | Manufacturer: CHEVROLET, Model Year: 2017, Model line: ORLANDO, Model: CHEVROLET ORLANDO 2017Pages: 372, PDF Size: 6.71 MB
Page 239 of 372

Black plate (11,1)Chevrolet Orlando Owner Manual - 2013 - CRC - 6/5/12
Vehicle Care 10-11
service manual, seeService
Publications Ordering Information
on page 13‑11.
Change the fluid and filter at the
intervals listed in Maintenance
Schedule on page 11‑2, and be sure
to use the fluid listed in
Recommended Fluids and
Lubricants on page 11‑12.
Manual Transmission
Fluid
How to Check Manual
Transmission Fluid
It is not necessary to check the
manual transmission fluid level.
A transmission fluid leak is the only
reason for fluid loss. If a leak
occurs, take the vehicle to your
dealer and have it repaired as soon
as possible. See Recommended
Fluids and Lubricants on page 11‑12
for the proper fluid to use.
Hydraulic Clutch
For vehicles with a manual
transmission, it is not necessary to
regularly check brake/clutch fluid
unless there is a leak suspected.
Adding fluid will not correct a leak.
A fluid loss in this system could
indicate a problem. Have the
system inspected and repaired.
When to Check and What
to Use
The brake/hydraulic clutch fluid
reservoir cap has this symbol on it.
The common brake/clutch fluid
reservoir is filled with DOT 4 brake
fluid as indicated on the reservoir
cap. See Engine Compartment
Overview on page 10‑6 for reservoir
location.
How to Check and Add Fluid
Visually check the brake/clutch fluid
reservoir to make sure the fluid level
is at the MIN (minimum) line on the
side of the reservoir. The brake/
hydraulic clutch fluid system should
be closed and sealed.
Do not remove the cap to check the
fluid level or to top-off the fluid level.
Remove the cap only when
necessary to add the proper fluid
until the level reaches the MIN line.
Engine Air Cleaner/Filter
See Engine Compartment Overview
on page 10‑6 for the location of the
engine air cleaner/filter.
When to Inspect the Engine Air
Cleaner/Filter
Inspect or replace the air cleaner/
filter at the scheduled maintenance
intervals. See Maintenance
Schedule on page 11‑2 for more
information. If driving in dusty/dirty
conditions, inspect the filter at each
engine oil change.
Page 242 of 372
Black plate (14,1)Chevrolet Orlando Owner Manual - 2013 - CRC - 6/5/12
10-14 Vehicle Care
The following explains the cooling
system and how to check and add
coolant when it is low. If there is a
problem with engine overheating,
seeEngine Overheating on
page 10‑17.
What to Use
{WARNING
Adding only plain water or some
other liquid to the cooling system
can be dangerous. Plain water
and other liquids, can boil before
the proper coolant mixture will.
The coolant warning system is set
for the proper coolant mixture.
With plain water or the wrong
mixture, the engine could get too
hot but you would not get the
overheat warning. The engine
could catch fire and you or
others could be burned. Use a
50/50 mixture of clean, drinkable
water and DEX-COOL coolant. Use a 50/50 mixture of clean,
drinkable water and DEX-COOL
coolant. If using this mixture,
nothing else needs to be added.
This mixture:
.Gives freezing protection down
to
−37°C (−34°F), outside
temperature.
.Gives boiling protection up to
129°C (265°F), engine
temperature.
.Protects against rust and
corrosion.
.Will not damage aluminum parts.
.Helps keep the proper engine
temperature.
Notice: If an improper coolant
mixture is used, the engine could
overheat and be badly damaged.
The repair cost would not be
covered by the vehicle warranty.
Too much water in the mixture
can freeze and crack the engine,
radiator, heater core, and other
parts. Never dispose of engine coolant by
putting it in the trash, pouring it on
the ground, or into sewers, streams,
or bodies of water. Have the coolant
changed by an authorized service
center, familiar with legal
requirements regarding used
coolant disposal. This will help
protect the environment and your
health.
Checking Coolant
The vehicle must be on a level
surface when checking the coolant
level.
Check to see if coolant is visible in
the coolant surge tank. If the coolant
inside the coolant surge tank is
boiling, do not do anything else until
it cools down. If coolant is visible
but the coolant level is not at or
above the COLD FILL line, add a
50/50 mixture of clean, drinkable
water and DEX-COOL coolant at the
coolant surge tank, but be sure the
cooling system is cool before this is
done. See
Cooling System on
page 10‑13.
Page 243 of 372
Black plate (15,1)Chevrolet Orlando Owner Manual - 2013 - CRC - 6/5/12
Vehicle Care 10-15
The coolant surge tank is in the
engine compartment on the driver
side of the vehicle. SeeEngine
Compartment Overview on
page 10‑6.
How to Add Coolant to the
Coolant Surge Tank
Notice: This vehicle has a
specific coolant fill procedure.
Failure to follow this procedure
could cause the engine to
overheat and be severely
damaged.
If you have not found a problem
yet, check to see if coolant is visible
in the coolant surge tank. If coolant
is visible but the coolant level is
not at the COLD FILL line, add a
50/50 mixture of clean, drinkable
water and DEX-COOL coolant at the
coolant surge tank, but be sure the
cooling system, including the
coolant surge tank pressure cap, is
cool before you do it. See Engine
Overheating on page 10‑17.
{WARNING
Steam and scalding liquids from a
hot cooling system can blow out
and burn you badly. They are
under pressure, and if you turn
the coolant surge tank pressure
cap —even a little —they can
come out at high speed. Never
turn the cap when the cooling
system, including the coolant
surge tank pressure cap, is hot.
Wait for the cooling system and
coolant surge tank pressure cap
to cool if you ever have to turn
the pressure cap.
{WARNING
Adding only plain water or some
other liquid to the cooling system
can be dangerous. Plain water
and other liquids, can boil before
the proper coolant mixture will.
(Continued)
WARNING (Continued)
The coolant warning system is set
for the proper coolant mixture.
With plain water or the wrong
mixture, the engine could get too
hot but you would not get the
overheat warning. The engine
could catch fire and you or others
could be burned. Use a 50/
50 mixture of clean, drinkable
water and DEX-COOL coolant.
{WARNING
You can be burned if you spill
coolant on hot engine parts.
Coolant contains ethylene glycol
and it will burn if the engine parts
are hot enough. Do not spill
coolant on a hot engine.
Page 246 of 372

Black plate (18,1)Chevrolet Orlando Owner Manual - 2013 - CRC - 6/5/12
10-18 Vehicle Care
3. In heavy traffic, let the engineidle in N (Neutral) while stopped.
If it is safe to do so, pull off the
road, shift to P (Park) or
N (Neutral) and let the
engine idle.
If the engine coolant temperature
gauge is no longer in the overheat
zone, the vehicle can be driven.
Continue to drive the vehicle slowly
for about 10 minutes. Keep a safe
vehicle distance from the vehicle in
front. If the engine coolant
temperature gauge does not go into
the overheat zone, continue to drive
normally.
If the engine coolant temperature
gauge is still in the overheat zone,
pull over, stop, and park the vehicle
right away.
If there is no sign of steam, idle the
engine for three minutes while
parked. If the engine coolant
temperature gauge is still in the
overheat zone, turn off the engine
until it cools down.Washer Fluid
What to Use
Read the manufacturer's
instructions before refilling the
windshield washer fluid. If operating
the vehicle in an area where the
temperature may fall below freezing,
use a fluid that has sufficient
protection against freezing.
Adding Washer Fluid
Open the cap with the washer
symbol on it and add washer fluid
until full. See Engine Compartment
Overview on page 10‑6 for reservoir
location. Notice
.When using concentrated
washer fluid, follow the
manufacturer instructions for
adding water.
.Do not mix water with
ready-to-use washer fluid.
Water can cause the solution
to freeze and damage the
washer fluid tank and other
parts of the washer system.
.Fill the washer fluid tank only
three-quarters full when it is
very cold. This allows for
fluid expansion if freezing
occurs, which could damage
the tank if it is
completely full.
.Do not use engine coolant
(antifreeze) in the windshield
washer. It can damage the
windshield washer system
and paint.
Page 248 of 372
Black plate (20,1)Chevrolet Orlando Owner Manual - 2013 - CRC - 6/5/12
10-20 Vehicle Care
Brake Fluid
The brake master cylinder and, on
manual transmission vehicles, the
clutch hydraulic system use the
same reservoir. SeeEngine
Compartment Overview on
page 10‑6 for the location of the
reservoir. The reservoir is filled with
DOT 4 brake fluid.
There are only two reasons why the
brake fluid level in the reservoir
might go down:
.The brake fluid level goes down
because of normal brake lining
wear. When new linings are
installed, the fluid level goes
back up.
.A fluid leak in the brake/clutch
hydraulic system can also cause
a low fluid level. Have the brake/ clutch hydraulic system fixed,
since a leak means that sooner
or later the brakes will not
work well.
Do not top off the brake/clutch fluid.
Adding fluid does not correct a leak.
If fluid is added when the linings are
worn, there will be too much fluid
when new brake linings are
installed. Add or remove fluid, as
necessary, only when work is done
on the brake/clutch hydraulic
system.
{WARNING
If too much brake fluid is added, it
can spill on the engine and burn,
if the engine is hot enough. You
or others could be burned, and
the vehicle could be damaged.
Add brake fluid only when work is
done on the brake/clutch
hydraulic system.
Checking Brake Fluid
The brake/clutch fluid can be
checked without taking off the cap
by looking at the brake/clutch fluid
reservoir.
The fluid level should be above
MIN. If it is not, have the brake/
clutch hydraulic system checked to
see if there is a leak.
After work is done on the brake/
clutch hydraulic system, make sure
the level is above MIN but not over
the MAX mark.
When the brake/clutch fluid falls to a
low level, the brake warning light
comes on. See Brake System
Warning Light on page 5‑14.
What to Add
Use only new DOT 4 brake fluid
from a sealed container. It is
recommended that the brake/clutch
hydraulic system be flushed and
refilled with new DOT 4 fluid at a
regular maintenance service every
Page 332 of 372
Black plate (2,1)Chevrolet Orlando Owner Manual - 2013 - CRC - 6/5/12
12-2 Technical Data
Vehicle Data
Capacities and Specifications
The following approximate capacities are given in metric and English conversions. SeeRecommended Fluids and
Lubricants on page 11‑12 for more information.
Application Capacities
Metric English
Air Conditioning Refrigerant R134a For the air conditioning system refrigerant charge amount, see the refrigerant label located under thehood. See your dealer for more information.
Cooling System 7.1 L 7.5 qt
Engine Oil with Filter 4.7 L 5.0 qt
Fuel Tank 66.5 L 17.6 gal
Automatic Transmission Fluid 5.0 L 5.3 qt
Wheel Nut Torque 140 Y100 lb ft
All capacities are approximate. When adding, be sure to fill to the approximate level, as recommended in this
manual. Recheck fluid level after filling.
Engine Specifications
Engine VIN CodeTransmission Spark Plug Gap
2.4L L4 TAutomatic and Manual .9 mm (0.035 in)
Page 361 of 372
Black plate (1,1)Chevrolet Orlando Owner Manual - 2013 - CRC - 6/5/12
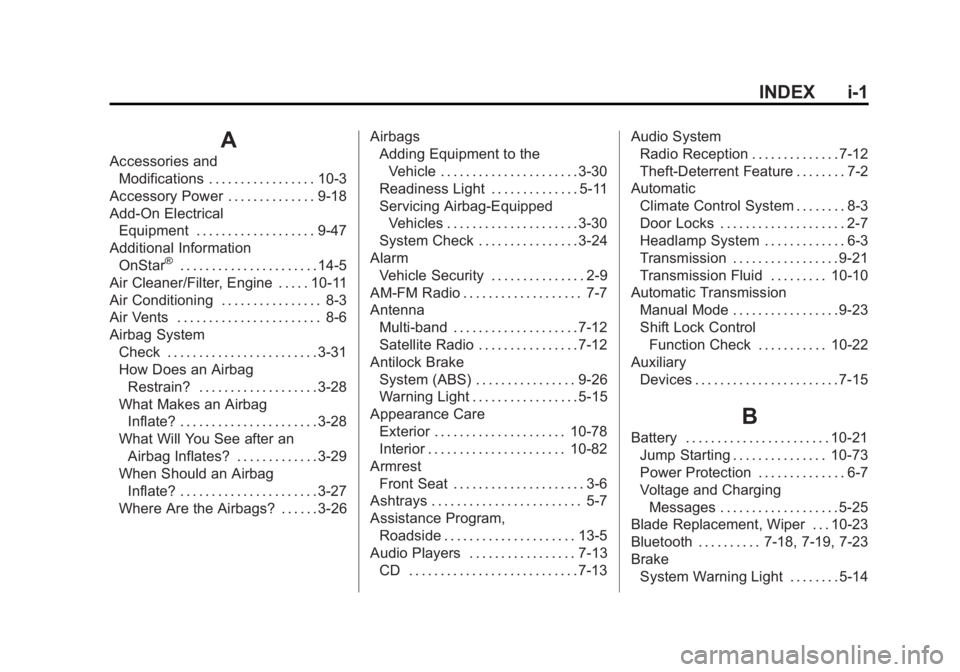
INDEX i-1
A
Accessories andModifications . . . . . . . . . . . . . . . . . 10-3
Accessory Power . . . . . . . . . . . . . . 9-18
Add-On Electrical Equipment . . . . . . . . . . . . . . . . . . . 9-47
Additional Information
OnStar
®. . . . . . . . . . . . . . . . . . . . . . 14-5
Air Cleaner/Filter, Engine . . . . . 10-11
Air Conditioning . . . . . . . . . . . . . . . . 8-3
Air Vents . . . . . . . . . . . . . . . . . . . . . . . 8-6
Airbag System Check . . . . . . . . . . . . . . . . . . . . . . . . 3-31
How Does an AirbagRestrain? . . . . . . . . . . . . . . . . . . . 3-28
What Makes an Airbag
Inflate? . . . . . . . . . . . . . . . . . . . . . . 3-28
What Will You See after an Airbag Inflates? . . . . . . . . . . . . . 3-29
When Should an Airbag
Inflate? . . . . . . . . . . . . . . . . . . . . . . 3-27
Where Are the Airbags? . . . . . . 3-26 Airbags
Adding Equipment to the
Vehicle . . . . . . . . . . . . . . . . . . . . . . 3-30
Readiness Light . . . . . . . . . . . . . . 5-11
Servicing Airbag-Equipped Vehicles . . . . . . . . . . . . . . . . . . . . . 3-30
System Check . . . . . . . . . . . . . . . . 3-24
Alarm Vehicle Security . . . . . . . . . . . . . . . 2-9
AM-FM Radio . . . . . . . . . . . . . . . . . . . 7-7
Antenna Multi-band . . . . . . . . . . . . . . . . . . . . 7-12
Satellite Radio . . . . . . . . . . . . . . . . 7-12
Antilock Brake System (ABS) . . . . . . . . . . . . . . . . 9-26
Warning Light . . . . . . . . . . . . . . . . . 5-15
Appearance Care Exterior . . . . . . . . . . . . . . . . . . . . . 10-78
Interior . . . . . . . . . . . . . . . . . . . . . . 10-82
Armrest Front Seat . . . . . . . . . . . . . . . . . . . . . 3-6
Ashtrays . . . . . . . . . . . . . . . . . . . . . . . . 5-7
Assistance Program, Roadside . . . . . . . . . . . . . . . . . . . . . 13-5
Audio Players . . . . . . . . . . . . . . . . . 7-13
CD . . . . . . . . . . . . . . . . . . . . . . . . . . . 7-13 Audio System
Radio Reception . . . . . . . . . . . . . . 7-12
Theft-Deterrent Feature . . . . . . . . 7-2
Automatic Climate Control System . . . . . . . . 8-3
Door Locks . . . . . . . . . . . . . . . . . . . . 2-7
Headlamp System . . . . . . . . . . . . . 6-3
Transmission . . . . . . . . . . . . . . . . . 9-21
Transmission Fluid . . . . . . . . . 10-10
Automatic Transmission Manual Mode . . . . . . . . . . . . . . . . . 9-23
Shift Lock Control
Function Check . . . . . . . . . . . 10-22
Auxiliary Devices . . . . . . . . . . . . . . . . . . . . . . . 7-15
B
Battery . . . . . . . . . . . . . . . . . . . . . . . 10-21Jump Starting . . . . . . . . . . . . . . . 10-73
Power Protection . . . . . . . . . . . . . . 6-7
Voltage and ChargingMessages . . . . . . . . . . . . . . . . . . . 5-25
Blade Replacement, Wiper . . . 10-23
Bluetooth . . . . . . . . . . 7-18, 7-19, 7-23
Brake
System Warning Light . . . . . . . . 5-14