fuel CHEVROLET S10 1994 2.G Owners Manual
[x] Cancel search | Manufacturer: CHEVROLET, Model Year: 1994, Model line: S10, Model: CHEVROLET S10 1994 2.GPages: 340, PDF Size: 18.45 MB
Page 11 of 340
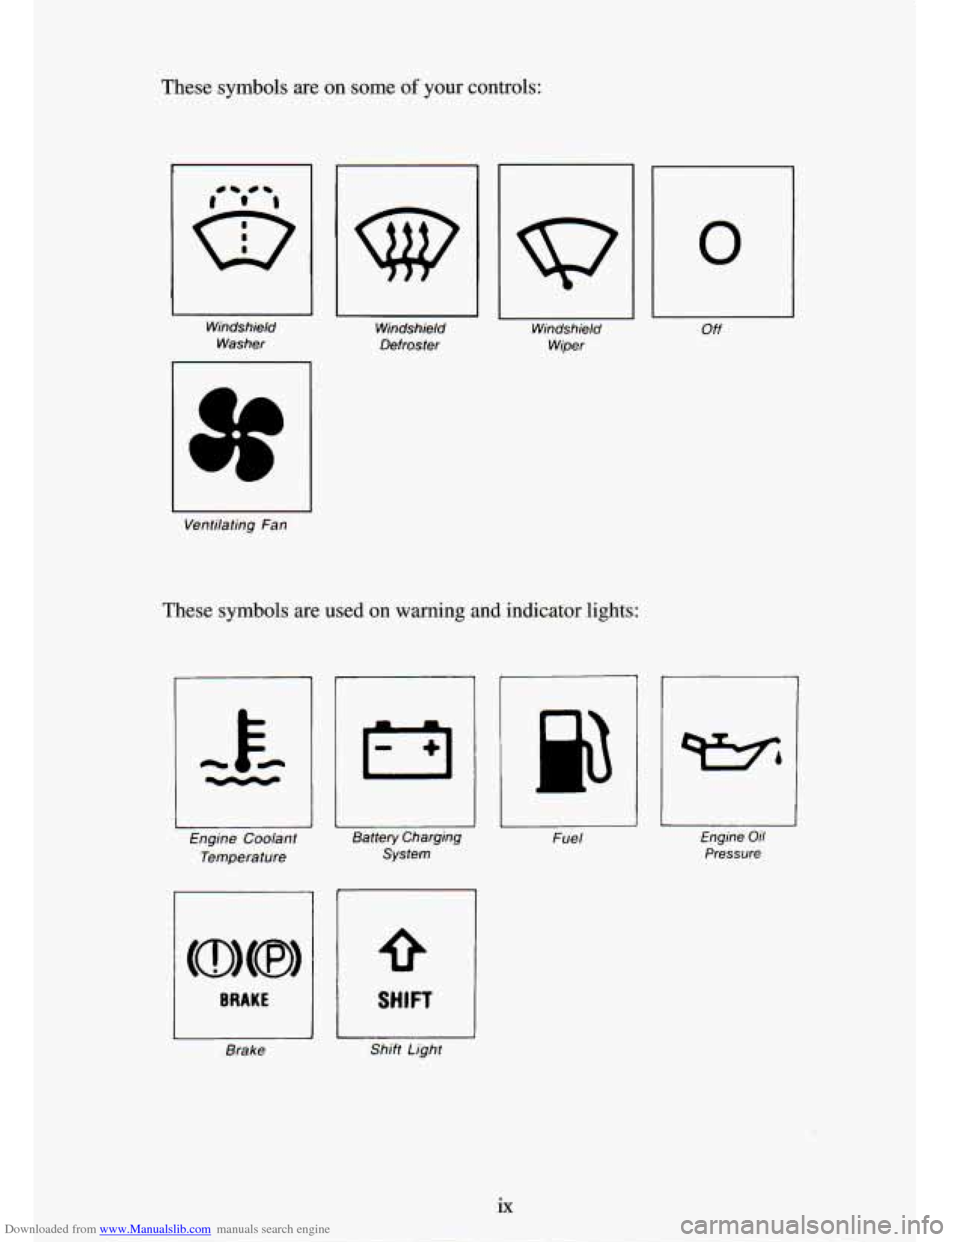
Downloaded from www.Manualslib.com manuals search engine These symbols are on some of your controls:
Windshield Washer Windshield
Defroster Windshield
Wiper
I
Ventilating Fan
These symbols are used on warning and indicator lights:
Engine Coolant
Temperature
BRAKE
Brake Battery Charging
System
I SHIFT
I
Shift Light Fuel
0
Off
Engine Oil
Pressure
Page 59 of 340
Downloaded from www.Manualslib.com manuals search engine NOTICE:
Your engine is designed to work with the electronics in your
vehicle.
If you add electrical parts or accessories, you could
change the way the fuel injection system operates. Before adding
electrical equipment, check
with your dealer. If you don’t, your
engine might not perform properly.
If you ever have to have your vehicle towed, see the part of this
manual that tells how to do it without damaging your vehicle.
See “Towing Your Vehicle” in the Index.
To start your 4.3 Liter engine:
1. Without pushing the accelerator pedal, turn your ignition key t\
o “Start.”
When the engine starts, let go of the key. The idle speed will go down
as your engine gets warm.
NOTICE:
Holding your key in “Start” for longer than 15 seconds at a time
will cause your battery to be drained much sooner.
And the
excessive heat can damage your starter motor.
2. If it doesn’t start right away, hold your key in “Start.” If
it doesn’t start
in three seconds, push the accelerator pedal about one-quarter
of the
way down for 12 more seconds, or until
it starts.
flooded with too much gasoline.
Try this:
3. If your engine still won’t start (or starts but then stops), it could be
Wait 15 seconds to let the starter motor cool down. Then push\
your accelerator pedal all the way to the floor.
Hold it there. Then, hold the
key in “Start” for no more than ten seconds. This clears the extra
gasoline from the engine.
If the engine still doesn’t start, wait another 15 seconds and do it all
again.
When the engine starts, let go of the key and the accelerator pedal.
2-13
Page 60 of 340
Downloaded from www.Manualslib.com manuals search engine NOTICE:
Your engine is designed to work with the electronics in your
vehicle.
If you add electrical parts or accessories, you could
change the
way the fuel injection system operates. Before adding
electrical equipment, check with your dealer.
If you don’t, your
engine might not perform properly.
If you ever have to have your vehicle towed, see the part of this
manual that tells how to do it without damaging your vehicle.
See “Towing Your Vehicle” in the Index.
Driving Through Deep Standing Water
NOTICE:
If you drive too quickly through deep puddles or standing water,
water can come in through your engine’s air intake and badly
damage your engine.
If you can’t avoid deep puddles or standing
water, drive through them very slowly.
Engine Coolant Heater (Engine Block Heater)
(Option)
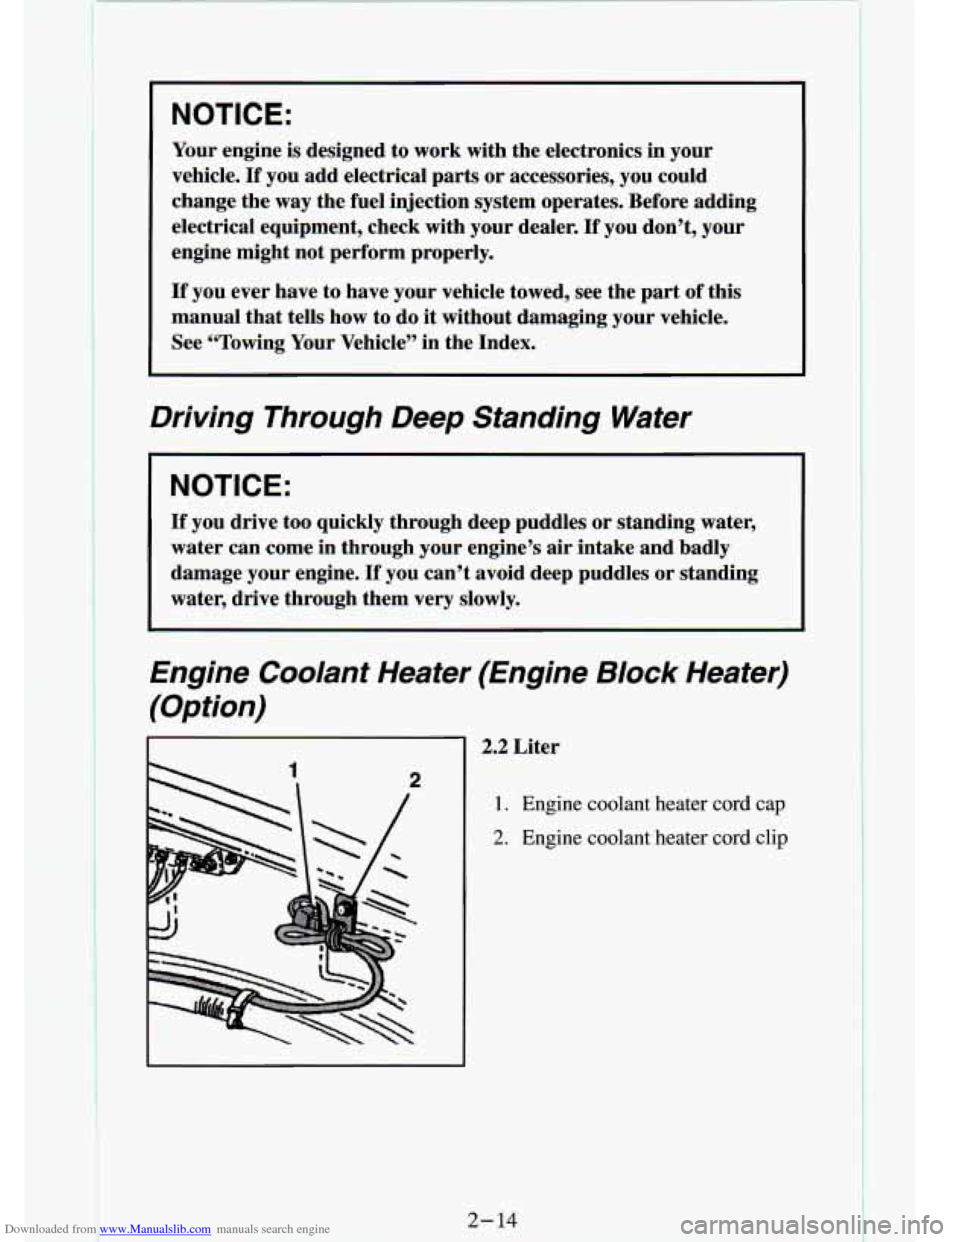
2.2 Liter
1. Engine coolant heater cord cap
2. Engine coolant heater cord clip
i
2- 14
Page 61 of 340
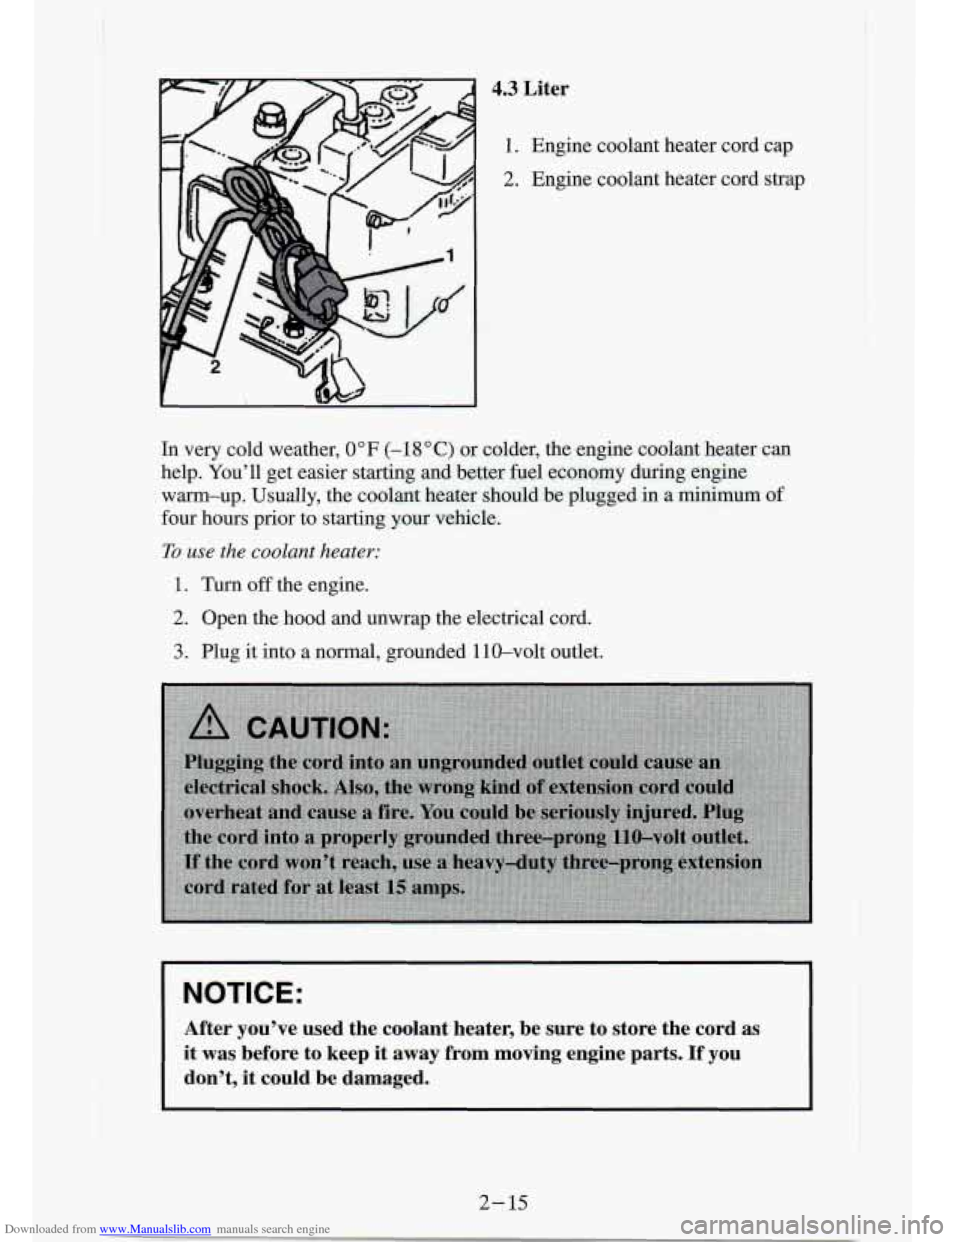
Downloaded from www.Manualslib.com manuals search engine 4.3 Liter
1. Engine coolant heater cord cap
2. Engine coolant heater cord strap
In very cold weather, 0°F (-18 "C) or colder, the engine coolant heater can
help. You'll get easier starting and better fuel ec-onomy during engine
warm-up. Usually, the coolant heater should be plugged
in a minimum of
four hours prior to starting your vehicle.
To use the coolant heater:
1. Turn off the engine.
2. Open the hood and unwrap the electrical cord.
3. Plug it into a normal, grounded 110-volt outlet.
I NOTICE:
After you've used the coolant heater, be sure to store the cord as
it was before to keep it away from moving engine parts.
If vou
don't, it could be damaged.
2-15
I
Page 64 of 340

Downloaded from www.Manualslib.com manuals search engine NOTICE:
Damage to your transmission caused by shifting out of “P”
(Park) or “N” (Neutral) with the engine racing isn’t covered by
your warranty.
@ (Overdrive)
This position is for normal driving. If you need more p . rer f_ r
passing, and you’re:
- Going less than about 35 mph (56 ludh), push your accelerator
- Going about 35 mph (56 km/h) or more, push the accelerator all
pedal about halfway down.
the
way down.
You’ll shift down to the next gear and have more power.
@ should not be used when towing a trailer, carrying a heavy
load, driving on steep hills, or for off-road driving. Select
“D”
(Third Gear) when operating the vehicle under any of these
conditions.
D (Third Gear)
This is like @, but you never go into Overdrive. You should use “D”
(Third Gear) when towing a trailer, carrying a heavy load, driving on
steep hills, or for off-road driving.
2 (Second Gear)
This position gives you more power but lower fuel economy. You can
use
“2” (Second Gear) on hills. It can help control your speed as y\
ou go
down steep mountain roads, but then you would also want to use your
brakes
off and on.
If you manually select “2” (Second Gear), the transmission will drive
in second gear. You may use this feature for reducing torque to the rear
wheels when you are trying to start your vehicle from a stop on
slippery road surfaces.
1 (First Gear)
This position gives you even more power (but lower fuel economy)
than
“2” (Second Gear). You can use it on very steep hills, or in deep
snow or mud. If the selector lever is put in
“1” (First Gear), the
transmission won’t shift into
“1” (First Gear) until the vehicle is going
slowly enough.
2- 18
Page 66 of 340
Downloaded from www.Manualslib.com manuals search engine To Stop
Let up on the accelerator pedal and press the brake pedal. Just b\
efore
the vehicle stops, press the clutch pedal and the brake pedal, and\
shift
to
“N’ (Neutral).
N (Neutral)
Use this position when you start or idle your engine.
R (Reverse)
To back up, press down the clutch pedal, wait about 6 seconds, then
shift into
“R’ (Reverse). Then let up on the clutch pedal slowly while
pressing the accelerator pedal.
NOTICE:
Shift to “R” (Reverse) only after your vehicle is stopped.
Shifting to
“R” (Reverse) while your vehicle is moving could
damage your transmission.
Also, use “R” (Reverse), along with the parking brake, for parking your
vehicle.
Shift Light
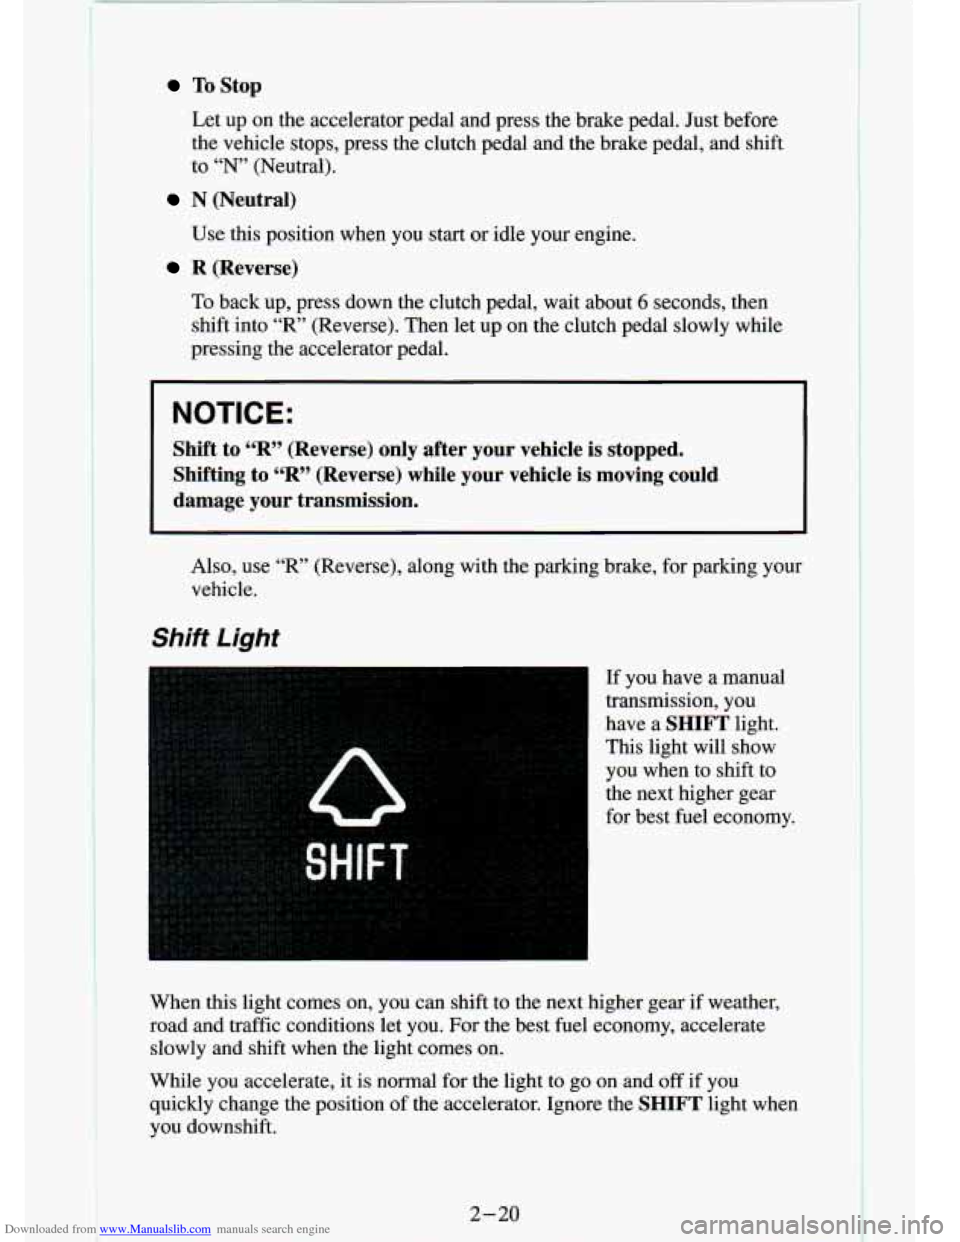
If you have a manual
transmission, you
have a
SHIFT light.
This light will show
you when to shift to
the next higher gear
for best fuel economy.
When this light comes on, you can shift to the next high€ ;ear if weather,
road and traffic conditions let you. For the best fuel economy\
, accelerate slowly and shift when the light comes on.
While you accelerate, it is normal for the light to go on and
off if you
quickly change the position of the accelerator. Ignore the
SHIFT light when
you downshift.
2-20
F
Page 74 of 340
Downloaded from www.Manualslib.com manuals search engine ..
The front axle portion of the diagram on the indicator will light up when
you shift into four-wheel drive. A slight delay between shifting an\
d the
pattern’s lighting is normal. If the pattern does not light up, or if the front
axle does not go out after you shift out of four-wheel drive, have your
dealer check your system. Turn the
INT LIGHTS switch located to the
right of your headlight switch to dim your transfer case indicator light\
when
your headlights or parking lights are on. This will also cause\
your
instrument panel lights to dim.
2HI: This setting is for driving in most street and highway situations. Your
front axle is not engaged in two-wheel drive.
4HI: This setting engages your front axle to help drive your vehicl\
e. Use
4HI when you need extra traction, such as on snowy or icy roads, \
or in most
off-road situations.
N SET PARK BRAKE: Shift to this neutral setting only when your vehicle
needs to be towed.
4LO: This setting also engages your front axle to give you extra traction.
You may never need
4LO. It sends the maximum power to all four wheels.
You might choose
4LO if you were driving off-road in sand, mud, or deep
snow and climbing or descending steep hills.
You can shift from
2HI to 4HI or from 4HI to 2HI while the vehicle is
moving. It is not necessary for you to press the transfer case shift lever
button. Your front axle will engage faster
if you take your foot off of the
accelerator for a few seconds after you shift.
To shift your transfer case into N SET PARK BRAKE:
1. Stop the vehicle and shift your transmission into “N” (Neutral).
2. Set the parking brake. Your vehicle can roll unless the brakes are
applied.
To shift into or out of 4LO :
1. The vehicle must be stopped or moving less than 3 mph (4.8 Wh)
with the transmission in “N’ (Neutral) or the clutch pedal depressed.
2. Press the transfer case shift button and shift in one continuous motion.
Don’t pause in
N SET PARK BRAKE as you shift into or out of 4L0, or
your gears could clash.
Remember that driving in
4HI or 4LO may reduce fuel economy. Also,
driving in four-wheel drive on dry pavement could cause your t\
ires to wear
faster and make your transfer case harder to shift.
2-28
I
Page 101 of 340
Downloaded from www.Manualslib.com manuals search engine Instrument Panel ~ . -, .
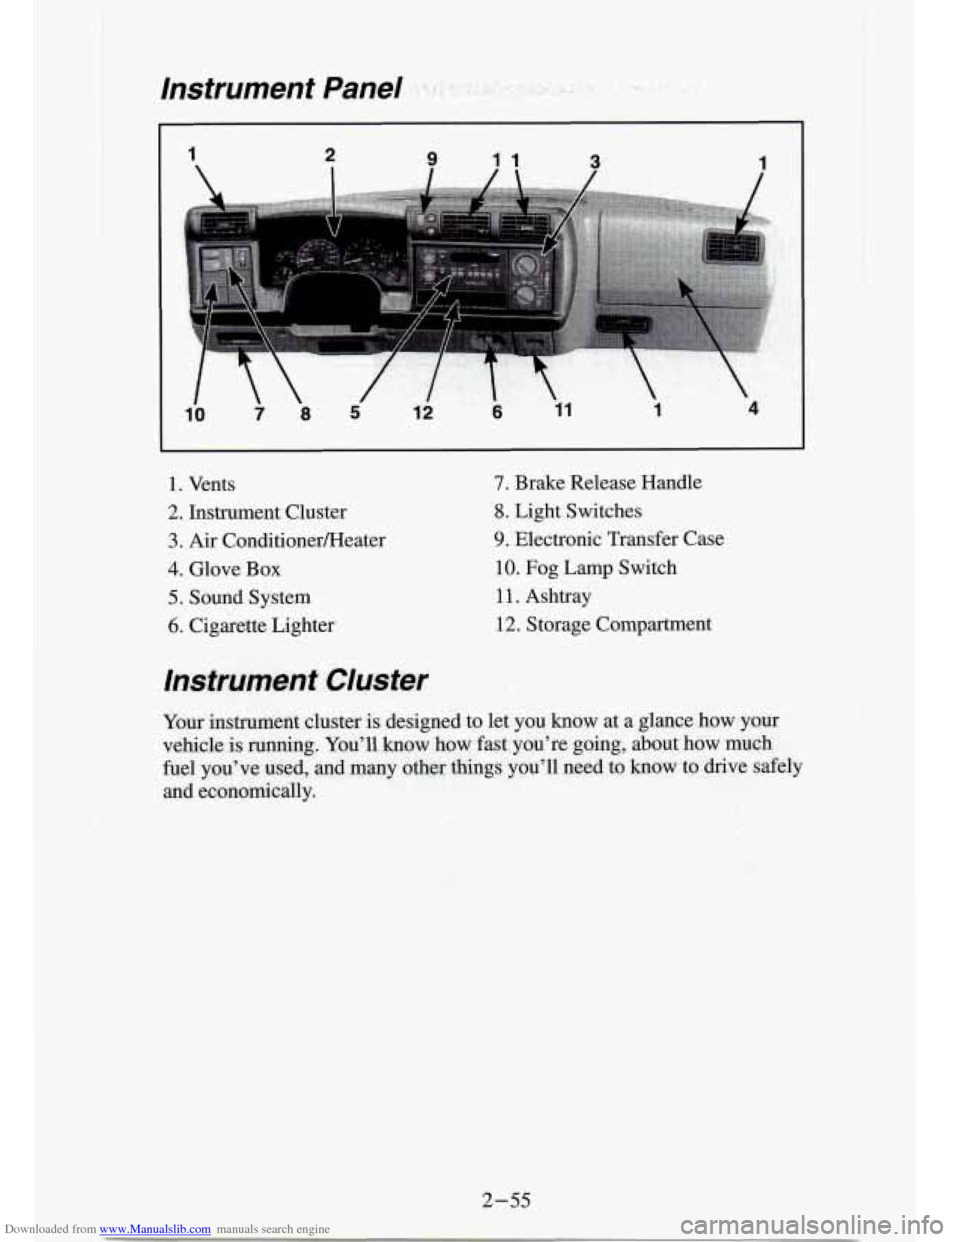
1. Vents
2. Instrument Cluster
3. Air ConditionerFteater
4. Glove Box
5. Sound System
6. Cigarette Lighter
7. Brake Release Handle
8. Light Switches
9. Electronic Transfer Case
10. Fog Lamp Switch
1 1. Ashtray
12. Storage Compartment
Instrument Cluster
Your instmmnt dustex is designed to let you know at a glance how yaur
vehicle is.
running. You’ll how bow fast^ you’re going, about how much
fuel you’ve
used, -and many other things you’ll need to know to drive safely
and economically.
2 - 5.5
Page 107 of 340
Downloaded from www.Manualslib.com manuals search engine Malfunction Indicator (Service Engine Soon) Lamp
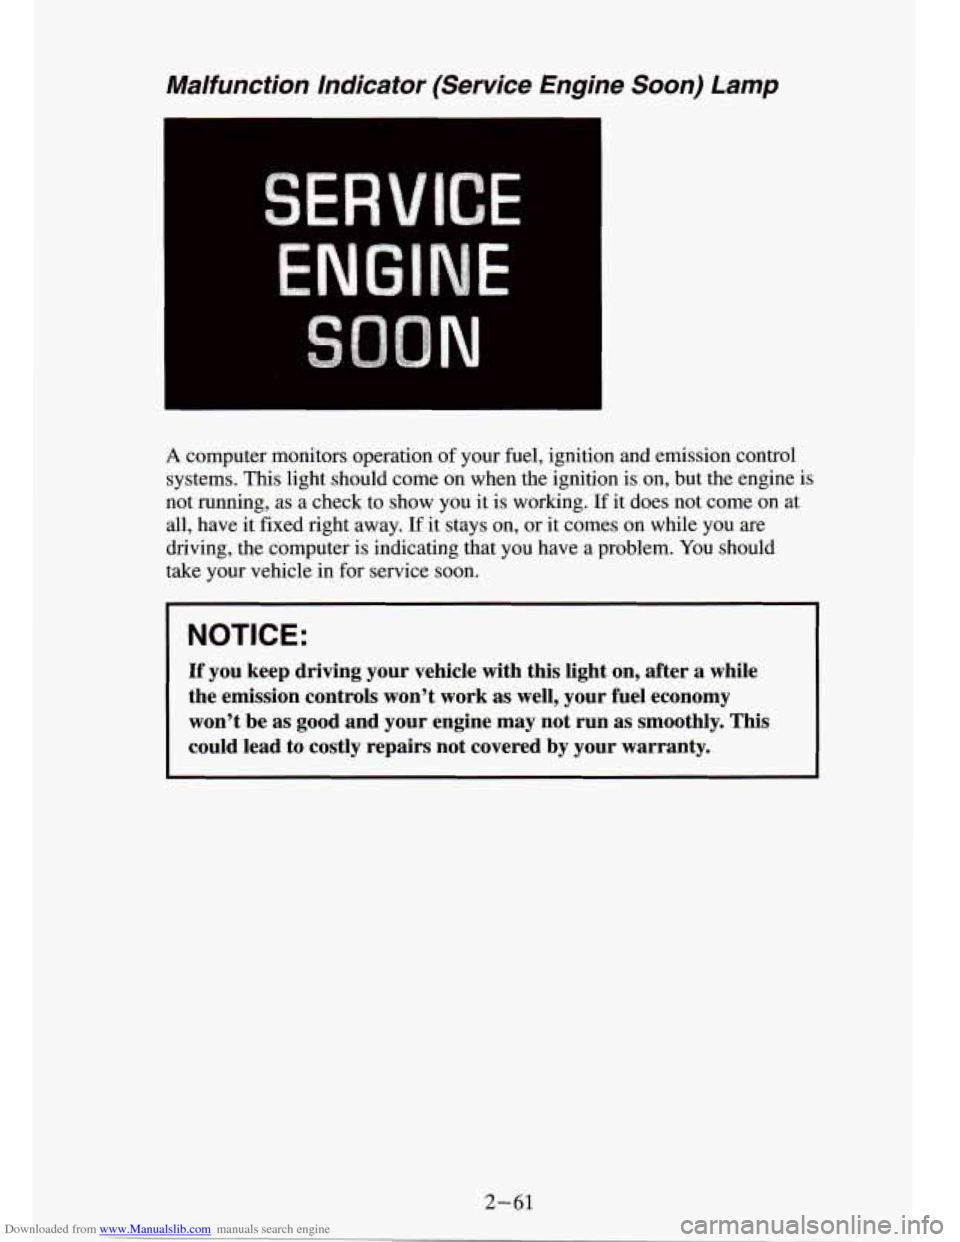
A computer monitors operation of your fuel, ignition and emission control
systems. This light should come on when the ignition
is on, but the engine is
not running, as a check to show you it is working.
If it does not come on at
all, have it fixed right away.
If it stays on, or it comes on while you are
driving, the computer is indicating that you have a problem. You should
take your vehicle in for service soon.
NOTICE:
If you keep driving your vehicle with this light on, after a while
the emission controls won’t work as well, your fuel economy \
won’t be as good and your engine may
not run as smoothly. This
could lead to costly repairs not covered by your warranty.
2-61
Page 110 of 340
Downloaded from www.Manualslib.com manuals search engine :.
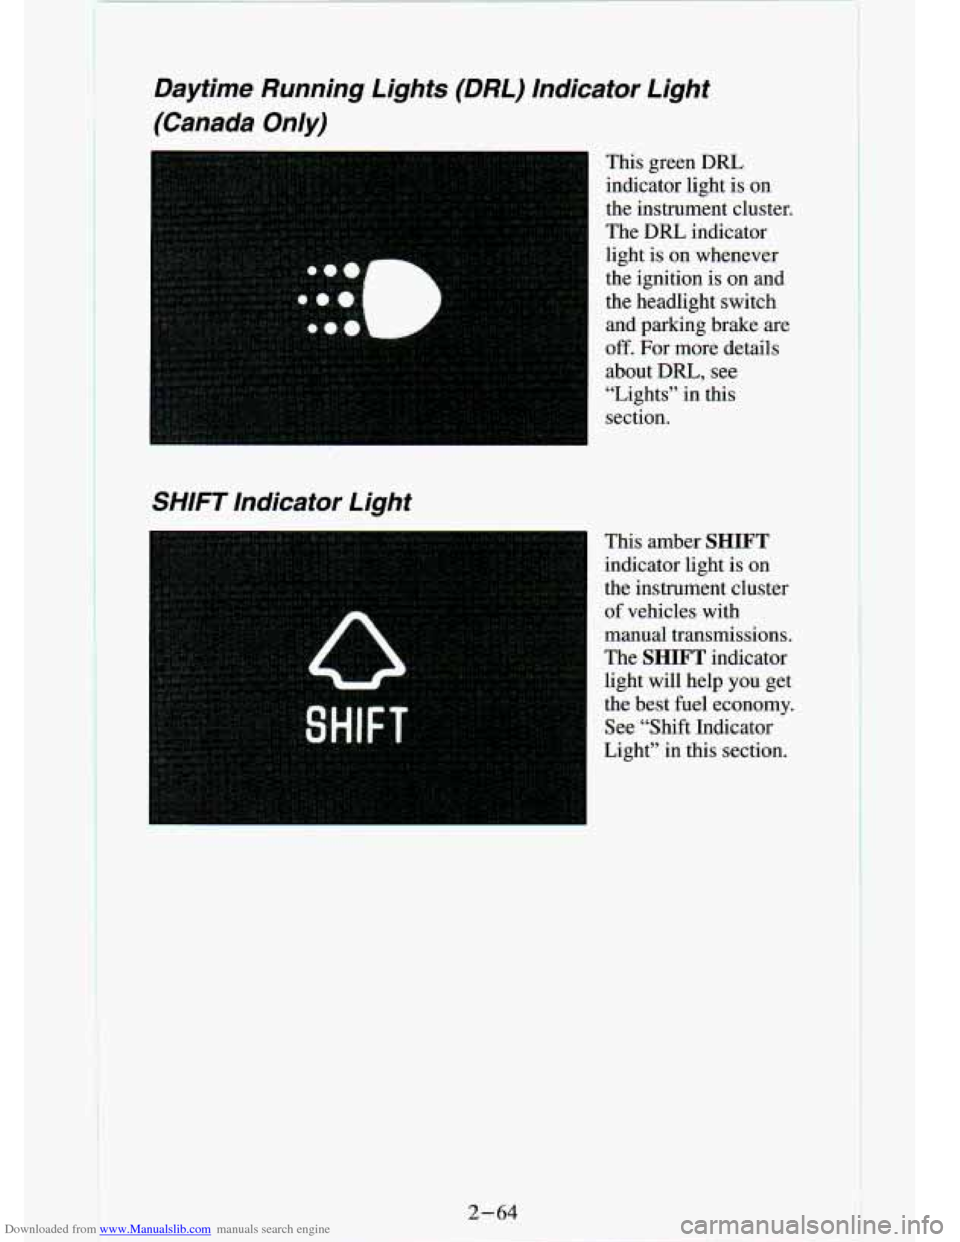
Daytime Running Lights (DRL) Indicator Light
(Canada Only)
This green DRL indicator light is on
the instrument cluster.
The
DRL indicator
light is on whenever
the ignition is
on and
the headlight switch
and parking brake are
off. For more details
about DRL,
see
“Lights” in this
section.
SHIFT Indicator Light
This amber SHIFT
indicator light is on
the instrument cluster
of vehicles with
manual transmissions.
The
SHIFT indicator
light will help
you get
the best fuel economy.
See “Shift Indicator
Light” in this section.
2-64