parking brake CHEVROLET S10 1994 2.G Owners Manual
[x] Cancel search | Manufacturer: CHEVROLET, Model Year: 1994, Model line: S10, Model: CHEVROLET S10 1994 2.GPages: 340, PDF Size: 18.45 MB
Page 47 of 340
Downloaded from www.Manualslib.com manuals search engine Features & Controls
Section
.
Here you can learn about the many standard and optional features on your
vehicle. and information on starting. shifting. and braking
. Also explained
are the instrument panel and the warning systems that tell you if everything
is working properly- and what to do if you have a problem
.
For explanation of vehicle symbols. refer to “Vehicle Symbols\
” in the Introduction
.
Keys ..................................................... 2-3
Your Doors and How They Work
.............................. 2-5
SideDoors
............................................. 2-5
DoorLocks ............................................. 2-6
Tailgate
................................................ 2-7
Theft
..................................................... 2-8
New Vehicle Break-In
....................................... 2-9
Ignitionswitch
............................................ 2-10
Starting Your Engine
....................................... 2-12
Driving Through Deep Standing Water
...................... 2-14
Automatic Transmission
.................................... 2-16
Five-Speed Manual Transmission
............................. 2-19
LockingRearAxle
......................................... 2-21
ParkingBrake
............................................ 2-21
Parking Over Things That
Burn ............................... 2-24
EngineExhaust
........................................... 2-25
Running Your Engine While You’re Parked ................... 2-26
2-1
Page 55 of 340
Downloaded from www.Manualslib.com manuals search engine Parking at Night
Park in a lighted spot, close all windows and lock your vehicle. Remember
to keep your valuables out
of sight. Put them in a storage area, or take them
with you.
Parking Lots
If you park in a lot where someone will be watching your vehicle, it’s best
to lock it up and take your keys. But what if you have to leave your ignition
key? What if you have to leave something valuable
in your vehicle?
Put your valuables in a storage area, like your glove box.
Lock all the doors except the driver’s.
Then take the door key with you.
New Vehicle “Break-In”
NOTICE:
Your modern vehicle doesn’t need an elaborate ‘70reak-in.” But
it will perform better in the long run if‘ you follow these
guidelines:
Keep your speed at 55 mph (88 km/h) or less for the first
500 miles (804 km).
Don’t drive at any one speed - fast or slow - for the first
500 miles (804 km). Don’t make full-throttle starts.
Avoid making hard stops for the first 200 miles (322 km) or
so. During this time your new brake linings aren’t yet broken
in. Hard stops with new linings can mean premature wear and
earlier replacement. Follow this “b’reaking-in” guideline
every time you get new brake linings.
2-9
Page 66 of 340
Downloaded from www.Manualslib.com manuals search engine To Stop
Let up on the accelerator pedal and press the brake pedal. Just b\
efore
the vehicle stops, press the clutch pedal and the brake pedal, and\
shift
to
“N’ (Neutral).
N (Neutral)
Use this position when you start or idle your engine.
R (Reverse)
To back up, press down the clutch pedal, wait about 6 seconds, then
shift into
“R’ (Reverse). Then let up on the clutch pedal slowly while
pressing the accelerator pedal.
NOTICE:
Shift to “R” (Reverse) only after your vehicle is stopped.
Shifting to
“R” (Reverse) while your vehicle is moving could
damage your transmission.
Also, use “R” (Reverse), along with the parking brake, for parking your
vehicle.
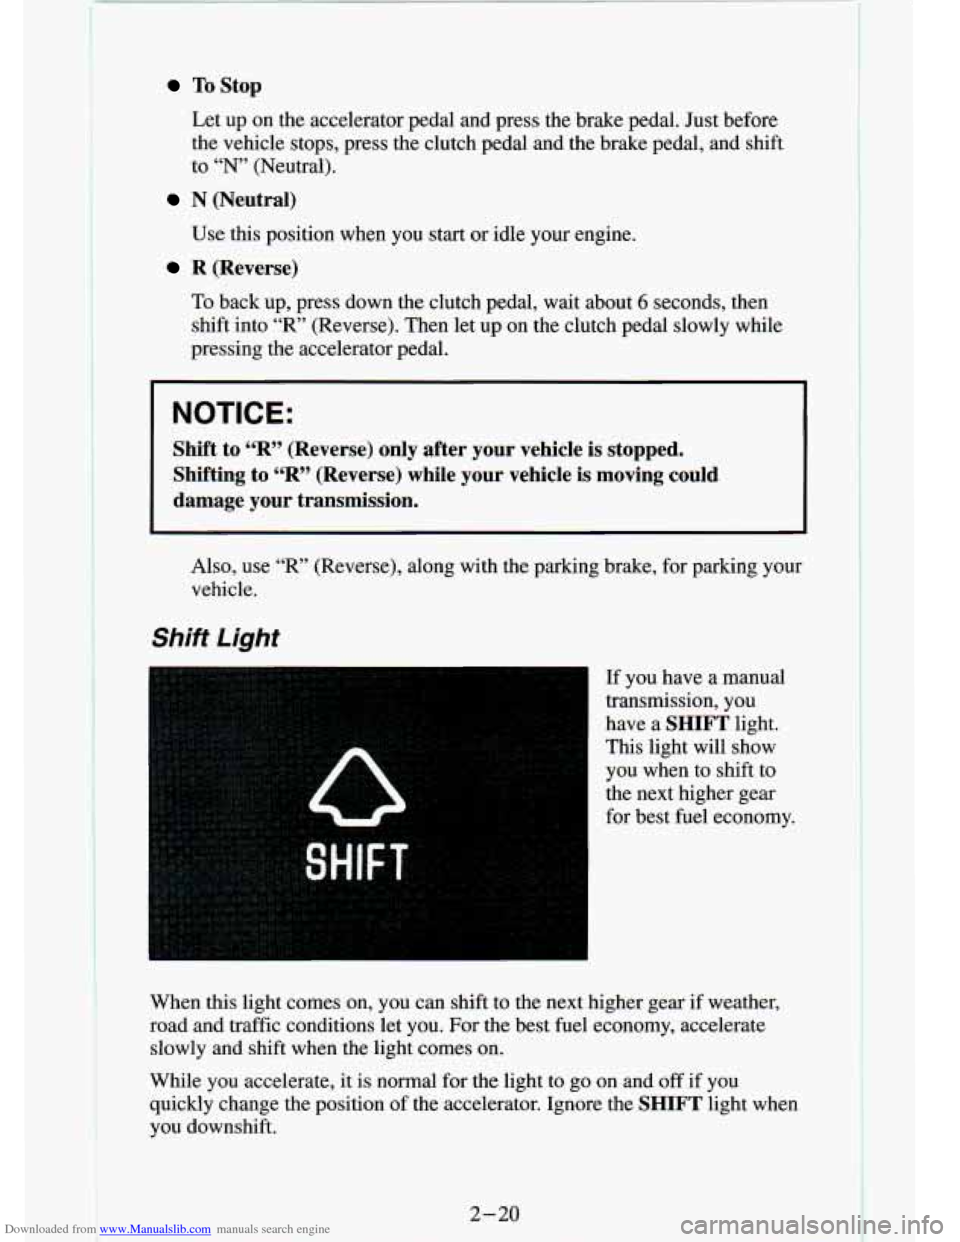
Shift Light
If you have a manual
transmission, you
have a
SHIFT light.
This light will show
you when to shift to
the next higher gear
for best fuel economy.
When this light comes on, you can shift to the next high€ ;ear if weather,
road and traffic conditions let you. For the best fuel economy\
, accelerate slowly and shift when the light comes on.
While you accelerate, it is normal for the light to go on and
off if you
quickly change the position of the accelerator. Ignore the
SHIFT light when
you downshift.
2-20
F
Page 67 of 340
Downloaded from www.Manualslib.com manuals search engine Four-wheel Drive Vehicles Only: If your vehicle has four-wheel drive
and is equipped with a manual transmission, disregard the shift light when
the transfer case is in
4LO.
Locking Rear Axle
If you have this feature, your rear axle can give you additio\
nal traction on
snow, mud, ice, sand
or gravel. It works like a standard axle most of the
time, but when one of the rear wheels has no traction and the other does, the
locking feature will allow the. wheel with traction to move the vehicle.
Parking Brake
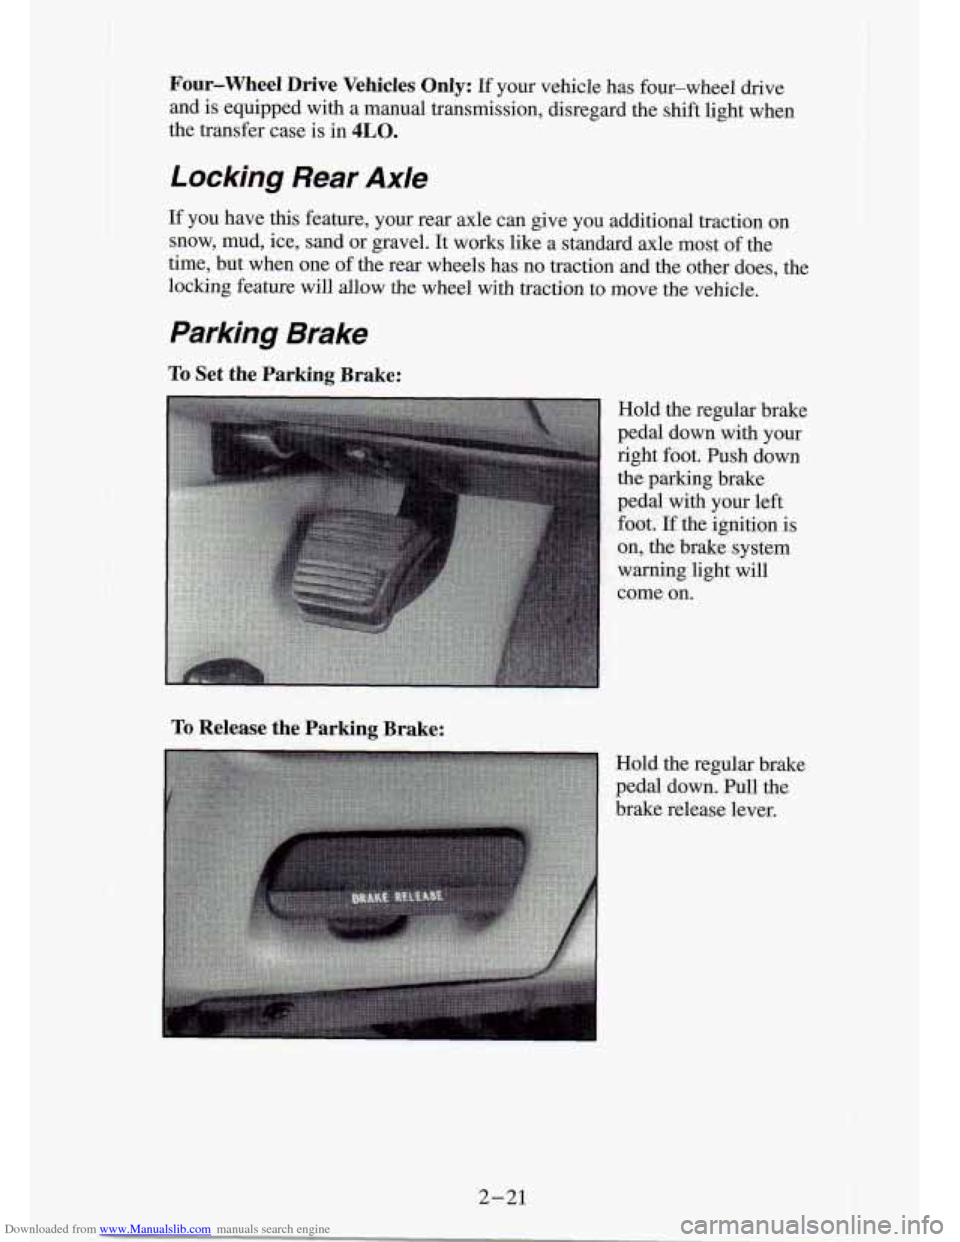
To Set the Parking Brake:
To Release the Parking Brake:
Hold the regular brake
pedal down with your
right foot. Push down
the parking brake
pedal with your left
foot. If the ignition is
on, the brake' system
warning light will
come
on.
Hold the regular brake
pedal down. Pull the
brake release lever.
I
2-21
Page 68 of 340
Downloaded from www.Manualslib.com manuals search engine ..
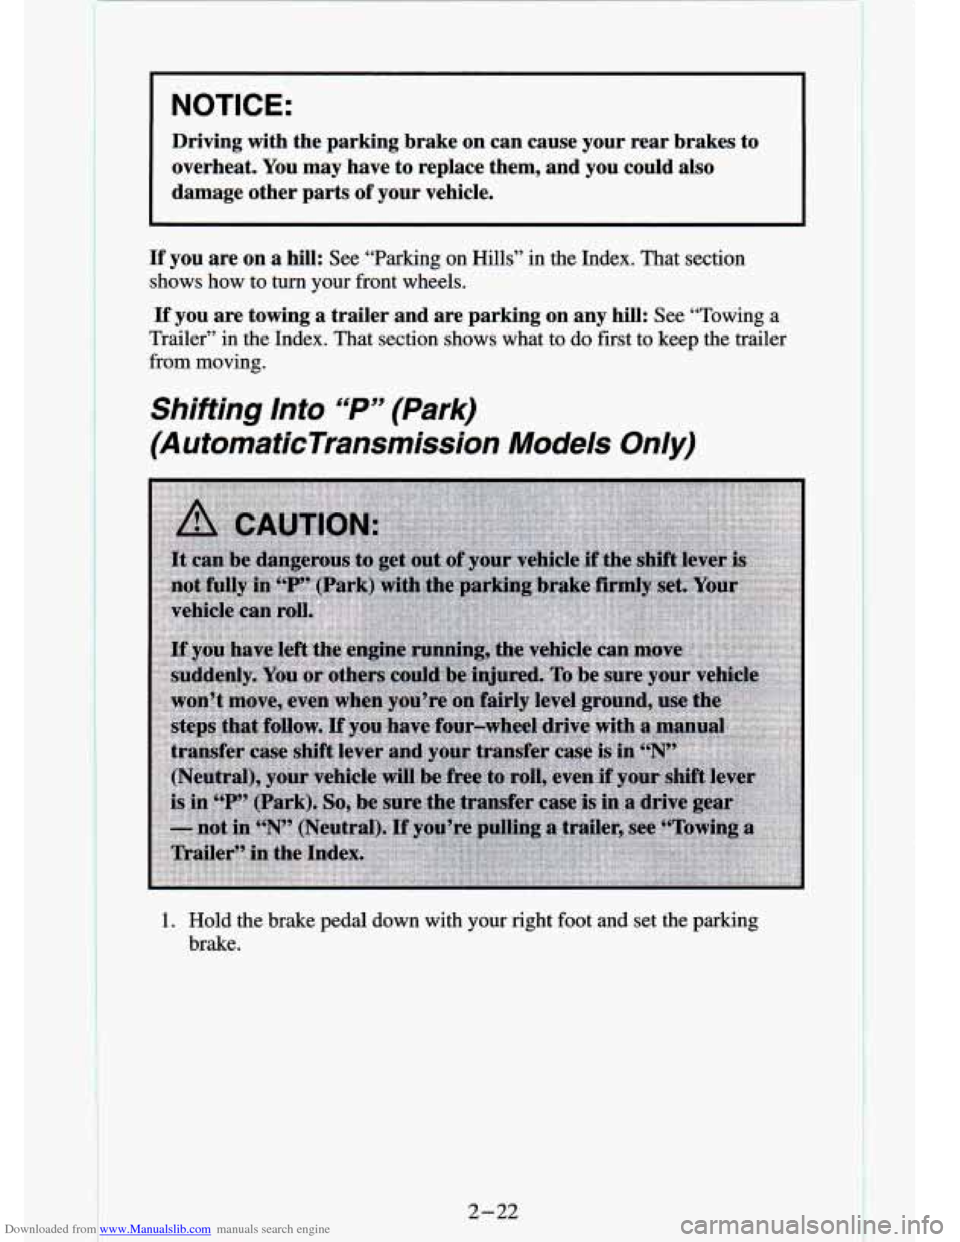
NOTICE:
Driving with the parking brake on can cause your rear brakes \
to overheat. You may have to replace them, and you could also
damage other parts
of your vehicle.
If you are on a hill: See “Parking on Hills” in the Index. That section
shows how
to turn your front wheels.
If you are towing a trailer and are parking on any hill: See “Towing a
Trailer” in the Index. That section shows what to
do first to keep the trailer
from moving.
Shifting Into ‘6P’’ (Park)
(A utomaticTransmission Models Only)
1. Hold the brake pedal down with your right foot and set the parking
brake.
2-22
I I
Page 70 of 340
Downloaded from www.Manualslib.com manuals search engine Torque Lock (Automatic Transmission)
If you are parking on a hill and you don’t shift your transmission into “P’
(Park) properly, the weight of the vehicle may put too much force on the
parking pawl in the transmission. You may find it difficult to pull the shift
lever out of
“P” (Park). This is called “torque lock.” To prevent torque lock,
set the parking brake and
then shift into “P” (Park) properly before you
leave the driver’s seat.
To find out how, see “Shifting Into ‘P’ (Park)” in the
Index.
When you are ready to drive, move the shift lever out of
“P” (Park)
BEFORE you release the parking brake.
If “torque lock” does occur, you may need to have another vehicle push
yours a little uphill
to take some of the pressure from the transmission, so
you can pull the shift lever out of “P’ (Park).
Parking Your Vehicle (Manual Transmission
Models Only)
Before you get out of your vehicle, turn off your engine, put your manual
transmission in
“R’ (Reverse) and firmly apply the parking brake.
lr you have four-wheel drive with a manual transfer case shift lever, be sure
your transfer case is
in a drive gear. Your vehicle could roll if it isn’t.
If you are parking on
a hill, or if your vehicle is equipped to tow a trailer,
see “Parking on Hills” or “Towing
a Trailer” in the Index.
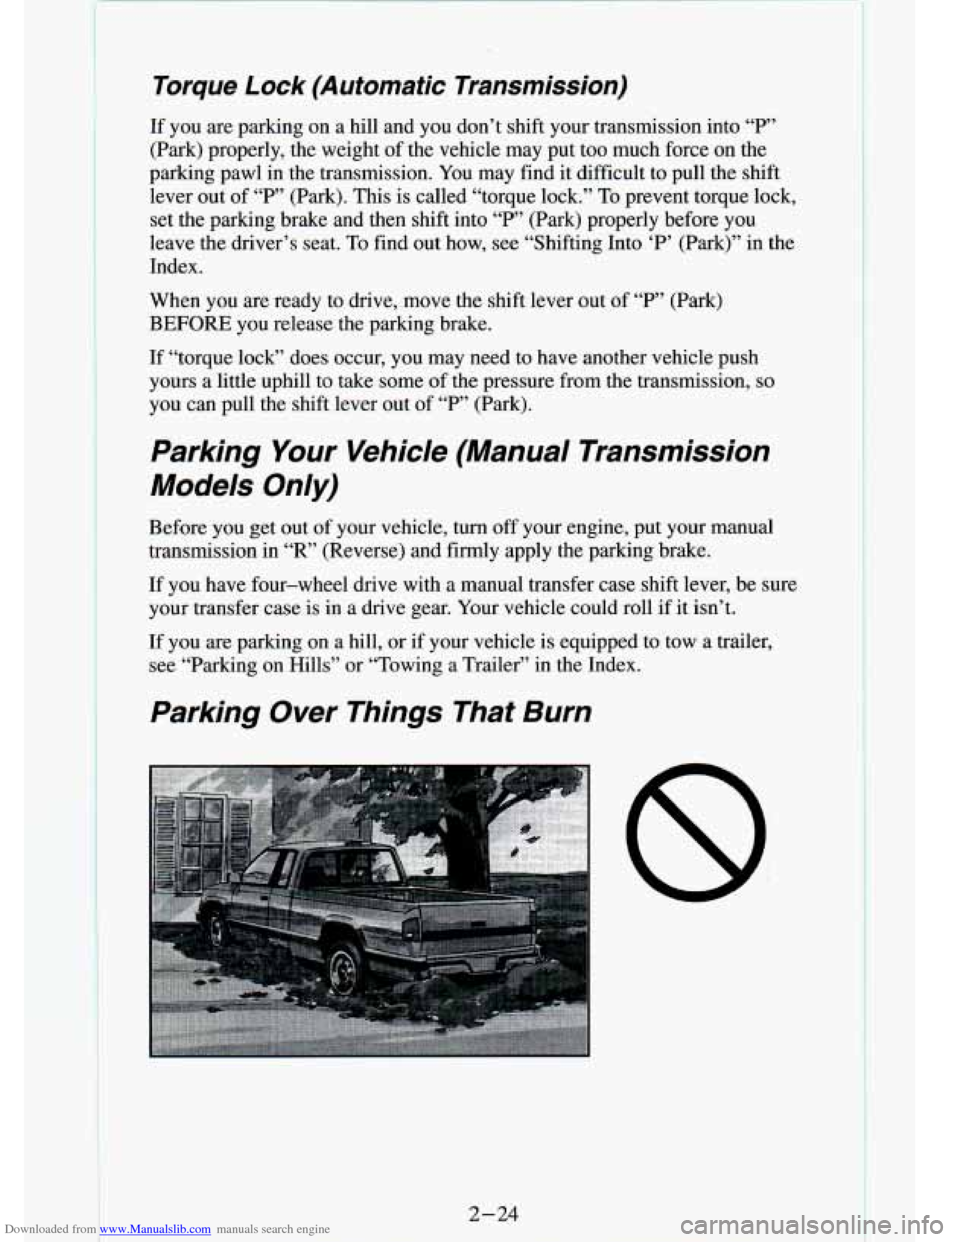
Parking Over Things That Burn
8
2- 24
Page 74 of 340
Downloaded from www.Manualslib.com manuals search engine ..
The front axle portion of the diagram on the indicator will light up when
you shift into four-wheel drive. A slight delay between shifting an\
d the
pattern’s lighting is normal. If the pattern does not light up, or if the front
axle does not go out after you shift out of four-wheel drive, have your
dealer check your system. Turn the
INT LIGHTS switch located to the
right of your headlight switch to dim your transfer case indicator light\
when
your headlights or parking lights are on. This will also cause\
your
instrument panel lights to dim.
2HI: This setting is for driving in most street and highway situations. Your
front axle is not engaged in two-wheel drive.
4HI: This setting engages your front axle to help drive your vehicl\
e. Use
4HI when you need extra traction, such as on snowy or icy roads, \
or in most
off-road situations.
N SET PARK BRAKE: Shift to this neutral setting only when your vehicle
needs to be towed.
4LO: This setting also engages your front axle to give you extra traction.
You may never need
4LO. It sends the maximum power to all four wheels.
You might choose
4LO if you were driving off-road in sand, mud, or deep
snow and climbing or descending steep hills.
You can shift from
2HI to 4HI or from 4HI to 2HI while the vehicle is
moving. It is not necessary for you to press the transfer case shift lever
button. Your front axle will engage faster
if you take your foot off of the
accelerator for a few seconds after you shift.
To shift your transfer case into N SET PARK BRAKE:
1. Stop the vehicle and shift your transmission into “N” (Neutral).
2. Set the parking brake. Your vehicle can roll unless the brakes are
applied.
To shift into or out of 4LO :
1. The vehicle must be stopped or moving less than 3 mph (4.8 Wh)
with the transmission in “N’ (Neutral) or the clutch pedal depressed.
2. Press the transfer case shift button and shift in one continuous motion.
Don’t pause in
N SET PARK BRAKE as you shift into or out of 4L0, or
your gears could clash.
Remember that driving in
4HI or 4LO may reduce fuel economy. Also,
driving in four-wheel drive on dry pavement could cause your t\
ires to wear
faster and make your transfer case harder to shift.
2-28
I
Page 93 of 340
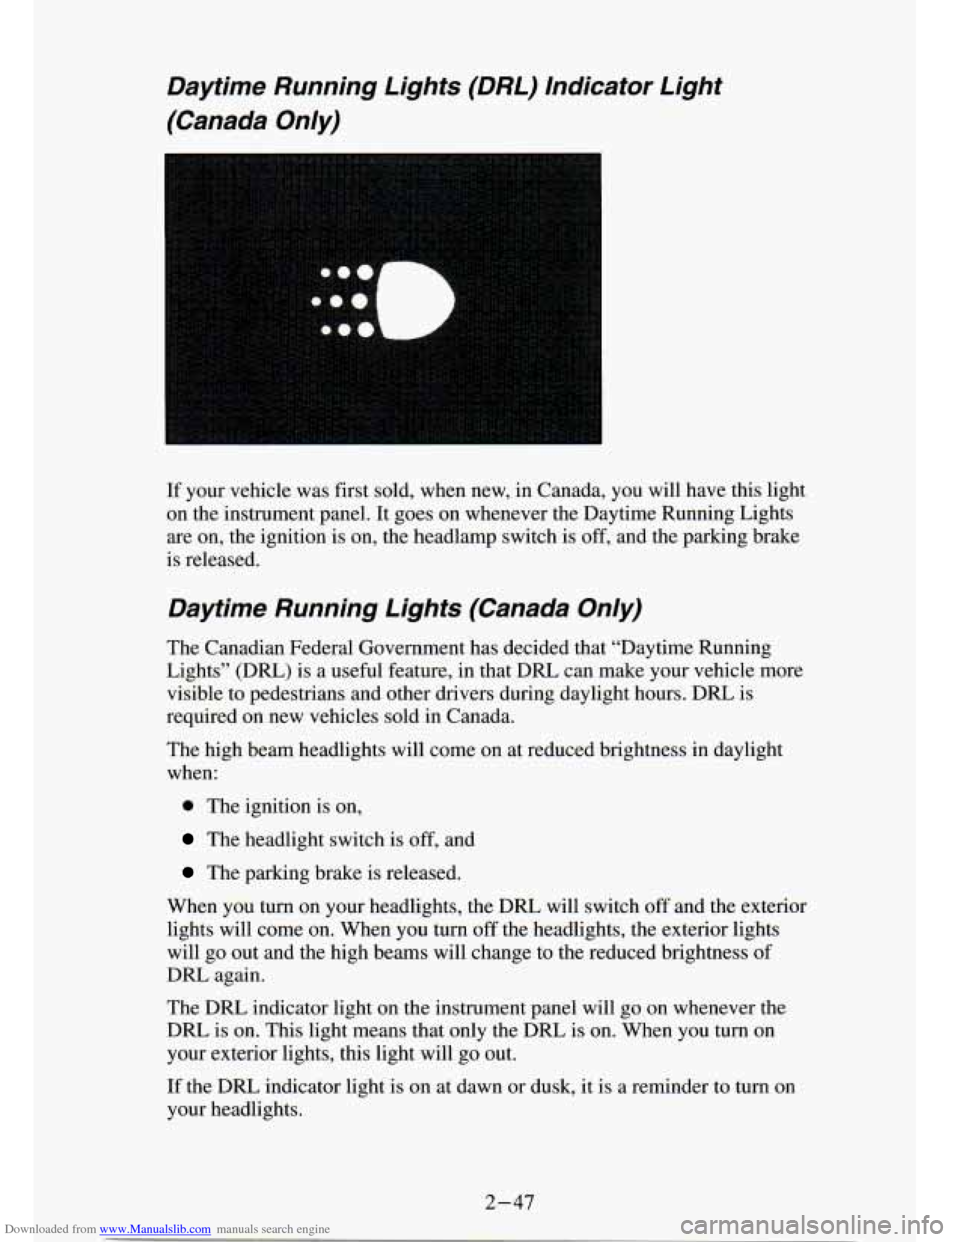
Downloaded from www.Manualslib.com manuals search engine Daytime Running Lights (DRL) Indicator Light
(Canada Only)
If your vehicle was first sold, when new, in Canada, you will\
have this light
on the instrument panel. It goes on whenever the Daytime Running Lights
are on, the ignition is on, the headlamp switch is
off, and the parking brake
is released.
Daytime Running Lights (Canada Only)
The Canadian Federal Government has decided that “Daytime Running \
Lights” (DRL) is a useful feature, in that
DRL can make your vehicle more
visible to pedestrians and other drivers during daylight hours. \
DRL is
required on new vehicles sold in Canada.
The high beam headlights will come
on at reduced brightness in daylight
when:
0 The ignition is on,
The headlight switch is off, and
The parking brake is released.
When you turn on your headlights, the DRL will switch off and the exterior
lights will come on. When you turn
off the headlights, the exterior lights
will go out and the high beams will change to the reduced brightness
of
DRL again.
The DRL indicator light on the instrument panel will go on whenever the
DRL is on. This light means that only the DRL is on. When you turn on
your exterior lights, this light will
20 out.
If the DRL indicator light is on at uawn or dusk, it is a reminder to turn on
your headlights.
2-47
Page 94 of 340
Downloaded from www.Manualslib.com manuals search engine Of course, you may still turn on the headlights any time you need to.
To idle your vehicle with the DRL off, set the parking brake. The DRL will
stay
off until you release the parking brake.
Headlights-On Reminder
A reminder tone will sound when your headlights or parking lights\
are
turned on and your ignition is in
OFF, LOCK or ACC. To turn the tone off,
turn the dimmer switch all the way down.
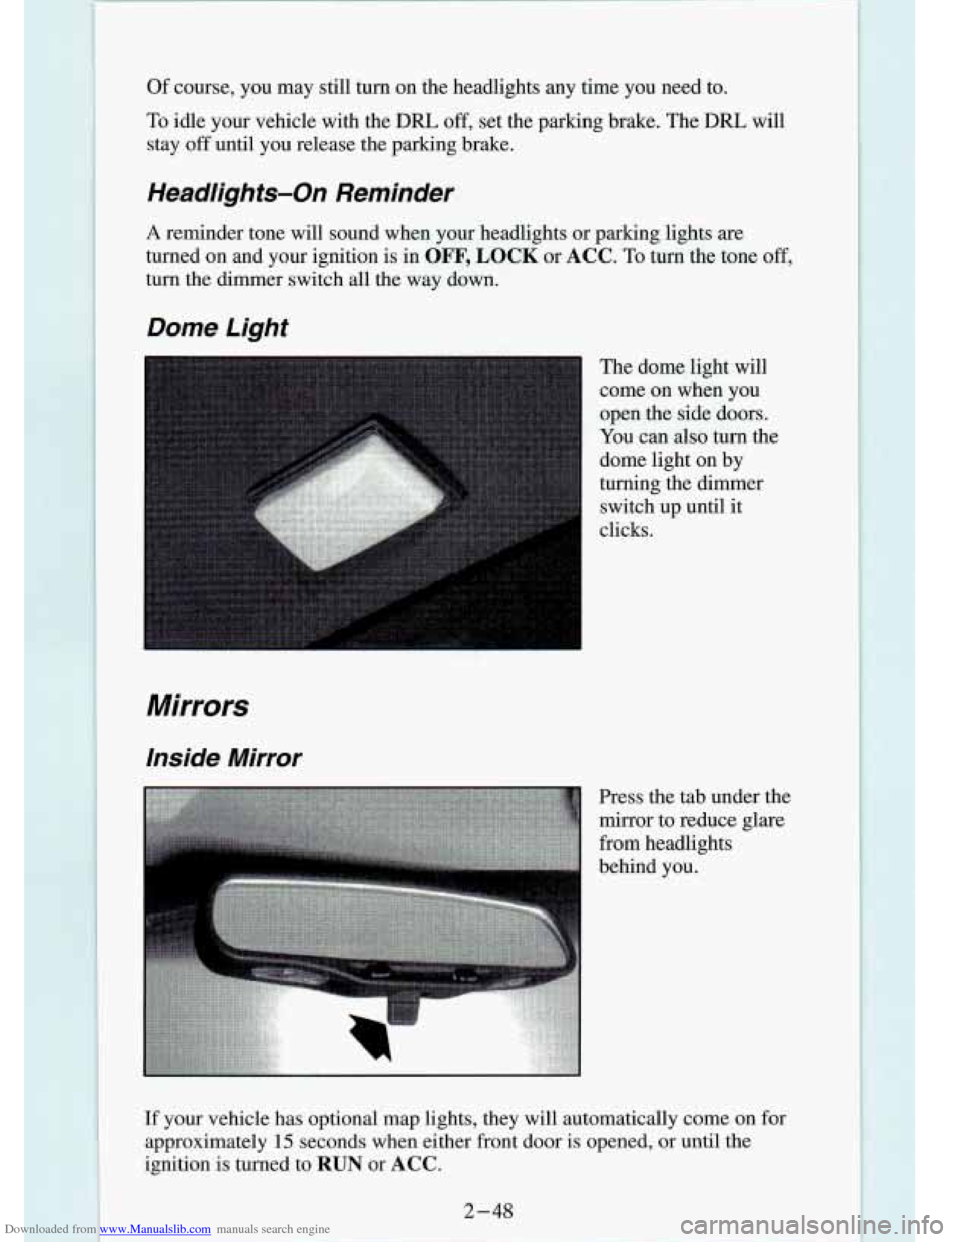
Dome Light
Mirrors
Inside Mirror
The dome light will
come
on when you
open the side
doors.
You can also turn the
dome light on by
turning the dimmer
switch up until it
clicks.
Press the tab under the
mirror to reduce glare
from headlights
behind you.
If your vehicle has optional map lights, they will automatically c\
ome on for
approximately
15 seconds when either front door is opened, or until the
ignition is turned to
RUN or ACC.
Page 105 of 340
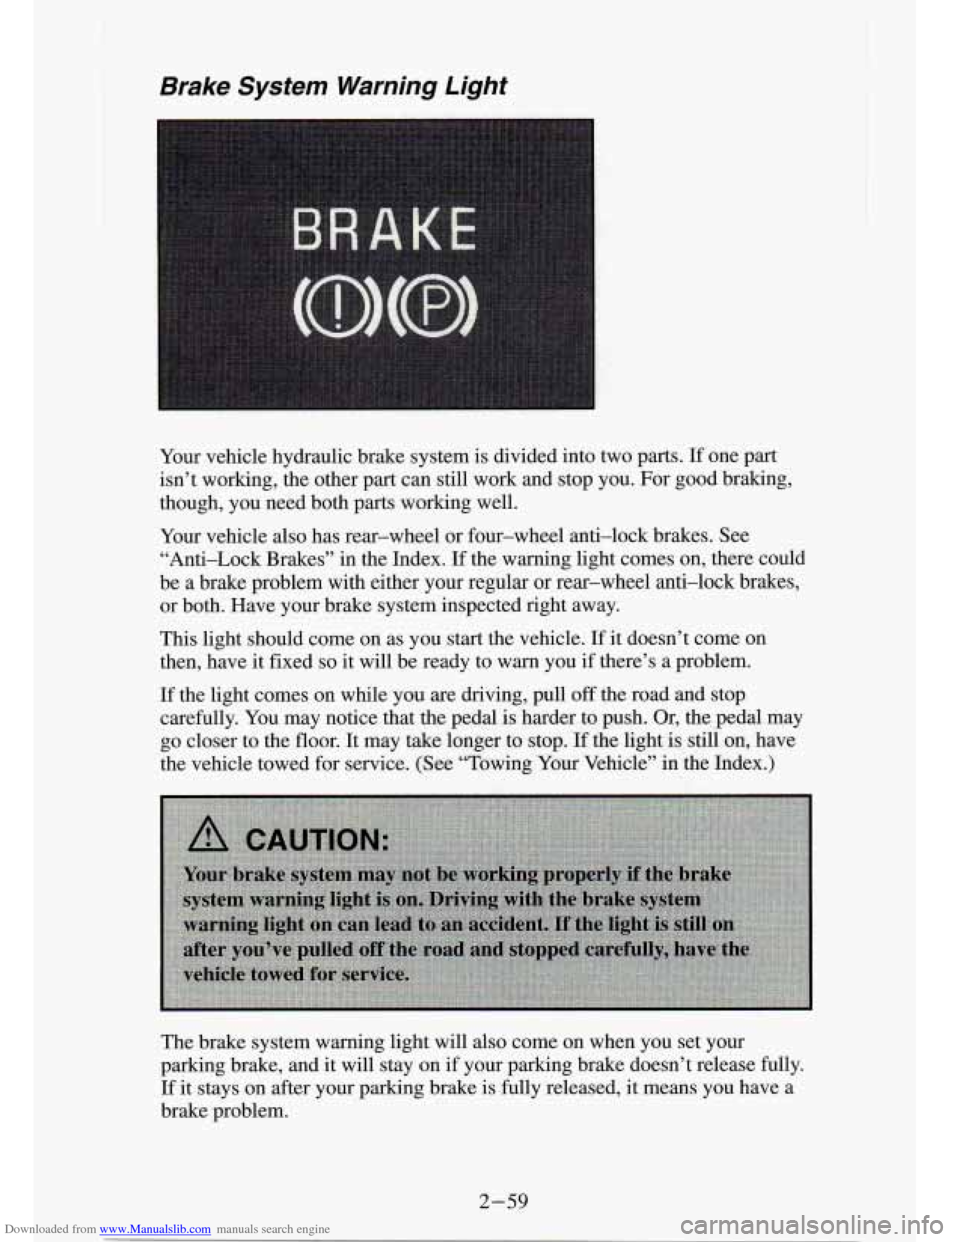
Downloaded from www.Manualslib.com manuals search engine Brake System Warning Light
Your vehicle hydraulic brake system is divided into two parts. If one part
isn’t working, the other part can still work and stop you. For good braking,
though, you need both parts working well.
Your vehicle also has rear-wheel or four-wheel anti-lock brakes. See \
“Anti-Lock Brakes” in the Index.
If the warning light comes on, there could
be a brake problem with either your regular or rear-wheel anti\
-lock brakes, or both. Have your brake system inspected right away.
This light should come on as you start the vehicle.
If it doesn’t come on
then, have it fixed
so it will be ready to warn you if there’s a problem.
If the light comes on while you are driving, pull off the road and stop
carefully. You may notice that the pedal
is harder to push. Or, the pedal may
go closer to the floor. It may take longer to stop.
If the light is still on, have
the vehicle towed for service. (See “Towing Your Vehicle” in the Index.)
The brake system warning light
will also come on when you set your
parking brake, and it will stay on
if your parking brake doesn’t release fully.
If it stays on after your parking brake is fully released, it means you have a
brake problem.
2-59