child seat CHEVROLET S10 1996 2.G Owners Manual
[x] Cancel search | Manufacturer: CHEVROLET, Model Year: 1996, Model line: S10, Model: CHEVROLET S10 1996 2.GPages: 375, PDF Size: 20.73 MB
Page 23 of 375
Downloaded from www.Manualslib.com manuals search engine How to Wear Safety Belts Properly
Adults
This part is only for people of adult size.
Be aware that there are special things to know about safety
belts and children. And there
are different rules for smaller
children and babies. If a child will be riding in your
vehicle, see the part of this manual called “Children.”
Follow those rules for everyone’s protection.
First,
you’ll want to know which restraint systems your
vehicle has.
We’ll start with the driver position.
Driver Position
This part describes the driver’s restraint system.
Lap-Shoulder Belt
The driver has a lap-shoulder belt. Here’s how to wear
it properly.
1. Close and lock the door.
2. Adjust the seat (to see how, see “Seats’’ in the Index)
so you can sit up straight.
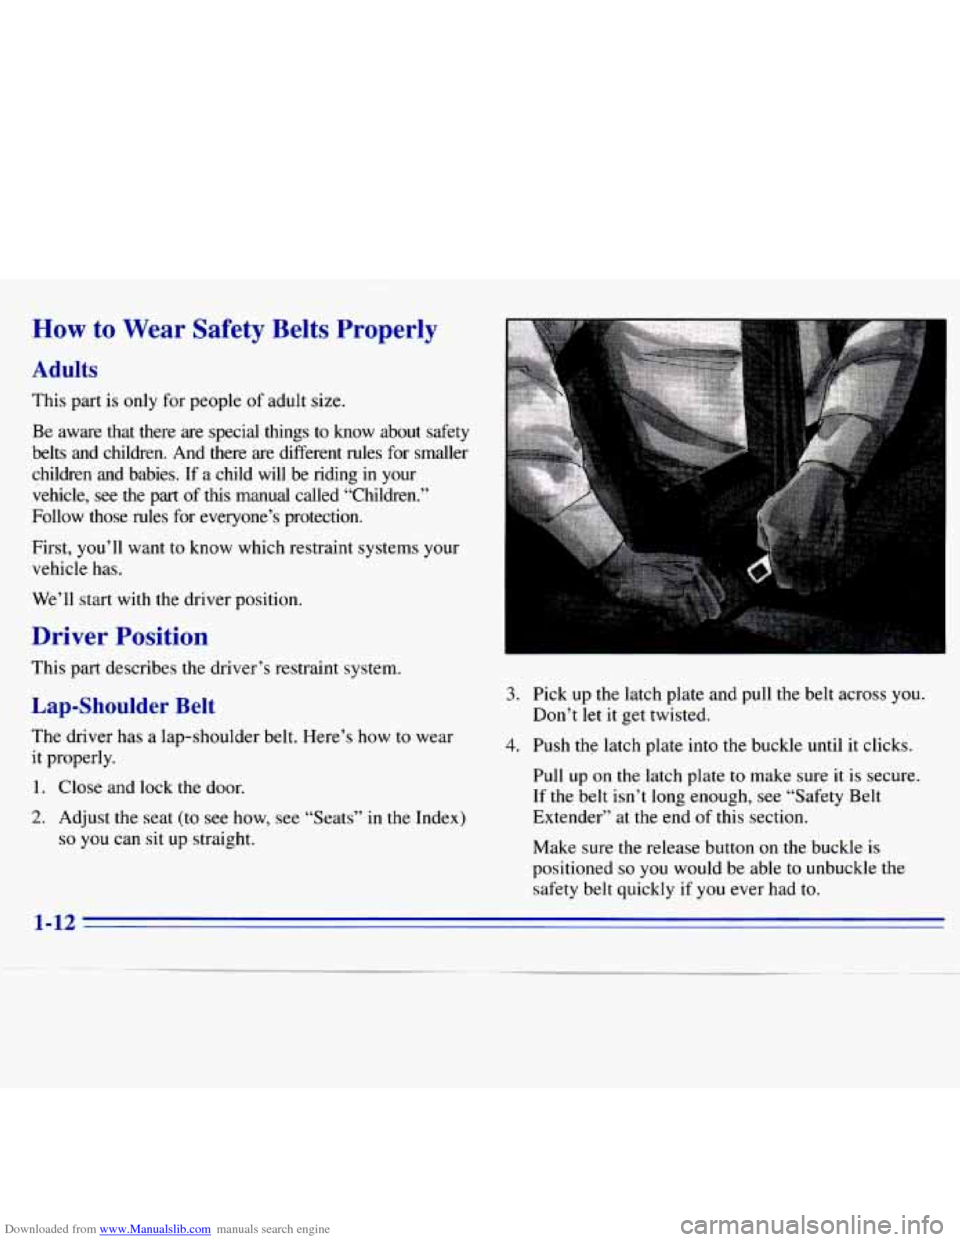
3. Pick up the latch plate and pull the belt across you.
4. Push the latch plate into the buckle until it clicks.
Don’t let it get twisted.
Pull up
on the latch plate to make sure
it is secure.
If the belt isn’t long enough, see “Safety Belt
Extender” at the end
of this section.
Make sure the release button
on the buckle is
positioned
so you would be able to unbuckle the
safety belt quickly if you ever had
to.
1-12
Page 39 of 375
Downloaded from www.Manualslib.com manuals search engine Children
Everyone in a vehicle needs protection! That includes
infants and all children smaller than adult size. In fact, the law in every state
in the United States and in every
Canadian province says children up to some age must be
restrained while in a vehicle.
Smaller Children and Babies
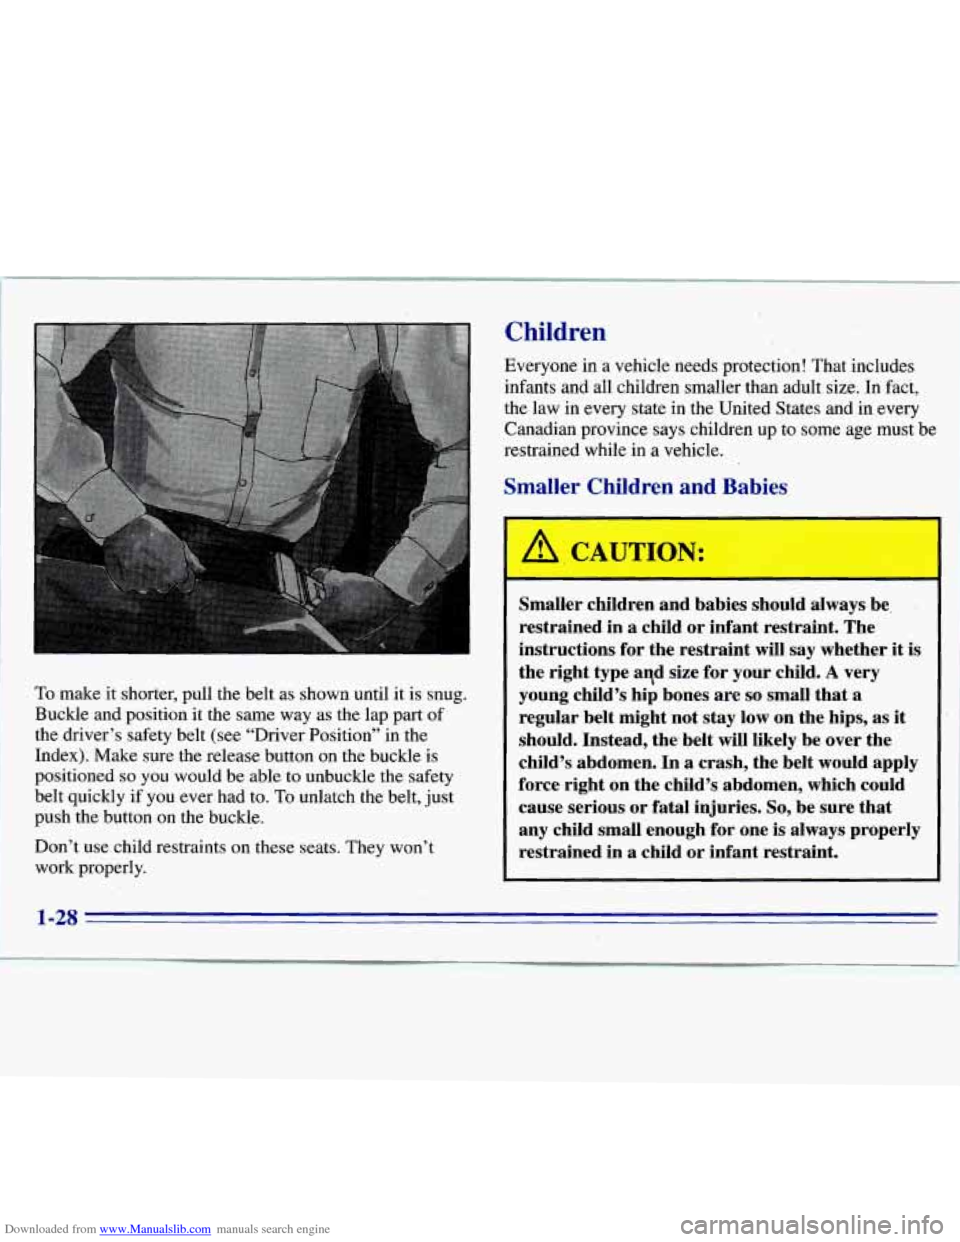
To make it shorter, pull the belt as shown until it is snug.
Buckle
and position it the same way as the lap part of
the driver’s safety belt (see “Driver Position” in the
Index), Make sure the release button on the buckle is
positioned
so you would be able to unbuckle the safety
belt quickly
if you ever had to. To unlatch the belt, just
push the button on the buckle.
Don’t use child restraints on these seats. They won’t
work properly.
I
Smaller children and babies should always be,
restrained in
a child or infant restraint. The
instructions for the restraint will say whether it is
the right type aqd size for your child.
A very
young child’s hip bones are
so small that a
regular belt might not stay low on the hips, as it
should. Instead, the, belt will likely be over the
child’s abdomen. In
a crash, the belt would apply
force right on the child’s abdomen, which could
cause serious or fatal injuries.
So, be sure that
any child small enough for one is always properly
restrained in
a child or infant restraint. 1 ,
I 1-28
Page 41 of 375
Downloaded from www.Manualslib.com manuals search engine Child Restraints
Be sure the child restraint is designed to be used in a
vehicle. If it is, it will have a label saying that it meets
Federal Motor Vehicle Safety Standards.
Then follow the instructions for the restraint. You may
find these instructions on the restraint itself or in a
booklet, or both. These restraintsuse the belt system in
your vehicle, but the child also has
to be secured within
the restraint to help reduce the chance of personal injury.
The instructions that come with the infant or child
restraint will show you how to do that.
The child restraint must be secured properly in the
center (except
60/40 bench seat) or right front passenger
seat.
If you have a 60/40 split bench seat, you must use
the right front passenger seat.
Keep in mind that an unsecured child restraint can move
around in a collision
or sudden stop and injure people in
the vehicle. Be sure to properly secure any child
restraint in your vehicle
-- even when no child is in it.
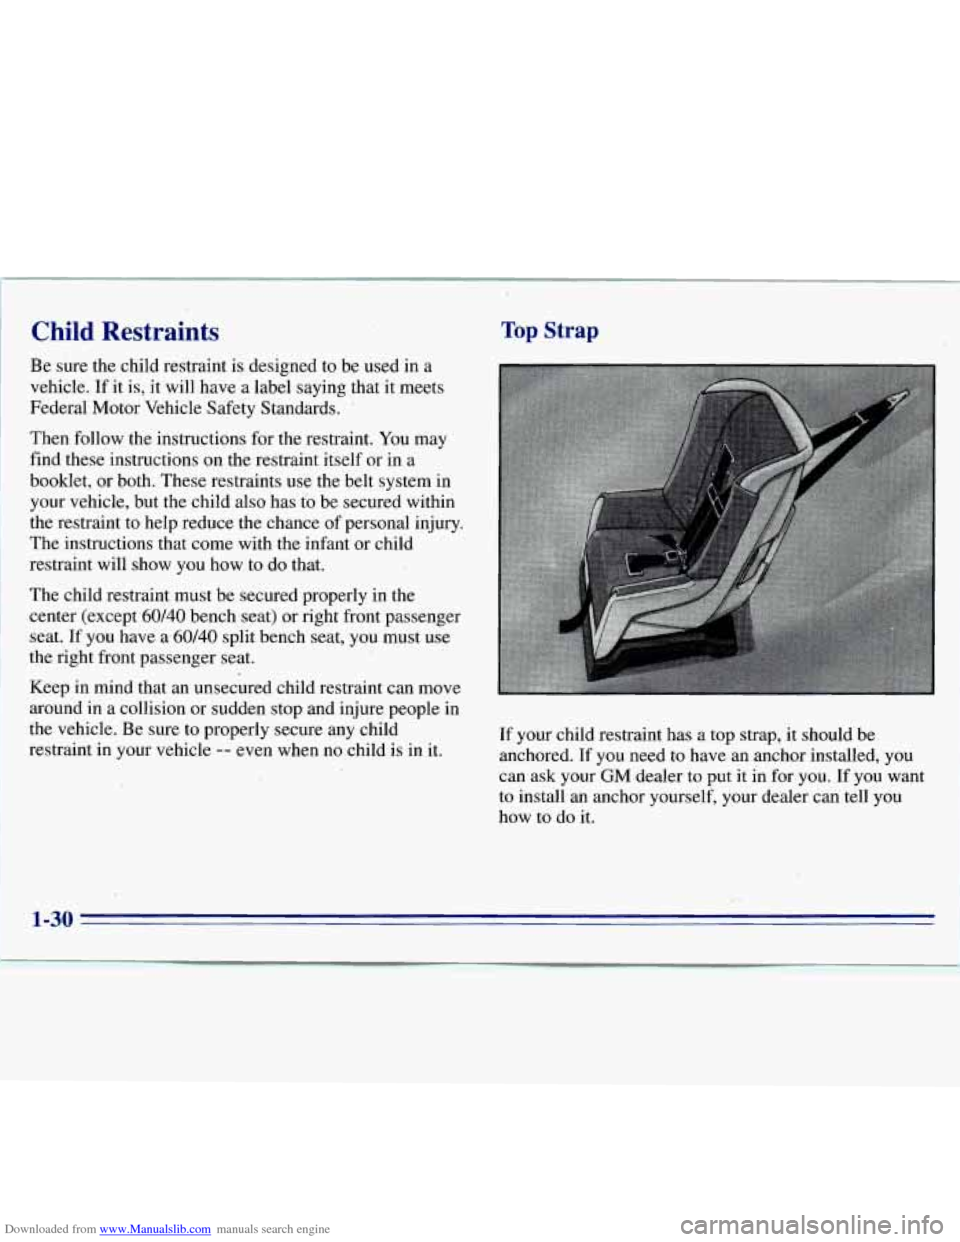
Top Strap
If your child restraint has a top strap, it should be
anchored. If you need to have an anchor installed, you
can ask your
GM dealer to put it in for you. If you want
to install an anchor yourself, your dealer can tell you
how
to do it.
,
1-30
Page 42 of 375
Downloaded from www.Manualslib.com manuals search engine Securing a Child Restraint
in the Center Seat Position
‘
(Except 60/40 Split Bench Seat) j
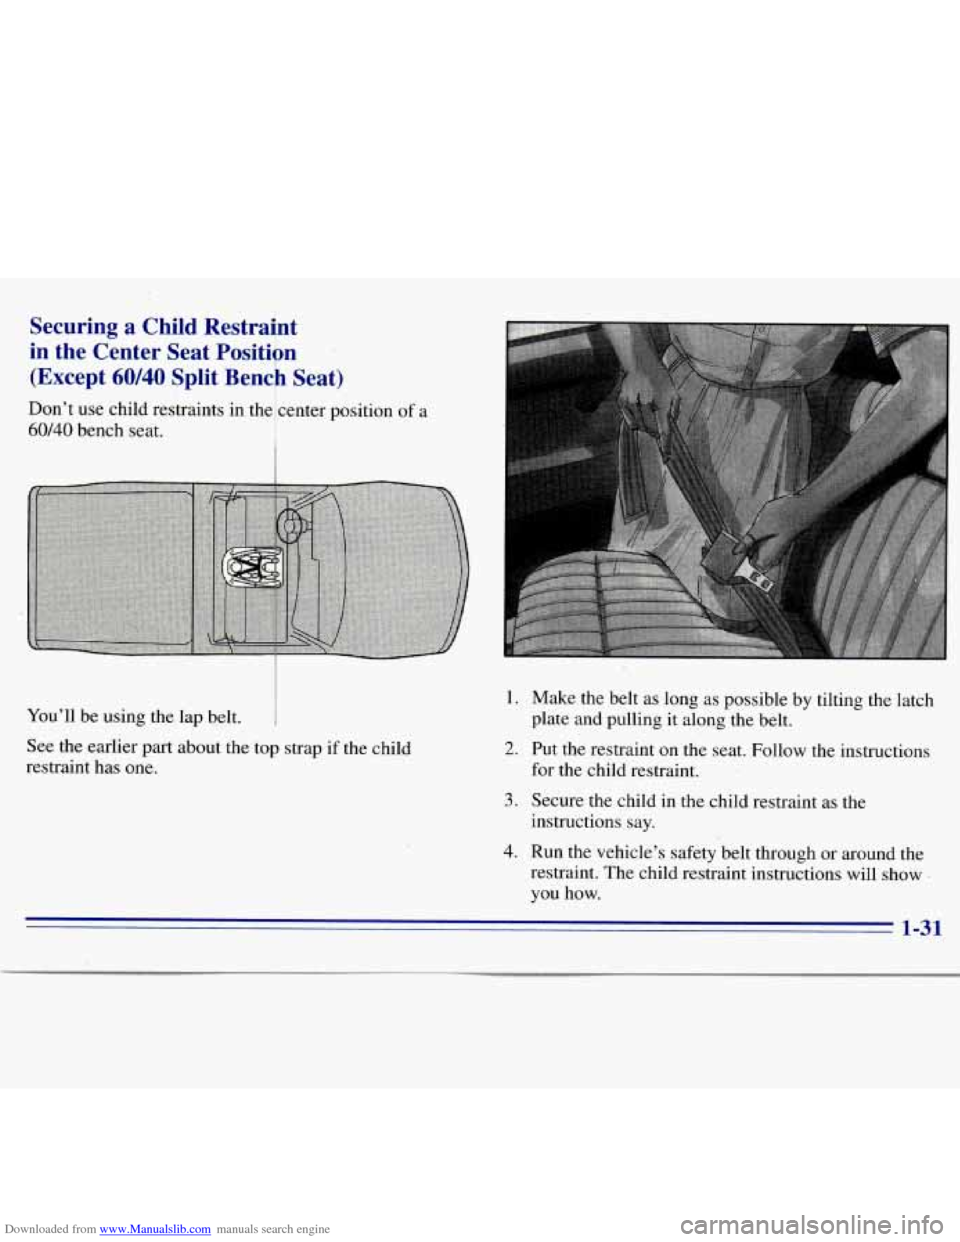
Don’t use child restraints in theicenter position of a
60140 bench seat. 1 I
You’ll be using the lap belt.
See the earlier part about the top strap if the child
restraint has one.
,,
1. Make the belt as long as possible by tilting the latch
2. Put the restraint on the seat. Follow the instructions
plate
and pulling
it along the belt.
for the child restraint.
3. Secure the child in the child.restraint as the
4. Run the vehicle’s safety’belt through or around the
restraint. The child restraint instructions will show
you how.
instructions
say.
1-31
Page 43 of 375
Downloaded from www.Manualslib.com manuals search engine 7. Push and pull the child restraint in different
directions to be sure it is secure. If it isn’t, secure
the
restraint in a different place in the vehicle and
contact
the child restraint maker for their advice
about how
to attach the child restraint properly.
To remove the child restraint, just unbuckle the vehicle’s
safety belt.
It will be ready to work for an adult or larger
child passenger.
Center Front Seat Position
(60/40 Split Bench Seat)
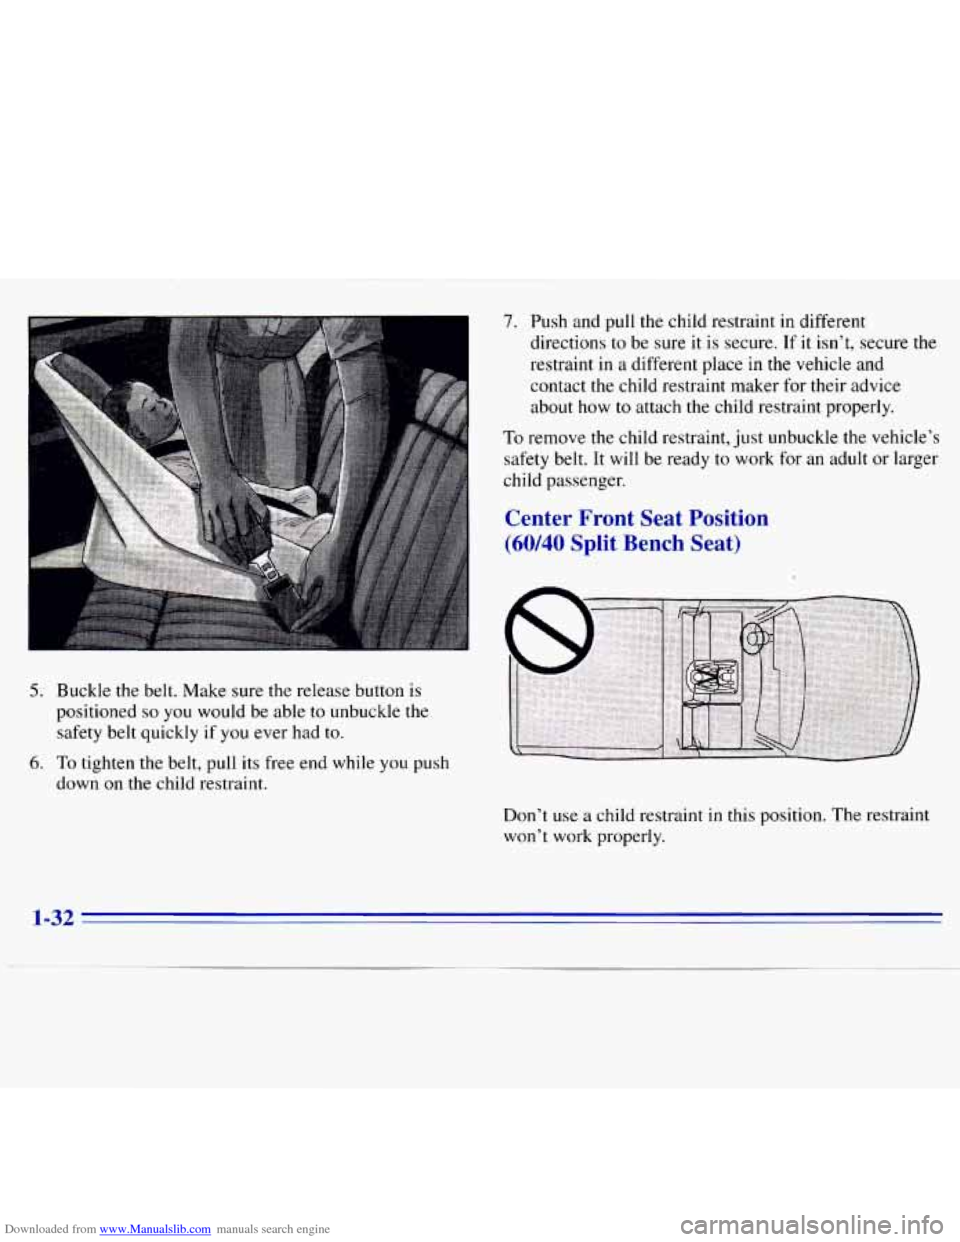
5. Buckle the belt. Make sure the release button is
positioned
so you would be able to unbuckle the
safety belt quickly if you ever had to.
6. To tighten the belt, pull its free end while you push
down
on the child restraint.
Don’t use a child restraint in
this position. The restraint
won’t work properly.
1-32
Page 44 of 375
Downloaded from www.Manualslib.com manuals search engine Jump Seats (Extended Cab)
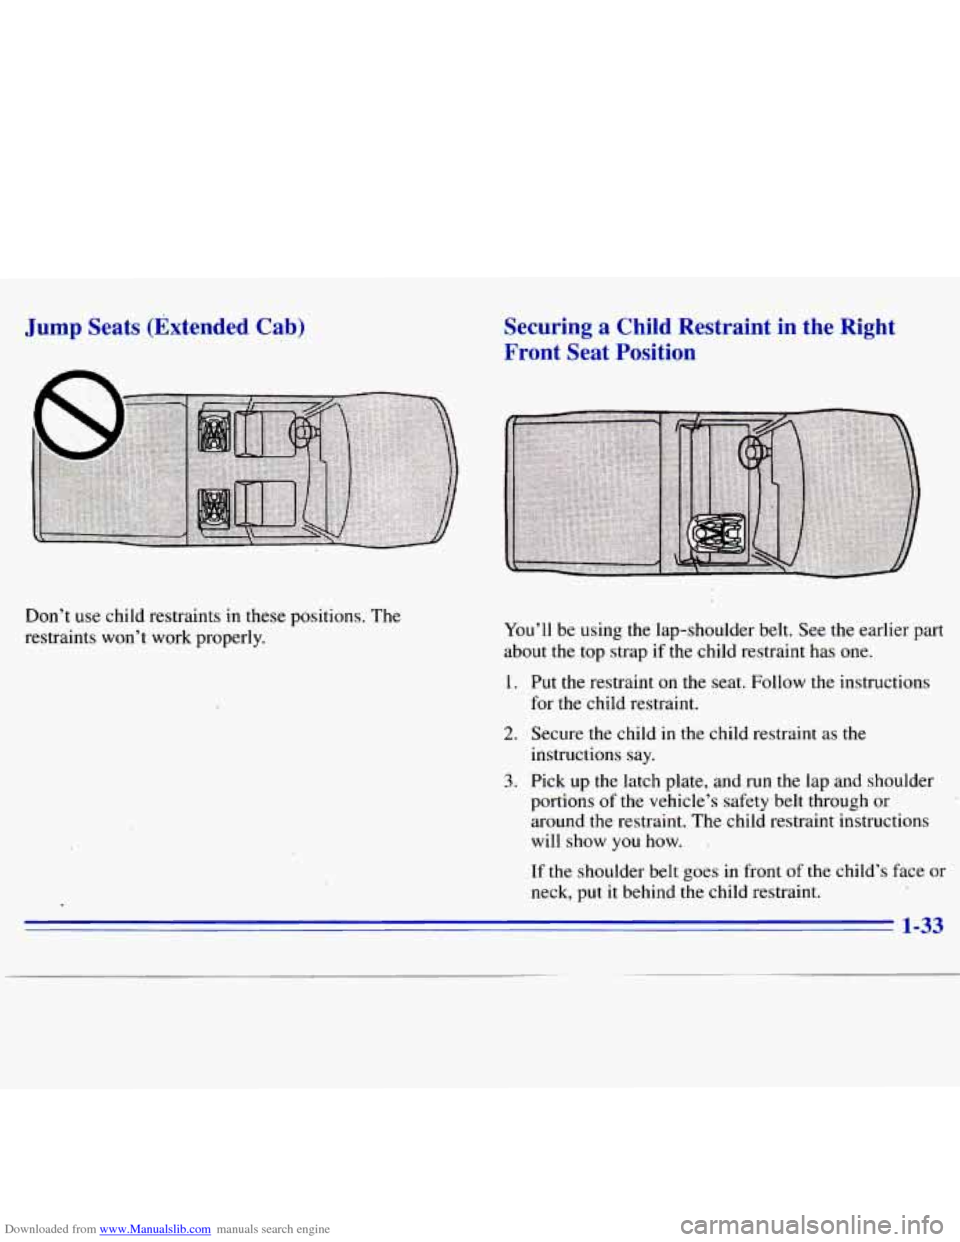
Don’t use child restraints in these positions. The
restraints won’t work properly.
Securing a Child Restraint in the Right
Front Seat Position
You’ll be using the lap-shoulder belt. See the earlier part
about the top strap if the child restraint has
one.
1. Put the restraint on the seat. Follow the instructions
for the child restraint.
2. Secure the child in the child restraint as the
instructions say.
3. Pick up the latch plate, and run the lap and shoulder
portions of the vehicle’s safety belt through or
around
the restraint. The child restraint instructions
will show
you how. .
If the shoulder belt goes in front of the child’s face or
neck, put it behind the child restraint.
Page 47 of 375
Downloaded from www.Manualslib.com manuals search engine I
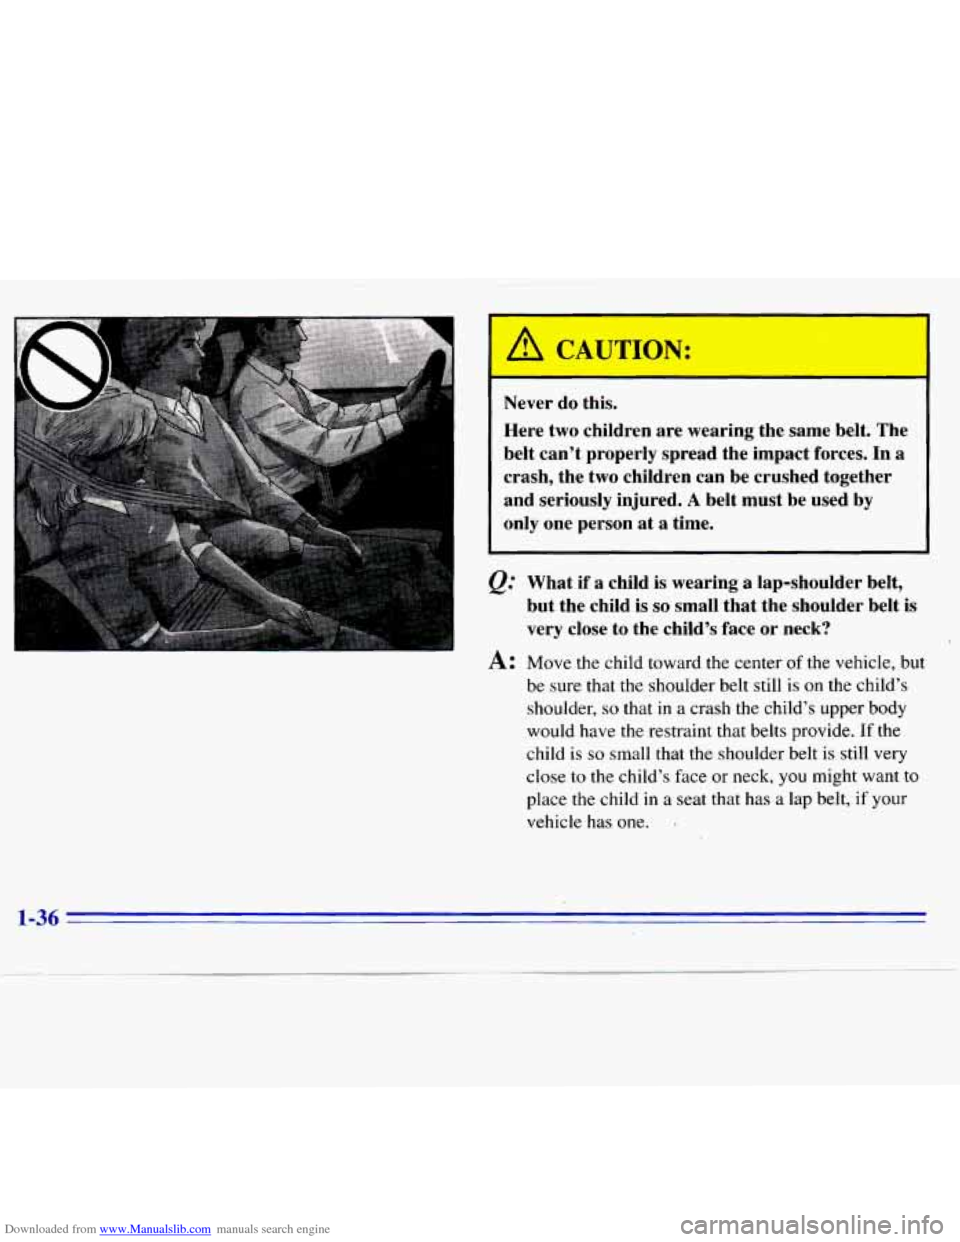
Never do this.
Here two children are wearing the same belt. The
belt can’t properly spread the impact forces.
In a
crash, the two children can be crushed together
and seriously injured.
A belt must be used by
only one person
at a time.
&= What if a child is wearing a lap-shoulder belt,
but the child
is so small that the shoulder belt is
very close to the child’s face or neck?
A: Move the child toward the center of the vehicle, but
be sure that
the shoulder belt still is on the child’s
shoulder, so that
in a crash the child’s upper body
would have the restraint that belts provide.
If the
child
is so small that the shoulder belt is still very
close to the child’s face or neck, you might want to
place the child in a seat that has a lap belt, if your
vehicle has one.
I
1-36
Page 48 of 375
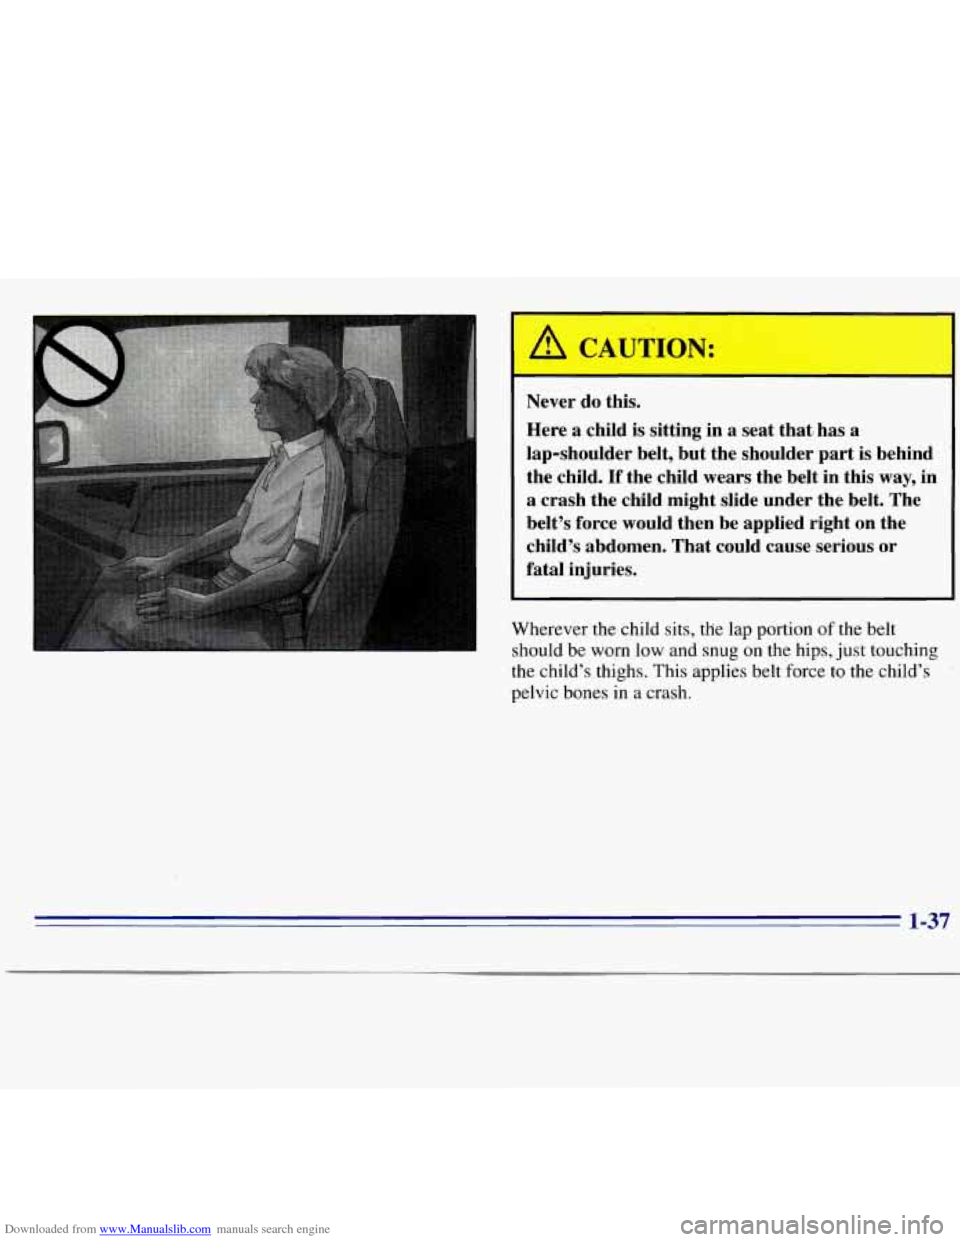
Downloaded from www.Manualslib.com manuals search engine Never do this.
Here
a child is sitting in a seat thatl has a
lap-shoulder belt, but the shoulder part is behind
the child.
If the child wears the belt in this way, in
a crash the child might slide under the belt. The
belt’s force would then be applied right on the
child’s abdomen. That could cause serious or
fatal injuries.
Wherever the child sits, the lap portion of the belt
should be worn low and snug
on the hips, just touching
the child’s thighs. This applies belt force
to the child’s
pelvic bones in
a crash.
1-37
Page 174 of 375
Downloaded from www.Manualslib.com manuals search engine ’ A CAUTIGA:
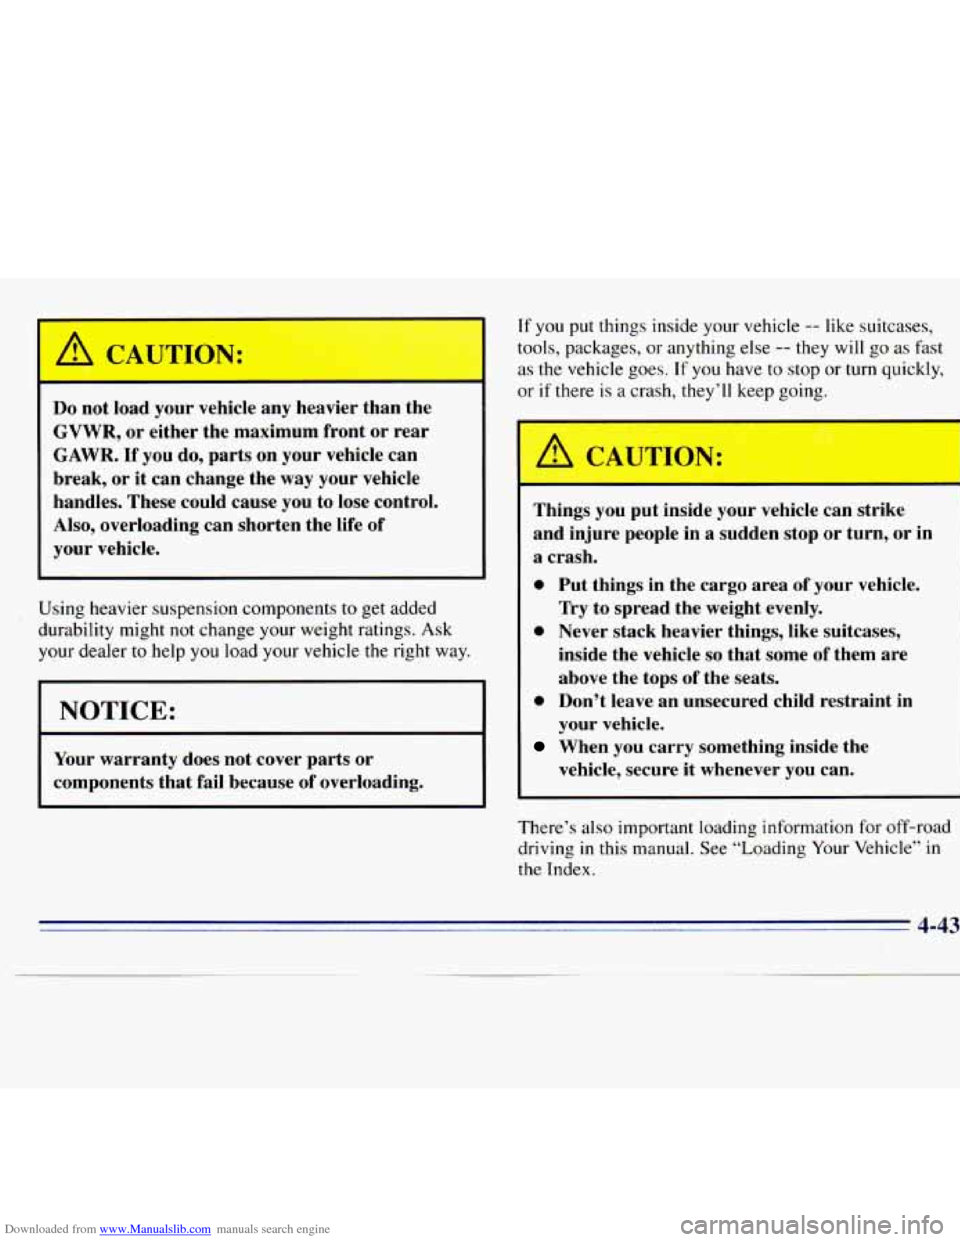
Do not load your vehicle any heavier than the
GVWR, or either the maximum front or rear
GAWR.
If you do, parts on your vehicle can
break, or it can change the
way your vehicle
handles. These could cause you to lose control.
Also, overloading can shorten the life of
your vehicle.
Using heavier suspension components to get added
durability might
not change your weight ratings. Ask
your dealer
to help you load your vehicle the right way.
NOTICE:
Your warranty does not cover parts or
components that fail because
of overloading. If
you put
things inside your vehicle -- like suitcases,
tools, packages, or anything else
-- they will go as fast
as the vehicle goes. If
you have to stop or turn quickly,
or
if there is a crash, they’ll keep going.
Things you put inside your vehicle can strike
and injure people in a sudden stop or turn, or in
a crash.
0 Put things in the cargo area of your vehicle.
0 Never stack heavier things, like suitcases,
Try to spread the weight evenly.
inside the vehicle
so that some of them are
above the tops
of the seats.
0 Don’t leave an unsecured child restraint in
your vehicle.
When you carry something inside the
vehicle, secure it whenever you can.
There’s also important loading information for off-road
driving in this manual. See “Loading Your Vehicle” in
the Index.
Page 372 of 375
Downloaded from www.Manualslib.com manuals search engine a
. Reclining Front Seatbacks ......................... 1-3
Recovery Tank. Coolant
...................... 5-13. 6-26
Recreational Vehicle Towing
....................... 4-41
Replacement Parts
............................. ... 6-67
Replacement. Wheel
............................ 6-50
Reporting Safety Defects
........................... 8-8
Child ........................................ 1-30
Replacing Parts After a Crash
................... 1-39
-! System Check ................................ 7-48
Automatic Transmission
.. , ..................... 2- 15
Recovery Hooks
....... ; ........................ 5-34
Replacement Bulbs
.............................. 6-66
Restraints Checking
.................................... 1-38
Reverse Manual Transmission
................. 8 ......... 2- 18
Right Front Passenger Position
...................... 1-25
Roadside Assistance
............................... 8-4
Canadian
.................................... 8-6
Rocking Yow Vehicle ............... ' ............ 5-34
Rotation. Tires
................................. 6-46
safety Belts
.................................... 1-7
Adults
...................................... 1-12
Center Passenger Position
...................... 1-25
Children
................................ 1-28, 1-35
DriverPosition
............................... 1-12
Extender
.........................:........... 1-38
How to Wear Properly ......................... 1 - 12
Label
...................................... 1-39
Care
........................................ 6-56 Lap Belt
............................... 1-25. 1-27
Questions and Answers
........................ 1-11
Rear Seat Passengers
.......................... 1-27
Right Front Passenger Position
................... 1-25
Use During Pregnancy ......................... 1.- 24
Safety Defects, Reporting
......................... 8-8
Safety Warnings and Symbols ....................... iii
Scheduled Maintenance Services
.................... 7-3
Lap-Shoulder
................................ 1-12
Reminder Light
......................... : 1-7, 2-53
Replacing After a Crash
......................... 1-39
Why They Work
................................ 1-8
Safety Chains
................................... 4-51
Seatback
Latches
..........,............................ l-5
Reclining Front ...... : ........................ 1-3
Seats and Restraint Systems ........................ 1-1
Manual Transmission ........................... 2-18
Service Engine Soon Light
....................... 2-57
Service Parts Identification Label
.................. 6-61
Second Gear
Automatic Transmission
....................... 2-16
Service and Appearance Care
....................... 6-1
Service Publications
.......................... : .... 8-9
Service Work, Doing Your Own
.................... 6-2
Sheet Metal Damage
.............................. 6-59
Swft Light ............................... 2-19, 2-61
Shifting
........ .4r. ............................. 2-14
Out of Park
................................... 2-28
Side Access Panel
............................... 2-4
Signaling
Turns ................................ 2-34
IntoPark
.................................... 2-26
9-8
...... . ............. .... ... - .. ... ...... .... 8.. .... .. . ....... . .... 7"' .- , .% < ! ~~ , ,