light CHEVROLET S10 1997 2.G User Guide
[x] Cancel search | Manufacturer: CHEVROLET, Model Year: 1997, Model line: S10, Model: CHEVROLET S10 1997 2.GPages: 402, PDF Size: 21.04 MB
Page 83 of 402
Downloaded from www.Manualslib.com manuals search engine Express-Down Window
The driver’s window switch also-has an express-down
feature that dows
you -to lower if witho-ut holding the
window switch. Hold the driver% window switch down for
more
than a half a se.cond..to activate the expressdown
feature. Lightly tap
the switch-to open the window slightly.
The express-down feature can
be interrupted at aily time
by pressing the up mow -end of the switch.
S.wing-Out Windows (Extended C,ab)
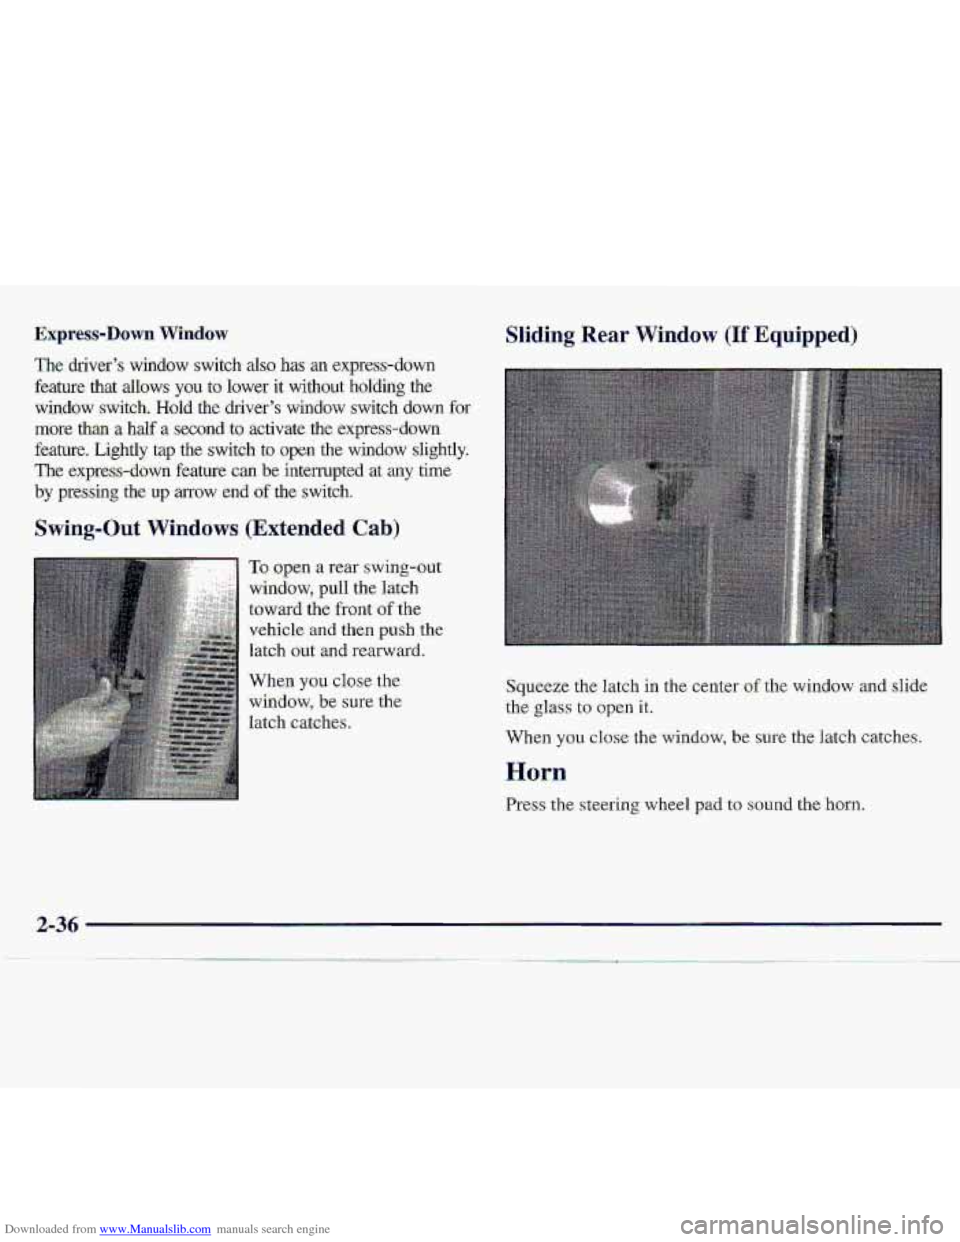
To open ‘a rear swing-out
window, pull the latch
toward the front
of the.
vehicle .and then push .the
htch out and rearward.
Whg.n you close the
window, be sure the
latch catches.
Sliding Rear Window (If Equipped)
Squeeze the latch in. the center of the window and slide
the glass to open it.
When
you close- the window, be sure the latch catches.
Horn
Press the steering wheel pad to sound the horn.
Page 85 of 402
Downloaded from www.Manualslib.com manuals search engine Turn and Lane Change Si,gnak
The turn signal has two upward (fat right) and- two
ciownwa~d
(for left) p??sitions. Tbese positions allow you
to signal a turn 0.r a.lane. change:
To signal -a turn, move the lever all the way up or down.
When the turn is finished, the lever will return aut~omatically.
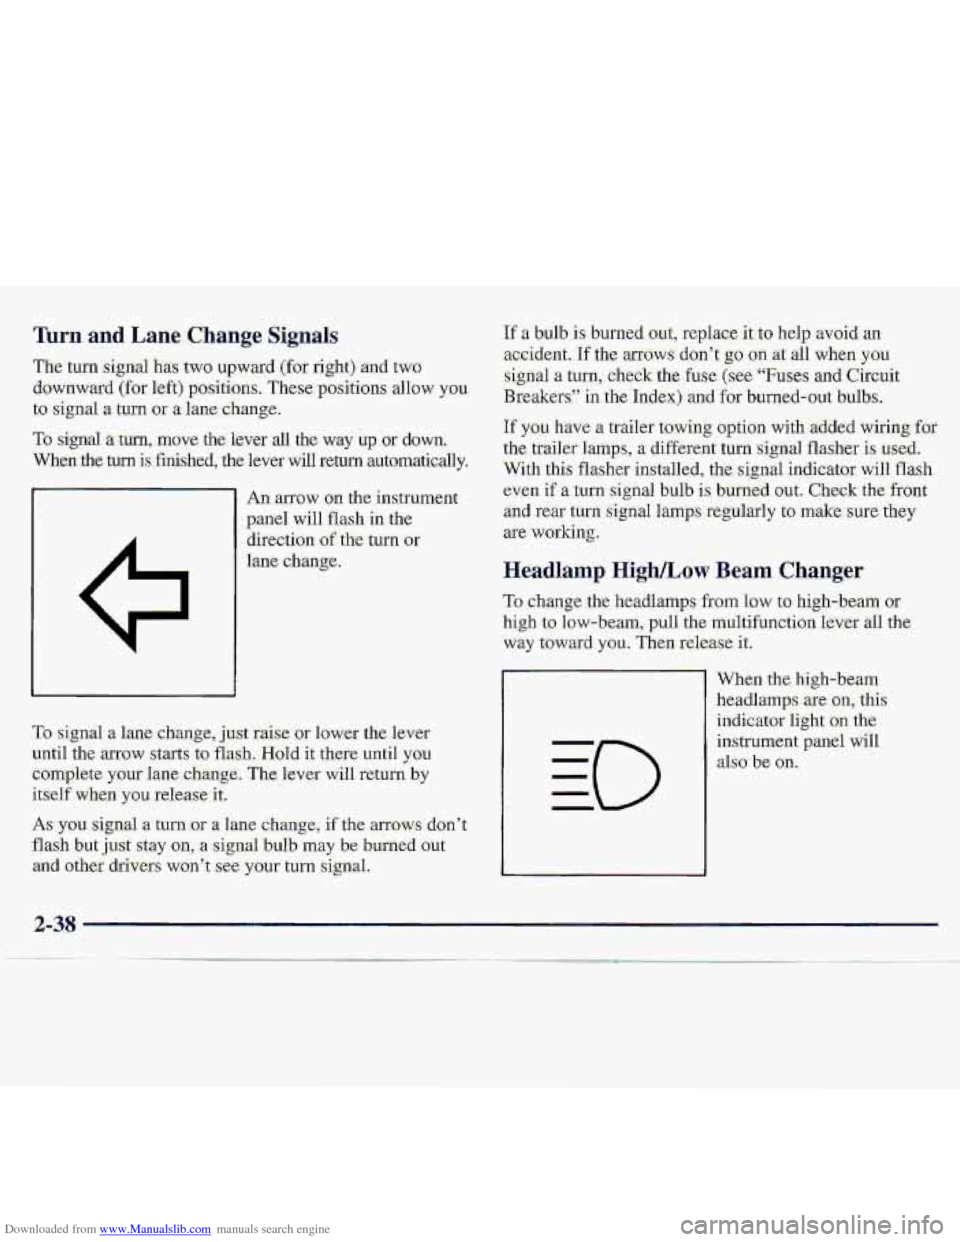
An anow on. the instrume
panel will flash in the
direction
of the- turn or
lane change.
If a bulb is: burned.out, replace it.t-o help avoid an
acc.ident. If the arfows don’t g.0 on at all when you
sign-a1 a turn, check the fuse (see “Fu-se.s and Circuit
Breakersl’ in the .Ind.ex) and for burned-oat bulbs.
If you have n trailer towing option with -added wiring, for
the. traiier%mps, a d-ifferent turn :signal flasher is used.
With this flashes installed, the signal. indicator will flash
even if a.tum
signal bulb is burllid OW. Check the-ffont
an.d rear turn signal lamps -regularly tu make sure. they
are working.
Headl-amp High/Low Beam Changer
To change the headlamps from low to high-beam or
high to low-beam, pull the multifunction lever all the
way t.oward you. Then release it.
To signa1 a Lane change, j,ust raise- or lower the. lever
until the arrow starts to flash. Hold it there until you
Complete your lane,c,hangc, The kevei- will return by
itself when you release it.
As you signal a turn -or a lane c,hange, if the armws don’t
flash but just sxay on, a signal buIb may be burned Gut
arid other. drivers won’t ,see. your turn signal.. When the.’hi.gh-beam
headlamps are
on,. this
indicator
light .OM the
instrument pgniJ will
dso be on.
..
2-38
Page 86 of 402
Downloaded from www.Manualslib.com manuals search engine Windshield. Wipers
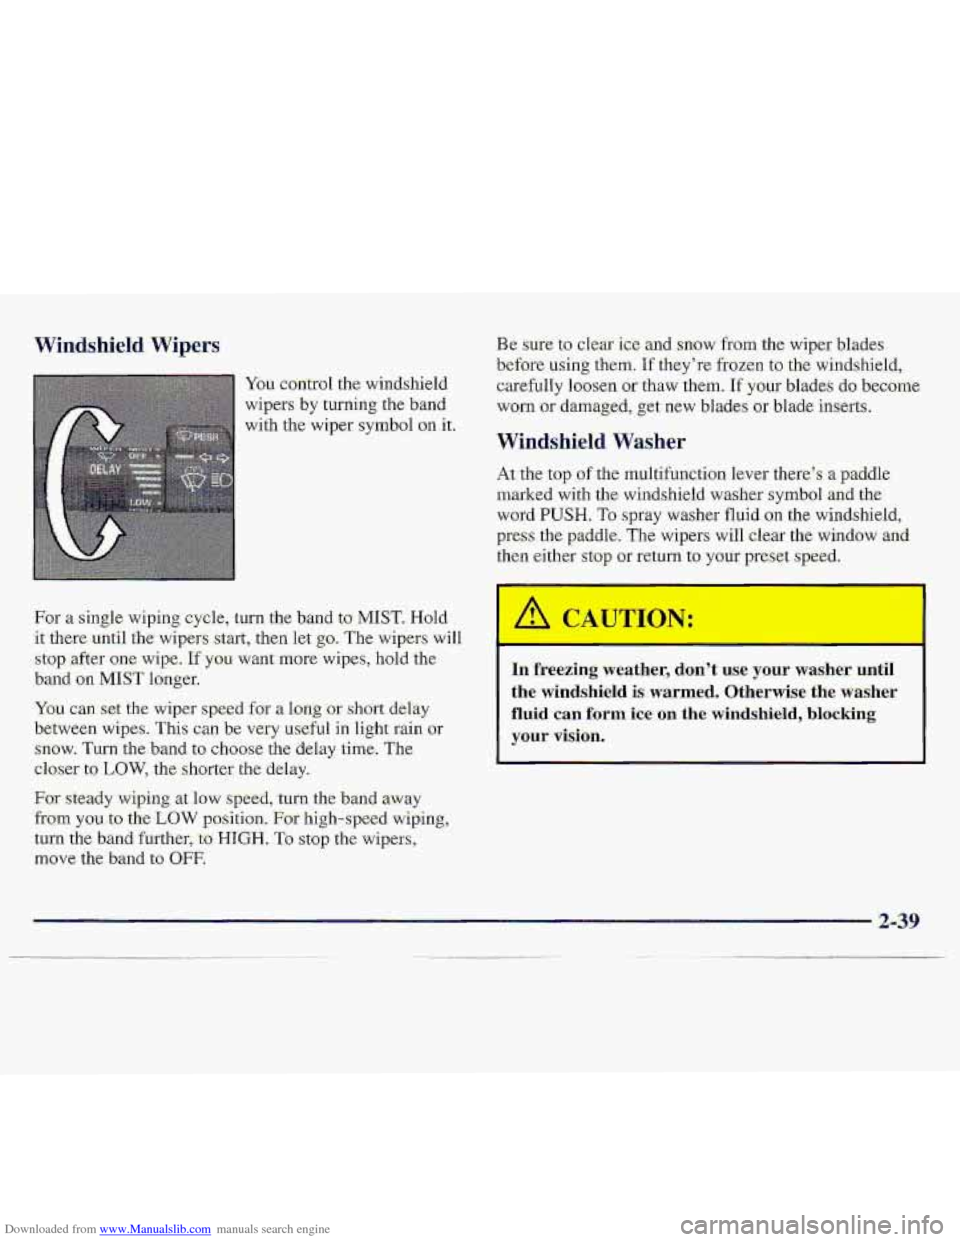
You control the windshield
wipers
by twning the band
with the wiper
symbol on it.
For
a single wiping. cycle, turn the band to MIST. Hold
it;[email protected]
the- w-ipers s-tart, then let go. Th,e wipers wilI
stop ,after one ,wipe. If you want more wipe.$, hold 'the
,band on M1.S.T longer.
You can: sex the wiper speed for a l.oq 'or short delay
between wipes. This can be very useful in light rain or
snow.
Turn the'band to choose the delay time; The
closer
to LOW, the shorter the delay.
For steady wiping at low speed, -turn .the band away
from you. to .the LOW ppsition. For high-speed wiping,,
tui-n the band further, to HIGH. To s.top the wipers,
move the band-to OFF.
Be sure to clear ic.e and snQw f'som the wiper blades
before using them. 'If they're frozen to the windshield,
careftilly loosen.
or thaw them. If your blades do become
worn
or damaged, get new blades or blade inserts.
Windshield Washes
At the top .of the multifumtion.le.ver therc's a p-addle
marked with the windshield washer
symbol and the
word PUSH. To spray washer fluid on the windshield,
press the paddle. The wipers will clear the window and.
then either stop or return to your preset speed.
I
I
10 freezing weather, don't- use your washer. until
the windshield is warmed. Otherwise the washer
fluid can. form ice on the windshield, blocking
your vision.
Page 89 of 402
Downloaded from www.Manualslib.com manuals search engine Incrleasing Speed While Using Cruise Control
There are two ways to..go: to a hi.gher speed:
U.se the ac.cel:eratsr pedal to get to the higher speed.
press the :button at the md of the lever, then reIea.se
the button and the accelerator p.edal. You'll now
cruise-at the higher
speed.
0 'Move the cruise switch froin ON to R/A. Hold it
tlwe until
y0.u get up to the speed you want, and
then
release tkswitch. (To increase your speed in
very small amounts, move the switch to
WA. Each
time you dcj this, your vehicle will g.o about 1 mph
1.4 kdh) faster;)
Reducing Speed While Using- Cruise C-ontrol
Press in the. hutton- at the endof ,the lever until you reach
the lower s.peed you want, then release it.
To slaw down in very small amounts., press the button
for
.less than a half a second. Each time you do: this,
you'll go 1 mph (1.6 km/h) slower.
Passing Another Vehicle While Using. .Cruise Contml
Use the :accelerator pe.dal to increase pur speed. When
you take your foot off the pedal, yQur vehicle will slow
down to the cmise control -speed you
set earlier:
Using Cruise. Control an Hills
How well your cruise control will work an hills depeads
upon your spee"d, load .and the steepmss of the hills.
When going. up steep
hills, you may want to step on the
accelerator pedal to maintain'your speed. When
going
downhill, you may have to bcake o? shift tba lower gear
to keep your speed down. Of course, applying the brake-
takes you out of cruise control. Many-drivers find this to
b,e too much trouble and don't use cruise cc -01 on
steep. hills.
Ending Cruise Controf
Th.ere.are. two ways to.turn off the cruise control:
O Step lightly on the brake, pedal or push .the clutch
pedal, if you have a manual transmission.
0 Move the cruise switch to OFF.
Erasing Speed Memory
When you turn off the cruise control or the ignition,
your c.ruise control set speed mernmy is erased.
2-42
Page 90 of 402
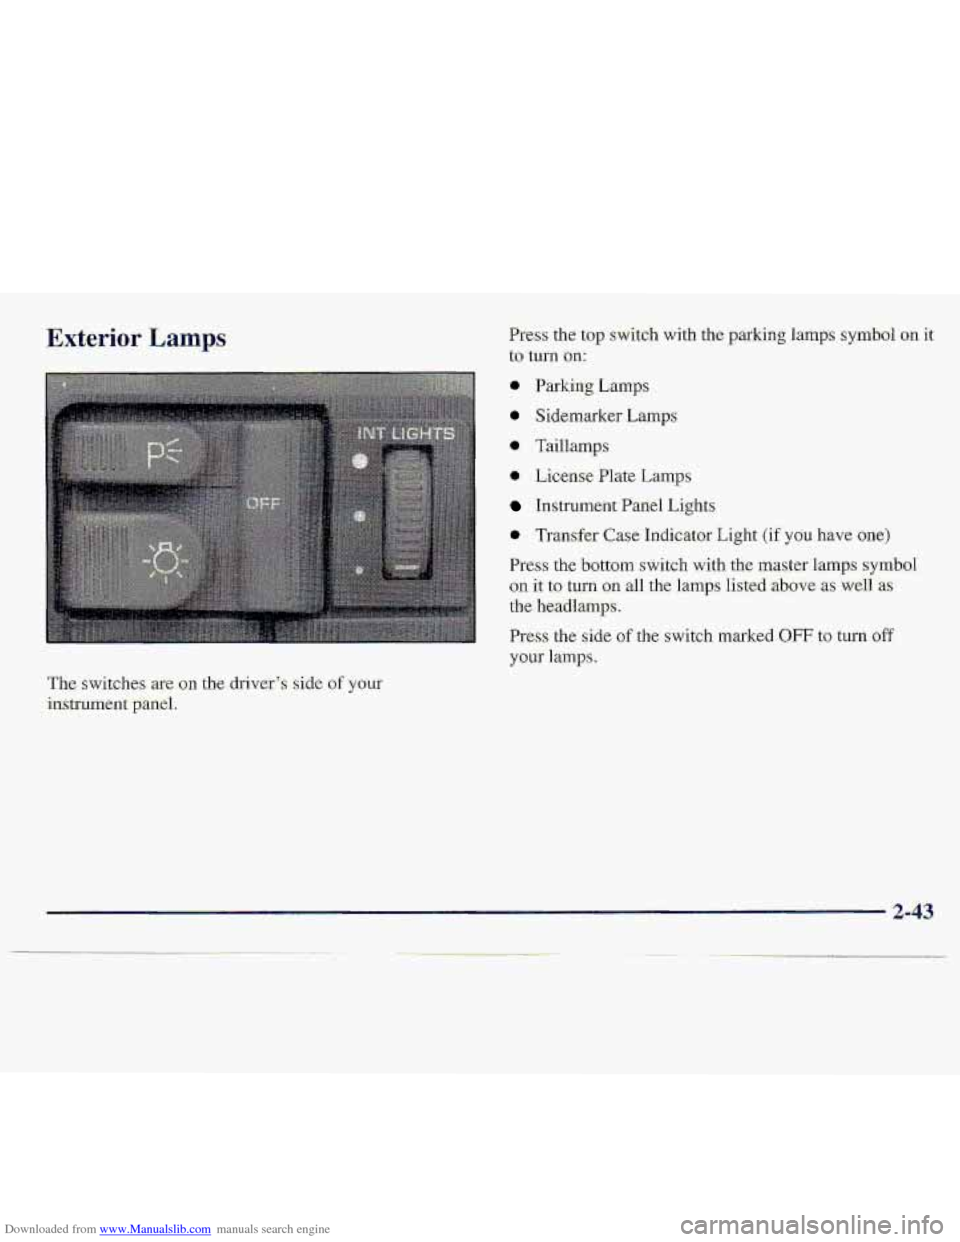
Downloaded from www.Manualslib.com manuals search engine Exterior Lamps Press the top sWitdl1 with the parking lamps symbol on it
to turn on:
@ Parking Lmps
0 Sidemarker Lamps
* Taillamp
0 License Plate Lamps
hstrument Panel Lights
0 Trmsfer Case Indicator Light (if you hgve one)
Press the bottom switch with the master 1,amps symbol
on it to tun. gn all the lamps listed -above as weli 'as
the headlamps.
Press the side of the switch marked OFF to-turn off
your 1a.mp.s.
The switches-are on the driver',$ side of your
instrument -panel.
2-43
Page 91 of 402
Downloaded from www.Manualslib.com manuals search engine Lamps On Reminder
Aren&idertone will sound when your headlamps or.
pzi&irig:.lamps ,-and interior lamps are turned on and your
ignition is
in OFF, LOCK -or ACCESS-'ORY To turn the
to.ne off, press the OFF switch.
Daytime Running Lamps,
Daytime Running Lamps (DRL) can make it easier for
dthezs to- s-eethe front of your vehicle during the day.
DRL can be helpful in many different driving
amditions,
but they can, be especially helpful in the
short periods after- dawn and before sunset.
The DRL;syste;m will make your headlamps come on at
reduced brightness when:
* the ignition is on,
the headlamp switchis off and
tkparking brake. is released.
When the DRL are on, only your he-adlamps will be on.
The taillamp, sidemarker md other lamps wan't be on,
The. instrument panel won't be lit up either.
When it begins to get dark, your DRL ifidicator light: is a
reminder to turn yoar headlamp switch .on. The other
lamp3 that come on with your headlamps will al9.0
Come on.
When you 'turn the headlmp switch .off7 the regular
lamps will g.0 off, arld:your he.adlanipS will change. to
the reduced brightness
of DRL.
Tcr: idle your vehicle with the.DRL off, set .the paking,
brake. The DRL will stay off until yab release- the
p.arking
brake,
As with any vehiclej yau:sho.uld turn on the regular
headla-mp. system. when ycwneed it.
2-44
Page 92 of 402
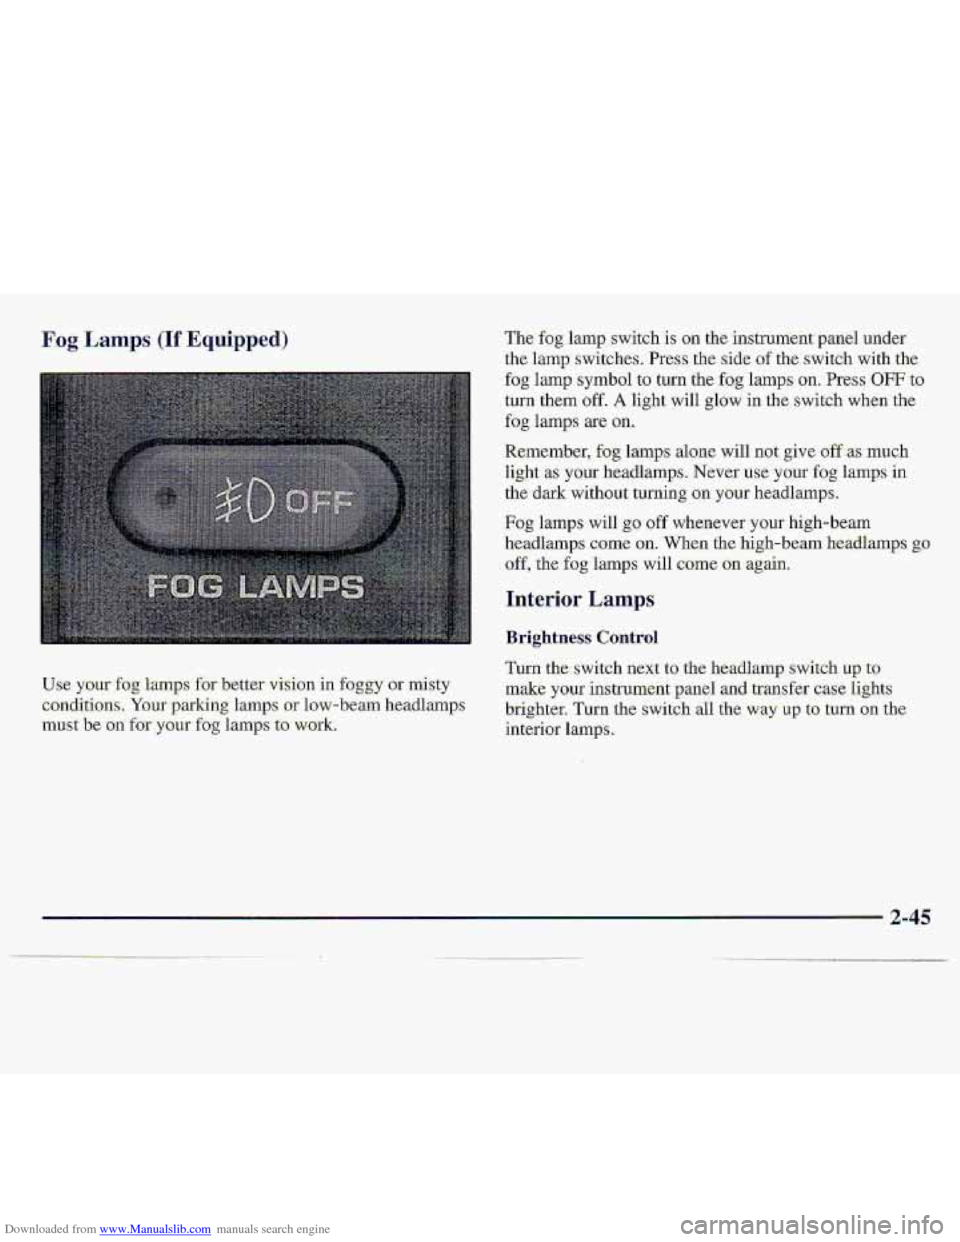
Downloaded from www.Manualslib.com manuals search engine Fog Lamps (If Equipped)
Use your fog lamps for better &ion in foggy or misty
conditi.ons. Your parking lamps or low-beam headlamps
must be on for your fog lamps to. work.
The fog lamp switch is on tne Instrument panel under
the
lamp switches. Press the side of the. switch with the
fog lamp symbol to turn the fog lamps on. Press OFF to
turn them off. A light will glow in the switch when the
fog lamps are on.
Remember, fog lamps alone will not give off as much
light
.as your headlamps. Never use your fog lamps in
the dark without turning on your headlamps.
Fog lamps will go off whenever your high-beam
headlamps come
on. When the high-beam headlamps go
off, the fog lamps will come on agah.
Interior Lamps
Brightness Control
Turn the.switch next to the headlamp switch up to
make your ,instrument panel and transfer case lights
brighter. Turn the switch all the way up to. turn on the.
interior lamps.
2-45
. . . .
Page 93 of 402
Downloaded from www.Manualslib.com manuals search engine Turn the INT LIGHTS dimer switc;h up until it clicks-
to tugn on the dome lamp.
Mirrors
Inside Daymight Rearview Mirror
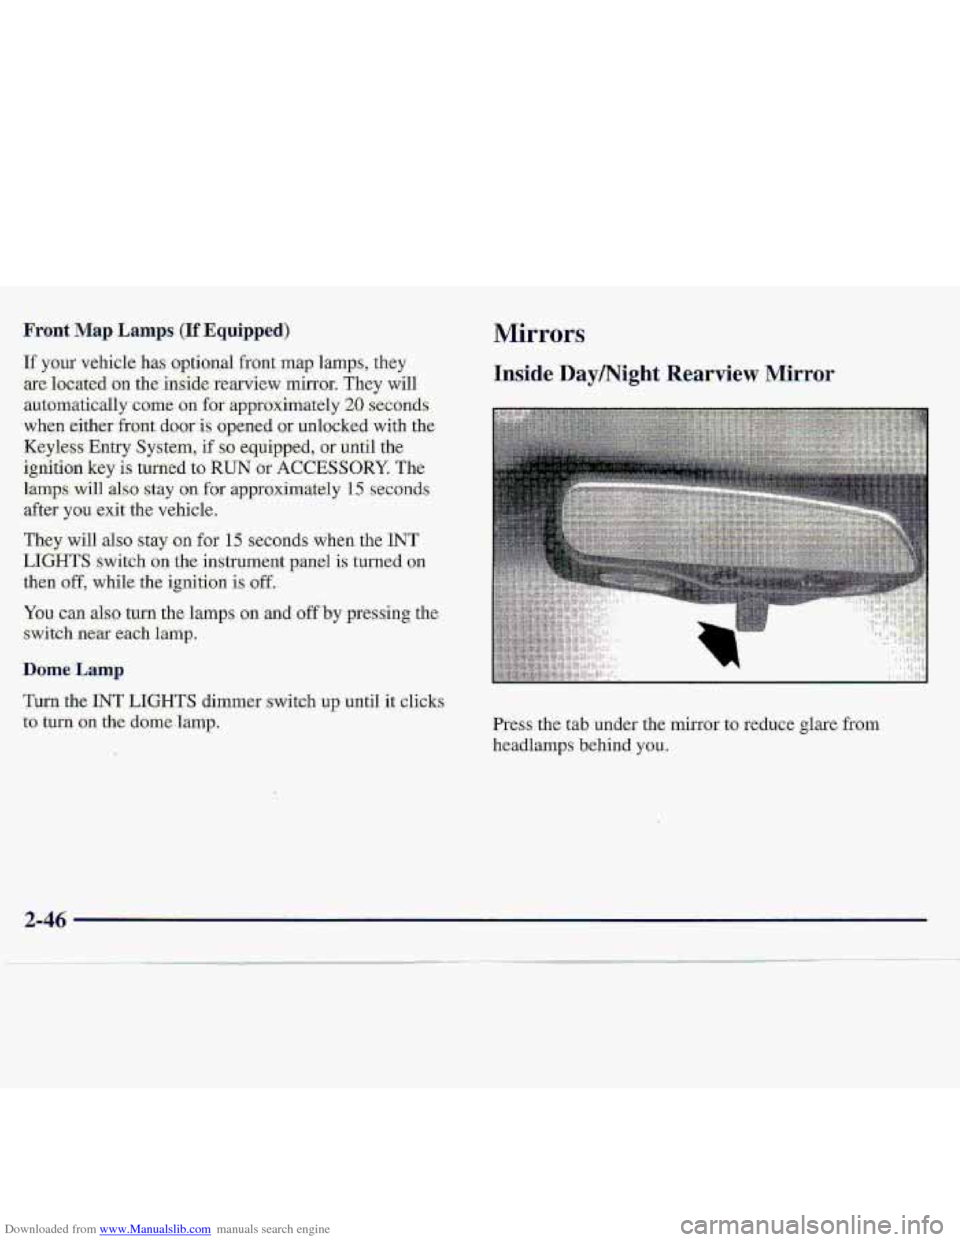
Press the tab under the .mirror to .reduce glare ftom
headlamps behind you..
2-46
Page 96 of 402
Downloaded from www.Manualslib.com manuals search engine Ashtrays, and. Cigarette .Lighter
The front:ashtray mus.t.be c:ornpletely pulled out to the
open
position before the ashtr-ay cover 0pen.s and
smoking. material can be deposited.
NOTICE:
Don't put papers and other things that burn into
NOTICE:
Don't hold a cigarette lighter in with your hand
while
it is heating. If you do, it won't be able to
back-away from the heating element when it%
feady, That can make it overload,
damaging the
lighter and the heating element.
your ashtray.
If you do, cigarettes or other
smoking materiai-s
eodd set them on fire
causing damage. I TO block out gl.are, you can swing down the top and
I
I 'I
I bottom.visors? You can also swing the bottom visor from
side
to side. Your vis'ors may have an extensimthat can
TO remove the front ashtray, lift the release tab as high be pulled our for additional glare protection and a strap
as possible, then remove the tray. for holding. small items, such as 'maps.
To use, the lighter, press it in all the way, and let go.
When it's rezdy, it will pop back by itself. Visar 'Vanity Mirror
Full the sun visor down and lift the. cover to e.xpose tbe
vanity mirror.
2-49
.
Page 97 of 402
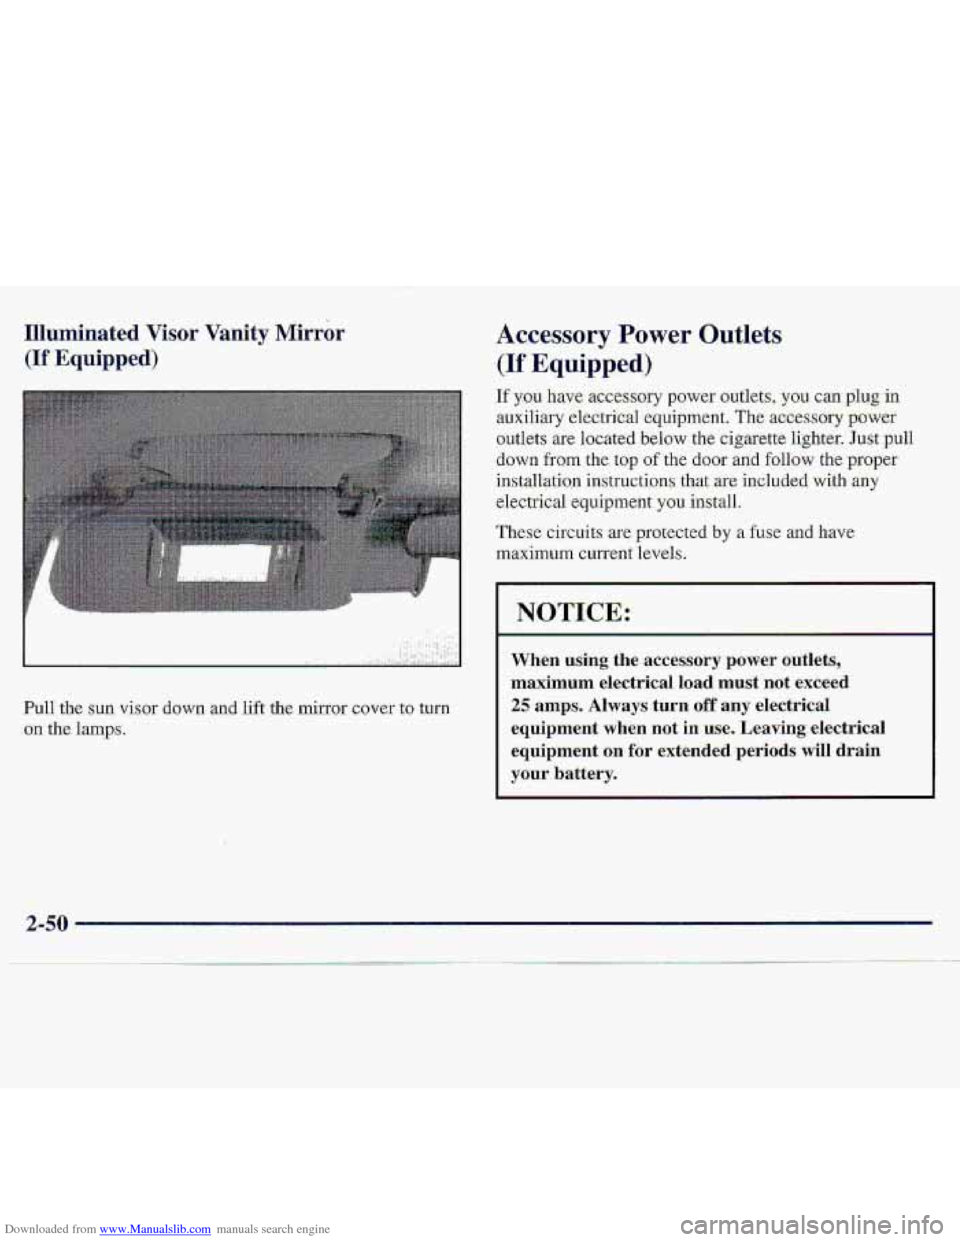
Downloaded from www.Manualslib.com manuals search engine Illuminated Visor Vanity Mirror Accessory Power Outlets
(If Equipped) (If Equipped)
If y.ou have accessory power outlets, you can plug-in
auxiliary electrical equipment. The acc'essary power
outlets are located below the cigarette lighter. Just pull
down
from the: top of the door and follow the proper
installatian instructions
that are included with any
e1ectric.al equipment you install.
These circuits
are protected by a fBSe .. and. have
maximum current levels.
NOTICE:
When using the accessory power outlets,
maximum electrical load must
not .exceed
Pull the sun vkor down and lift the mirror cover to turn 25 amps. Always turn off any electrical
on the lamps. equipment when not in use. Leaving electrical
equipm-ent
on far extended periods will drain
your battery.