trailer CHEVROLET SILVERADO 2500 2023 Owner's Manual
[x] Cancel search | Manufacturer: CHEVROLET, Model Year: 2023, Model line: SILVERADO 2500, Model: CHEVROLET SILVERADO 2500 2023Pages: 441, PDF Size: 14.4 MB
Page 236 of 441
Chevrolet Silverado 2500 HD/3500 HD Owner Manual (GMNA-Localizing-U.
S./Canada/Mexico-15546003) - 2022 - CRC - 5/5/21
Driving and Operating 235
When the vehicle was produced, it came
with the auto-shutdown feature enabled.
If you are not the primary owner of your
vehicle, please note that this feature may
have been disabled by a previous owner.
The vehicle owners can have this feature
re-enabled at owner cost at any GM service
center.
Engine Exhaust{
Warning
Engine exhaust contains carbon monoxide
(CO), which cannot be seen or smelled.
Exposure to CO can cause
unconsciousness and even death.
Exhaust may enter the vehicle if:
.The vehicle idles in areas with poor
ventilation (parking garages, tunnels,
deep snow that may block underbody
airflow or tail pipes).
.The exhaust smells or sounds strange
or different.
.The exhaust system leaks due to
corrosion or damage. (Continued)
Warning (Continued)
.The vehicle exhaust system has been
modified, damaged, or improperly
repaired.
.There are holes or openings in the
vehicle body from damage or
aftermarket modifications that are not
completely sealed.
If unusual fumes are detected or if it is
suspected that exhaust is coming into the
vehicle:
.Drive it only with the windows
completely down.
.Have the vehicle repaired immediately.
Never park the vehicle with the engine
running in an enclosed area such as a
garage or a building that has no fresh air
ventilation.
Running the Vehicle While Parked
It is better not to park with the engine
running. If the vehicle is left with the engine running,
follow the proper steps to be sure the
vehicle will not move. See
Shifting Into Park
0 233 and
Engine Exhaust 0235.
If parking on a hill and pulling a trailer, see
Driving Characteristics and Towing Tips
0 274.
Automatic Transmission
If equipped, there is an electronic shift lever
position indicator within the instrument
cluster. This display comes on when the
ignition is in ACC/ACCESSORY, on or
service mode.
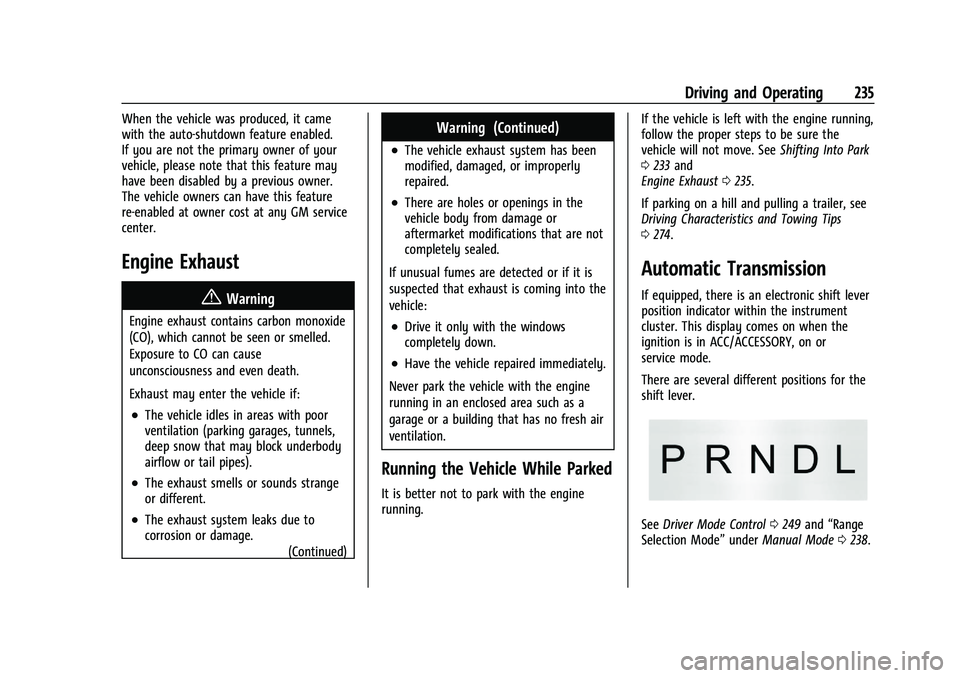
There are several different positions for the
shift lever.
See Driver Mode Control 0249 and “Range
Selection Mode” underManual Mode 0238.
Page 238 of 441
Chevrolet Silverado 2500 HD/3500 HD Owner Manual (GMNA-Localizing-U.
S./Canada/Mexico-15546003) - 2022 - CRC - 5/5/21
Driving and Operating 237
Caution
Shifting out of P (Park) or N (Neutral) with
the engine running at high speed may
damage the transmission. The repairs
would not be covered by the vehicle
warranty. Be sure the engine is not
running at high speed when shifting the
vehicle.
Caution
A transmission hot message may display
if the automatic transmission fluid is too
hot. Driving under this condition can
damage the vehicle. Stop and idle the
engine to cool the automatic
transmission fluid. This message clears
when the transmission fluid has cooled
sufficiently.D :
This position is for normal driving.
It provides the best fuel economy. If more
power is needed for passing, press the
accelerator pedal down.
.When going less than about 55 km/h (35
mph), push the accelerator pedal about
halfway down.
.When going about 55 km/h (35 mph) or
more, push the accelerator all the
way down.
By doing this, the vehicle shifts down to
the next gear and has more power.
Use D (Drive) and Tow/Haul Mode when
towing a trailer, carrying a heavy load,
driving on steep hills, or driving off-road.
Shift the transmission to a lower gear if the
transmission shifts too often.
Downshifting the transmission in slippery
road conditions could result in skidding. See
“Skidding” underLoss of Control 0213. The vehicle has a shift stabilization feature
that adjusts the transmission shifting to the
current driving conditions in order to reduce
rapid upshifts and downshifts. This shift
stabilization feature is designed to
determine, before making an upshift, if the
engine is able to maintain vehicle speed by
analyzing things such as vehicle speed,
throttle position, and vehicle load. If the
shift stabilization feature determines that a
current vehicle speed cannot be maintained,
the transmission does not upshift and
instead holds the current gear. In some
cases, this could appear to be a delayed
shift, however the transmission is operating
normally.
The transmission uses adaptive shift
controls. The adaptive shift control process
continually compares key shift parameters
to pre-programmed ideal shifts stored in the
transmission’s computer. The transmission
constantly makes adjustments to improve
vehicle performance according to how the
vehicle is being used, such as with a heavy
load or when the temperature changes.
During this adaptive shift control process,
shifting might feel different as the
transmission determines the best settings.
Page 239 of 441
Chevrolet Silverado 2500 HD/3500 HD Owner Manual (GMNA-Localizing-U.
S./Canada/Mexico-15546003) - 2022 - CRC - 5/5/21
238 Driving and Operating
When temperatures are very cold, the
transmission's gear shifting could be delayed
providing more stable shifts until the engine
warms up. Shifts could be more noticeable
with a cold transmission. This difference in
shifting is normal.
L :This position allows selection of a range
of gears appropriate for current driving
conditions. If equipped, see “Range Selection
Mode” underManual Mode 0238.
Caution
Spinning the tires or holding the vehicle
in one place on a hill using only the
accelerator pedal may damage the
transmission. The repair will not be
covered by the vehicle warranty. If the
vehicle is stuck, do not spin the tires.
When stopping on a hill, use the brakes
to hold the vehicle in place.
Manual Mode
Range Selection Mode
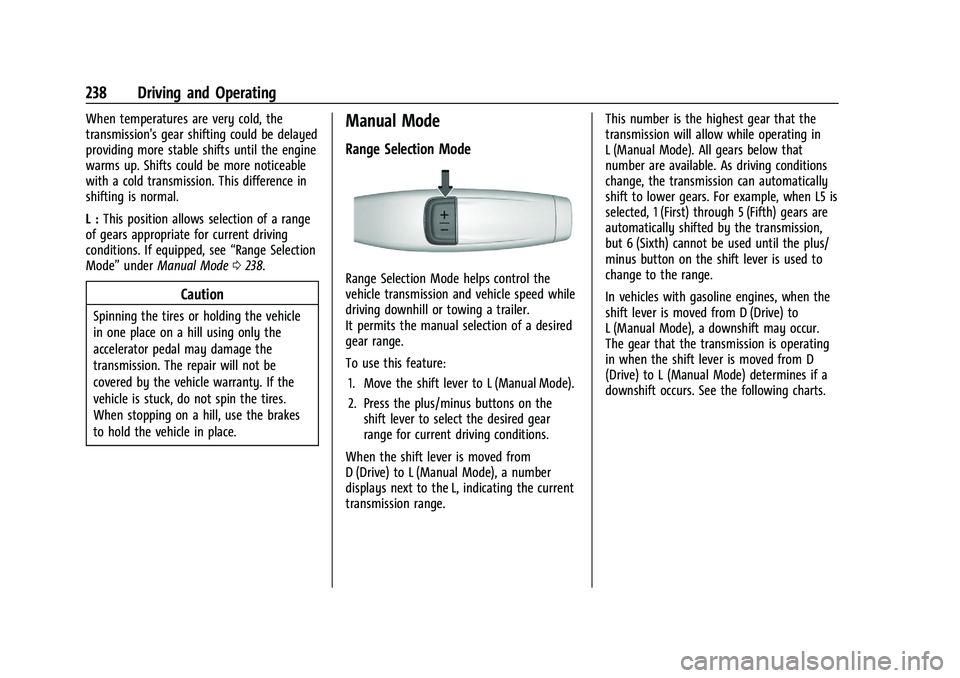
Range Selection Mode helps control the
vehicle transmission and vehicle speed while
driving downhill or towing a trailer.
It permits the manual selection of a desired
gear range.
To use this feature:
1. Move the shift lever to L (Manual Mode).
2. Press the plus/minus buttons on the shift lever to select the desired gear
range for current driving conditions.
When the shift lever is moved from
D (Drive) to L (Manual Mode), a number
displays next to the L, indicating the current
transmission range. This number is the highest gear that the
transmission will allow while operating in
L (Manual Mode). All gears below that
number are available. As driving conditions
change, the transmission can automatically
shift to lower gears. For example, when L5 is
selected, 1 (First) through 5 (Fifth) gears are
automatically shifted by the transmission,
but 6 (Sixth) cannot be used until the plus/
minus button on the shift lever is used to
change to the range.
In vehicles with gasoline engines, when the
shift lever is moved from D (Drive) to
L (Manual Mode), a downshift may occur.
The gear that the transmission is operating
in when the shift lever is moved from D
(Drive) to L (Manual Mode) determines if a
downshift occurs. See the following charts.
Page 247 of 441
Chevrolet Silverado 2500 HD/3500 HD Owner Manual (GMNA-Localizing-U.
S./Canada/Mexico-15546003) - 2022 - CRC - 5/5/21
246 Driving and Operating
If the EPB is applied while the vehicle is
moving, the vehicle will decelerate as long
as the switch is pressed. If the switch is
pressed until the vehicle comes to a stop,
the EPB will remain applied.
The vehicle may automatically apply the EPB
in some situations when the vehicle is not
moving. This is normal, and is done to
periodically check the correct operation of
the EPB system, or at the request of other
safety functions that utilize the EPB.
If the EPB fails to apply, block the rear
wheels to prevent vehicle movement.
EPB Release
To release the EPB:1. Turn the ignition on or to ACC/ ACCESSORY.
2. Apply and hold the brake pedal.
3. Press the EPB switch momentarily.
The EPB is released when the red parking
brake status light is off.
If the amber service parking brake warning
light is on, release the EPB by pressing and
holding the EPB switch. Continue to hold the
switch until the red parking brake status
light is off. If either light stays on after
release is attempted, see your dealer.
Caution
Driving with the parking brake on can
overheat the brake system and cause
premature wear or damage to brake
system parts. Make sure that the parking
brake is fully released and the brake
warning light is off before driving.
If you are towing a trailer and parking on a
hill, see Driving Characteristics and Towing
Tips 0274.
Automatic EPB Release
The EPB will automatically release if the
vehicle is running, placed into gear, and an
attempt is made to drive away. Avoid rapid
acceleration when the EPB is applied, to
preserve parking brake lining life.
Brake Assist
Brake Assist detects rapid brake pedal
applications due to emergency braking
situations and provides additional braking to
activate the Antilock Brake System (ABS) if
the brake pedal is not pushed hard enough
to activate ABS normally. Minor noise, brake
pedal pulsation, and/or pedal movement
during this time may occur. Continue to apply the brake pedal as the driving
situation dictates. Brake Assist disengages
when the brake pedal is released.
Hill Start Assist (HSA)
{Warning
Do not rely on the HSA feature. HSA does
not replace the need to pay attention
and drive safely. You may not hear or
feel alerts or warnings provided by this
system. Failure to use proper care when
driving may result in injury, death,
or vehicle damage. See
Defensive Driving
0 211.
When the vehicle is stopped on a grade, Hill
Start Assist (HSA) prevents the vehicle from
rolling in an unintended direction during the
transition from brake pedal release to
accelerator pedal apply. The brakes release
when the accelerator pedal is applied. If the
accelerator pedal is not applied within a few
minutes, the Electric Parking Brake will
apply. The brakes may also release under
other conditions. Do not rely on HSA to hold
the vehicle.
Page 248 of 441
Chevrolet Silverado 2500 HD/3500 HD Owner Manual (GMNA-Localizing-U.
S./Canada/Mexico-15546003) - 2022 - CRC - 5/5/21
Driving and Operating 247
HSA is available when the vehicle is facing
uphill in a forward gear, or when facing
downhill in R (Reverse). The vehicle must
come to a complete stop on a grade for HSA
to activate.
Ride Control Systems
Traction Control/Electronic
Stability Control
System Operation
The vehicle has a Traction Control System
(TCS) and StabiliTrak/Electronic Stability
Control (ESC) system. These systems help
limit wheel spin and assist the driver in
maintaining control, especially on slippery
road conditions.
TCS activates if it senses any of the drive
wheels are spinning or beginning to lose
traction. When this happens, TCS applies the
brakes to the spinning wheels and reduces
engine power to limit wheel spin.
StabiliTrak/ESC activates when the vehicle
senses a difference between the intended
path and the direction the vehicle is actually
traveling. StabiliTrak/ESC selectively applies
braking pressure to any one of the vehicle
wheel brakes to assist the driver in keepingthe vehicle on the intended path. Trailer
Sway Control (TSC) is also on automatically
when the vehicle is started. See
Trailer Sway
Control (TSC) 0291.
If cruise control is being used and traction
control or StabiliTrak/ESC begins to limit
wheel spin, cruise control will disengage.
Cruise control may be turned back on when
road conditions allow.
Both systems come on automatically when
the vehicle is started and begins to move.
The systems may be heard or felt while
they are operating or while performing
diagnostic checks. This is normal and does
not mean there is a problem with the
vehicle.
It is recommended to leave both systems on
for normal driving conditions, but it may be
necessary to turn TCS off if the vehicle gets
stuck in sand, mud, ice, or snow. See If the
Vehicle Is Stuck 0219 and “Turning the
Systems Off and On” later in this section.
When the transfer case (if equipped) is in
Four-Wheel Drive Low, the stability system
is automatically disabled,
gcomes on, and
the appropriate message will appear on the Driver Information Center (DIC). Both
traction control and StabiliTrak/ESC are
automatically disabled in this condition.
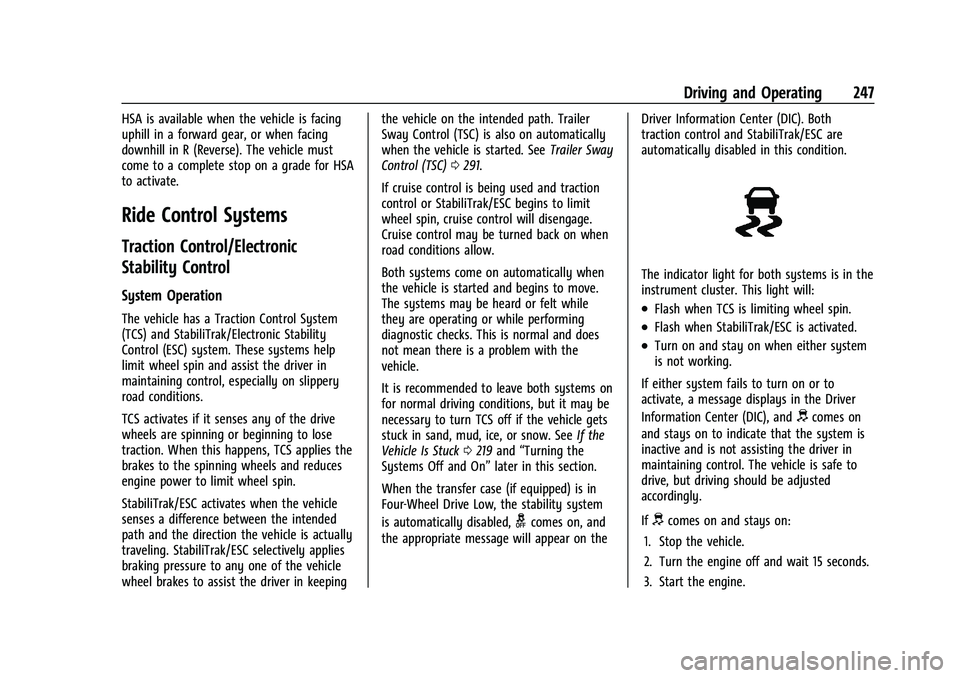
The indicator light for both systems is in the
instrument cluster. This light will:
.Flash when TCS is limiting wheel spin.
.Flash when StabiliTrak/ESC is activated.
.Turn on and stay on when either system
is not working.
If either system fails to turn on or to
activate, a message displays in the Driver
Information Center (DIC), and
dcomes on
and stays on to indicate that the system is
inactive and is not assisting the driver in
maintaining control. The vehicle is safe to
drive, but driving should be adjusted
accordingly.
If
dcomes on and stays on:
1. Stop the vehicle.
2. Turn the engine off and wait 15 seconds.
3. Start the engine.
Page 249 of 441
Chevrolet Silverado 2500 HD/3500 HD Owner Manual (GMNA-Localizing-U.
S./Canada/Mexico-15546003) - 2022 - CRC - 5/5/21
248 Driving and Operating
Drive the vehicle. Ifdcomes on and stays
on, the vehicle may need more time to
diagnose the problem. If the condition
persists, see your dealer.
Turning the Systems Off and On
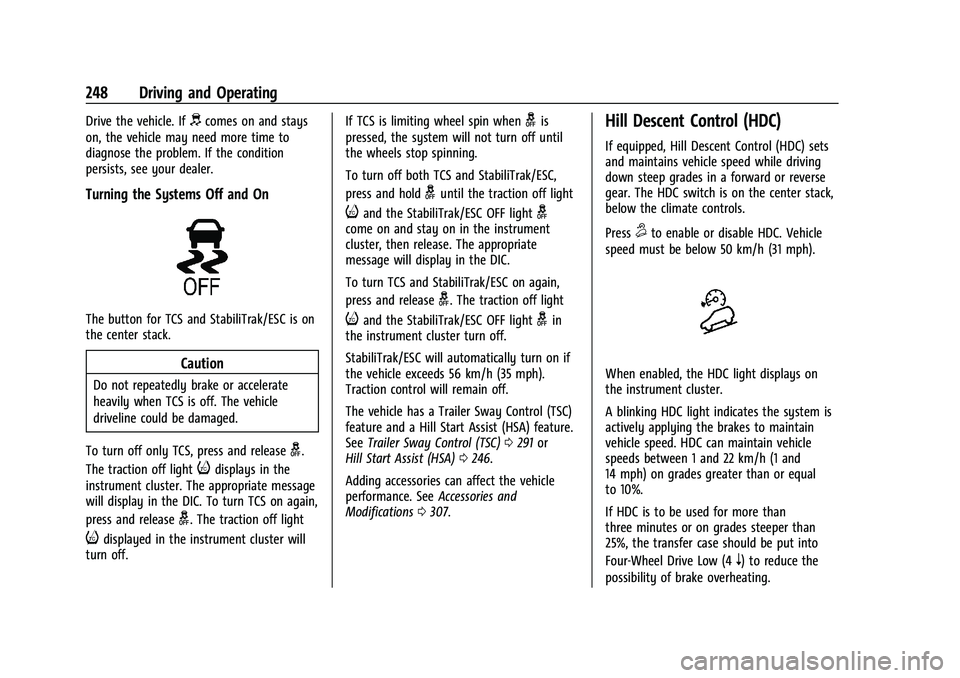
The button for TCS and StabiliTrak/ESC is on
the center stack.
Caution
Do not repeatedly brake or accelerate
heavily when TCS is off. The vehicle
driveline could be damaged.
To turn off only TCS, press and release
g.
The traction off light
idisplays in the
instrument cluster. The appropriate message
will display in the DIC. To turn TCS on again,
press and release
g. The traction off light
idisplayed in the instrument cluster will
turn off. If TCS is limiting wheel spin when
gis
pressed, the system will not turn off until
the wheels stop spinning.
To turn off both TCS and StabiliTrak/ESC,
press and hold
guntil the traction off light
iand the StabiliTrak/ESC OFF lightgcome on and stay on in the instrument
cluster, then release. The appropriate
message will display in the DIC.
To turn TCS and StabiliTrak/ESC on again,
press and release
g. The traction off light
iand the StabiliTrak/ESC OFF lightgin
the instrument cluster turn off.
StabiliTrak/ESC will automatically turn on if
the vehicle exceeds 56 km/h (35 mph).
Traction control will remain off.
The vehicle has a Trailer Sway Control (TSC)
feature and a Hill Start Assist (HSA) feature.
See Trailer Sway Control (TSC) 0291 or
Hill Start Assist (HSA) 0246.
Adding accessories can affect the vehicle
performance. See Accessories and
Modifications 0307.
Hill Descent Control (HDC)
If equipped, Hill Descent Control (HDC) sets
and maintains vehicle speed while driving
down steep grades in a forward or reverse
gear. The HDC switch is on the center stack,
below the climate controls.
Press
5to enable or disable HDC. Vehicle
speed must be below 50 km/h (31 mph).
When enabled, the HDC light displays on
the instrument cluster.
A blinking HDC light indicates the system is
actively applying the brakes to maintain
vehicle speed. HDC can maintain vehicle
speeds between 1 and 22 km/h (1 and
14 mph) on grades greater than or equal
to 10%.
If HDC is to be used for more than
three minutes or on grades steeper than
25%, the transfer case should be put into
Four-Wheel Drive Low (4
n) to reduce the
possibility of brake overheating.
Page 251 of 441
Chevrolet Silverado 2500 HD/3500 HD Owner Manual (GMNA-Localizing-U.
S./Canada/Mexico-15546003) - 2022 - CRC - 5/5/21
250 Driving and Operating
System (ABS), StabiliTrak/Electronic Stability
Control (ESC), and Traction Control System
(TCS) performance.
For more information on off-road driving see
Off-Road Driving0214.
_Tow/Haul Mode : Use this mode
when hauling heavy loads to provide
increased performance and vehicle control.
Tow/Haul Mode adjusts the transmission
shift pattern, trailer sway, and steering.
If the vehicle is turned off with Tow/Haul
Mode active and then restarted within four
hours or less, Tow/Haul will remain active.
Otherwise, the vehicle will start in
Normal Mode.
If the vehicle has a diesel engine, exhaust
braking is automatically activated when
Tow/Haul Mode is selected. It maintains
vehicle speed by automatically
implementing a shift pattern that uses the
engine and the transmission to slow the
vehicle. The system will command
downshifts and use the turbocharger on the
engine to reduce vehicle speed when the
brake is applied. The normal tow/haul shift
pattern will return once the vehicle is on a
low grade or when the accelerator pedal is
pressed. While in the Electronic Range Select (ERS)
Mode, grade breaking is deactivated,
allowing the driver to select a range and
limiting the highest gear available. See
Manual Mode
0238.
For more information on trailer weight
specifications, see Towing Equipment 0281.
Locking Rear Axle
Vehicles with a locking rear axle can give
more traction on snow, mud, ice, sand,
or gravel. It works like a standard axle most
of the time, but when traction is low, this
feature will allow the rear wheel with the
most traction to move the vehicle.
Cruise Control
{
Warning
Cruise control can be dangerous where
you cannot drive safely at a steady
speed. Do not use cruise control on
winding roads or in heavy traffic.
Cruise control can be dangerous on
slippery roads. On such roads, fast
changes in tire traction can cause (Continued)
Warning (Continued)
excessive wheel slip, and you could lose
control. Do not use cruise control on
slippery roads.
If equipped with cruise control, a speed of
about 40 km/h (25 mph) or more can be
maintained without keeping your foot on
the accelerator. Cruise control does not work
at speeds below about 40 km/h (25 mph).
If the cruise control is being used and the
Traction Control System (TCS) or StabiliTrak/
Electronic Stability Control (ESC) begins to
limit wheel spin, the cruise control will
automatically disengage. See Traction
Control/Electronic Stability Control 0247. If a
collision alert occurs when cruise control is
activated, cruise control is disengaged. See
Forward Collision Alert (FCA) System 0263.
When road conditions allow you to safely
use it again, cruise control can be turned
back on.
Turning off the TCS or StabiliTrak/ESC
system will disengage the cruise control.
If the brakes are applied, cruise control
disengages.
Page 257 of 441
Chevrolet Silverado 2500 HD/3500 HD Owner Manual (GMNA-Localizing-U.
S./Canada/Mexico-15546003) - 2022 - CRC - 5/5/21
256 Driving and Operating
If equipped, the front view camera
also displays when the Park Assist
system detects an object within
30 cm (12 in).
To access this view when in a forward
gear above 12 km/h (8 mph), select
CAMERA on the infotainment display
and select Rear Standard View. The
view will close after 8 seconds and
can be closed early by selecting X,
Home or Back.
2. Front/Rear Top-Down View
Displays a front or rear overhead view
of the vehicle. To view, select Front/
Rear Top-Down View on the
infotainment display when the camera
app is active.
3. Front/Rear side View
Displays a view that shows objects
next to the front or rear sides of the
vehicle. To select, touch Front/Rear
Side View on the infotainment display
when a camera view is active. Touch
the button to toggle between front
and rear camera views. Park Assist and
RCTA overlays are not available when
Front/Rear Side View is active.
4. Hitch View
Displays a zoomed-in view of the hitch
area to assist with aligning the
vehicle’s hitch ball with the trailer
coupler and monitoring the trailer
connection. To view, select Hitch View
on the infotainment display when the
Camera App is active. To access this
view when in a forward gear above
12 km/h (8 mph), select CAMERA on
the infotainment display and select
Hitch View. The view will close after
eight seconds and can be closed early
by selecting X, Home or Back. Shifting
into P (Park) while in this view will
automatically engage the Electric
Parking Brake (EPB).
5. Surround View
Displays an image of the area
surrounding the vehicle. Surround
View is displayed alongside the
currently selected view when below 12
kph (8 mph). Surround View is
disabled when above 12 kph (8 mph).
6. Camera App Guidance Lines
The Camera App supports three
possible guidance modes: No
Guidance, Vehicle Guidance and
Trailering Guidance. To changeguidance mode, select the appropriate
guidance icon. Depending on the
guidance mode and view selected,
different guidance lines may appear.
A grayed-out icon indicates that
guidance lines are not available.
Certain views do not support Guidance
lines.
.Standard Guidance Lines are
available in Front/Rear Standard
Views, Front/Rear Top-Down Views
and Surround View when the
vehicle guidance mode is selected.
Standard Guidance Lines show
current and intended vehicle path.
.Hitch Guidance Line is available in
Rear Standard View or Cargo Bed
View when the Trailering Guidance
mode is selected. Hitch Guidance
displays a single centered guidance
line on the infotainment display to
assist with aligning the vehicle’s
hitch with a trailer coupler. Align
the Hitch Guidance Line with the
trailer coupler by continuously
steering the vehicle to keep the
guidance line centered on the
coupler when backing. Park Assist
overlays will not display when the
Hitch Guidance Line is active.
Page 258 of 441
Chevrolet Silverado 2500 HD/3500 HD Owner Manual (GMNA-Localizing-U.
S./Canada/Mexico-15546003) - 2022 - CRC - 5/5/21
Driving and Operating 257
.Rear Trailer Guidance Lines are
available in the Rear Trailer View
when the Trailering Guidance
mode is selected and the rear
trailer camera calibration has been
successfully completed. Rear Trailer
Guidance Lines show the intended
path (yellow) and the current path
(blue) of the trailer. The current
path guidance lines will converge
with the intended path guidance
lines.
7. Camera App Guidance Lines
Duplicate of item 6.
8. Interior Trailer View
Displays a view of the interior of the
trailer. The feature is available when a
trailer is connected. The feature
requires user installation of an
accessory trailer camera on the
interior of the trailer per the accessory
trailer camera installation instructions
(see your dealer for accessory trailer
camera(s) and information). To view,
select Interior Trailer View on the
infotainment display when the Camera
App is active. To access this view
when in a forward gear above
12 km/h (8 mph), select CAMERA on
the infotainment display and selectInterior Trailer View. The view will
close after 8 seconds and can be
closed early by selecting X, Home
or Back.
9. Cargo Bed View/Bed Hitch View
Use the plus and minus icons on the
infotainment display to zoom in
or out.
.Cargo Bed View
Displays a view of the truck bed
and the area behind the vehicle to
assist in cargo or hitch monitoring
or hitching to a fifth wheel or
gooseneck trailer. To view, select
Cargo Bed View on the
infotainment display when the
Camera App is active. To access
this view when in a forward gear
above 12 km/h (8 mph), select
CAMERA on the infotainment
display and select Cargo Bed View.
The view will close after 8 seconds
and can be closed early by
selecting X, Home or Back. When
the Cargo Bed View is selected
when not in Drive the cargo bed
lighting is turned on automatically.
The feature can be enabled or
disabled. See
Vehicle
Personalization 0131.
.Bed Hitch View
Displays a zoomed-in view of the
bed hitch area to assist with
aligning the vehicle’s hitch with
the trailer coupler and monitoring
the trailer connection. To view,
select Bed Hitch View on the
infotainment display when the
Camera App is active. To access
this view when in a forward gear
above 12 km/h (8 mph), select
CAMERA on the infotainment
display and select Bed Hitch View.
The view will close after 8 seconds
and can be closed early by
selecting X, Home or Back. When
the Bed Hitch View is selected
when not in Drive the cargo bed
lighting is turned on automatically.
The feature can be enabled or
disabled. See Vehicle
Personalization 0131.
10. Transparent Trailer View
Displays a view that allows the driver
to virtually “see through” the trailer.
The feature is available when a
Page 259 of 441
Chevrolet Silverado 2500 HD/3500 HD Owner Manual (GMNA-Localizing-U.
S./Canada/Mexico-15546003) - 2022 - CRC - 5/5/21
258 Driving and Operating
compatible trailer is connected, a valid
profile is selected and the vehicle is
not in Reverse. The feature requires
user installation of an accessory trailer
camera on the rear exterior surface of
the trailer per the accessory trailer
camera installation instructions (see
your dealer for accessory trailer
camera(s) and information). To view,
select Transparent Trailer View on the
infotainment display when the Camera
App is active. To access this view
when in a forward gear above
12 km/h (8 mph), select CAMERA on
the infotainment display and select
Transparent Trailer View. The view can
be closed by selecting X, Home
or Back.
When the system is calibrated and
trailer position is known one of three
views will be shown; Transparent
Trailer View, Left Transparent Trailer
View or Right Transparent Trailer
View. The Transparent Trailer View is
shown when the position of the trailer
is relatively straight behind the
vehicle. The Left or Right Transparent
Trailer view is shown when the
position of the trailer is too far to the
left or right. When the system is notcalibrated or trailer position is not
known the Transparent Trailer
Picture-in-Picture View will be shown.
11. Rear Trailer Views
.Rear Trailer View
Displays a view of the area behind
the trailer when a trailer is
connected. The feature requires
user installation of an accessory
trailer camera on the rear exterior
surface of the trailer per the
accessory trailer camera
installation instructions (see your
dealer for accessory trailer
camera(s) and information). To
view, select Rear Trailer View on
the infotainment display when the
Camera App is active. To access
this view when in a forward gear
above 12 km/h (8 mph), select
CAMERA on the infotainment
display and select Rear Trailer
View. The view can be closed by
selecting X, Home or Back.
.Rear Side View with Available
Articulation Functionality
Displays a rearward split view of
the left and right sides of the
vehicle and trailer, when a trailer is
connected. The view will
automatically pan to show more of
the left or right side based on the
position of the trailer when a
compatible profile is configured
and selected via the Trailering App.
To view, select Rear Side View with
Available Articulation Functionality
on the infotainment display when
the Camera App is active. To access
this view when in a forward gear
above 12 km/h (8 mph), select
CAMERA on the infotainment
display and select Rear Side View
with Available Articulation
Functionality. The view can be
closed by selecting X, Home
or Back.
.Picture-in-Picture Side View
Displays a rearward split view of
the left and right sides of the
vehicle and trailer with an overlay
view of the area behind the trailer
when a trailer is connected. The
feature requires user installation of
an accessory trailer camera on the
rear exterior surface of the trailer
per the accessory trailer camera
installation instructions (see your
dealer for accessory trailer