ignition CHEVROLET SSR 2003 1.G Owner's Manual
[x] Cancel search | Manufacturer: CHEVROLET, Model Year: 2003, Model line: SSR, Model: CHEVROLET SSR 2003 1.GPages: 374, PDF Size: 2.55 MB
Page 104 of 374
Vehicle Personalization
Memory Seat
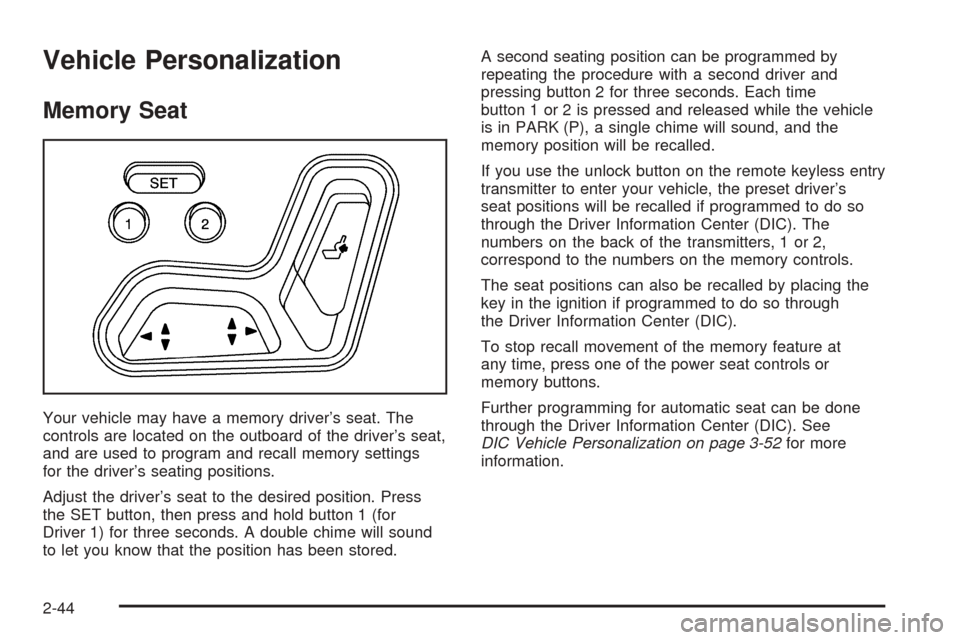
Your vehicle may have a memory driver’s seat. The
controls are located on the outboard of the driver’s seat,
and are used to program and recall memory settings
for the driver’s seating positions.
Adjust the driver’s seat to the desired position. Press
the SET button, then press and hold button 1 (for
Driver 1) for three seconds. A double chime will sound
to let you know that the position has been stored.A second seating position can be programmed by
repeating the procedure with a second driver and
pressing button 2 for three seconds. Each time
button 1 or 2 is pressed and released while the vehicle
is in PARK (P), a single chime will sound, and the
memory position will be recalled.
If you use the unlock button on the remote keyless entry
transmitter to enter your vehicle, the preset driver’s
seat positions will be recalled if programmed to do so
through the Driver Information Center (DIC). The
numbers on the back of the transmitters, 1 or 2,
correspond to the numbers on the memory controls.
The seat positions can also be recalled by placing the
key in the ignition if programmed to do so through
the Driver Information Center (DIC).
To stop recall movement of the memory feature at
any time, press one of the power seat controls or
memory buttons.
Further programming for automatic seat can be done
through the Driver Information Center (DIC). See
DIC Vehicle Personalization on page 3-52for more
information.
2-44
Page 114 of 374
Increasing Speed While Using Cruise
Control
There are two ways to go to a higher speed:
Use the accelerator pedal to get to the higher
speed. Press the button at the end of the lever,
then release the button and the accelerator pedal.
You’ll now cruise at the higher speed.
Move the cruise switch from on to
resume/accelerate. Hold it there until you get up to
the speed you want, and then release the switch.
To increase your speed in very small amounts,
move the switch brie�y to resume/accelerate.
Each time you do this, your vehicle will go about
1 mph (1.6 km/h) faster.
Reducing Speed While Using Cruise
Control
Press and hold the button at the end of the lever
until you reach the lower speed you want, then
release it.
To slow down in very small amounts, brie�y press
and release the set button. Each time you do this,
you’ll go about 1 mph (1.6 km/h) slower.
Passing Another Vehicle While Using
Cruise Control
Use the accelerator pedal to increase your speed.
When you take your foot off the pedal, your vehicle will
slow down to the cruise control speed you set earlier.
Using Cruise Control on Hills
How well your cruise control will work on hills depends
upon your speed, load and the steepness of the
hills. When going up steep hills, you may want to
step on the accelerator pedal to maintain your speed.
When going downhill, you may have to brake or shift to
a lower gear to keep your speed down. Of course,
applying the brake takes you out of cruise control.
Many drivers �nd this to be too much trouble and don’t
use cruise control on steep hills.
Ending Cruise Control
There are three ways to turn off the cruise control:
Step lightly on the brake pedal.
Move the cruise switch to off, or
Shift the transmission to NEUTRAL (N).
Erasing Speed Memory
When you turn off the cruise control or the ignition,
your cruise control set speed memory is erased.
3-10
Page 116 of 374
Automatic Headlamp System
When it is dark enough outside, your automatic
headlamp system will turn on your headlamps at the
normal brightness along with other lamps such as
the taillamps, sidemarker, parking lamps and the
instrument panel lights when the exterior lamps knob is
turned to AUTO. The radio lights will also be on.
Your vehicle is equipped with a light sensor on the top
of the instrument panel. Be sure it is not covered or
the system will be on whenever the ignition is on.
The system may also turn on your lights when driving
through a parking garage, heavy overcast weather
or a tunnel. This is normal.
There is a delay in the transition between the daytime
and nighttime operation of the Daytime Running
Lamps (DRL) and the automatic headlamp systems so
that driving under bridges or bright overhead street
lights does not affect the system. The DRL and
automatic headlamp system will only be affected when
the light sensor sees a change in lighting lasting
longer than the delay.
To idle your vehicle with the automatic headlamp
system off, set the parking brake while the ignition is off.
Then start your vehicle. The automatic headlamp
system will stay off until you release the parking brake,
or until you shift out of PARK (P).You may be able to turn off your automatic headlamp
system. See “Daytime Running Lamps (DRL)” later
in this section for more information.
If you start your vehicle in a dark garage, the automatic
headlamp system will come on immediately. Once
you leave the garage, it will take approximately
one minute for the automatic headlamp system to
change to DRL if it is light outside. During that delay,
your instrument panel cluster may not be as bright
as usual. Make sure your instrument panel brightness
control is in the full bright position. See “Instrument
Panel Brightness” underInterior Lamps on page 3-14.
As with any vehicle, you should turn on the regular
headlamp system when you need it.
Lamps On Reminder
A reminder tone will sound when your headlamps or
parking lamps are manually turned on, the driver’s door is
open and your ignition is in OFF or ACCESSORY. To turn
the tone off, turn the knob all the way counterclockwise.
In the automatic mode, the headlamps turn off once the
ignition key is in OFF.
3-12
Page 117 of 374
Daytime Running Lamps
Daytime Running Lamps (DRL) can make it easier for
others to see the front of your vehicle during the
day. DRL can be helpful in many different driving
conditions, but they can be especially helpful in the short
periods after dawn and before sunset. Fully functional
daytime running lamps are required on all vehicles
�rst sold in Canada.
The DRL system will make your headlamps come on
at reduced brightness when the following conditions
are met:
The ignition is on.
The exterior lamps knob is in AUTO.
The light sensor detects daytime light.
The transmission is not in PARK (P).
When the DRL are on, only your headlamps will be on.
The taillamps, sidemarker and other lamps won’t
be on. The instrument panel won’t be lit up either.When it begins to get dark, the headlamps will
automatically switch from DRL to the regular headlamps.
To idle your vehicle with the DRL off, put your vehicle’s
transmission in PARK (P). The DRL will stay off until
you shift out of PARK (P).
Fog Lamps
Use your fog lamps for better vision in foggy or misty
conditions. Your ignition must be in RUN for your
fog lamps to work.
-(Fog Lamps):Press this button located on the
exterior lamps control to turn the fog lamps on or off.
The fog lamps will go off whenever you turn on the
high-beam headlamps. When the high beams are turned
off, the fog lamps will come on again.
O(Fog Lamp Indicator Light):This light located on
the exterior lamps control illuminates when the
fog lamps are turned on.
3-13
Page 118 of 374
Interior Lamps
Instrument Panel Brightness
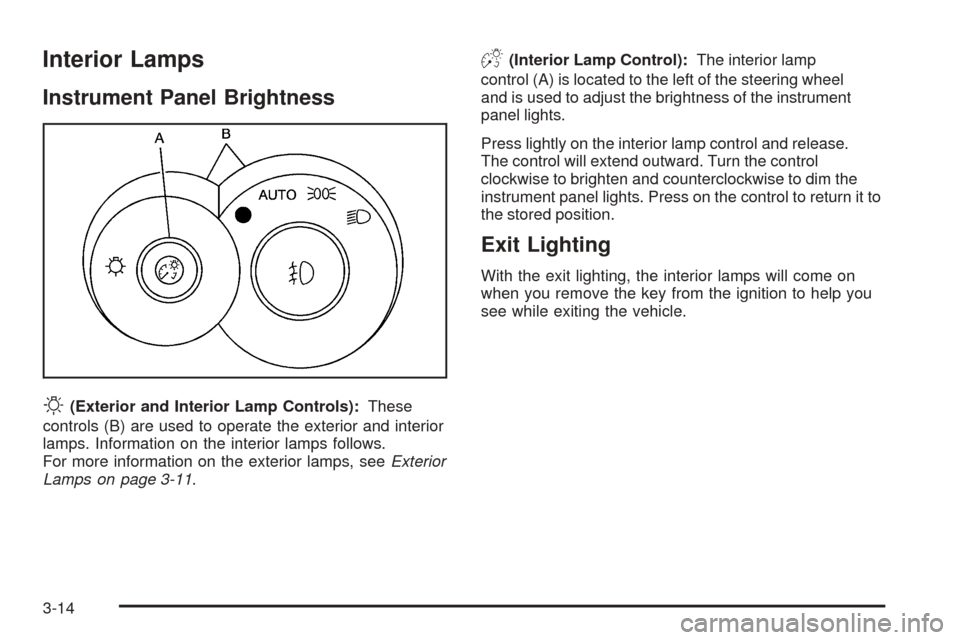
O
(Exterior and Interior Lamp Controls):These
controls (B) are used to operate the exterior and interior
lamps. Information on the interior lamps follows.
For more information on the exterior lamps, seeExterior
Lamps on page 3-11.
D(Interior Lamp Control):The interior lamp
control (A) is located to the left of the steering wheel
and is used to adjust the brightness of the instrument
panel lights.
Press lightly on the interior lamp control and release.
The control will extend outward. Turn the control
clockwise to brighten and counterclockwise to dim the
instrument panel lights. Press on the control to return it to
the stored position.
Exit Lighting
With the exit lighting, the interior lamps will come on
when you remove the key from the ignition to help you
see while exiting the vehicle.
3-14
Page 119 of 374
Parade Dimming
This feature prohibits the dimming of your instrument
panel displays during daylight while your headlamps
are on. When the light sensor reads darkness outside,
you will be able to dim your instrument panel displays
once again.
Perimeter Lighting
When the button with the unlock symbol on the remote
keyless entry transmitter is pressed, the DRL, parking
lamps and back-up lamps will come on if it is dark
enough outside.
This feature can be personalized for up to two drivers.
SeeDIC Vehicle Personalization on page 3-52for
more information.
Front Map Lamps
If your vehicle has front map lamps, they are located on
the inside rearview mirror. They will automatically
come on for about 40 seconds when the doors are
unlocked with the remote keyless entry transmitter or
until the ignition key is turned to RUN or ACCESSORY.
The lamps will also stay on for about 40 seconds
after you exit the vehicle unless you lock the doors with
the remote keyless entry transmitter.
You can also turn the lamps on and off by pressing the
button near each lamp.
Battery Rundown Protection
This feature shuts off all lamps that are left on for more
than 10 minutes when the ignition is off. This will keep
your battery from running down.
3-15
Page 125 of 374
Rear Window Defogger
The rear window defogger uses a warming grid to
remove fog from the rear window.
The rear window defogger will only work when the
ignition is on.
=(Rear):Press this button on the right knob to turn
the rear window defogger on or off. An indicator light
on the button will come on to let you know that the rear
window defogger is activated.
When the rear defogger button is pressed, the outside
heated mirrors will warm to help clear any fog or
frost from the surface of the mirrors.
Notice:Using a razor blade or sharp object to clear
the inside rear window may damage the rear
window defogger. Repairs would not be covered by
your warranty. Do not clear the inside of the rear
window with sharp objects.
Outlet Adjustment
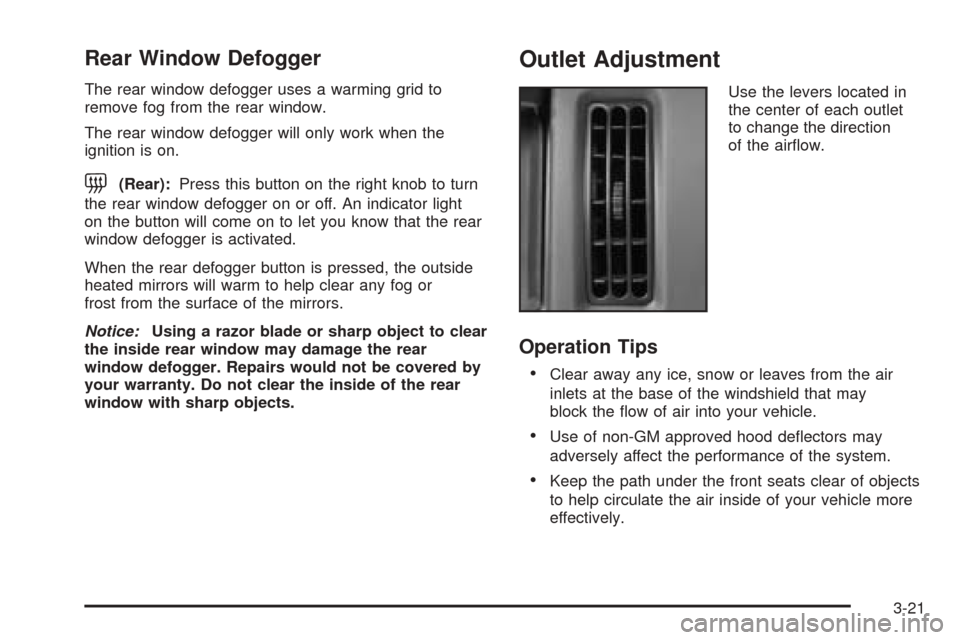
Use the levers located in
the center of each outlet
to change the direction
of the air�ow.
Operation Tips
Clear away any ice, snow or leaves from the air
inlets at the base of the windshield that may
block the �ow of air into your vehicle.
Use of non-GM approved hood de�ectors may
adversely affect the performance of the system.
Keep the path under the front seats clear of objects
to help circulate the air inside of your vehicle more
effectively.
3-21
Page 128 of 374
Speedometer and Odometer
The speedometer lets you see your speed in both miles
per hour (mph) and kilometers per hour (km/h).
The odometer shows how far your vehicle has been
driven, in either miles (used in the United States)
or kilometers (used in Canada).
The odometer mileage can be checked without the
vehicle running. Turn the ignition to RUN and press the
trip information button located on the steering wheel.
SeeDIC Controls and Displays on page 3-41for more
information.
You may wonder what happens if your vehicle needs a
new odometer installed. If the new one can be set to
the mileage total of the old odometer, then it must
be. But if it can’t, then it’s set at zero, and a label must
be put on the driver’s door to show the old mileage
reading when the new odometer was installed.
Trip Odometer
The trip odometer can tell you how far your vehicle has
been driven since you last set the trip odometer to zero.
Your trip odometer is part of your Driver Information
Center (DIC). The trip information button toggles
to display your trip odometer, Trip A, and Trip B
functions. See “Trip Odometer” underDIC Controls
and Displays on page 3-41for more information.
Tachometer
Notice:If you operate the engine with the
tachometer in the shaded warning area, your vehicle
could be damaged, and the damages would not be
covered by your warranty. Do not operate the engine
with the tachometer in the shaded warning area.
The tachometer displays the engine speed in revolutions
per minute (rpm).
Fuel will shut off at about 6500 rpm. It will turn back on
again once the vehicle rpm drops below 6500.
Safety Belt Reminder Light
When the key is turned to RUN or START, a chime will
come on for several seconds to remind people to
fasten their safety belts, unless the driver’s safety belt is
already buckled.
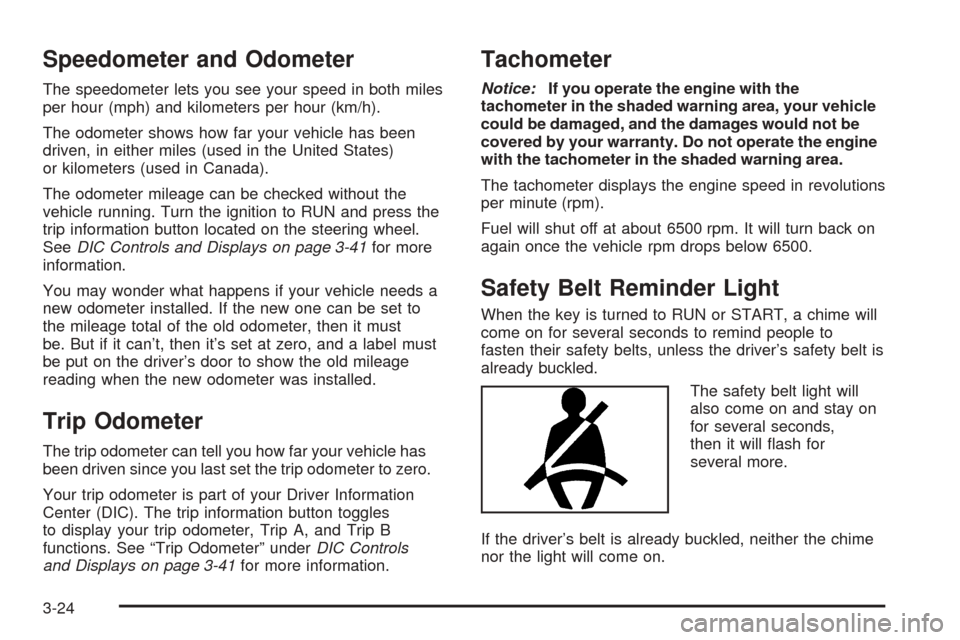
The safety belt light will
also come on and stay on
for several seconds,
then it will �ash for
several more.
If the driver’s belt is already buckled, neither the chime
nor the light will come on.
3-24
Page 129 of 374
Airbag Readiness Light
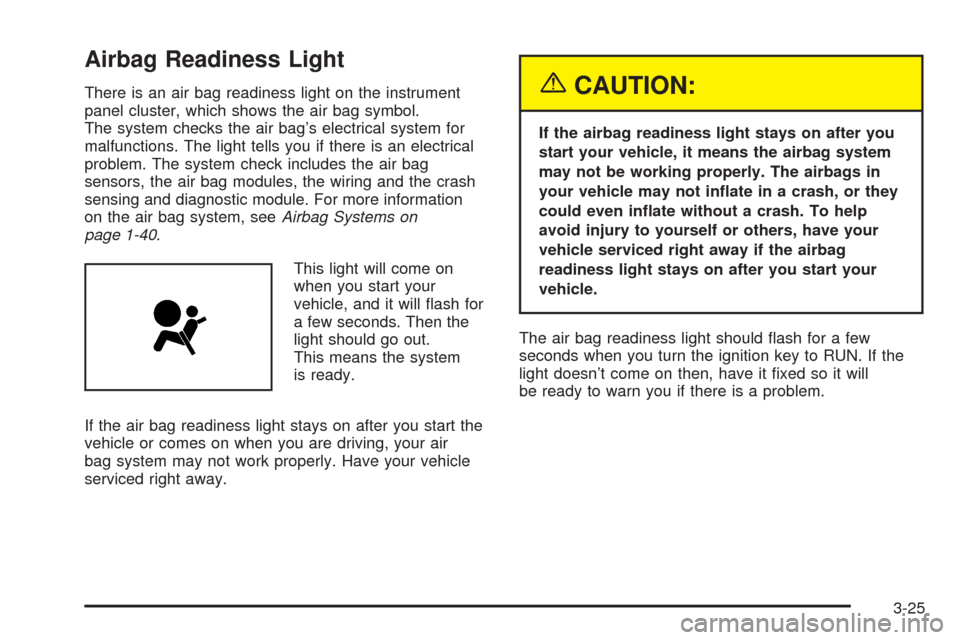
There is an air bag readiness light on the instrument
panel cluster, which shows the air bag symbol.
The system checks the air bag’s electrical system for
malfunctions. The light tells you if there is an electrical
problem. The system check includes the air bag
sensors, the air bag modules, the wiring and the crash
sensing and diagnostic module. For more information
on the air bag system, seeAirbag Systems on
page 1-40.
This light will come on
when you start your
vehicle, and it will �ash for
a few seconds. Then the
light should go out.
This means the system
is ready.
If the air bag readiness light stays on after you start the
vehicle or comes on when you are driving, your air
bag system may not work properly. Have your vehicle
serviced right away.{CAUTION:
If the airbag readiness light stays on after you
start your vehicle, it means the airbag system
may not be working properly. The airbags in
your vehicle may not in�ate in a crash, or they
could even in�ate without a crash. To help
avoid injury to yourself or others, have your
vehicle serviced right away if the airbag
readiness light stays on after you start your
vehicle.
The air bag readiness light should �ash for a few
seconds when you turn the ignition key to RUN. If the
light doesn’t come on then, have it �xed so it will
be ready to warn you if there is a problem.
3-25
Page 131 of 374
{CAUTION:
If the airbag readiness light ever comes on
when you have turned off the passenger’s
frontal airbag, it means that something may be
wrong with the airbag system. The passenger’s
frontal airbag could in�ate even though the
switch is off. If this ever happens, do not let
anyone whom the national government has
identi�ed as a member of a passenger airbag
risk group sit in the passenger’s position
(for example, do not secure a rear-facing child
restraint in your vehicle) until you have your
vehicle serviced. SeeAirbag Off Switch on
page 1-48.
Charging System Light
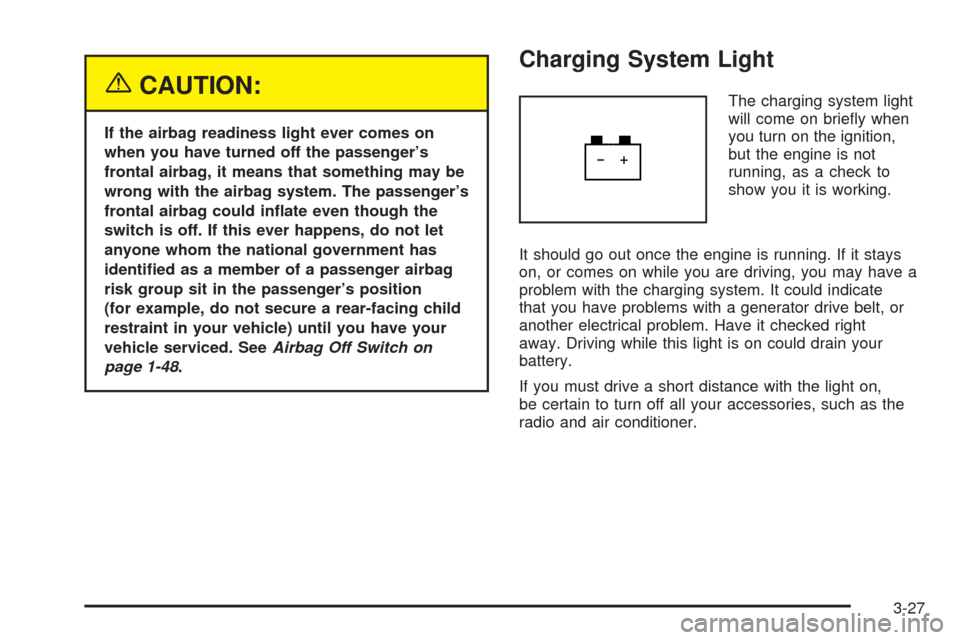
The charging system light
will come on brie�y when
you turn on the ignition,
but the engine is not
running, as a check to
show you it is working.
It should go out once the engine is running. If it stays
on, or comes on while you are driving, you may have a
problem with the charging system. It could indicate
that you have problems with a generator drive belt, or
another electrical problem. Have it checked right
away. Driving while this light is on could drain your
battery.
If you must drive a short distance with the light on,
be certain to turn off all your accessories, such as the
radio and air conditioner.
3-27