Center console CHEVROLET SSR 2003 1.G Owners Manual
[x] Cancel search | Manufacturer: CHEVROLET, Model Year: 2003, Model line: SSR, Model: CHEVROLET SSR 2003 1.GPages: 374, PDF Size: 2.55 MB
Page 61 of 374
Keys...............................................................2-2
Remote Keyless Entry System.........................2-4
Remote Keyless Entry System Operation...........2-5
Doors and Locks.............................................2-7
Door Locks....................................................2-7
Power Door Locks..........................................2-8
Programmable Automatic Door Locks................2-8
Leaving Your Vehicle......................................2-9
Tailgate........................................................2-9
Windows........................................................2-10
Power Windows............................................2-11
Sun Visors...................................................2-12
Theft-Deterrent Systems..................................2-12
Content Theft-Deterrent.................................2-12
Passlock
®....................................................2-14
Starting and Operating Your Vehicle................2-14
New Vehicle Break-In....................................2-14
Ignition Positions..........................................2-15
Starting the Engine.......................................2-16
Automatic Transmission Operation...................2-17
Parking Brake..............................................2-19
Shifting Into Park (P).....................................2-20
Shifting Out of Park (P).................................2-21
Parking Over Things That Burn.......................2-22
Engine Exhaust............................................2-22
Running the Engine While Parked...................2-23Mirrors...........................................................2-24
Manual Rearview Mirror.................................2-24
Automatic Dimming Rearview Mirror with
HomeLink
®...............................................2-24
Outside Power Heated Mirrors........................2-25
Outside Convex Mirror...................................2-25
Outside Automatic Dimming Heated Mirror........2-26
HomeLink
®Transmitter...................................2-26
HomeLink®Wireless Control System...............2-26
HomeLink®Wireless Control
System Operation......................................2-27
Storage Areas................................................2-31
Glove Box...................................................2-31
Cupholder(s)................................................2-31
Instrument Panel Storage Area.......................2-31
Center Console Storage Area.........................2-31
Map Pocket.................................................2-31
Cargo Cover................................................2-32
Cargo Net System........................................2-36
Side-Saddle Storage.....................................2-37
Convertible Top..............................................2-37
Vehicle Personalization...................................2-44
Memory Seat...............................................2-44
Section 2 Features and Controls
2-1
Page 63 of 374
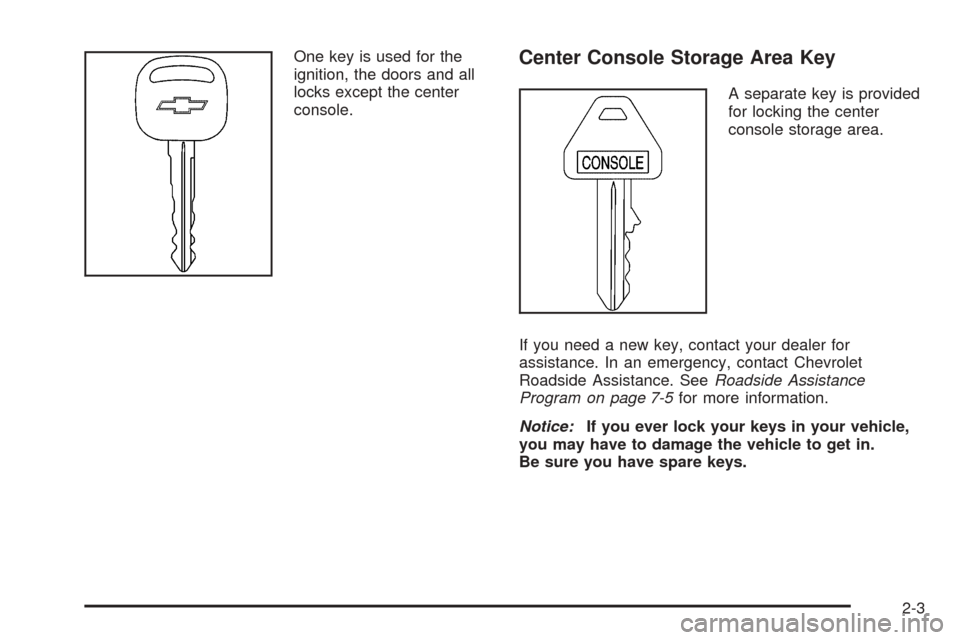
One key is used for the
ignition, the doors and all
locks except the center
console.Center Console Storage Area Key
A separate key is provided
for locking the center
console storage area.
If you need a new key, contact your dealer for
assistance. In an emergency, contact Chevrolet
Roadside Assistance. SeeRoadside Assistance
Program on page 7-5for more information.
Notice:If you ever lock your keys in your vehicle,
you may have to damage the vehicle to get in.
Be sure you have spare keys.
2-3
Page 68 of 374
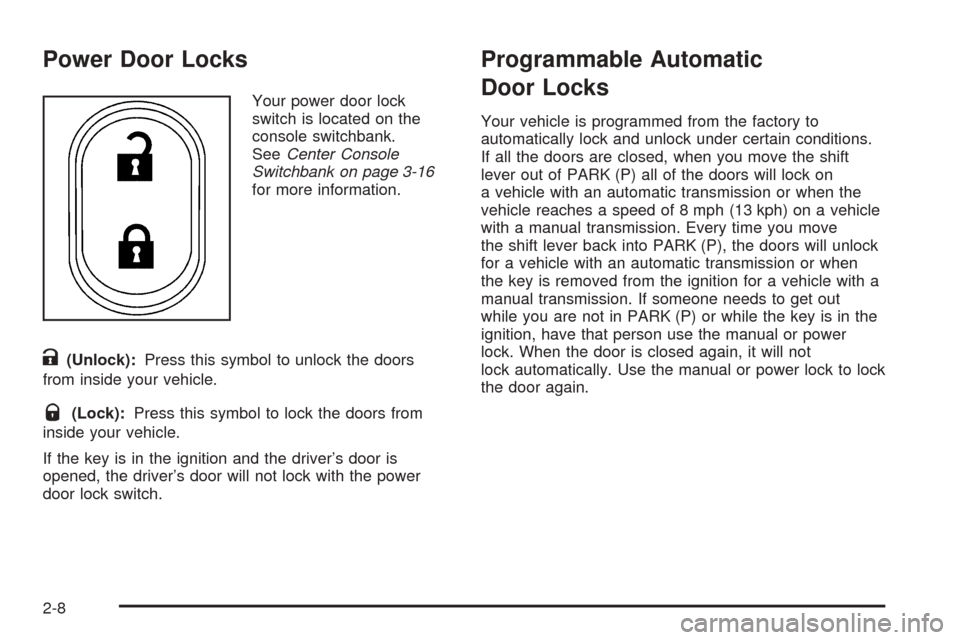
Power Door Locks
Your power door lock
switch is located on the
console switchbank.
SeeCenter Console
Switchbank on page 3-16
for more information.
K(Unlock):Press this symbol to unlock the doors
from inside your vehicle.
Q(Lock):Press this symbol to lock the doors from
inside your vehicle.
If the key is in the ignition and the driver’s door is
opened, the driver’s door will not lock with the power
door lock switch.
Programmable Automatic
Door Locks
Your vehicle is programmed from the factory to
automatically lock and unlock under certain conditions.
If all the doors are closed, when you move the shift
lever out of PARK (P) all of the doors will lock on
a vehicle with an automatic transmission or when the
vehicle reaches a speed of 8 mph (13 kph) on a vehicle
with a manual transmission. Every time you move
the shift lever back into PARK (P), the doors will unlock
for a vehicle with an automatic transmission or when
the key is removed from the ignition for a vehicle with a
manual transmission. If someone needs to get out
while you are not in PARK (P) or while the key is in the
ignition, have that person use the manual or power
lock. When the door is closed again, it will not
lock automatically. Use the manual or power lock to lock
the door again.
2-8
Page 71 of 374
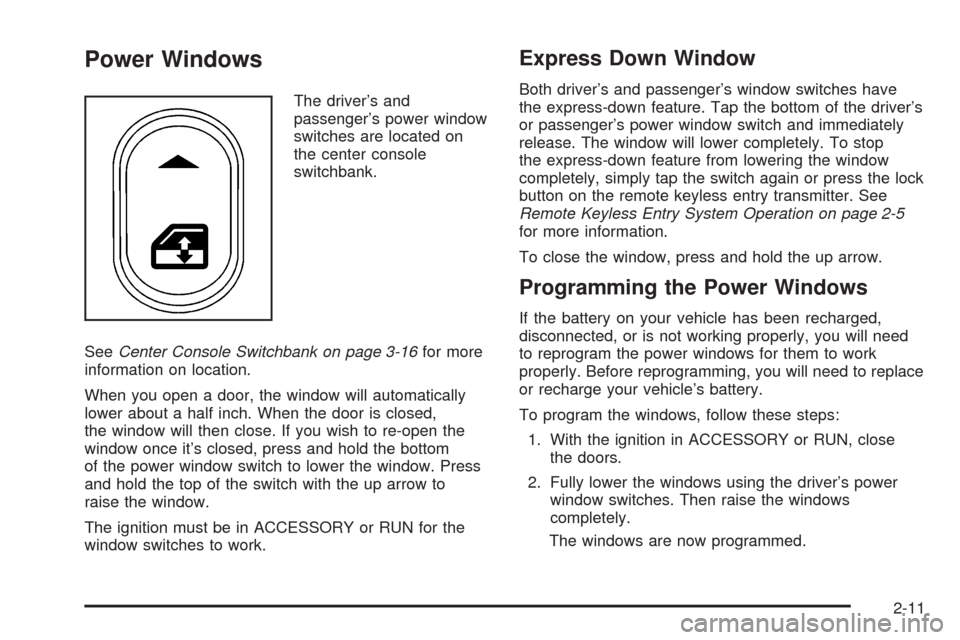
Power Windows
The driver’s and
passenger’s power window
switches are located on
the center console
switchbank.
SeeCenter Console Switchbank on page 3-16for more
information on location.
When you open a door, the window will automatically
lower about a half inch. When the door is closed,
the window will then close. If you wish to re-open the
window once it’s closed, press and hold the bottom
of the power window switch to lower the window. Press
and hold the top of the switch with the up arrow to
raise the window.
The ignition must be in ACCESSORY or RUN for the
window switches to work.
Express Down Window
Both driver’s and passenger’s window switches have
the express-down feature. Tap the bottom of the driver’s
or passenger’s power window switch and immediately
release. The window will lower completely. To stop
the express-down feature from lowering the window
completely, simply tap the switch again or press the lock
button on the remote keyless entry transmitter. See
Remote Keyless Entry System Operation on page 2-5
for more information.
To close the window, press and hold the up arrow.
Programming the Power Windows
If the battery on your vehicle has been recharged,
disconnected, or is not working properly, you will need
to reprogram the power windows for them to work
properly. Before reprogramming, you will need to replace
or recharge your vehicle’s battery.
To program the windows, follow these steps:
1. With the ignition in ACCESSORY or RUN, close
the doors.
2. Fully lower the windows using the driver’s power
window switches. Then raise the windows
completely.
The windows are now programmed.
2-11
Page 77 of 374
Automatic Transmission Operation
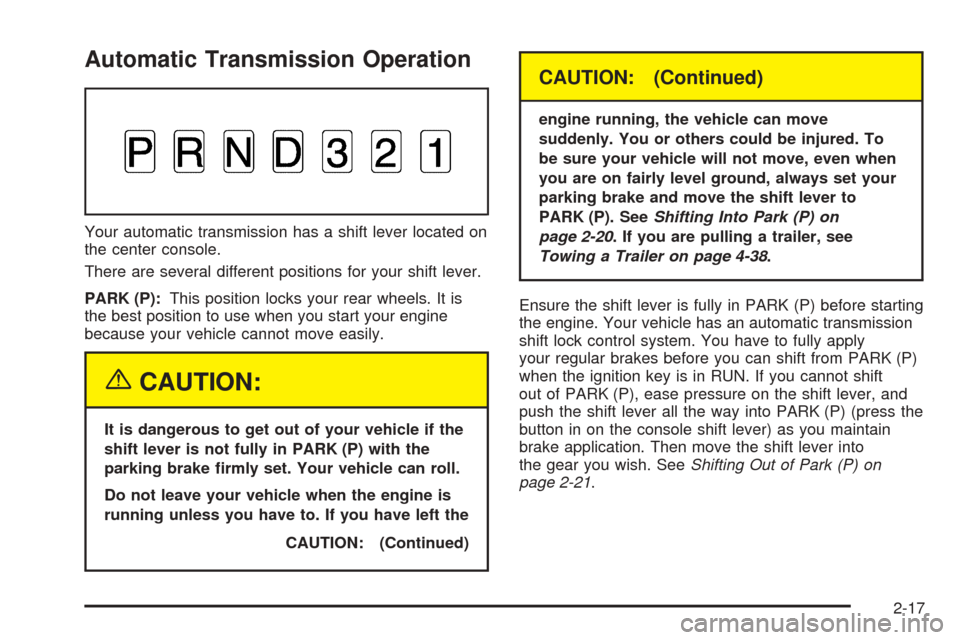
Your automatic transmission has a shift lever located on
the center console.
There are several different positions for your shift lever.
PARK (P):This position locks your rear wheels. It is
the best position to use when you start your engine
because your vehicle cannot move easily.
{CAUTION:
It is dangerous to get out of your vehicle if the
shift lever is not fully in PARK (P) with the
parking brake �rmly set. Your vehicle can roll.
Do not leave your vehicle when the engine is
running unless you have to. If you have left the
CAUTION: (Continued)
CAUTION: (Continued)
engine running, the vehicle can move
suddenly. You or others could be injured. To
be sure your vehicle will not move, even when
you are on fairly level ground, always set your
parking brake and move the shift lever to
PARK (P). SeeShifting Into Park (P) on
page 2-20. If you are pulling a trailer, see
Towing a Trailer on page 4-38.
Ensure the shift lever is fully in PARK (P) before starting
the engine. Your vehicle has an automatic transmission
shift lock control system. You have to fully apply
your regular brakes before you can shift from PARK (P)
when the ignition key is in RUN. If you cannot shift
out of PARK (P), ease pressure on the shift lever, and
push the shift lever all the way into PARK (P) (press the
button in on the console shift lever) as you maintain
brake application. Then move the shift lever into
the gear you wish. SeeShifting Out of Park (P) on
page 2-21.
2-17
Page 84 of 374
Mirrors
Manual Rearview Mirror
The vehicle may have a manual rearview mirror. While
sitting in a comfortable driving position, adjust the mirror
so you can see clearly behind your vehicle. Grip the
mirror in the center to move it up or down and side to
side. The control at the bottom of the mirror is the
day/night feature that allows adjustment to the mirror so
that the glare of headlamps from behind is reduced. Push
the control for daytime use; pull it for night use.
Automatic Dimming Rearview Mirror
with HomeLink
®
The vehicle may have an automatic dimming rearview
mirror with map lamps and HomeLink®Transmitter
buttons. For more information about this feature, see
HomeLink
®Wireless Control System on page 2-26.
While sitting in a comfortable driving position, adjust the
mirror so you can see clearly behind your vehicle.
Grip the mirror in the center to move it up or down and
side to side.
Mirror Operation
The mirror automatically changes to reduce glare from
headlamps behind you. A time delay feature prevents
rapid changing from the day to night positions while
driving under lights and through traffic.
[(On/Off):The automatic dimming feature is
automatically activated when the vehicle is started. The
automatic dimming feature is turned on or off by
pressing this button located on the lower part of the
mirror. Press and hold the button for up to three seconds
to turn this feature on or off.
T(Indicator Light):This light will turn on when the
automatic dimming feature is on.
+(Map Lamps):Press this button to turn the map
lamps on and off.
Press the two outside mirror buttons to light the
transmission positions on the console.
Cleaning the Mirror
When cleaning the mirror, use a paper towel or similar
material dampened with glass cleaner. Do not spray
glass cleaner directly on the mirror as this could damage
the mirror housing.
2-24
Page 91 of 374
Storage Areas
Glove Box
To open the glove box, pull on the lever. Use your door
key to lock or unlock it.
Cupholder(s)
Your vehicle has one cupholder located on your
instrument panel and one cupholder that is removable
and snaps to the passenger’s side of the center console
in the bracket provided.
To open the cupholder on the instrument panel, push in
the center of the cupholder door. The cupholder will
then release and move outward toward you for use. To
return the cupholder to its closed position, push in
the center of the cupholder door near the top. If you
press in the center middle of the cupholder door,
the cupholder will not close properly.
Instrument Panel Storage Area
There is a storage tray located to the right of the
steering wheel on the instrument panel. Press on the
tray to release it. The tray will slide out of the instrument
panel toward you. You can then put small items into
the tray. To close the tray, push forward on the center of
the tray until it latches back into the instrument panel.
Center Console Storage Area
Your center console has a storage area that can be
locked and unlocked with the center console storage
key. SeeKeys on page 2-2for more information.
Map Pocket
The map/storage pockets are located on both the driver
and passenger side doors.
2-31
Page 97 of 374
Side-Saddle Storage
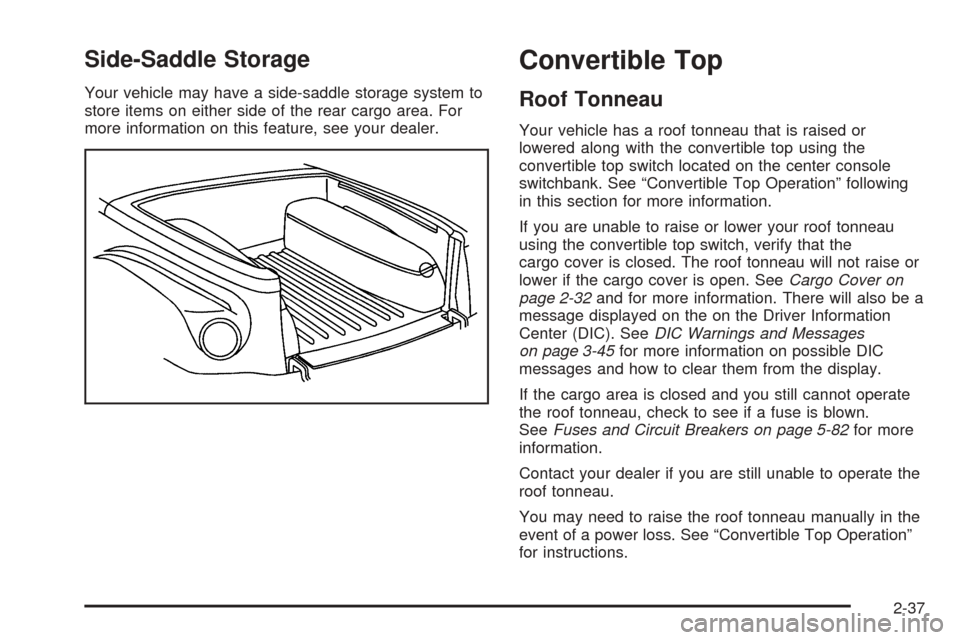
Your vehicle may have a side-saddle storage system to
store items on either side of the rear cargo area. For
more information on this feature, see your dealer.
Convertible Top
Roof Tonneau
Your vehicle has a roof tonneau that is raised or
lowered along with the convertible top using the
convertible top switch located on the center console
switchbank. See “Convertible Top Operation” following
in this section for more information.
If you are unable to raise or lower your roof tonneau
using the convertible top switch, verify that the
cargo cover is closed. The roof tonneau will not raise or
lower if the cargo cover is open. SeeCargo Cover on
page 2-32and for more information. There will also be a
message displayed on the on the Driver Information
Center (DIC). SeeDIC Warnings and Messages
on page 3-45for more information on possible DIC
messages and how to clear them from the display.
If the cargo area is closed and you still cannot operate
the roof tonneau, check to see if a fuse is blown.
SeeFuses and Circuit Breakers on page 5-82for more
information.
Contact your dealer if you are still unable to operate the
roof tonneau.
You may need to raise the roof tonneau manually in the
event of a power loss. See “Convertible Top Operation”
for instructions.
2-37
Page 98 of 374
Convertible Top Operation
Notice:If you operate the convertible top switch
continuously while the ignition is in ACCESSORY,
the battery will drain and you might not be able
to start your vehicle. Do not use the convertible top
switch for extended periods of time when the
ignition is in ACCESSORY.
The ignition must be in RUN or ACCESSORY and your
foot must be on the brake in order to raise or lower
the convertible top. The cargo cover must also be closed
for the convertible top to work properly.
Operate the convertible top by pressing the convertible
top switch located on the console switchback. See
Center Console Switchbank on page 3-16for more
information on location.
{CAUTION:
Moving parts of the convertible top can be
dangerous. People can be injured by the
convertible top and its mechanism. Keep
people away from your vehicle when you are
lowering or raising the top.
a(Top Open):Press and hold this symbol on
the convertible top switch to open the convertible
top. The windows will lower automatically when the top
begins to lower. Two chimes will sound when the
convertible top is fully opened.
b(Top Closed):Press and hold this symbol on
the convertible top switch to close the convertible
top. Two chimes will sound when the top is fully closed.
If you cannot raise or lower the convertible top by
using your convertible top switch, you may need to
replace the fuse. SeeFuses and Circuit Breakers
on page 5-82for more information.
If you still cannot operate your convertible top, contact
your dealer.
You may need to raise the roof tonneau and convertible
top manually in the event of a power loss. You will
need two people to lift the roof tonneau and convertible
top when using the following procedure. To manually
raise the roof tonneau and convertible top, do the
following:
1. Turn the ignition to OFF.
2. Be sure the cargo cover is closed. SeeCargo
Cover on page 2-32andRemote Keyless Entry
System Operation on page 2-5for more information.
3. Open both doors.
2-38
Page 105 of 374
Instrument Panel Overview...............................3-2
Hazard Warning Flashers................................3-3
Other Warning Devices...................................3-4
Horn.............................................................3-4
Tilt Wheel.....................................................3-4
Turn Signal/Multifunction Lever.........................3-5
Exterior Lamps.............................................3-11
Interior Lamps..............................................3-14
Center Console Switchbank............................3-16
Accessory Power Outlets...............................3-16
Ashtrays and Cigarette Lighter........................3-17
Climate Controls............................................3-18
Climate Control System.................................3-18
Outlet Adjustment.........................................3-21
Warning Lights, Gages, and Indicators............3-22
Instrument Panel Cluster................................3-23
Speedometer and Odometer...........................3-24
Trip Odometer..............................................3-24
Tachometer.................................................3-24
Safety Belt Reminder Light.............................3-24
Airbag Readiness Light..................................3-25
Airbag Off Light............................................3-26
Charging System Light..................................3-27
Brake System Warning Light..........................3-28
Anti-Lock Brake System Warning Light.............3-29
Traction Control System (TCS) Warning Light
(Automatic Transmission)
............................3-29Engine Coolant Temperature Gage..................3-30
Malfunction Indicator Lamp.............................3-30
Oil Pressure Gage........................................3-34
Change Engine Oil Light................................3-35
Security Light...............................................3-35
Cruise Control Light......................................3-35
Reduced Engine Power Light.........................3-36
Highbeam On Light.......................................3-36
Check Gages Warning Light...........................3-36
Fuel Gage...................................................3-37
Auxiliary Gage Package.................................3-38
Driver Information Center (DIC).......................3-41
DIC Controls and Displays.............................3-41
DIC Warnings and Messages.........................3-45
DIC Vehicle Personalization............................3-52
Audio System(s).............................................3-58
Setting the Time...........................................3-59
Radio with CD..............................................3-59
Radio with Six-Disc CD.................................3-68
Theft-Deterrent Feature..................................3-80
Audio Steering Wheel Controls.......................3-80
Radio Reception...........................................3-81
Care of Your CDs.........................................3-81
Care of the CD Player...................................3-81
Integrated Windshield Antenna........................3-81
Section 3 Instrument Panel
3-1