light CHEVROLET SUBURBAN 1994 Owner's Guide
[x] Cancel search | Manufacturer: CHEVROLET, Model Year: 1994, Model line: SUBURBAN, Model: CHEVROLET SUBURBAN 1994Pages: 385, PDF Size: 19.88 MB
Page 123 of 385
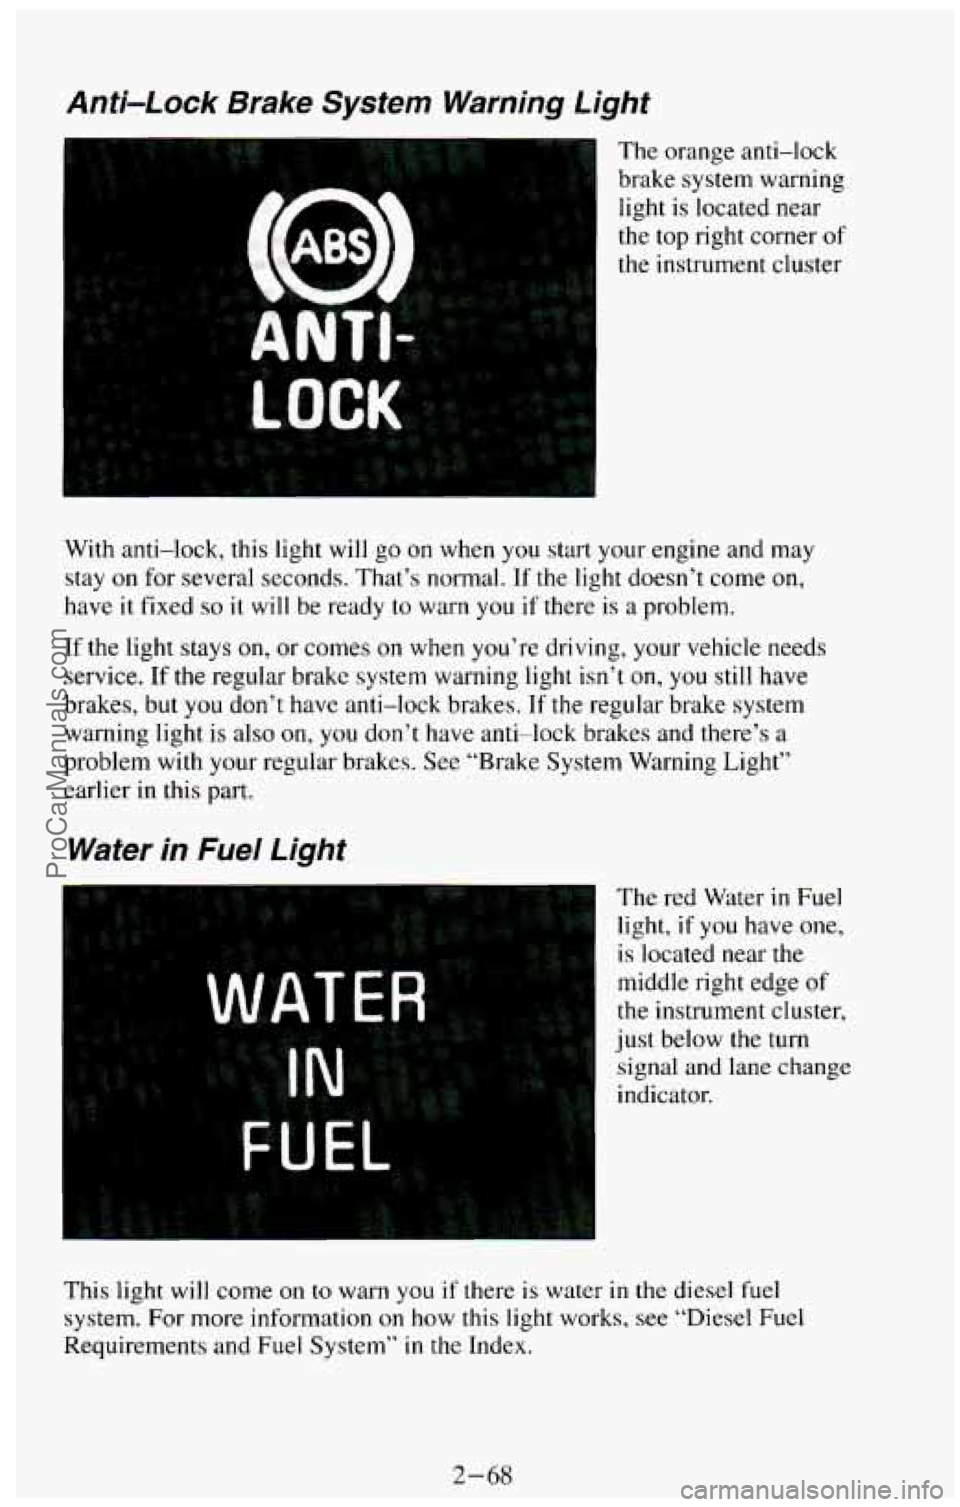
Anti-Lock Brake System Warning Light
The orange anti-lock
brake system warning light is located near
the top right corner
of
the instrument cluster
mi
With anti-lock, this light will go on when you start your engine and may
stay
on for several seconds. That’s normal. If the light doesn’t come on,
have it fixed
so it will be ready to warn you if there is a problem.
If the light stays on, or comes on when you’re driving, your vehicle needs
service.
If the regular brake system warning light isn’t on, you still have
brakes, but you don’t have anti-lock brakes. If the regular brake system
warning light is also
on, you don’t have anti-lock brakes and there’s a
problem with your regular brakes. See “Brake System Warning Light’’
earlier in this part.
Water in Fuel Light
The red Water in Fuel
light, if
you have one,
is located near the
middle right edge of
the instrument cluster,
just below the turn
signal and lane change
indicator.
This light will come on
to warn you if there is water in the diesel fuel
system.
For more information on how this light works, see “Diesel Fuel
Requirements and Fuel System”
in the Index.
2-68
ProCarManuals.com
Page 124 of 385
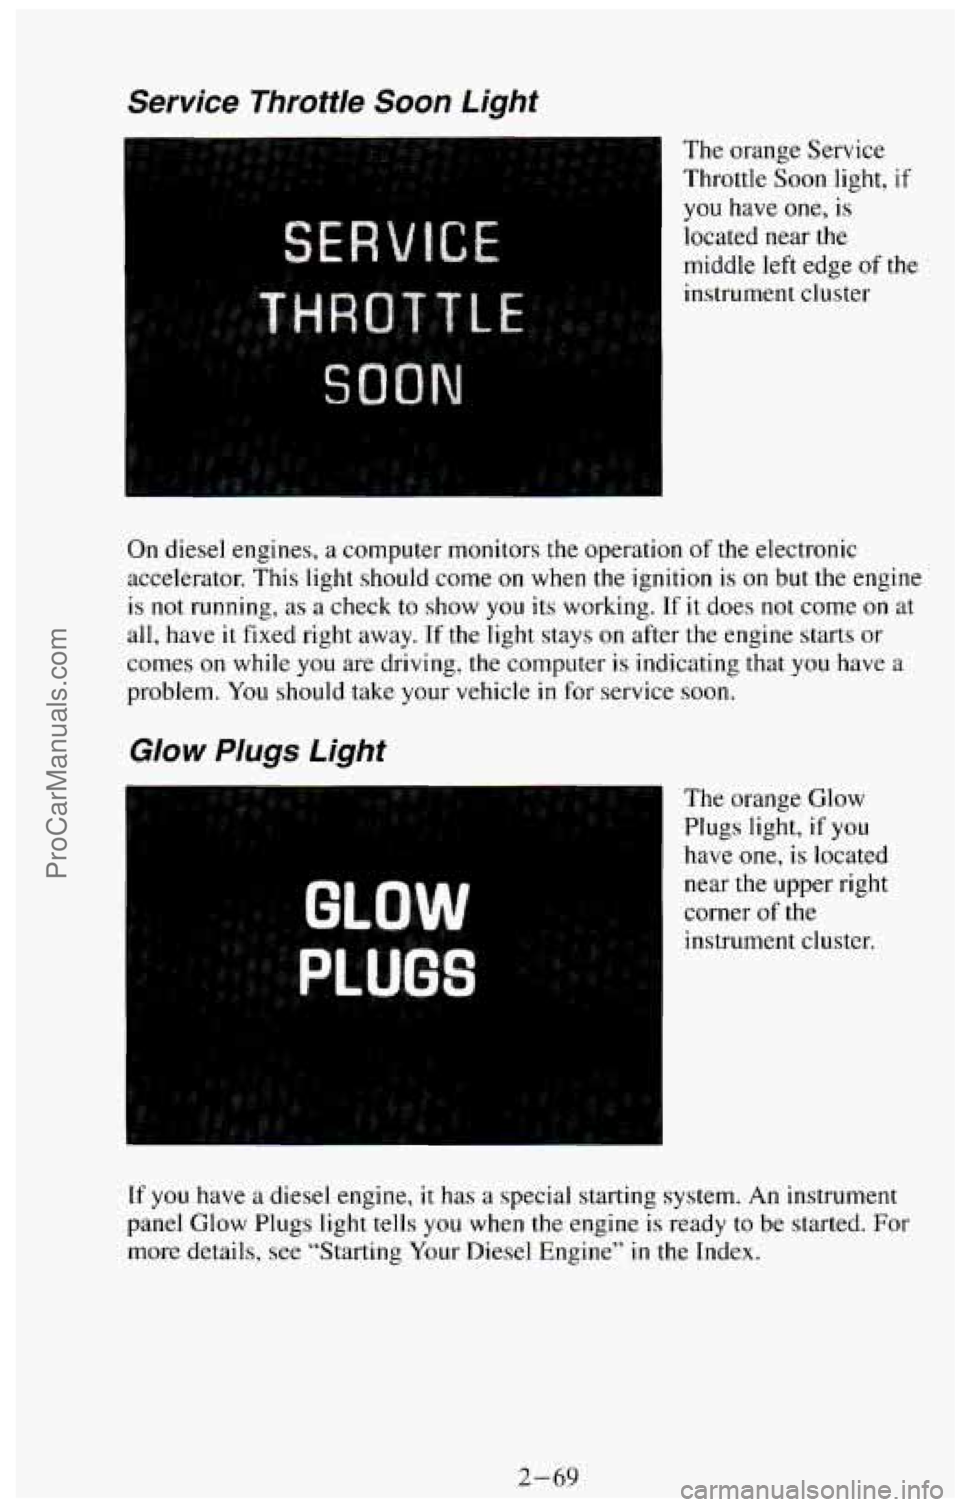
Service Throttle Soon Light
The orange Service
Throttle Soon light,
if
you have one, is
located near the
middle left edge
of the
instrument cluster
On diesel engines, a computer monitors the operation of the electronic
accelerator. This light should come
on when the ignition is on but the engine
is not running, as a check to show you its working. If it does not come on at
all, have it fixed right away.
If the light stays on after the engine starts or
comes on while you are driving, the computer is indicating that you have a
problem. You should take your vehicle in for service soon.
Glow Plugs Light
The orange Glow
Plugs light, if you
have
one, is located
near the upper right
corner
of the
instrument cluster.
If you have a diesel engine, it has a special starting system. An instrument
panel Glow Plugs light tells you when
the engine is ready to be started. For
more details, see “Starting Your Diesel Engine” in the Index.
2-69
ProCarManuals.com
Page 125 of 385

Low Coolant Warning Light
The orange Low
Coolant Warning
light, if
you have one,
is located in the upper
left corner of the
instrument cluster.
If
you have a diesel engine, you have a low coolant light. If this light comes
on anytime the engine is running, your system is low on coolant and the
engine may overheat. See “Engine Coolant”
in the Index and have your
vehicle serviced
as soon as you can.
Charging System Warning Light
The red Charging
System Warning light
is located at the upper
right corner of the
instrument cluster.
The Charging System Warning light should come on briefly when you turn
on the ignition, before starting the engine, as a check to show you it is
working. After the engine starts, the light should go out. If it stays on or
comes
on while you are driving, you may have a problem with your
charging system. It could indicate a problem with the alternator drive belt,
or
some other charging system problem. Have it checked right away.
Driving while this light is on could drain your battery.
If
you must drive a short distance with this light on, it helps to turn off all
your accessories, such
as the radio and air conditioner.
2-70
ProCarManuals.com
Page 126 of 385
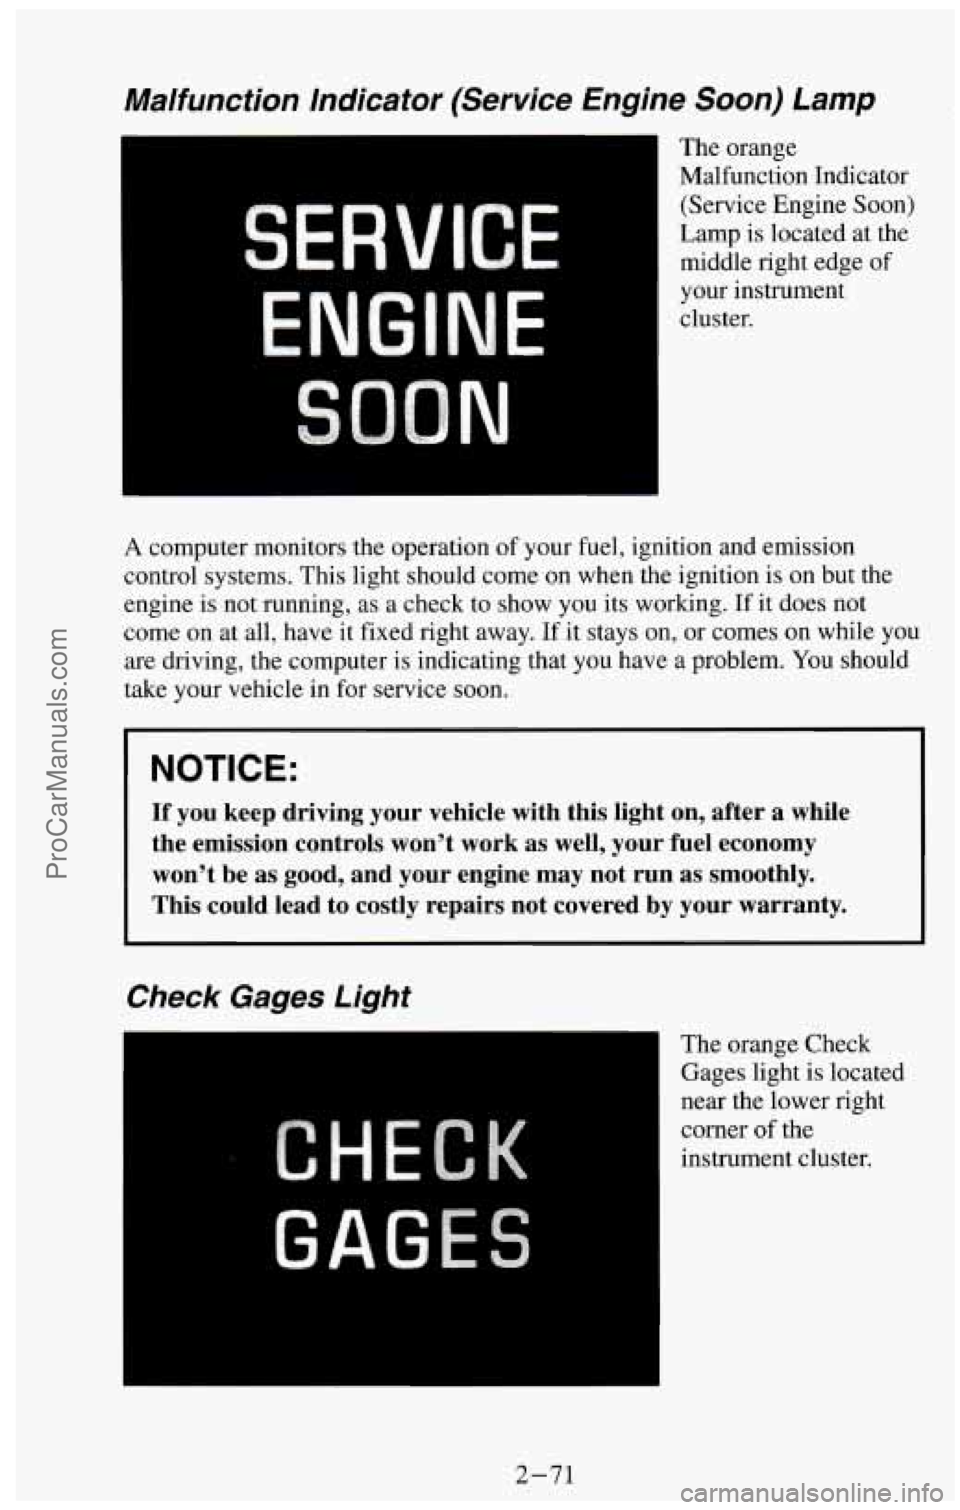
Malfunction Indicator (Service Engine Soon) Lamp
ENGINE
N
The orange
Malfunction Indicator
(Service Engine Soon)
Lamp is located at the
middle right edge of
your instrument
cluster.
A computer monitors the operation of your fuel, ignition and emission
control systems. This light should come on when the ignition is on but the
engine is not running, as a check to show you its working. If it does not
come on at all, have it fixed right away. If it stays on, or comes
on while you
are driving, the computer is indicating that you have a problem.
You should
take your vehicle in for service soon.
NOTICE:
If you keep driving your vehicle with this light on, after a while
the emission controls won’t work as well, your fuel economy \
won’t be as good, and your engine may not run as smoothly.
This could lead to costly repairs not covered by your warranty\
.
Check Gages Light
The orange Check
Gages light is located
near the lower right
corner
of the
instrument cluster.
2-71
ProCarManuals.com
Page 127 of 385
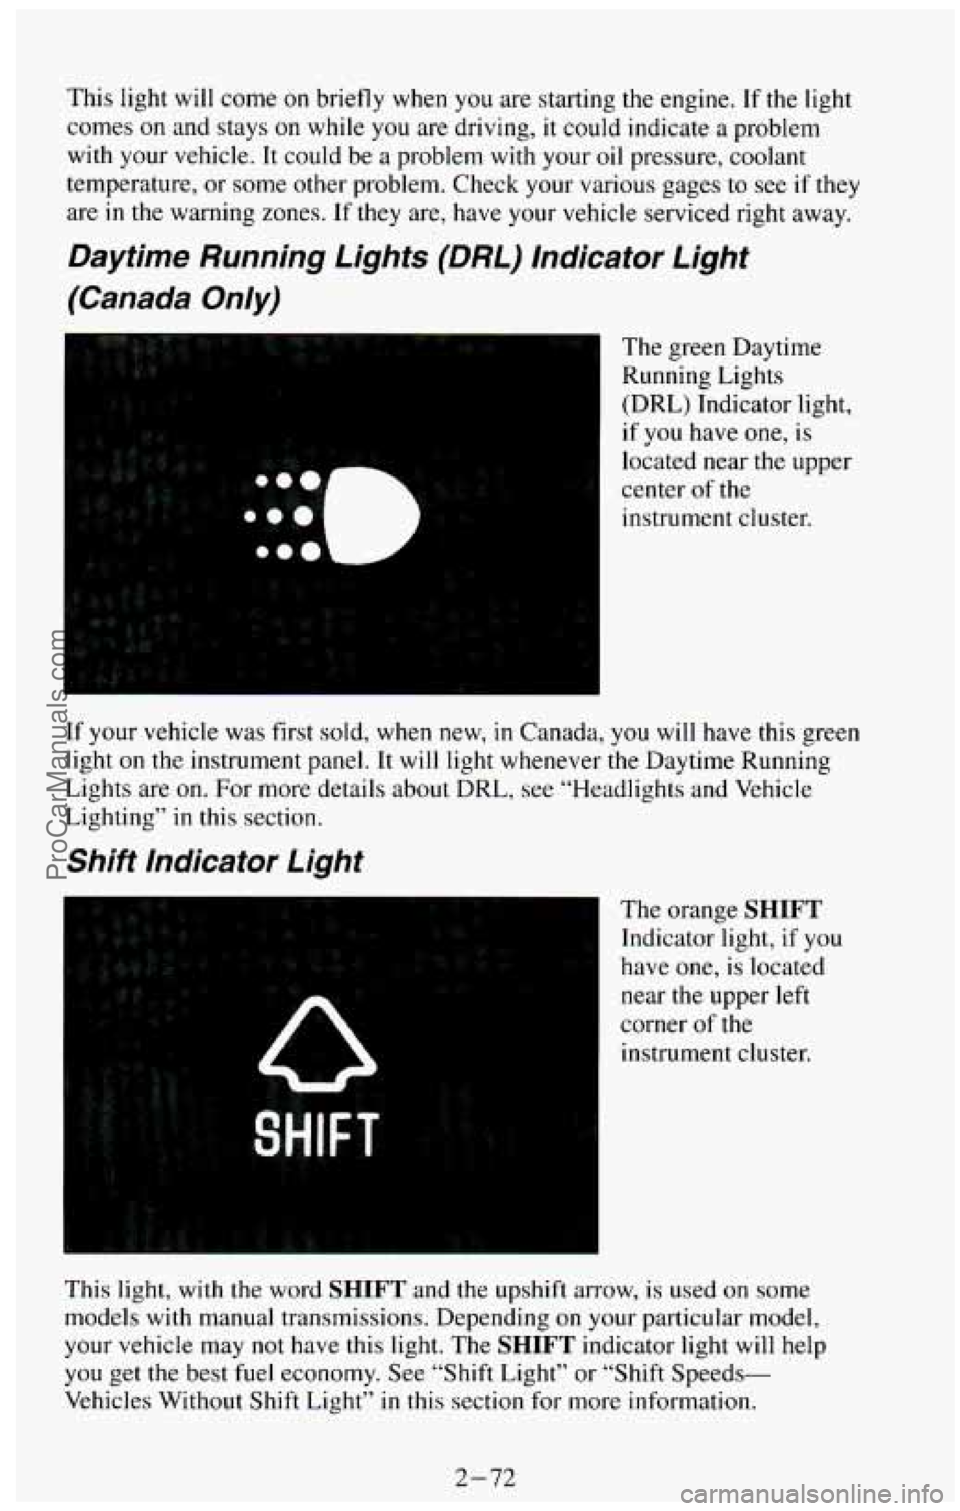
This light will come on briefly when you are starting the engine. If the light
comes
on and stays on while you are driving, it could indicate a problem
with your vehicle. It could be a problem with your oil pressure, coolant
temperature, or some other problem. Check your various gages to see
if they
are
in the warning zones. If they are, have your vehicle serviced right away.
Daytime Running Lights (DRL) Indicator Light
(Canada Only)
The green Daytime
Running Lights
(DRL) Indicator light,
if you have one,
is
located near the upper
center of the
instrument cluster.
If your vehicle was first sold, when new,
in Canada, you will have this green
light on the instrument panel. It will light whenever the Daytime Running
Lights are on.
For more details about DRL, see “Headlights and Vehicle
Lighting” in this section.
Shift Indicator Light
The orange SHIFT
Indicator light, if you
have one, is located
near the upper left
corner
of the
instrument cluster.
This light, with the word
SHIFT and the upshift arrow, is used on some
models with manual transmissions. Depending
on your particular model,
your vehicle may not have this light. The SHIFT indicator light will help
you get the best fuel economy. See “Shift Light” or “Shift Speeds-
Vehicles Without Shift Light”
in this section for more information.
2-72
ProCarManuals.com
Page 130 of 385
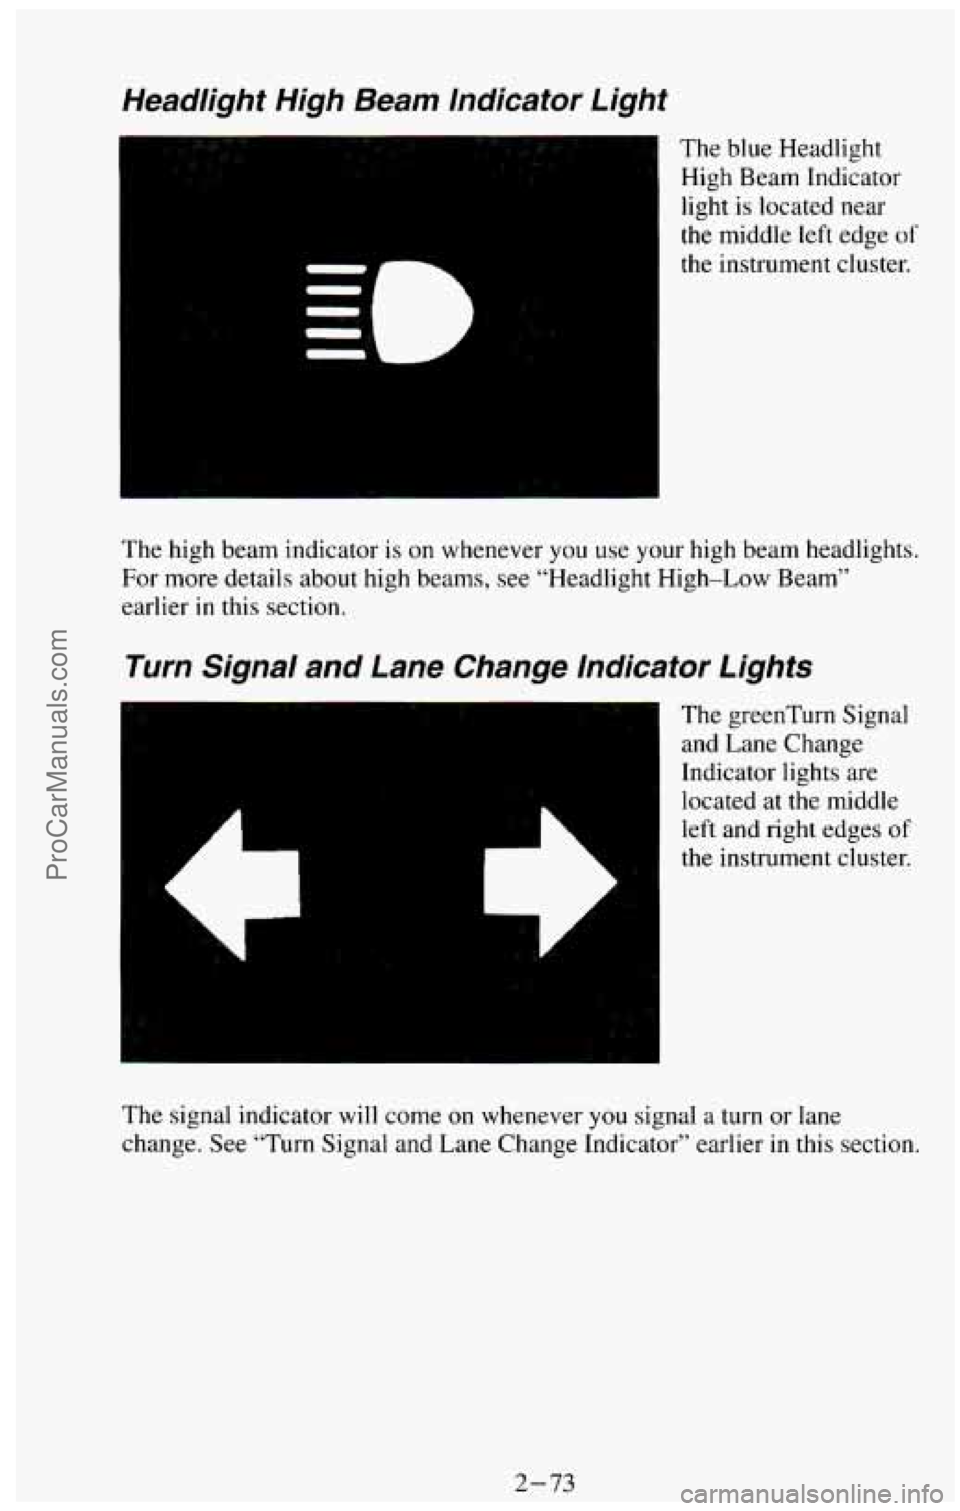
Headlight High Beam Indicator Light
The blue Headlight
High Beam Indicator
light
is located near
the middle left edge of
the instrument cluster.
The high beam indicator
is on whenever you use your high beam headlights.
For more details about high beams, see “Headlight High-Low Beam”
earlier
in this section.
Turn Signal and Lane Change lndicator Lights
(I
The greenTurn Signal
and Lane Change
Indicator lights are
located at the middle
left and right edges
of
the instrument cluster.
The signal indicator will come
on whenever you signal a turn or lane
change. See “Turn Signal and Lane Change Indicator” earlier
in this section.
2-73
ProCarManuals.com
Page 143 of 385
When you first turn on your vehicle’s air conditioning, open the windows to
clear the vehicle
of hot air. Using the MAX button can also help. See
“MAX Button” in this section for more information.
.‘
s
...... Lj”. . ..-. .....
‘I ,OFF
..... .. ... : .
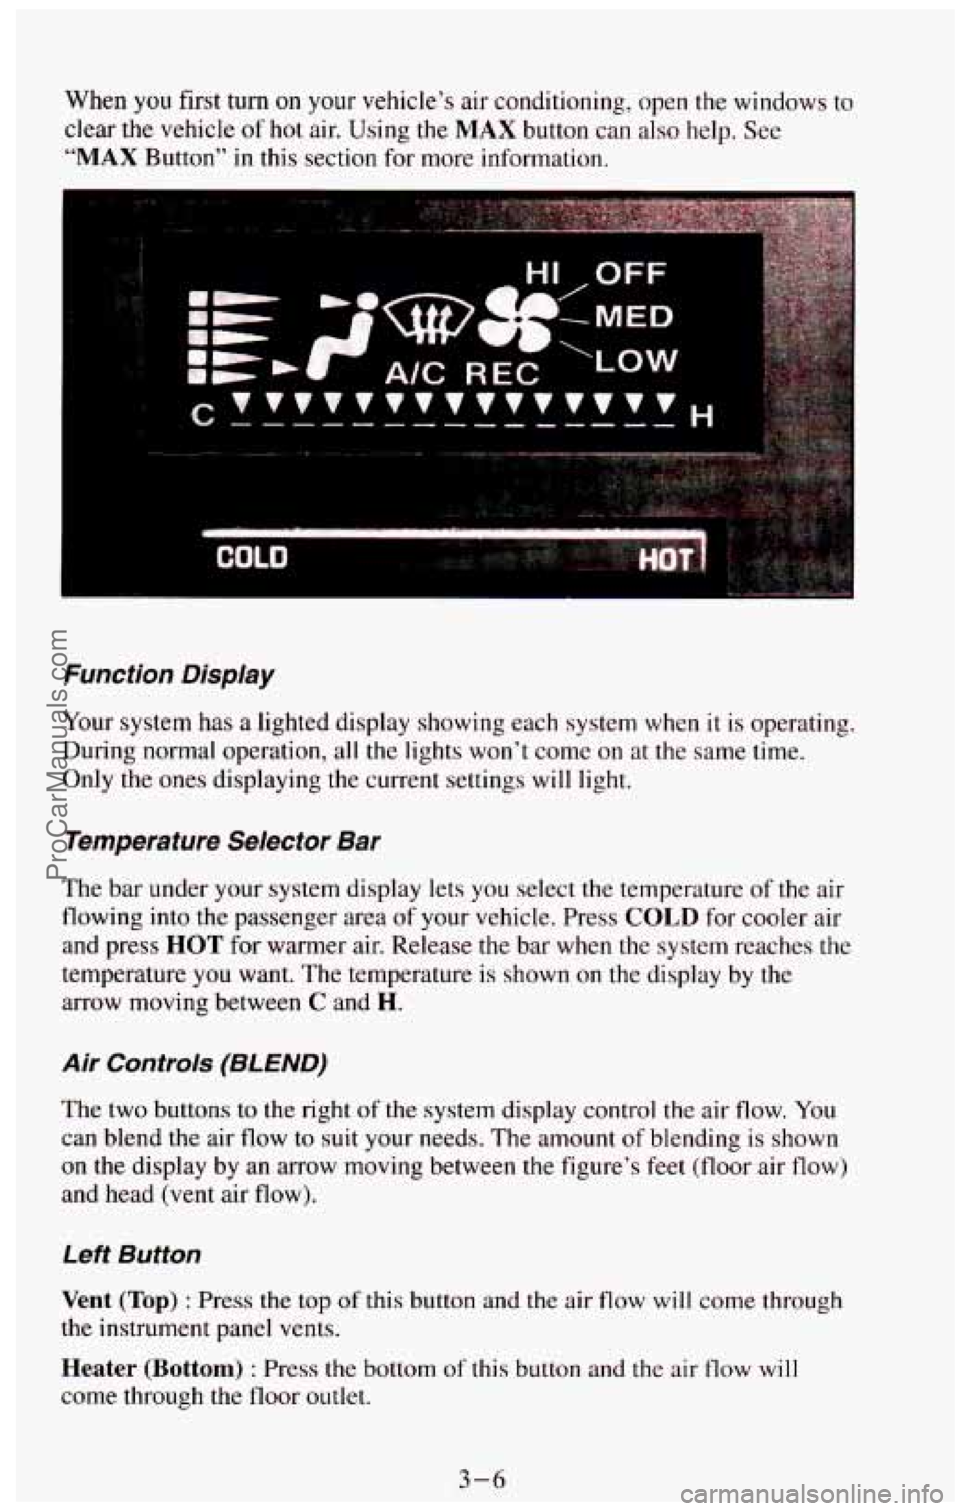
Function Display
Your system has a lighted display showing each system when it is operating.
During normal operation, all the lights won’t come on
at the same time.
Only the ones displaying the current settings will light.
Temperature Selector Bar
The bar under your system display lets you select the temperature of the air
flowing into the passenger area
of your vehicle. Press COLD for cooler air
and press HOT for warmer air. Release the bar when the system reaches the
temperature you want. The temperature is shown on the display by the
arrow moving between
C and H.
Air Controls (8L END)
The two buttons to the right of the system display control the air flow. You
can blend
the air flow to suit your needs. The amount of blending is shown
on the display by an arrow moving between the figure’s feet (floor air flow)
and head (vent air flow).
Left Button
Vent (Top) : Press the top of this button and the air flow will come through
the instrument panel vents.
Heater (Bottom) : Press the bottom of this button and the air flow will
come through the floor outlet.
3-6
ProCarManuals.com
Page 144 of 385
The air flow can be blended between the two positions. To blend between
positions press the side
of the button showing the area where you would like
more air flow. The system will automatically begin to blend toward the
position chosen.
To stop the system between positions, just press the SAME
side of the button again.
Right Button
Defrost (Top) : This setting operates the defroster. Air comes out near the
bottom of the windshield and at your front side windows. Use this setting,
along with a heat setting, when you get fog or ice on the windshield.
Heater (Bottom) : Press the bottom of this button and air comes out near
the floor. This setting, along
with a heat setting, is best for passenger
comfort in cold weather.
The air flow can be blended between the two positions.
To blend between
positions press the side of the button showing the area where
you would like
more air
flow. The system will automatically begin to blend toward the
position chosen. To stop the system between positions, just press
the SAME
side of the button again.
A/C Button
Press the button marked A/C to turn your air conditioner on and off. The
A/C symbol will light on your display and air will come out of your
instrument panel vents. The fan will automatically be set on
LOW .
When you press the A/C button to turn the air conditioner off, the system
will operate in the vent mode. When you turn the air conditioner back
on,
the system will operate in the mode that you last selected unless the OFF
button was pressed.
MAX Button
If you press the MAX button, the air in your vehicle will be recirculated.
With the air conditioner on,
MAX will give you maximum cooling. It can
also be used
in all modes to help keep dust out of your vehicle. When MAX
is selected, REC will light on your display.
If your air conditioner develops high system pressure, it will automatically
go into the
MAX mode and REC will light on your display. The A/C
system will remain in the MAX mode, even if you press the MAX button,
until system pressure returns to a normal level.
3-7 ProCarManuals.com
Page 148 of 385
Rear Window Defogger
You can tell if your vehicle has this option by looking at the rear window. If
you see lines running across the glass, you have it. These are the wire-like
elements which heat your window.
1 NOTICE:
Scraping the inside of your rear window could cut and damage
the defogger. Your warranty would
not cover this damage. And,
don't
put decals there, you might have to scrape them off.
For best results, clear the window of as much snow or ice as possible first.
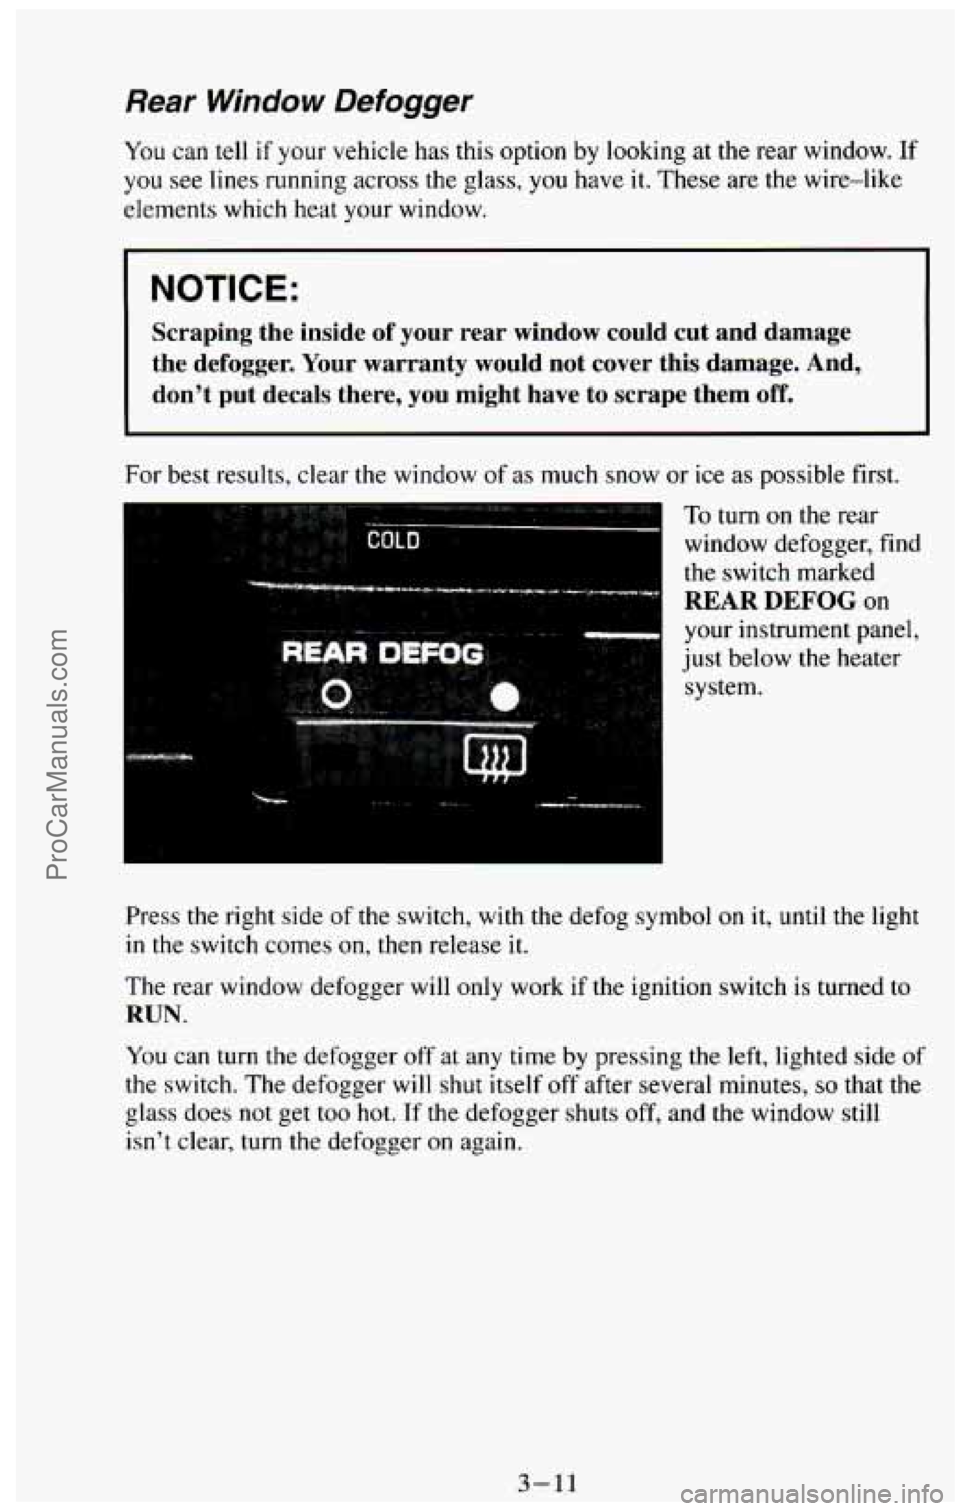
To turn on the rear
window defogger, find
the switch marked
REAR DEFOG on
your instrument panel,
just below the heater
system.
Press the right side of
the switch, with the defog symbol on it, until the light
in the switch comes on, then release it.
The rear window defogger will only work if the ignition switch is turned to
RUN.
You can turn the defogger off at any time by pressing the left, lighted side of
the switch. The defogger will
shut itself off after several minutes, so that the
glass does not get too hot. If the defogger shuts off, and the window still
isn't clear, turn the defogger
on again.
3-11
ProCarManuals.com
Page 149 of 385
A udia Systems
Your Delco@ audio system has been designed to operate easily and give
years
of listening pleasure. You will get the most enjoyment out of it if you
acquaint yourself with it first. Find out what your Delco@ system can do
and how to operate all its controls, to be sure you’re getting the most out of
the advanced engineering that went into it.
Be aware that hearing damage from loud noise is almost undetectable until
it is too late. Your hearing can adapt to higher volumes of
sound. Sound that
seems normal can be loud and harmful to your hearing. Take precautions by
adjusting the volume control on your radio to
a safe sound level before your
hearing adapts to it.
To help avoid hearing loss or damage:
0 Adjust the volume control to the lowest setting.
0 Increase volume slowly until you hear comfortably and clearly.
FM Stereo
FM stereo will give you the best sound. But FM signals can only reach
about 10 to
40 miles (16 to 65 km). And, tall buildings or hills can interfere
with FM signals, causing the sound
to come and go.
AM
The range for most AM stations is greater than for FM, especially at night.
The longer range, however, can cause stations to interfere with each other.
AM can pick up noise from things like electrical storms and power lines.
If
the noise interferes with your listening, try reducing the treble to lessen the
noise.
AM Stereo
This means the Delco@ system can receive C-QUAM@ stereo broadcasts.
Many
AM stations around the country use C-QUAM@ to produce stereo,
though some
do not. If your Delco@ system can get C-QUAM@, your
“STEREO” light will come on when you’re receiving it. (C-QUAM@ is a
registered trademark of Motorola, Inc.).
3-12
ProCarManuals.com