low CHEVROLET SUBURBAN 2012 10.G Owners Manual
[x] Cancel search | Manufacturer: CHEVROLET, Model Year: 2012, Model line: SUBURBAN, Model: CHEVROLET SUBURBAN 2012 10.GPages: 514, PDF Size: 7.54 MB
Page 181 of 514
Black plate (55,1)Chevrolet Tahoe/Suburban Owner Manual - 2012
Instruments and Controls 5-55
To program another Rolling Code
device such as an additional garage
door opener, a security device,
or home automation device, repeat
Steps 1 through 5, choosing a
different function button in Step 3
than what was used for the garage
door opener.
If these instructions do not work,
the garage door opener is probably
a Fixed Code unit. Follow the
programming instructions that follow
for a Fixed Code garage door
opener.
Programming Universal Home
Remote—Fixed Code
For questions or help programming
the Universal Home Remote
System, call 1-866-572-2728 or go
to www.learcar2u.com.
Most garage door openers sold
before 1996 are Fixed Code units.
Programming a garage door opener
involves time-sensitive actions, so
read the entire procedure before starting. Otherwise, the device will
time out and the procedure will have
to be repeated.To program up to three devices:
1. To verify that the garage door
opener is a Fixed Code unit,
remove the battery cover on the
hand-held transmitter supplied
by the manufacturer of the
garage door opener motor.
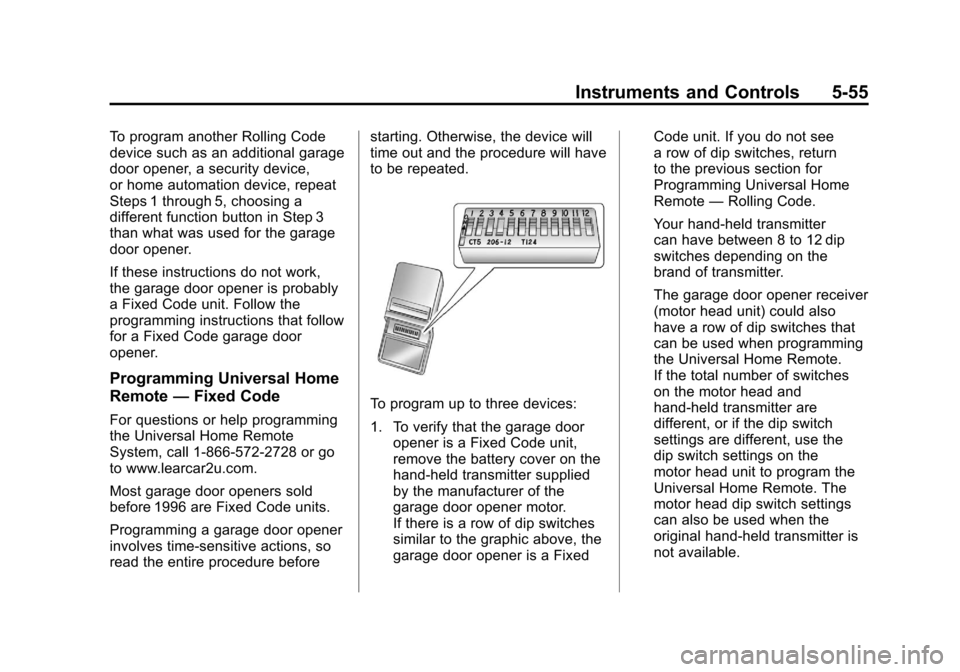
If there is a row of dip switches
similar to the graphic above, the
garage door opener is a Fixed Code unit. If you do not see
a row of dip switches, return
to the previous section for
Programming Universal Home
Remote
—Rolling Code.
Your hand-held transmitter
can have between 8 to 12 dip
switches depending on the
brand of transmitter.
The garage door opener receiver
(motor head unit) could also
have a row of dip switches that
can be used when programming
the Universal Home Remote.
If the total number of switches
on the motor head and
hand-held transmitter are
different, or if the dip switch
settings are different, use the
dip switch settings on the
motor head unit to program the
Universal Home Remote. The
motor head dip switch settings
can also be used when the
original hand-held transmitter is
not available.
Page 182 of 514
Black plate (56,1)Chevrolet Tahoe/Suburban Owner Manual - 2012
5-56 Instruments and Controls
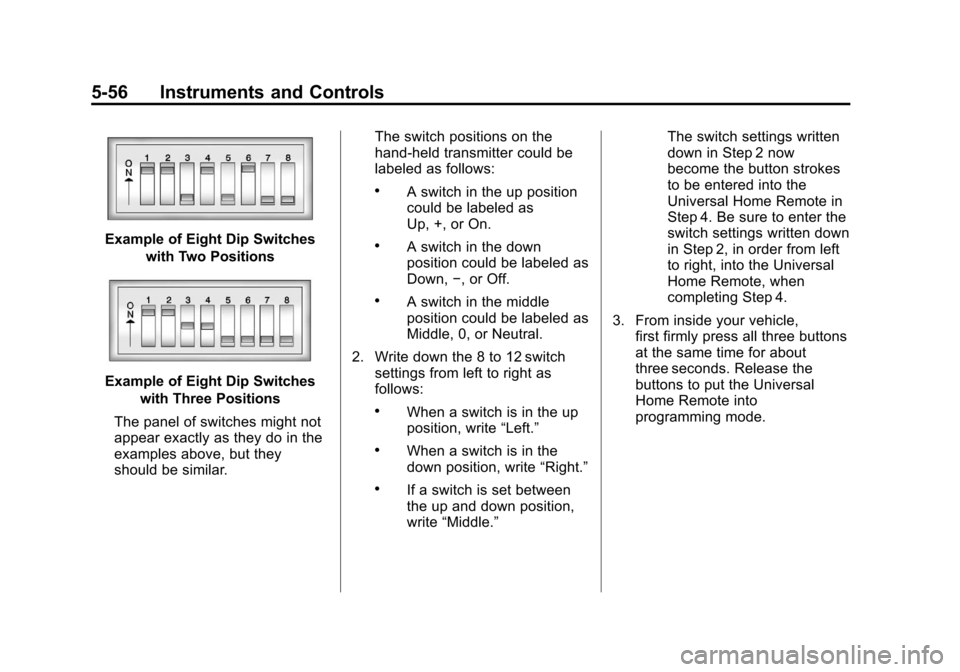
Example of Eight Dip Switcheswith Two Positions
Example of Eight Dip Switcheswith Three Positions
The panel of switches might not
appear exactly as they do in the
examples above, but they
should be similar. The switch positions on the
hand-held transmitter could be
labeled as follows:
.A switch in the up position
could be labeled as
Up, +, or On.
.A switch in the down
position could be labeled as
Down,
−, or Off.
.A switch in the middle
position could be labeled as
Middle, 0, or Neutral.
2. Write down the 8 to 12 switch settings from left to right as
follows:
.When a switch is in the up
position, write “Left.”
.When a switch is in the
down position, write “Right.”
.If a switch is set between
the up and down position,
write“Middle.” The switch settings written
down in Step 2 now
become the button strokes
to be entered into the
Universal Home Remote in
Step 4. Be sure to enter the
switch settings written down
in Step 2, in order from left
to right, into the Universal
Home Remote, when
completing Step 4.
3. From inside your vehicle, first firmly press all three buttons
at the same time for about
three seconds. Release the
buttons to put the Universal
Home Remote into
programming mode.
Page 183 of 514
Black plate (57,1)Chevrolet Tahoe/Suburban Owner Manual - 2012
Instruments and Controls 5-57
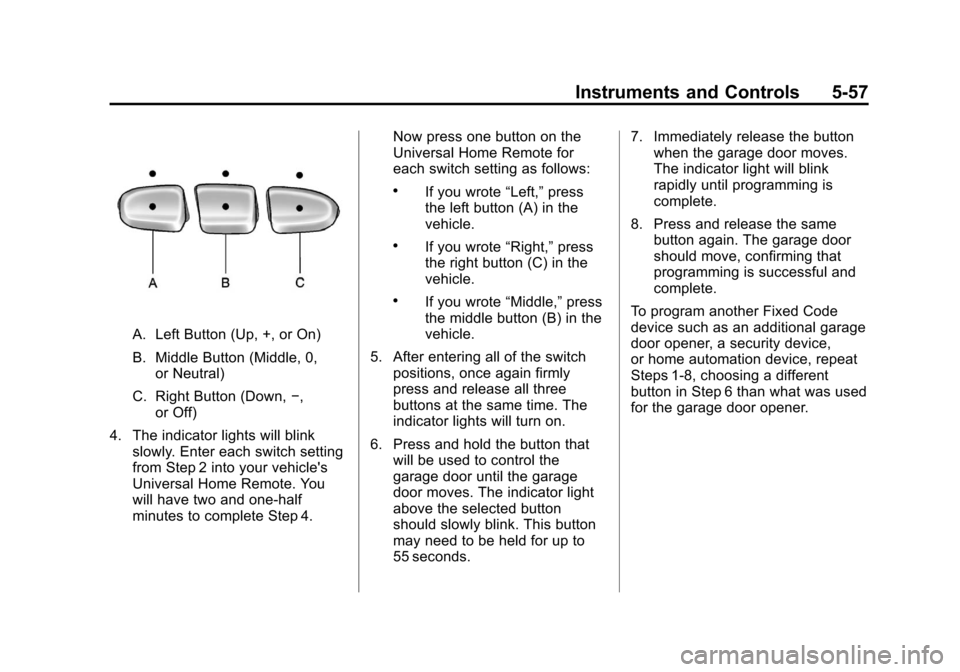
A. Left Button (Up, +, or On)
B. Middle Button (Middle, 0,or Neutral)
C. Right Button (Down, −,
or Off)
4. The indicator lights will blink slowly. Enter each switch setting
from Step 2 into your vehicle's
Universal Home Remote. You
will have two and one-half
minutes to complete Step 4. Now press one button on the
Universal Home Remote for
each switch setting as follows:
.If you wrote
“Left,”press
the left button (A) in the
vehicle.
.If you wrote “Right,”press
the right button (C) in the
vehicle.
.If you wrote “Middle,”press
the middle button (B) in the
vehicle.
5. After entering all of the switch positions, once again firmly
press and release all three
buttons at the same time. The
indicator lights will turn on.
6. Press and hold the button that will be used to control the
garage door until the garage
door moves. The indicator light
above the selected button
should slowly blink. This button
may need to be held for up to
55 seconds. 7. Immediately release the button
when the garage door moves.
The indicator light will blink
rapidly until programming is
complete.
8. Press and release the same button again. The garage door
should move, confirming that
programming is successful and
complete.
To program another Fixed Code
device such as an additional garage
door opener, a security device,
or home automation device, repeat
Steps 1-8, choosing a different
button in Step 6 than what was used
for the garage door opener.
Page 185 of 514
Black plate (1,1)Chevrolet Tahoe/Suburban Owner Manual - 2012
Lighting 6-1
Lighting
Exterior Lighting
Exterior Lamp Controls . . . . . . . . 6-1
Exterior Lamps OffReminder . . . . . . . . . . . . . . . . . . . . 6-2
Headlamp High/Low-Beam Changer . . . . . . . . . . . . . . . . . . . . . 6-2
Flash-to-Pass . . . . . . . . . . . . . . . . . 6-3
Daytime Running Lamps (DRL) . . . . . . . . . . . . . . . . 6-3
Automatic Headlamp System . . . . . . . . . . . . . . . . . . . . . . 6-3
Hazard Warning Flashers . . . . . 6-5
Turn and Lane-Change Signals . . . . . . . . . . . . . . . . . . . . . . 6-5
Fog Lamps . . . . . . . . . . . . . . . . . . . . 6-6
Auxiliary Roof-Mounted Lamp . . . . . . . . . 6-6
Interior Lighting
Instrument Panel IlluminationControl . . . . . . . . . . . . . . . . . . . . . . 6-7
Dome Lamps . . . . . . . . . . . . . . . . . 6-7
Reading Lamps . . . . . . . . . . . . . . . 6-8
Lighting Features
Entry Lighting . . . . . . . . . . . . . . . . . 6-8
Exit Lighting . . . . . . . . . . . . . . . . . . . 6-8
Battery Load Management . . . . 6-9
Battery Power Protection . . . . . . 6-9
Exterior Lighting
Exterior Lamp Controls
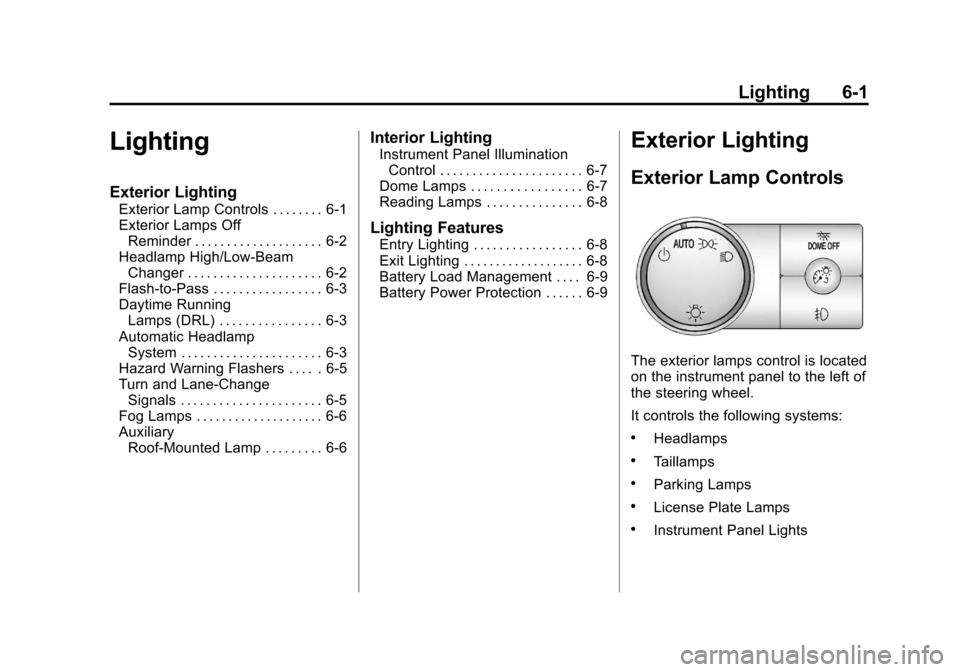
The exterior lamps control is located
on the instrument panel to the left of
the steering wheel.
It controls the following systems:
.Headlamps
.Taillamps
.Parking Lamps
.License Plate Lamps
.Instrument Panel Lights
Page 186 of 514
Black plate (2,1)Chevrolet Tahoe/Suburban Owner Manual - 2012
6-2 Lighting
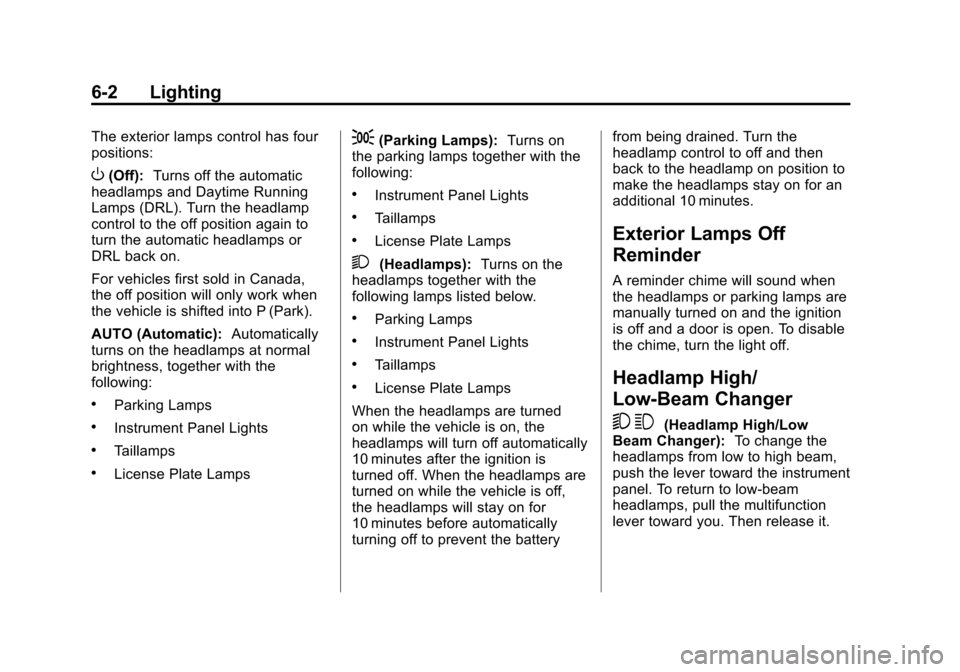
The exterior lamps control has four
positions:
O(Off):Turns off the automatic
headlamps and Daytime Running
Lamps (DRL). Turn the headlamp
control to the off position again to
turn the automatic headlamps or
DRL back on.
For vehicles first sold in Canada,
the off position will only work when
the vehicle is shifted into P (Park).
AUTO (Automatic): Automatically
turns on the headlamps at normal
brightness, together with the
following:
.Parking Lamps
.Instrument Panel Lights
.Taillamps
.License Plate Lamps
;(Parking Lamps): Turns on
the parking lamps together with the
following:
.Instrument Panel Lights
.Taillamps
.License Plate Lamps
2(Headlamps): Turns on the
headlamps together with the
following lamps listed below.
.Parking Lamps
.Instrument Panel Lights
.Taillamps
.License Plate Lamps
When the headlamps are turned
on while the vehicle is on, the
headlamps will turn off automatically
10 minutes after the ignition is
turned off. When the headlamps are
turned on while the vehicle is off,
the headlamps will stay on for
10 minutes before automatically
turning off to prevent the battery from being drained. Turn the
headlamp control to off and then
back to the headlamp on position to
make the headlamps stay on for an
additional 10 minutes.
Exterior Lamps Off
Reminder
A reminder chime will sound when
the headlamps or parking lamps are
manually turned on and the ignition
is off and a door is open. To disable
the chime, turn the light off.
Headlamp High/
Low-Beam Changer
5 3
(Headlamp High/Low
Beam Changer): To change the
headlamps from low to high beam,
push the lever toward the instrument
panel. To return to low-beam
headlamps, pull the multifunction
lever toward you. Then release it.
Page 187 of 514
Black plate (3,1)Chevrolet Tahoe/Suburban Owner Manual - 2012
Lighting 6-3
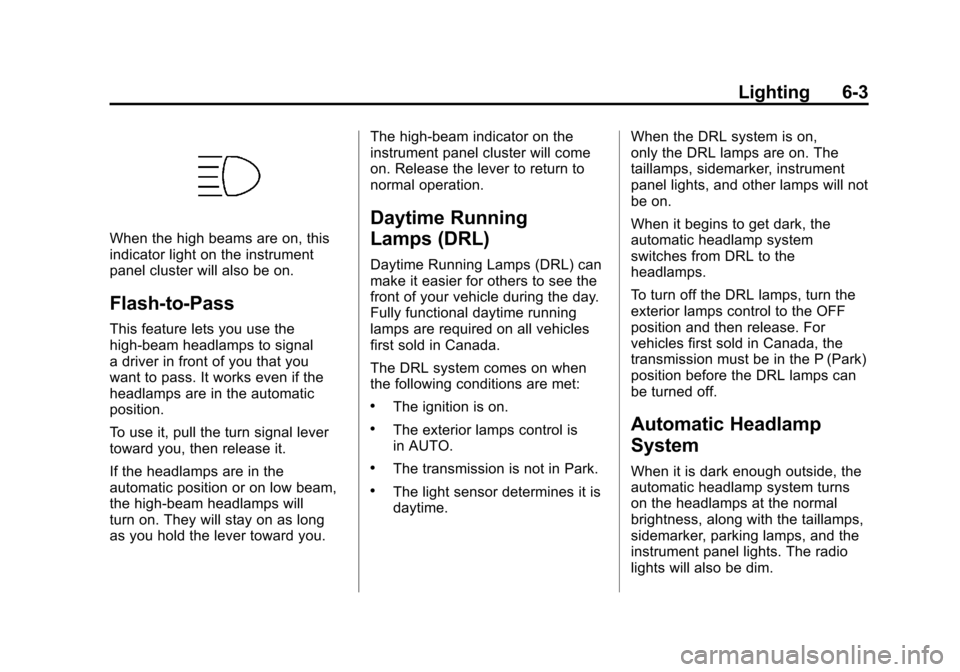
When the high beams are on, this
indicator light on the instrument
panel cluster will also be on.
Flash-to-Pass
This feature lets you use the
high-beam headlamps to signal
a driver in front of you that you
want to pass. It works even if the
headlamps are in the automatic
position.
To use it, pull the turn signal lever
toward you, then release it.
If the headlamps are in the
automatic position or on low beam,
the high-beam headlamps will
turn on. They will stay on as long
as you hold the lever toward you.The high-beam indicator on the
instrument panel cluster will come
on. Release the lever to return to
normal operation.
Daytime Running
Lamps (DRL)
Daytime Running Lamps (DRL) can
make it easier for others to see the
front of your vehicle during the day.
Fully functional daytime running
lamps are required on all vehicles
first sold in Canada.
The DRL system comes on when
the following conditions are met:
.The ignition is on.
.The exterior lamps control is
in AUTO.
.The transmission is not in Park.
.The light sensor determines it is
daytime.
When the DRL system is on,
only the DRL lamps are on. The
taillamps, sidemarker, instrument
panel lights, and other lamps will not
be on.
When it begins to get dark, the
automatic headlamp system
switches from DRL to the
headlamps.
To turn off the DRL lamps, turn the
exterior lamps control to the OFF
position and then release. For
vehicles first sold in Canada, the
transmission must be in the P (Park)
position before the DRL lamps can
be turned off.
Automatic Headlamp
System
When it is dark enough outside, the
automatic headlamp system turns
on the headlamps at the normal
brightness, along with the taillamps,
sidemarker, parking lamps, and the
instrument panel lights. The radio
lights will also be dim.
Page 189 of 514
Black plate (5,1)Chevrolet Tahoe/Suburban Owner Manual - 2012
Lighting 6-5
door closed. SeeRetained
Accessory Power (RAP) on
page 9‑26.
The regular headlamp system can
be turned on when needed.
Hazard Warning Flashers
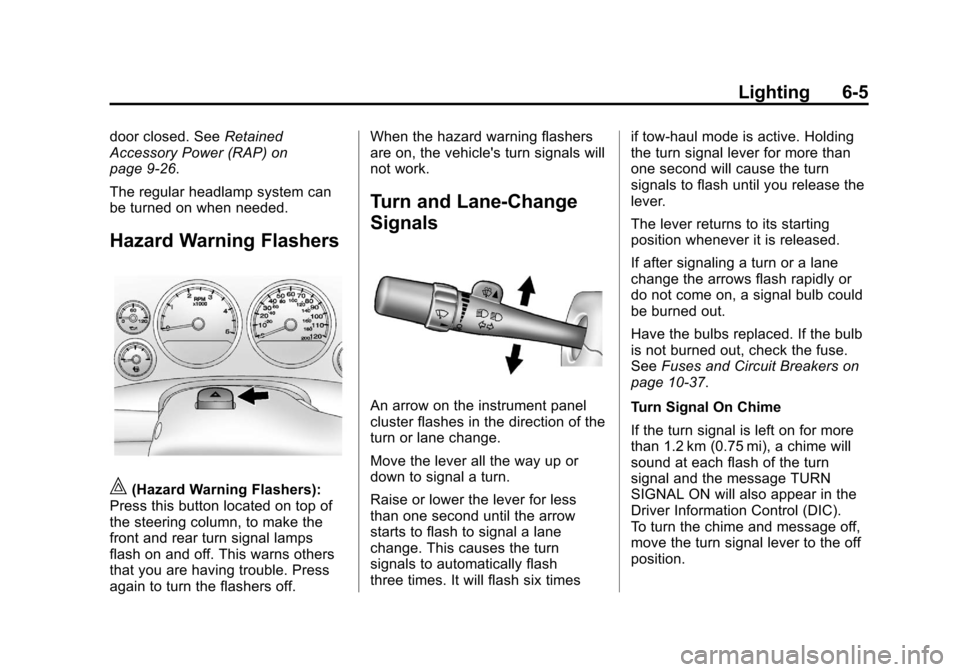
|(Hazard Warning Flashers):
Press this button located on top of
the steering column, to make the
front and rear turn signal lamps
flash on and off. This warns others
that you are having trouble. Press
again to turn the flashers off. When the hazard warning flashers
are on, the vehicle's turn signals will
not work.
Turn and Lane-Change
Signals
An arrow on the instrument panel
cluster flashes in the direction of the
turn or lane change.
Move the lever all the way up or
down to signal a turn.
Raise or lower the lever for less
than one second until the arrow
starts to flash to signal a lane
change. This causes the turn
signals to automatically flash
three times. It will flash six times
if tow-haul mode is active. Holding
the turn signal lever for more than
one second will cause the turn
signals to flash until you release the
lever.
The lever returns to its starting
position whenever it is released.
If after signaling a turn or a lane
change the arrows flash rapidly or
do not come on, a signal bulb could
be burned out.
Have the bulbs replaced. If the bulb
is not burned out, check the fuse.
See
Fuses and Circuit Breakers on
page 10‑37.
Turn Signal On Chime
If the turn signal is left on for more
than 1.2 km (0.75 mi), a chime will
sound at each flash of the turn
signal and the message TURN
SIGNAL ON will also appear in the
Driver Information Control (DIC).
To turn the chime and message off,
move the turn signal lever to the off
position.
Page 191 of 514
Black plate (7,1)Chevrolet Tahoe/Suburban Owner Manual - 2012
Lighting 6-7
The emergency roof lamp circuit
is fused at 30 amps, so the total
current draw of the attached lamps
should be less than this value. The
attachment points for the roof lamp
circuits are two blunt cut wires
located above the overhead
console, a dark green switched
power wire and a black ground wire.
For more information on roof mount
emergency lamp installation, please
visit the GM Upfitter website at
www.gmupfitter.com or contact your
dealer.
If the vehicle has this button,
the vehicle may have the snow
plow prep package. For further
information, seeAdding a Snow
Plow or Similar Equipment on
page 9‑85.Interior Lighting
Instrument Panel
Illumination Control
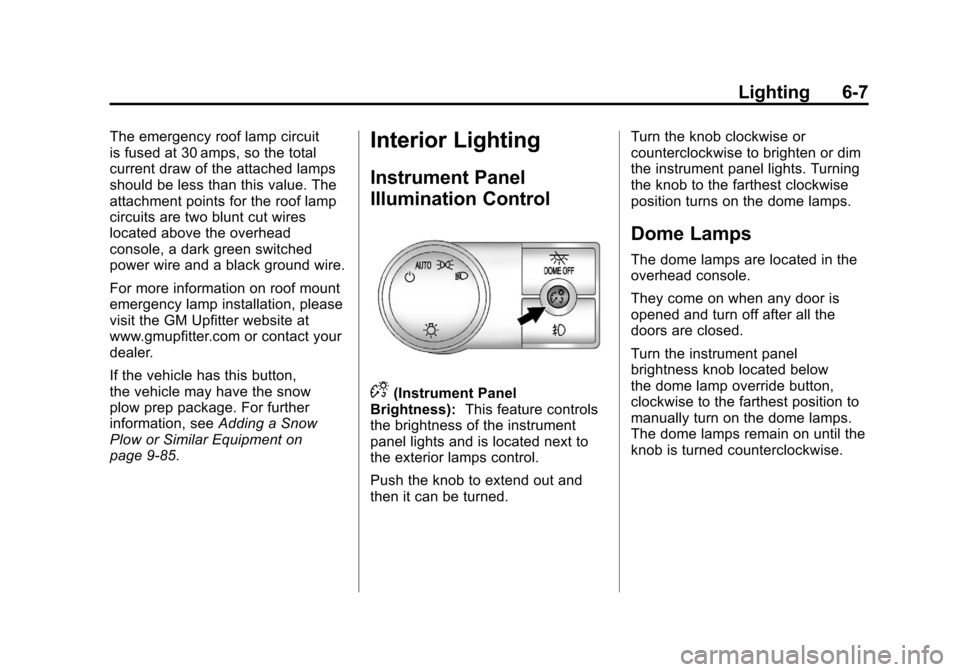
D(Instrument Panel
Brightness): This feature controls
the brightness of the instrument
panel lights and is located next to
the exterior lamps control.
Push the knob to extend out and
then it can be turned. Turn the knob clockwise or
counterclockwise to brighten or dim
the instrument panel lights. Turning
the knob to the farthest clockwise
position turns on the dome lamps.
Dome Lamps
The dome lamps are located in the
overhead console.
They come on when any door is
opened and turn off after all the
doors are closed.
Turn the instrument panel
brightness knob located below
the dome lamp override button,
clockwise to the farthest position to
manually turn on the dome lamps.
The dome lamps remain on until the
knob is turned counterclockwise.
Page 193 of 514
Black plate (9,1)Chevrolet Tahoe/Suburban Owner Manual - 2012
Lighting 6-9
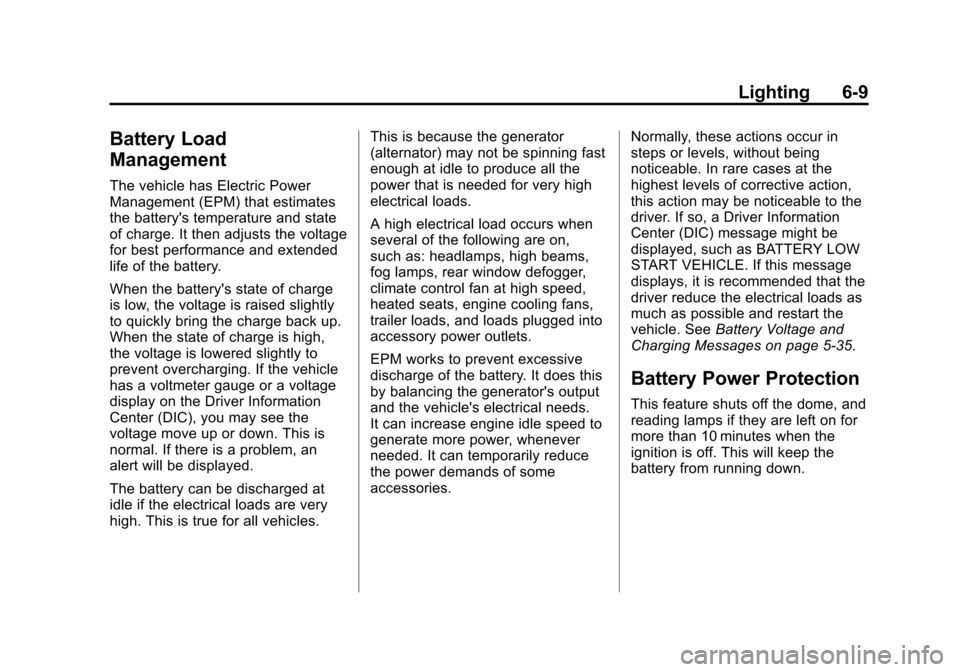
Battery Load
Management
The vehicle has Electric Power
Management (EPM) that estimates
the battery's temperature and state
of charge. It then adjusts the voltage
for best performance and extended
life of the battery.
When the battery's state of charge
is low, the voltage is raised slightly
to quickly bring the charge back up.
When the state of charge is high,
the voltage is lowered slightly to
prevent overcharging. If the vehicle
has a voltmeter gauge or a voltage
display on the Driver Information
Center (DIC), you may see the
voltage move up or down. This is
normal. If there is a problem, an
alert will be displayed.
The battery can be discharged at
idle if the electrical loads are very
high. This is true for all vehicles.This is because the generator
(alternator) may not be spinning fast
enough at idle to produce all the
power that is needed for very high
electrical loads.
A high electrical load occurs when
several of the following are on,
such as: headlamps, high beams,
fog lamps, rear window defogger,
climate control fan at high speed,
heated seats, engine cooling fans,
trailer loads, and loads plugged into
accessory power outlets.
EPM works to prevent excessive
discharge of the battery. It does this
by balancing the generator's output
and the vehicle's electrical needs.
It can increase engine idle speed to
generate more power, whenever
needed. It can temporarily reduce
the power demands of some
accessories.
Normally, these actions occur in
steps or levels, without being
noticeable. In rare cases at the
highest levels of corrective action,
this action may be noticeable to the
driver. If so, a Driver Information
Center (DIC) message might be
displayed, such as BATTERY LOW
START VEHICLE. If this message
displays, it is recommended that the
driver reduce the electrical loads as
much as possible and restart the
vehicle. See
Battery Voltage and
Charging Messages on page 5‑35.
Battery Power Protection
This feature shuts off the dome, and
reading lamps if they are left on for
more than 10 minutes when the
ignition is off. This will keep the
battery from running down.
Page 195 of 514
Black plate (1,1)Chevrolet Tahoe/Suburban Owner Manual - 2012
Infotainment System 7-1
Infotainment
System
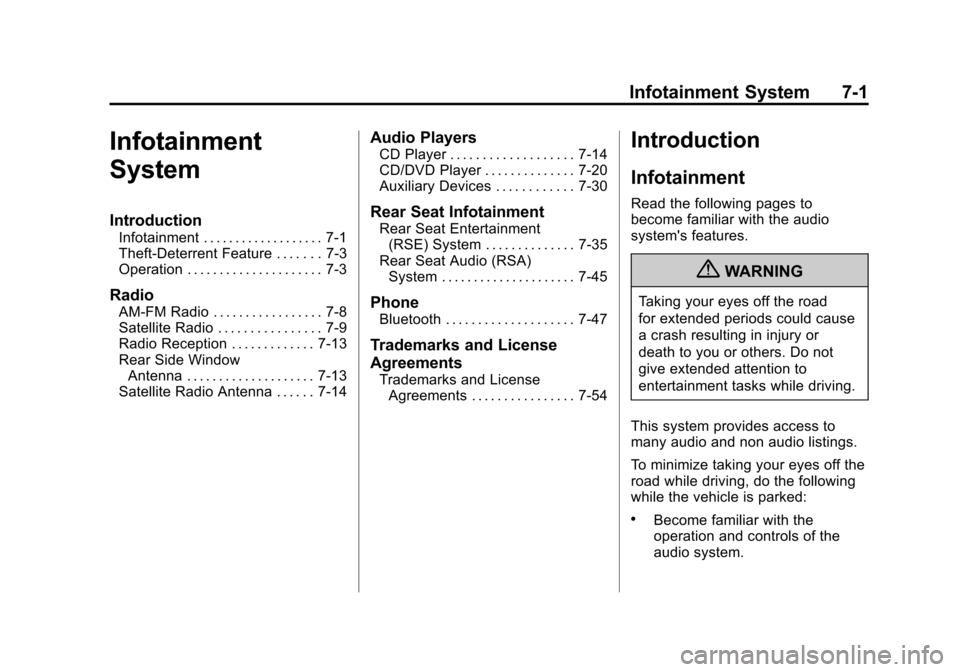
Introduction
Infotainment . . . . . . . . . . . . . . . . . . . 7-1
Theft-Deterrent Feature . . . . . . . 7-3
Operation . . . . . . . . . . . . . . . . . . . . . 7-3
Radio
AM-FM Radio . . . . . . . . . . . . . . . . . 7-8
Satellite Radio . . . . . . . . . . . . . . . . 7-9
Radio Reception . . . . . . . . . . . . . 7-13
Rear Side WindowAntenna . . . . . . . . . . . . . . . . . . . . 7-13
Satellite Radio Antenna . . . . . . 7-14
Audio Players
CD Player . . . . . . . . . . . . . . . . . . . 7-14
CD/DVD Player . . . . . . . . . . . . . . 7-20
Auxiliary Devices . . . . . . . . . . . . 7-30
Rear Seat Infotainment
Rear Seat Entertainment (RSE) System . . . . . . . . . . . . . . 7-35
Rear Seat Audio (RSA) System . . . . . . . . . . . . . . . . . . . . . 7-45
Phone
Bluetooth . . . . . . . . . . . . . . . . . . . . 7-47
Trademarks and License
Agreements
Trademarks and LicenseAgreements . . . . . . . . . . . . . . . . 7-54
Introduction
Infotainment
Read the following pages to
become familiar with the audio
system's features.
{WARNING
Taking your eyes off the road
for extended periods could cause
a crash resulting in injury or
death to you or others. Do not
give extended attention to
entertainment tasks while driving.
This system provides access to
many audio and non audio listings.
To minimize taking your eyes off the
road while driving, do the following
while the vehicle is parked:
.Become familiar with the
operation and controls of the
audio system.