CHEVROLET TAHOE 1995 1.G Owners Manual
Manufacturer: CHEVROLET, Model Year: 1995, Model line: TAHOE, Model: CHEVROLET TAHOE 1995 1.GPages: 486, PDF Size: 27.22 MB
Page 311 of 486
Downloaded from www.Manualslib.com manuals search engine Specification 6038-M.” Use GM Coolant Supplement (Sealer) with a
complete coolant flush and refill. If
you use this mixture, you don’t need to
add anything else.
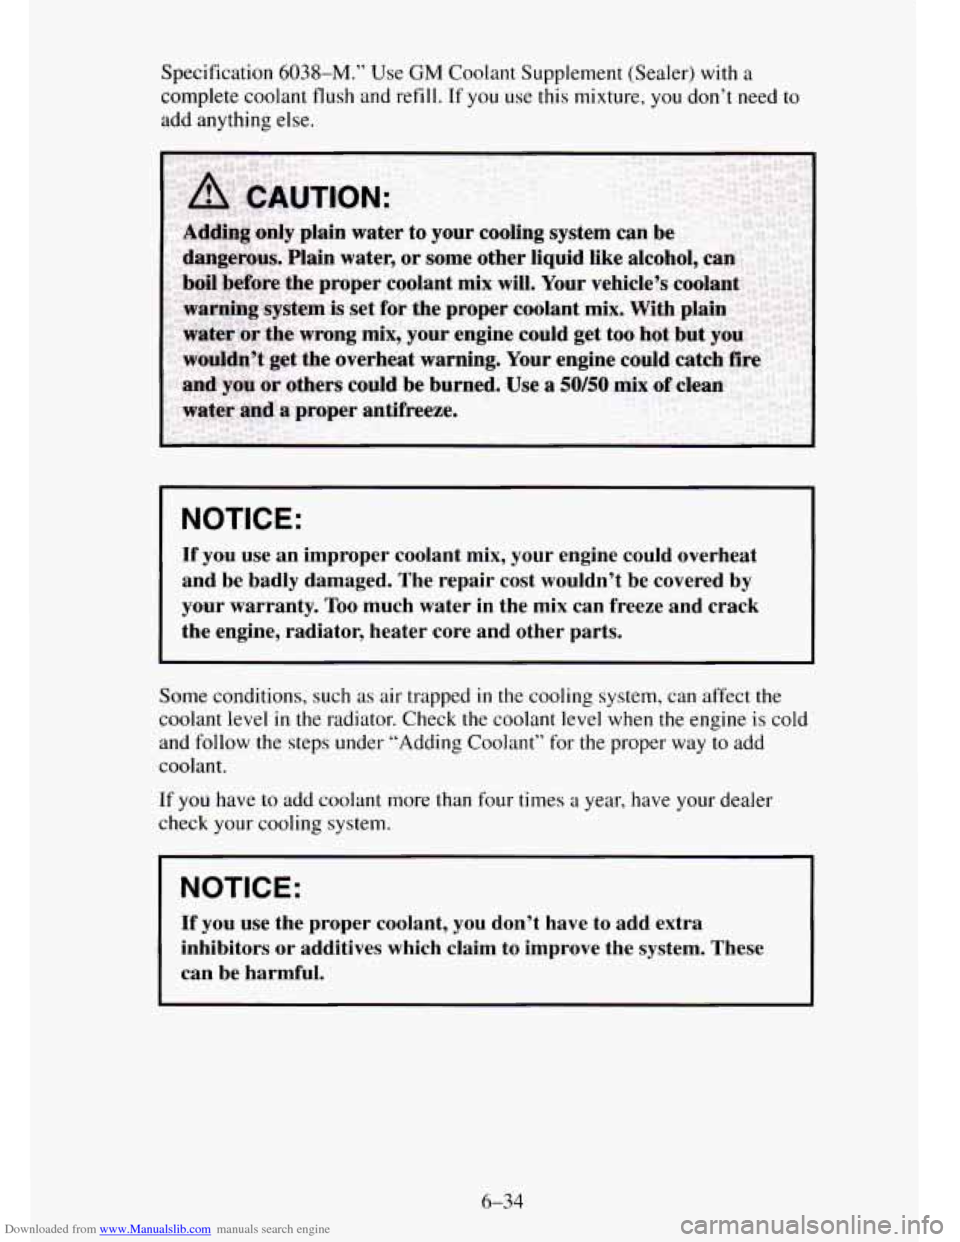
NOTICE:
If you use an improper coolant mix, your engine could overheat
and be badly damaged. The repair cost wouldn’t be covered by
your warranty.
Too much water in the mix can freeze and crack
the engine, radiator, heater core and other parts.
Some conditions, such
as air trapped in the cooling system, can affect the
coolant level
in the radiator. Check the coolant level when the engine is cold
and follow the steps under “Adding Coolant”
for the proper way to add
coolant.
If you have to add coolant more than four times
a year, have your dealer
check
your cooling system.
I NOTICE:
If you use the proper coolant, you don’t have to add extra
inhibitors or additives which claim to improve the system. These
can be harmful.
6-34
Page 312 of 486
Downloaded from www.Manualslib.com manuals search engine Adding Cooranr - Gasoline Engine
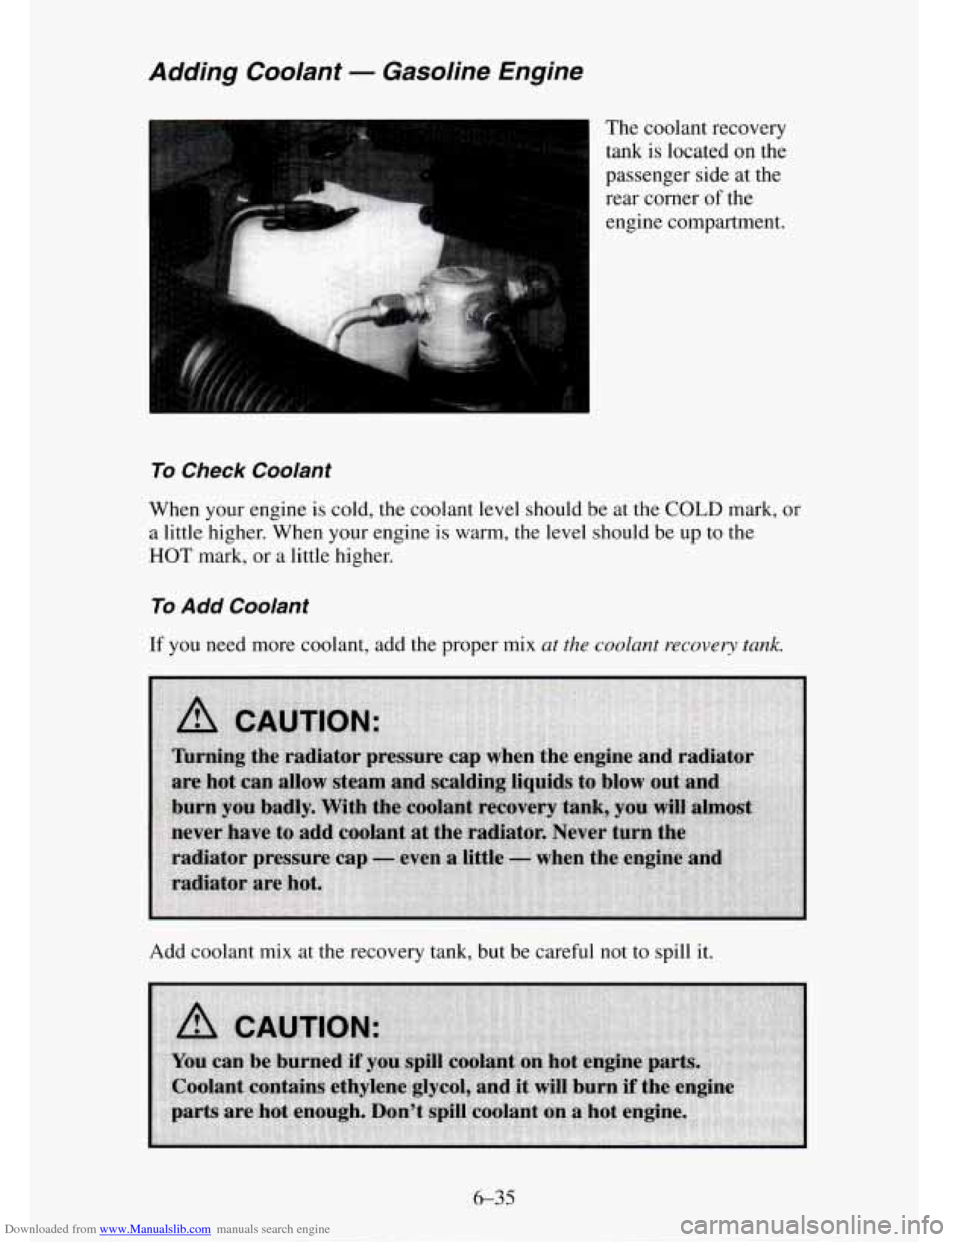
The coolant recovery
tank is located on the
passenger side at the
rear corner of the
engine compartment.
To Check Coolant
When your engine is cold, the coolant level should be at the COLD mark, or
a little higher. When your engine is warm, the level should be up
to the
HOT mark, or a little higher.
To Add Coolant
If you need more coolant, add the proper mix at the coolant recovery tank.
Add coolant mix at the recovery tank, but be careful not to spill it.
6-35
Page 313 of 486
Downloaded from www.Manualslib.com manuals search engine Adding Coolant - Diesel Engine
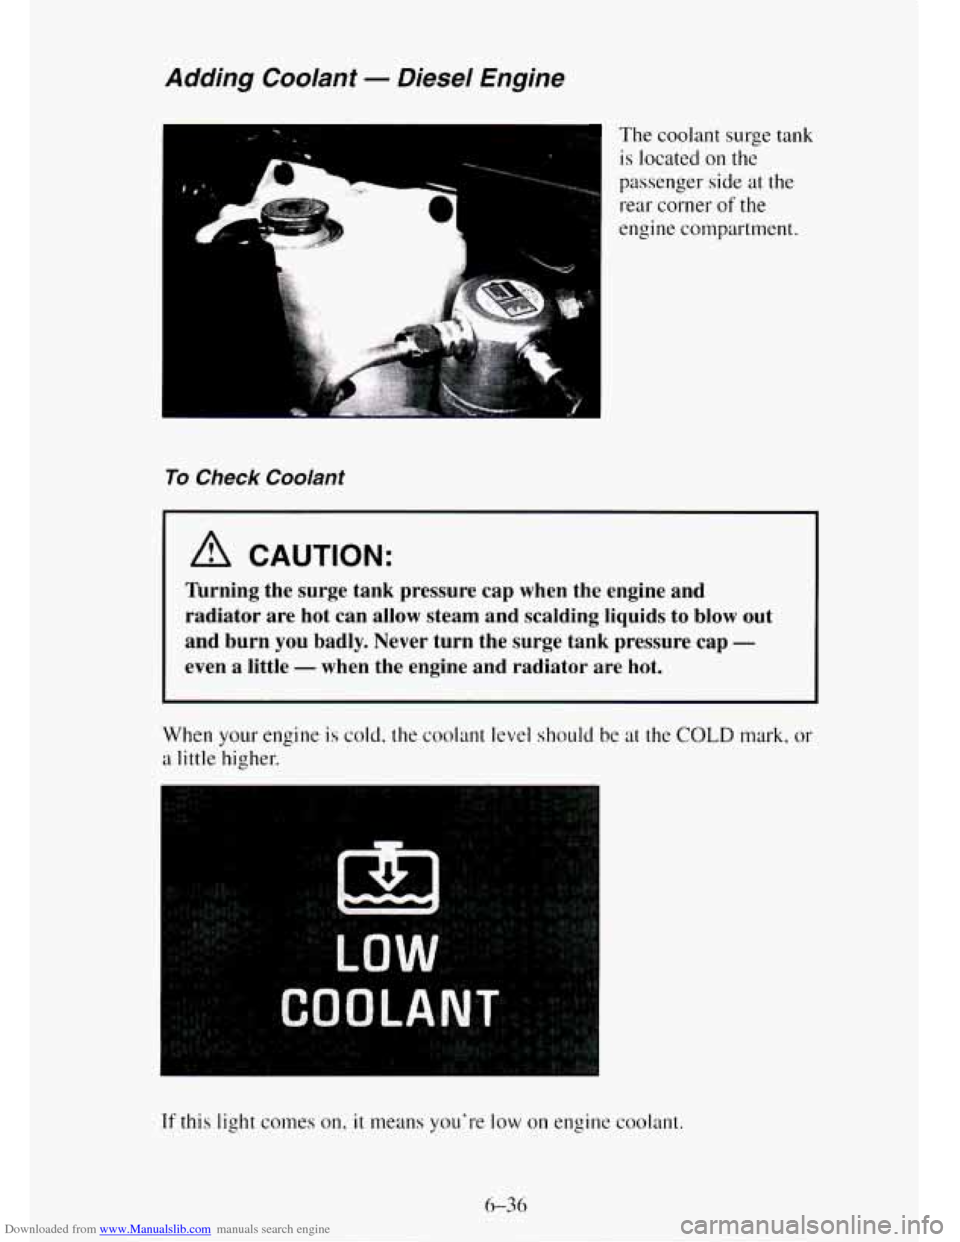
x " The coolant surge tank is located on
the
passenger side at the
rear corner of the
engine compartment.
To Check Coolant
A CAUTION:
lbrning the surge tank pressure cap when the engine and
radiator are hot can allow steam and scalding liquids to blow \
out
and burn you badly. Never turn the surge tank pressure
cap -
even a little - when the engine and radiator are hot.
When your engine is cold, the coolant level should be at the COLD mark. or
a little higher.
If this light comes on, it means you're low on engine coolant.
6-36
Page 314 of 486
Downloaded from www.Manualslib.com manuals search engine To Add Coolant
If you need more coolant, add the proper mix crt the surge tunk, but only
when the engine
is cool. If the surge tank is empty, see “Engine
Overheating”
in the Index for the proper fill procedure.
A CAUTION:
You can be burned if you spill coolant on hot engine parts.
Coolant contains ethylene glycol, and
it will burn if the engine
parts are hot enough. Don’t spill coolant on
a hot engine.
When replacing the pressure
cap, make sure it is tight.
Radiator Pressure Cap - Gasoline Engine
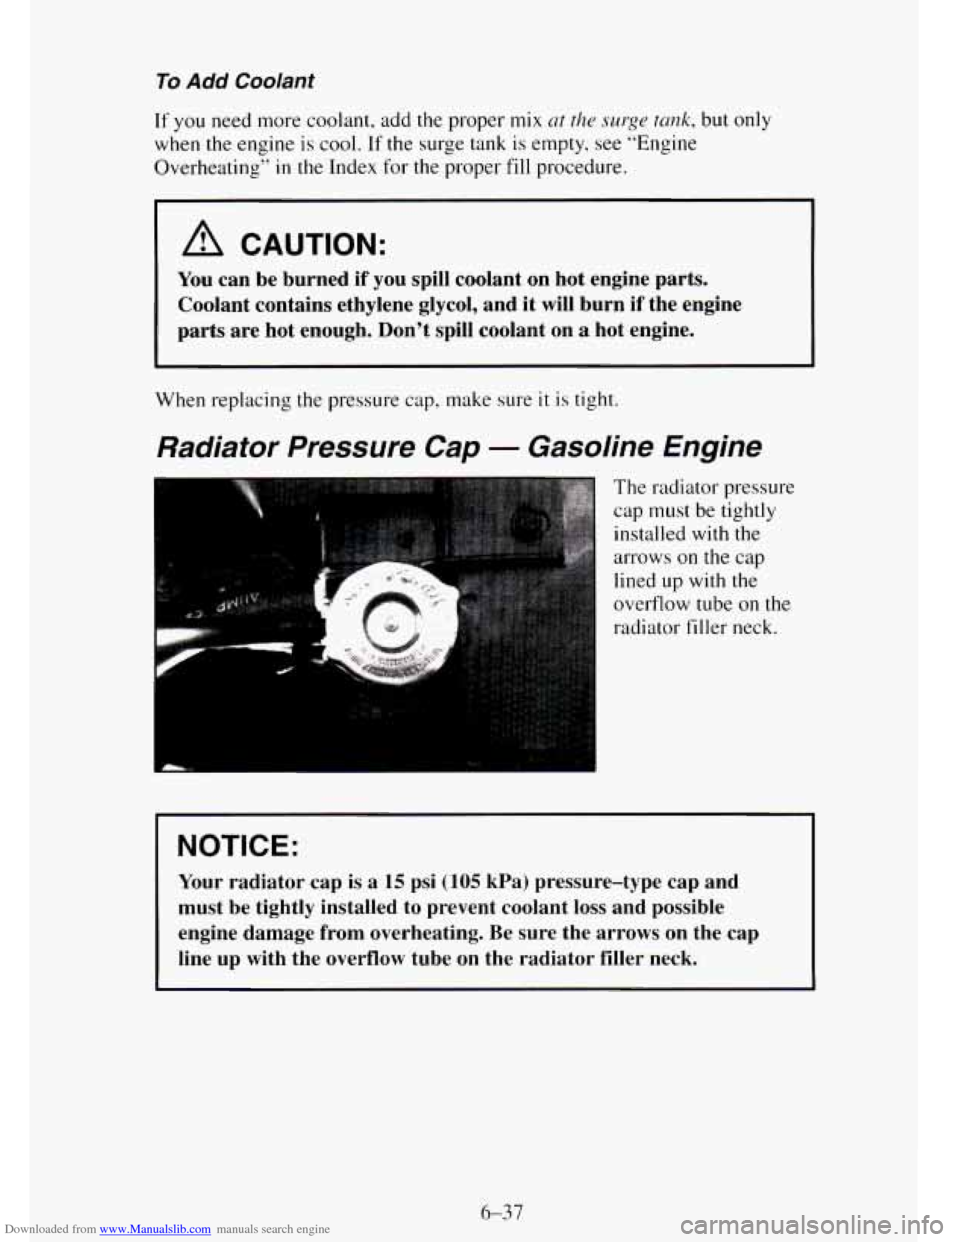
The radiator pressure
cap
must be tightly
installed
with the
arrows on the cap
lined up with the
overflow tube
on the
radiator filler neck.
U
NOTICE:
Your radiator cap is a 15 psi (105 kPa) pressure-type cap and
must be tightly installed to prevent coolant
loss and possible
engine damage from overheating. Be sure the arrows on the cap
line up with the overflow tube on the radiator filler neck.
Page 315 of 486
Downloaded from www.Manualslib.com manuals search engine Surge Tank Pressure Cap - Diesel Engine
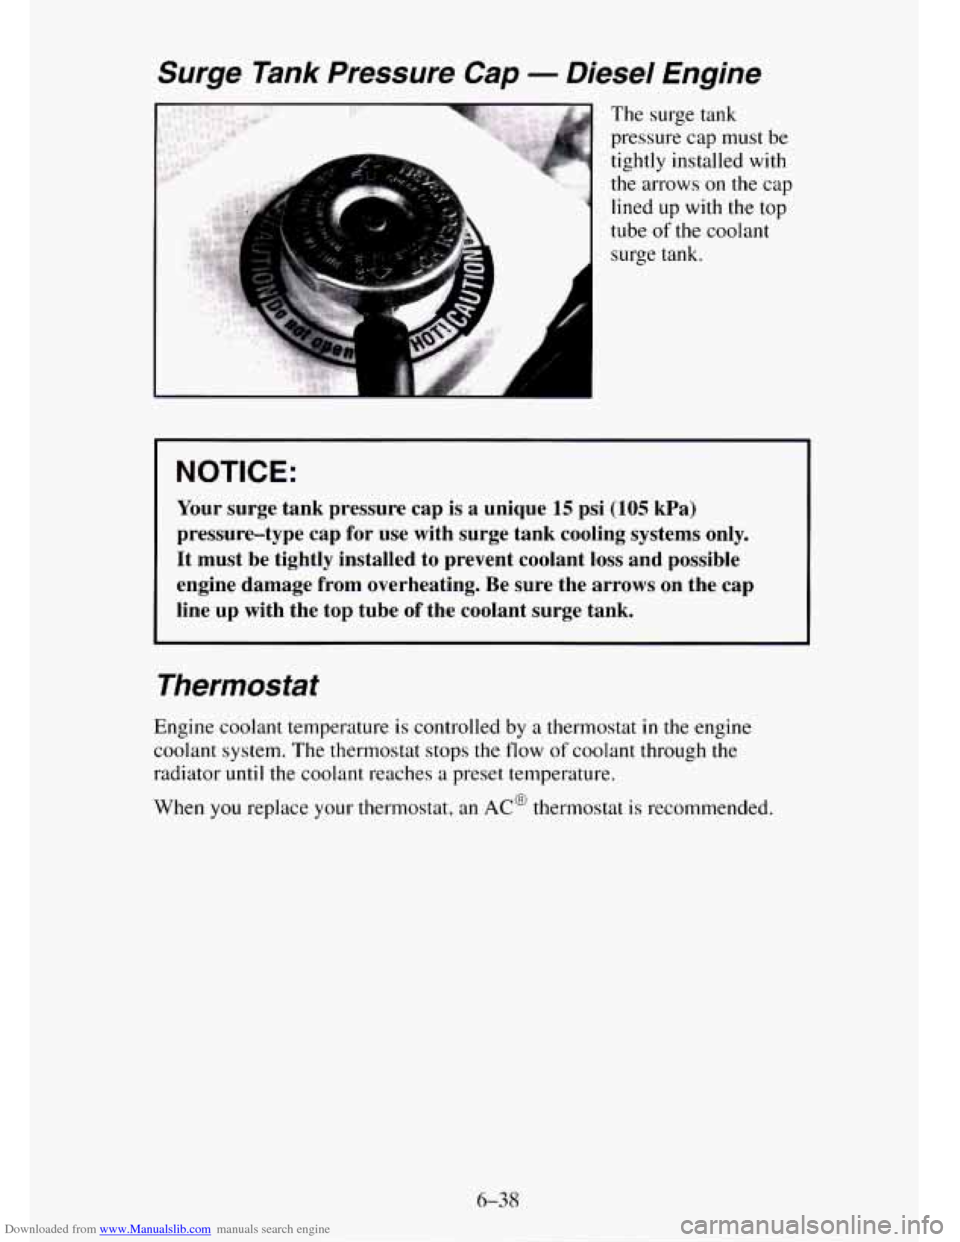
The surge tank
pressure cap must
be
tightly installed with
the arrows on the cap
lined up with the top
tube
of the coolant
surge tank.
NOTICE:
Your surge tank pressure cap is a unique 15 psi (105 kPa)
pressure-type cap for use with surge tank cooling systems only.
It must be tightly installed to prevent coolant
loss and possible
engine damage from overheating. Be sure the arrows on the cap
line up with the top tube of the coolant surge tank.
Thermostat
Engine coolant temperature is controlled by a thermostat in the engine
coolant system. The thermostat stops the flow
of coolant through the
radiator
until the coolant reaches a preset temperature.
When you replace your thermostat, an
AC@ thermostat is recommended.
6-38
Page 316 of 486
Downloaded from www.Manualslib.com manuals search engine Power Steering Fluid
How To Check Power Steering Fluid
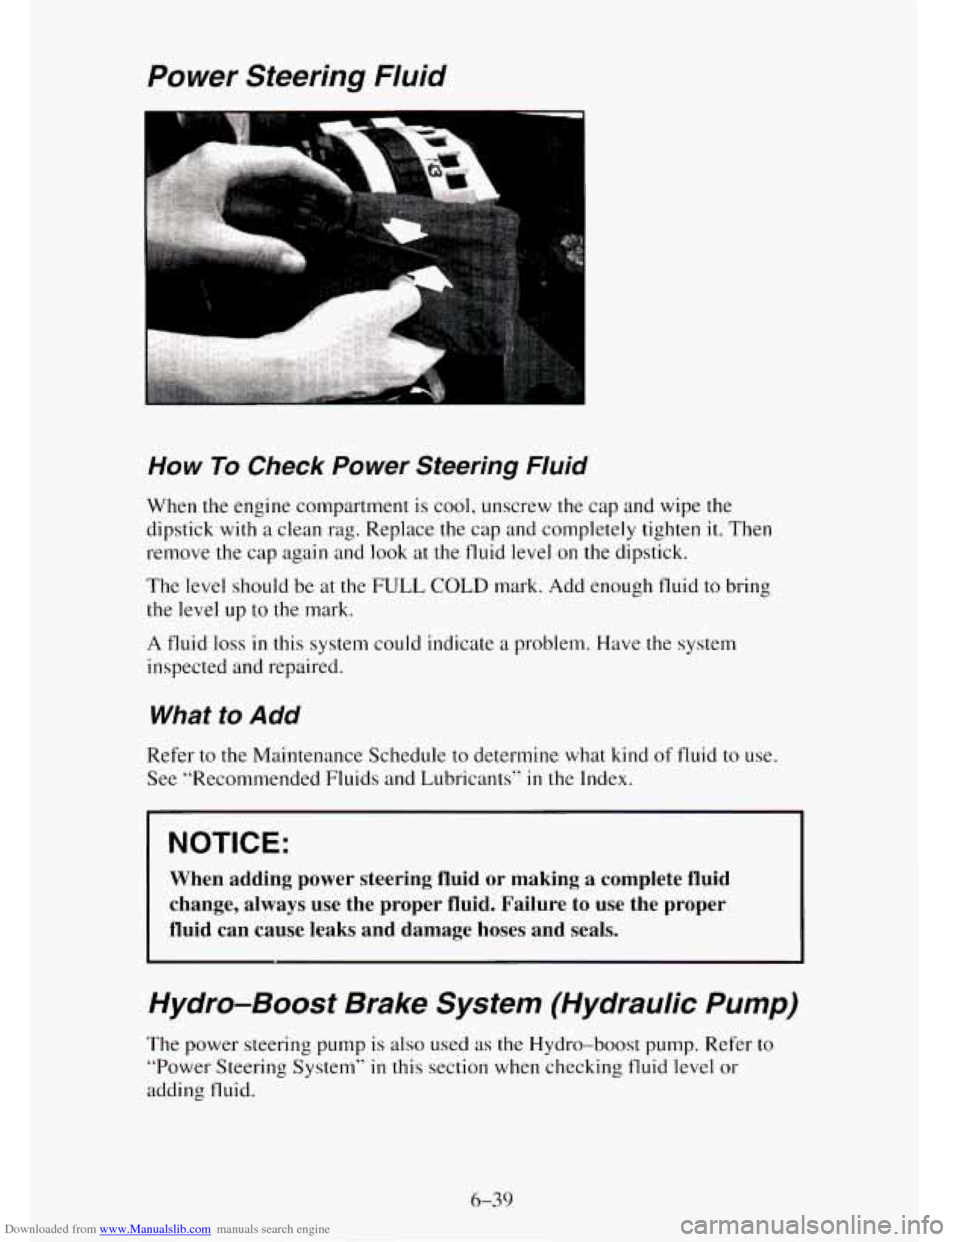
When the engine compartment is cool, unscrew the cap and wipe the
dipstick
with a clean rag. Replace the cap and completely tighten it. Then
remove the cap again
and look at the fluid level on the dipstick.
The level should be at the FULL COLD mark. Add enough fluid to bring
the level up
to the mark.
A fluid
loss in this system could indicate a problem. Have the system
inspected and repaired.
What to Add
Refer to the Maintenance Schedule to determine what kind of fluid to use.
See “Recommended Fluids and Lubricants”
in the Index.
I
I NOTICE:
When adding power steering fluid or making a complete fluid
change, always use the proper fluid. Failure to use the proper\
fluid can cause leaks and damage hoses and seals.
Hydro-Boost Brake System (Hydraulic Pump)
The power steering pump is also used as the Hydro-boost pump. Refer to
“Power Steering System” in this section when checking fluid level or
adding fluid.
6-39
Page 317 of 486
Downloaded from www.Manualslib.com manuals search engine Windshield Washer Fluid
What to Use
When you need windshield washer fluid, be sure to read the manufacturer’s
instructions before use.
If you will be operating your vehicle in an area
where the temperature may fall below freezing, use
a fluid that has
sufficient protection against freezing.
To Add
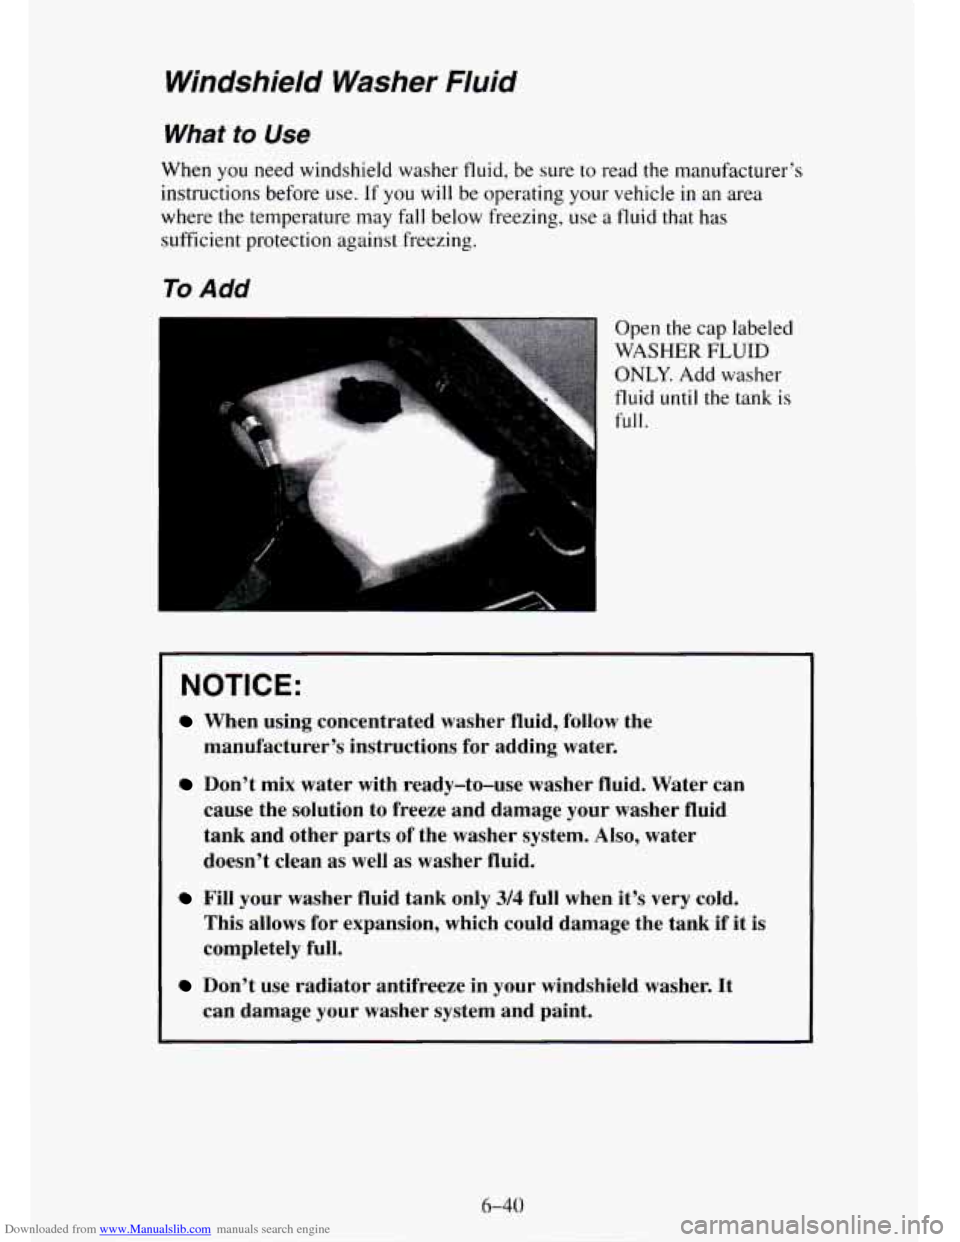
Open the cap labeled
WASHER
FLUID
ONLY. Add washer
fluid
until the tank is
full.
NOTICE:
When using concentrated washer fluid, follow the
manufacturer’s instructions
for adding water.
Don’t mix water with ready-to-use washer fluid. Water can
cause the solution to freeze and damage your washer fluid
tank and other parts of the washer system.
Also, water
doesn’t clean as well as washer fluid.
Fill your washer fluid tank only 3/4 full when it’s very cold.
This allows for expansion, which could damage the tank if it is
completely full.
Don’t use radiator antifreeze in your windshield washer. It
can damage
your washer system and paint.
6-40
Page 318 of 486
Downloaded from www.Manualslib.com manuals search engine Brakes
Brake Master Cylinder
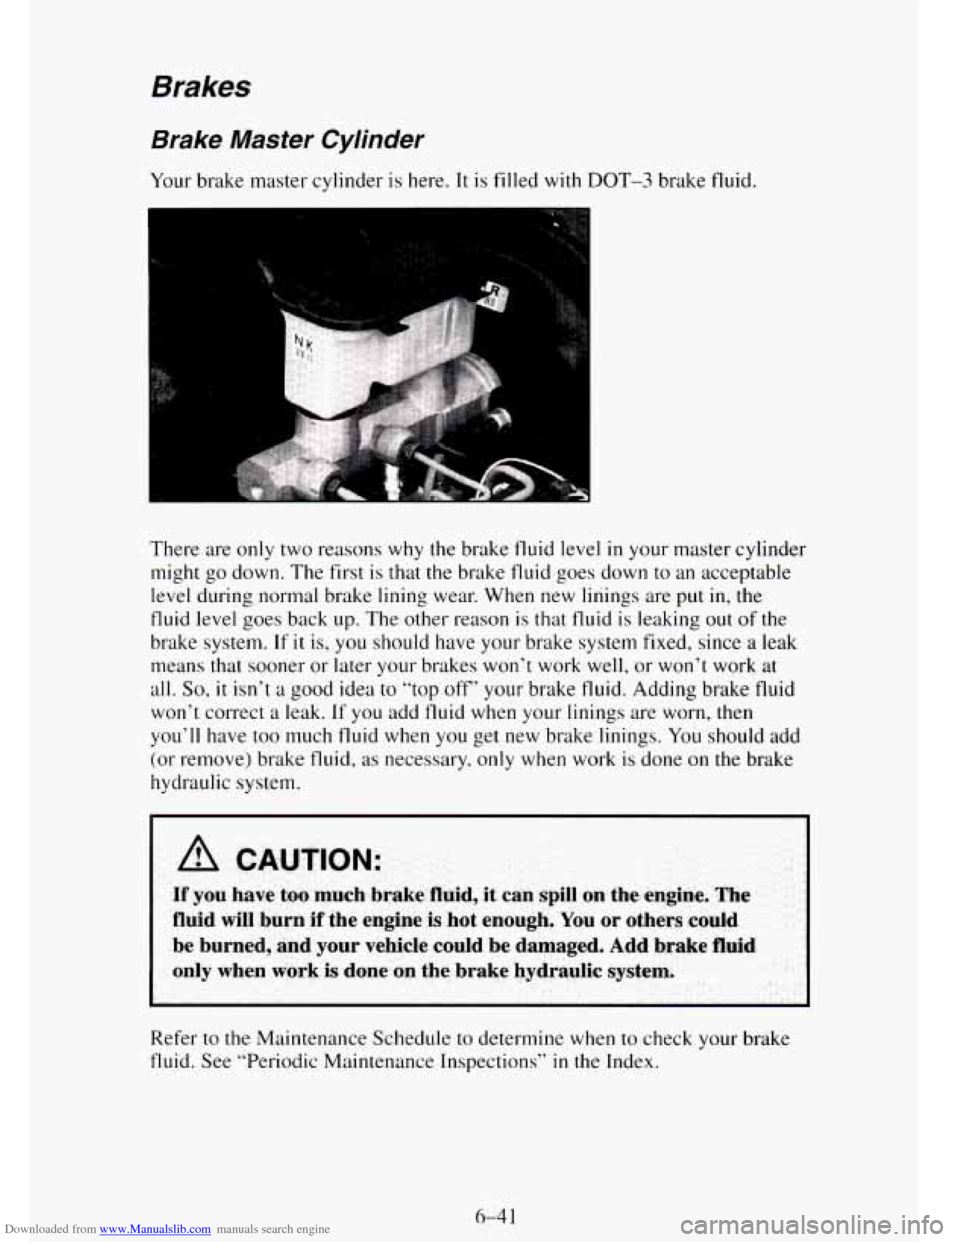
Your brake master cylinder is here. It is filled with DOT-3 brake fluid.
I L m
There are only two reasons why the brake fluid level in your master cylinder
might
go down. The first is that the brake fluid goes down to an acceptable
level during normal brake lining wear. When new linings are put
in, the
fluid level goes back up. The other reason is that fluid is leaking out of the
brake system.
If it is, you should have your brake system fixed, since a leak
means that sooner or later your brakes won’t
work well, or won’t work at
all.
So, it isn’t a good idea to “top off” your brake fluid. Adding brake fluid
won’t correct a leak.
If you add fluid when your linings are worn, then
you’ll have
too much fluid when you get new brake linings. You should add
(or remove) brake fluid, as necessary, only when work is done on
the brake
hydraulic system.
I
Refer to the Maintenance Schedule to determine when to check your brake
fluid. See “Periodic Maintenance Inspections’’
in the Index.
Page 319 of 486
Downloaded from www.Manualslib.com manuals search engine To Check Brake Fluid
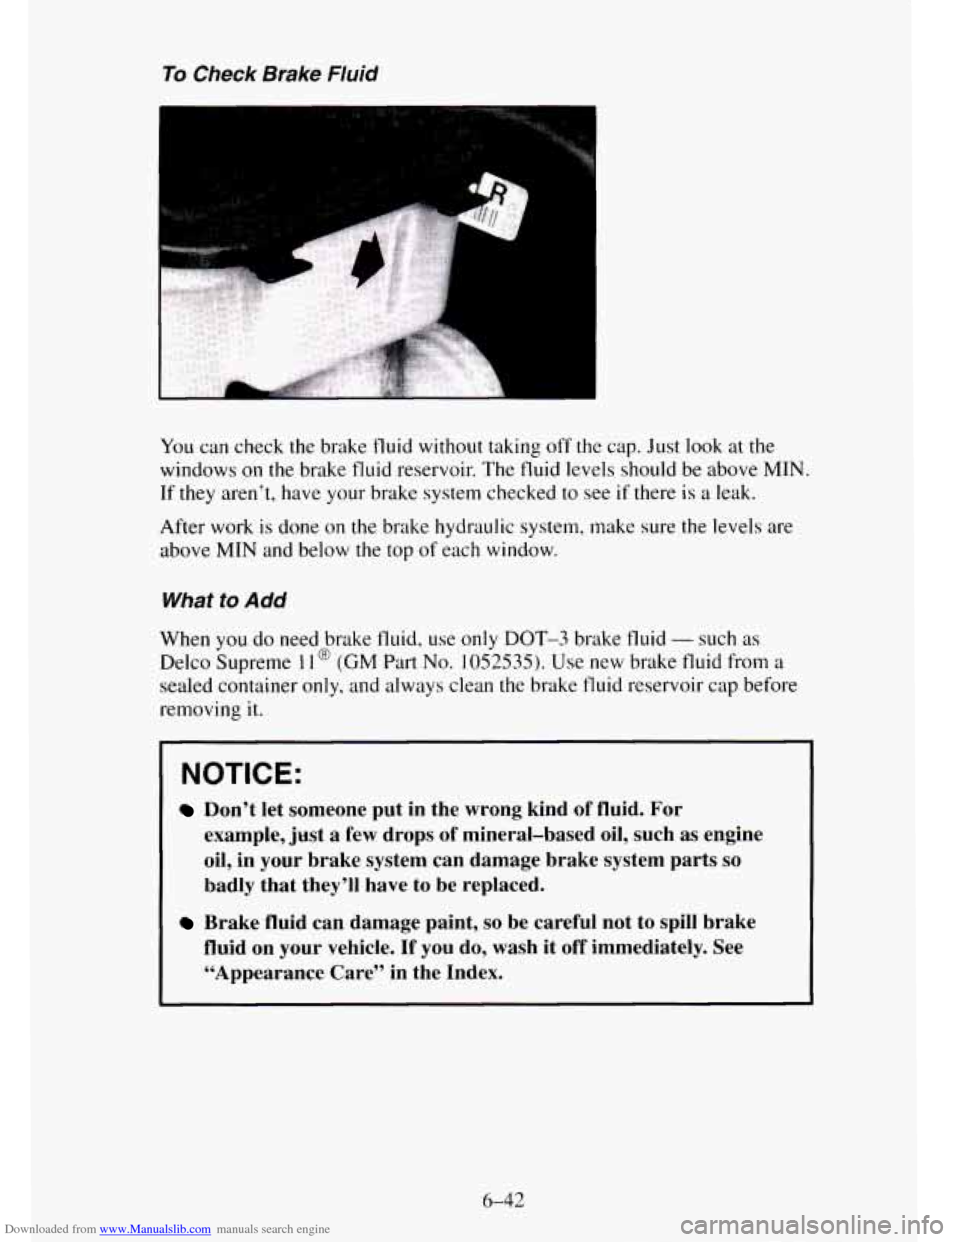
You can check the brake fluid without taking off the cap. Just look at the
windows
on the brake fluid reservoir. The fluid levels should be above MIN.
If
they aren’t, have your brake system checked to see if there is a leak.
After work
is done on the brake hydraulic system, make sure the levels are
above
MIN and below the top of each window.
What to Add
When you do need brake fluid, use only DOT-3 brake fluid - such as
Delco Supreme 1 1 @ (GM Part No. 1052535). Use new brake fluid from a
sealed container only, and always clean the brake fluid reservoir cap before
removing it.
NOTICE:
Don’t let someone put in the wrong kind of fluid. For
example, just a few drops of mineral-based oil, such
as engine
oil, in your brake system can damage brake system parts so
badly that they’ll have to be replaced.
Brake fluid can damage paint, so be careful not to spill brake
fluid on your vehicle. If you do, wash it off immediately. See
“Appearance Care” in the Index.
6-42
Page 320 of 486
Downloaded from www.Manualslib.com manuals search engine Brake Wear
Your vehicle has front disc brakes and rear drum brakes.
Disc brake pads
have built-in wear indicators that make a high-pitched
warning sound when the brake pads are worn and new pads are needed. The
sound may come and
go or be heard all the time your vehicle is moving
(except when you are pushing on the brake pedal firmly).
I NOTICE:
Continuing to drive with worn-out brake pads could result in
costly brake repair.
Some driving conditions or climates may cause a brake squeal when the
brakes are first applied or lightly applied. This does not mean something is
wrong with your brakes.
Your rear drum brakes don’t have wear indicators, but
if you ever hear a
rear brake rubbing noise, have the rear brake linings inspected. Also, the
rear brake drums should be removed and inspected each time the tires are
removed for rotation or changing. When
you have the front brakes replaced,
have
the rear brakes inspected, too.
Brake linings should always be replaced as complete axle sets.
Brake Pedal Travel
See your dealer if the brake pedal does not return to normal height, or if
there
is a rapid increase in pedal travel. This could be a sign of brake
trouble.
Brake Adjustment
Every time you make a brake stop, your disc brakes adjust for wear.
If your brake pedal goes down farther than normal, your rear drum brakes
may need adjustment. Adjust them by backing up and firmly applying the
brakes a few times.
6-43