reset CHEVROLET TAHOE 1996 1.G Owners Manual
[x] Cancel search | Manufacturer: CHEVROLET, Model Year: 1996, Model line: TAHOE, Model: CHEVROLET TAHOE 1996 1.GPages: 403, PDF Size: 20.63 MB
Page 94 of 403
Downloaded from www.Manualslib.com manuals search engine Remember that damaged wiper blades may prevent you
from seeing well enough to drive safely. To avoid
damage, be sure to clear ice and snow from the wiper
blades before using them. If they are frozen to the
windshield, carefully loosen or thaw them. If your blades
do become damaged, get new blades or blade inserts.
Heavy snow or ice can overload your wipers. The
windshield wiper motor is protected from overload by a
circuit breaker and a fuse. If
the motor overheats due to
heavy snow, etc., the wiper will stop until the motor
cools. Although the circuit is protected from electrical
overload, overload due to heavy snow, etc. may cause
wiper linkage damage. Always clear ice and heavy snow
from the windshield before using your windshield wipers.
Windshield Washer
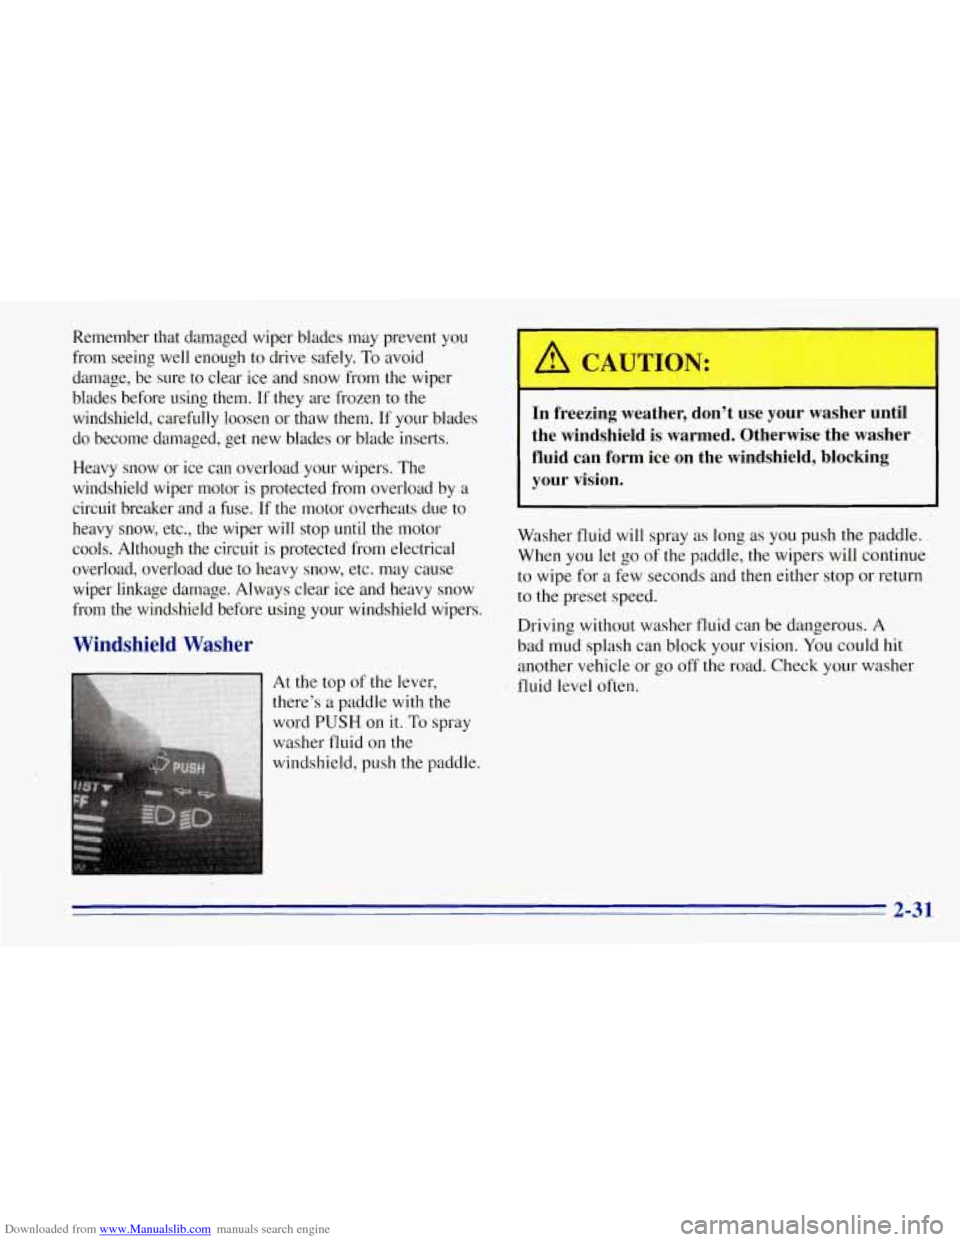
At the top of the lever,
there’s
a paddle with the
word
PUSH on it. To spray
-washer fluid
on the
windshield, push the paddle.
In freezing weather, don’t use your washer until
the windshield is warmed. Otherwise the washer,
fluid can form ice on the windshield, blocking
your vision.
Washer fluid will spray as long as you push the paddle.
When you let go of the paddle, the wipers will continue
to wipe for a few seconds and then either stop or return
to the preset speed.
Driving without washer fluid can be dangerous. A
bad mud splash can block your vision. You could hit
another vehicle or go off the road. Check your washer
fluid level often.
2-3 1
Page 96 of 403
Downloaded from www.Manualslib.com manuals search engine Setting Cruise Control
A CAUTION:
If you leave your cruise control switch on when
you're not using cruise, you might hit
a button
and
go into cruise when you don't want to. You
could be startled and even lose control. Keep the
cruise control switch
OFF until you want to use it.
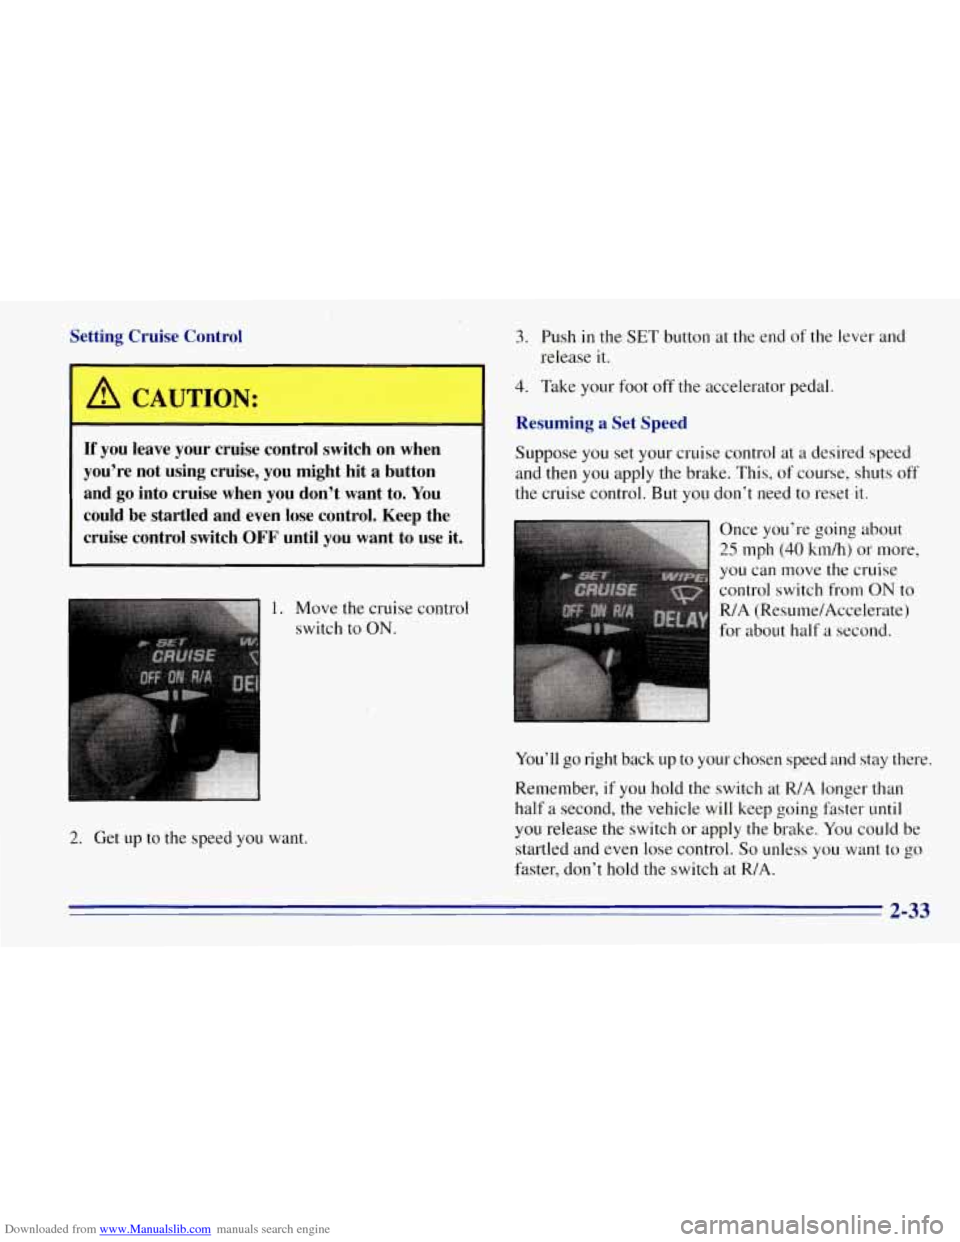
1. Move the cruise control
3. Push in the SET button at the end of the lever and
release
it.
4. Take your foot off the accelerator pedal.
Resuming a Set Speed
Suppose you set your cruise control at a desired speed
and then you apply the brake. This, of course, shuts off
the cruise control. But you don't need to reset
it.
2. Get up to the speed you want. switch
to
ON.
Once you're going about
25 mph (40 kdh) or more,
you can move the cruise
control switch from
ON to
WA (Resume/Accelerate)
for about half
a second.
-*:<'-;ir$. :::;. &;>' .' 'f I , . . , <, <. , ,,.,
You'll go right back up to your chosen speed and stay there.
Remember, if
you hold the switch at R/A longer than
half
a second, the vehicle will keep going faster until
you release the switch or apply the brake. You could be
startled and even lose control.
So unless you want to go
faster, don't hold the switch at R/A.
2-33
Page 120 of 403
Downloaded from www.Manualslib.com manuals search engine Speedometer and Odometer
Your speedometer lets you see your speed in both miles
per hour (mph) and kilometers per hour
(kmlh). Your
odometer shows how far your vehicle has been driven,
in either miles (used in the United States) or kilometers
(used in Canada).
I
Tamper-Resistant Odometer
Your odometer is tamper-resistant. The odometer will
show silver lines between the numbers
if someone tries
to turn it back.
You may wonder what happens if your vehicle needs a
new odometer installed. Laws vary as to the procedure
that must be followed,
so check with your state or
provincial vehicle registration
office. But generally, if
the new odometer can be set to the mileage total of the
old odometer, then it must be. But
if it can’t, then it’s set
at zero, and a label must be put on the driver’s door to
show the old mileage reading when the new odometer
was installed.
Trip Odometer
The trip odometer can tell you how far your vehicle has
been driven since
you last set the trip odometer to zero.
To reset the trip odometer, fully press the reset button
located near the trip odometer readout.
If the reset
button
is not fully pressed, the trip Odometer may not go
all the way back to zero. If it doesn’t, you may have to
press the reset button again
to reset the readout to zero.
Tachometer
Your tachometer displays the engine speed in
revolutions per minute (rpm).
1 NOTICE:
Do not operate the engine with the tachometer in
the red area, your engine or other parts could
be damaged.
Damage to your engine or vehicle caused by
operating the engine in the red area isn’t covered
by your vehicle warranty.
2-57
Page 142 of 403
Downloaded from www.Manualslib.com manuals search engine Finding a Station
AM-FM:
Press the lower knob to get AM or FM.
TUNE: Turn this knob to tune in radio stations.
SEEK: Press the right arrow to tune to the next higher
station and the left arrow to tune to the next lower
station and stay there.
SCAN: Press both SEEK buttons to listen to a few
seconds of each radio station.
SCAN will light up on the
display. Press the right arrow to tune in the next higher
station and press the left arrow to tune to the next lower
station.
Press VOLUME-BAL or both SEEK buttons to
stop scanning.
PUSHBUTTONS: The four numbered pushbuttons let
you return to your favorite stations.. You can set up to
14 stations (seven AM and seven FM).
1. Tune in the desired station.
2. Press SET.
3. Press and hold one of the four pushbuttons, within
five seconds. Whenever you press that numbered
button, the station you set will return. In addition
to the
four stations set as above, up to three
additional stations may be preset on each band by
pressing two adjoining buttons at the same time. Just:
1. Tune in the desired station.
2. Press SET.
3. Press two adjoining buttons at the same time, within
five seconds. Whenever you press the same two
buttons, the station you set will return.
4. Repeat these steps for each pair of buttons.
Setting the Tone
BASS:
Slide this lever up to increase the bass.
TREB: Slide this lever up to increase the treble,
Slide the lever down to reduce noise with a weak or
noisy station.
Adjusting the Speakers
BAL:
The control behind the VOLUME-BAL knob
balances the sound between the right and left speakers.
FADE: The control behind the TUNE knob fades the
sound between the front and rear speakers.
m
3-11
Page 143 of 403
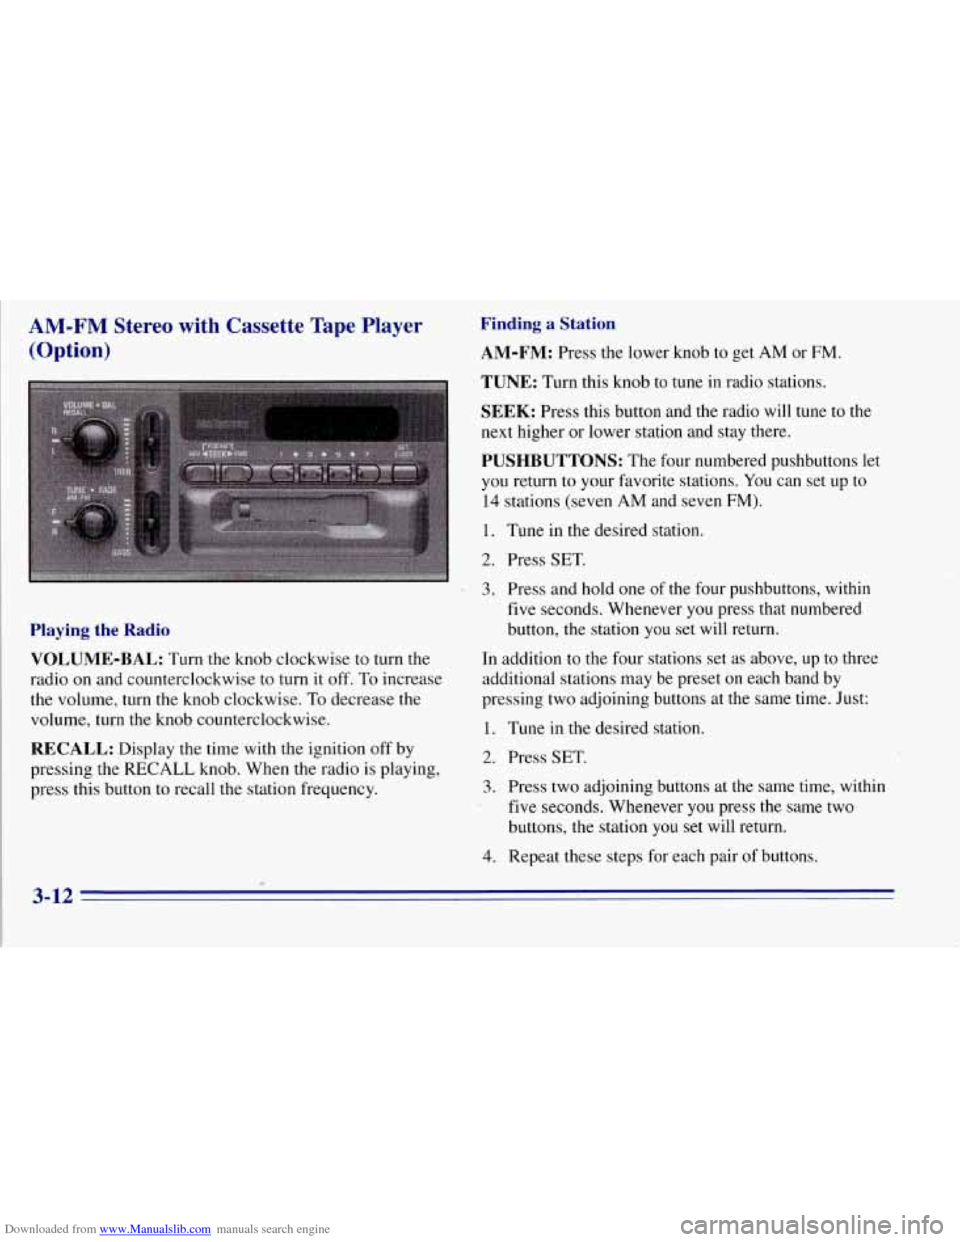
Downloaded from www.Manualslib.com manuals search engine AM-FM Stereo with Cassette Tape Player
(Option)
Playing the Radio
VOLUME-BAL:
Turn the knob clockwise to turn the
radio on and counterclockwise to turn it
off. To increase
the volume, turn the knob clockwise.
To decrease the
volume, turn the knob counterclockwise.
RECALL: Display the time with the ignition off by
pressing the RECALL knob. When the radio is playing,
press this button to recall the station frequency.
Finding a Station
AM-FM:
Press the lower knob to get AM or FM.
TUNE: Turn this knob to tune in radio stations.
SEEK: Press this button and the radio will tune to the
next higher or lower station and stay there.
PUSHBUTTONS: The four numbered pushbuttons let
you return to your favorite stations. You can set up to
14 stations (seven AM and seven FM).
1. Tune in the desired station.
2. Press SET.
7 3, Press and hold one of the four pushbuttons, within
five seconds. Whenever you press that numbered
button, the station you set will return.
In addition to the four stations set as above,
up to three
additional stations may be preset on each band by
pressing two adjoining buttons at the same time. Just:
1. Tune in the desired station.
2. Press SET.
3. Press two adjoining buttons at the same time, within
five seconds. Whenever you press the same two
buttons, the station you set will return.
4. Repeat these steps for each pair of buttons.
3-12
Page 144 of 403
Downloaded from www.Manualslib.com manuals search engine P.SCAN: Press both SEEK buttons to scan through each
of the preset stations. The system will scan through and
play each preset station stored on your pushbuttons for a
few seconds. Press either SEEK button or RECALL to
stop scanning through the preset stations.
Setting the Tone
BASS:
Slide this lever up to increase the bass.
TREB: Slide this lever up to increase the treble.
Slide the lever down
to reduce noise with a weak or
noisy station.
Adjusting the Speakers
BAL:
The control behind the VOLUME-BAL knob
balances the sound between the right and left speakers.
FADE: The control behind the TUNE knob fades the
sound between the front and rear speakers.
Playing a Cassette Tape
Your tape player is built to work best with tapes that are
30 to 4.5 minutes long on each side. Tapes longer than
that are
so thin they may not work well in this player. Once the tape
is playing,
use the knobs for VOLUME,
FADE and BAL just as you do for the radio.
FWD: Press the SEEK right arrow to advance the
cassette tape. Press the SEEK left arrow to stop
forwarding the tape.
REV: Press the SEEK left arrow to reverse the cassette
tape. Press the SEEK right qow to stop reversing
the tape.
RECALL: Press this button to switch tape sides.
EJECT: Press this button to remove the tape or stop the
tape and play the radio.
CLN: This message may appear on the display. If it
does, your cassette tape player needs to be cleaned.
It
will still play tapes, but you should clean it as soon as
possible to prevent damage to your tapes and player.
See “Care of Your Cassette Tape Player” in the Index.
After you clean the player, press and hold EJECT for
five seconds to reset the CLN indicator. The radio will
display
--- to show the indicator was reset.
3-13
Page 146 of 403

Downloaded from www.Manualslib.com manuals search engine AUTO TONE: Press this button to select among the
five preset equalization settings and tailor the sound to
the music
or voice being heard. Each time you press the
button, the selection will switch to
one of the preset
settings of CLASSIC, NEWS, ROCK, POP or JAZZ.
To return to the manual mode, press and release this
button'antil MAN appears on the display. This will
return the tone adjustment to
the TREB and BASS
controls. If a TREB or BASS control is rotated, the
AUTO TONE setting will change to MAN.
PUSHBUTTONS: The six numbered pushbuttons let
you return to your favorite stations.
You can set up to
18 stations (six AM, six FMl and six FM2).
1.
2.
3.
4.
5.
Press AM-FM to select the band.
Tune in the desired station by pressing TUNE or the
SEEK left or right arrows.
Press
AUTO TONE to select the setting you prefer.
Press and hold one of the six pushbuttons.
The sound will mute. When it returns, release the
button. Whenever you press that numbered button,
the station you set will return and the tone
you selected
will be automatically selected for that button.
P.SCAN: The preset scan button lets you scan through
your favorite stations stored on your pushbuttons. Select
either the AM, FMl or FM2 mode and then press
P.SCAN. It will scan through each station stored
on
your pushbuttons and stop for a few seconds before
continuing to scan through all of the pushbuttons.
Press P.SCAN again or one of the pushbuttons
to stop
scanning to listen to a specific preset station. P.SCAN
will light up on the display while in this mode. If one of
the stations stored on a pushbutton is
too weak for the
location you are
in, the radio display will show the
channel number (PI-P6) for several seconds before
advancing to the next preset station.
Setting the Tone
BASS: Press lightly on this knob to release it from its
stored position. Turn the knob clockwise
to increase the
bass and counterclockwise to decrease the bass. When
the BASS control is rotated, the AUTO TONE setting
will change to MAN. Push the knob back in
to its stored
position when done.
TREB: Press lightly on the TREB knob to release it
from its stored position. Turn the knob clockwise
to
increase the treble and counterclockwise to decrease the
treble. When the TREB control is rotated, the AUTO
TONE setting will change to MAN. Push
the knob back
in to its stored position when done.
3-15
Page 148 of 403
Downloaded from www.Manualslib.com manuals search engine 00 (5): Press this button to reduce cassette tape noise.
The double-D symbol will appear on the display while
the player is in this mode.
Dolby Noise Reduction is manufactured under a license
from Dolby Laboratories Licensing Corporation. Dolby
and the double-D symbol are trademarks of Dolby
Laboratories Licensing Corporation.
FWD (6): Press this button to rapidly forward the tape
to the end of the cassette reel or
until you press FWD
again. The radio will play the last selected station while
forwarding the tape, The tape direction arrow will blink
during
FWD operation.
AM-FM: Press this button to switch from a tape
to the radio.
TAPE’ AUX: Press this button to return to the tape
player. The lighted arrow will appear and show the
direction of play when a tape is in the active mode.
EJECT Press this button to remove the tape. The radio
will now play. EJECT can be used with either the ignition
or radio off.
To load a cassette tape with the ignition or
radio
off, press EJECT before loading the cassette.
CLN: This message may appear on the display. If it
does, your cassette tape player needs to be cleaned. It
will still play tapes, but
you should clean it as soon as
possible
to prevent damage to your tapes and player.
See “Care of Your Cassette Tape Player”
in the Index.
After you clean the player, press and hold EJECT for
five seconds to reset the CLN indicator. The radio will
display
--- to show the indicator was reset.
CD Adapter Kits
Although this is not a recommended practice, it is
possible
to use a CD adapter kit with your cassette
tape player.
The adapter kit cassette should begin playing like a
regular audio cassette tape once inserted. If the cassette
immediately ejects, turn the radio off, turn the ignition on
and press and hold the TAPE
AUX button until the tape
icon flashes
on the display. Insert the adapter cassette
again. It will power up the radio and begin playing.
This override routine will remain active
until the EJECT
button is pressed.
3-17
Page 152 of 403
Downloaded from www.Manualslib.com manuals search engine SCAN: Press and hold SEEK for two seconds until
SCAN appears on the display. SCAN allows you to
listen to stations for a few seconds. The receiver will
continue to scan and momentarily stop at each station
until you press the button again. There will be no sound
when using the SCAN feature.
PUSHBUTTONS: The six numbered pushbuttons let
you return to your favorite stations. You can set up
to
18 stations (six AM, six FMl and six FM2).
1.
2.
3.
4.
5.
Press AM-FM to select the band.
Tune
in the desired station by pressing TUNE or the
SEEK left or right arrows.
Press AUTO TONE to select the setting
you prefer.
Press and hold one of the four pushbuttons.
The sound will mute. When
it returns, release the
button. Whenever you press that numbered button, the
station you set will return and the tone
you selected
will be automatically selected for that button.
P.SCAN: The preset scan button lets you scan through
your favorite stations stored on your pushbuttons. Select
either the AM, FM
1 or FM2 mode and then press
P.SCAN. It will scan through each station stored
on your
pushbuttons and stop for a few seconds before
continuing
to scan through all of the pushbuttons. Press
P.SCAN again or one
of the pushbuttons to stop
scanning to listen to a specific stored station. P.SCAN
will light up
on the display while in this mode. If one of
the stations stored on a pushbutton is too weak for the
location
you are in, the radio display will show the
channel number
(P 1 -P6) for several seconds before
advancing
to the next preset station.
Setting the Tone
AUTO
TONE: Press this button to select among the
five preset equalization settings and tailor the sound
to
the music or voice being heard. Each time you press the
button, the selection will switch to one
of the preset
settings
of CLASSIC, NEWS, ROCK, POP or JAZZ.
The display will show which mode
the receiver is in. To
return
to the manual mode, press and release this button
until MAN appears
on the display. This will return the
tone adjustment to the TREB and BASS controls. When
a
TREB or BASS control is rotated, tone is
automatically set to MAN.
3-21
Page 158 of 403
Downloaded from www.Manualslib.com manuals search engine Care of Your Cassette Tape Player
A tape player that is not cleaned regularly can cause
reduced sound quality, ruined cassettes or a damaged
mechanism. Cassette tapes should be stored in their
cases away from contaminants, direct sunlight and
extreme heat. If they aren’t, they may not operate
properly 9r may cause failure of the tape player.
Your tape player should be cleaned regularly after every
50 hours of use. Your radio may display CLN to indicate
that you have used your tape player for
50 hours without
resetting the
tape clean timer. If you notice a reduction in
sound quality, try a known good cassette to see if the tape
or the tape player is at fault. If this other cassette has n\
o
improvement in sound quality, clean the tape player.
Cleaning.may be done with a scrubbing action,
non-abrasive cleaning cassette with pads which scrub
the tape head as the hubs
of the cleaner cassette turn.
It is normal for the cassette
to eject while cleaning
because your unit is equipped with a cut tape feature.
To temporarily override this feature (for one insertion),
turn the radio
off and press and hold TAPE AUX until
the tape symbol flashes on the display, then insert the
cassette again. Insert the cassette at least three times to
ensure thorough cleaning.
A scrubbing action cleaning
cassette is available through your
GM dealer.
You may
also choose a non-scrubbing action, wet-type
cleaner which uses a cassette with a fabric belt to clean
the tape head. This type of cleaning cassette will not
eject. It may not clean as thoroughly as the scrubbing
type cleaner.
Cassettes are subject to wear and the sound quality may
degrade over time. Always make sure that
the cassette
tape is in good condition before you have your tape
player serviced.
3-27