CHEVROLET TRACKER 1993 Manual PDF
Manufacturer: CHEVROLET, Model Year: 1993, Model line: TRACKER, Model: CHEVROLET TRACKER 1993Pages: 339, PDF Size: 15.75 MB
Page 71 of 339
r
Opentiun of Lights
Although your vehicle's lighting system
(headlamps, parking lamps, fog lamps,
side marker lamps and taillamps) meet
all applicable Federal lighting
requirements, certain States and
Provinces may apply their own lighting
regulations that may require special
attention before you operate these
lamps. For example, some jurisdictions may
require that you operate your low
beam lamps with fog lamps at all times,
or that headlamps be turned on
whenever you must use your windshield
wipers. In addition, most jurisdictions
prohibit driving solely with parking
lamps, especially at dawn or dusk.
It is
recommended that you check with your
own State or Provincial highway
authority for applicable lighting
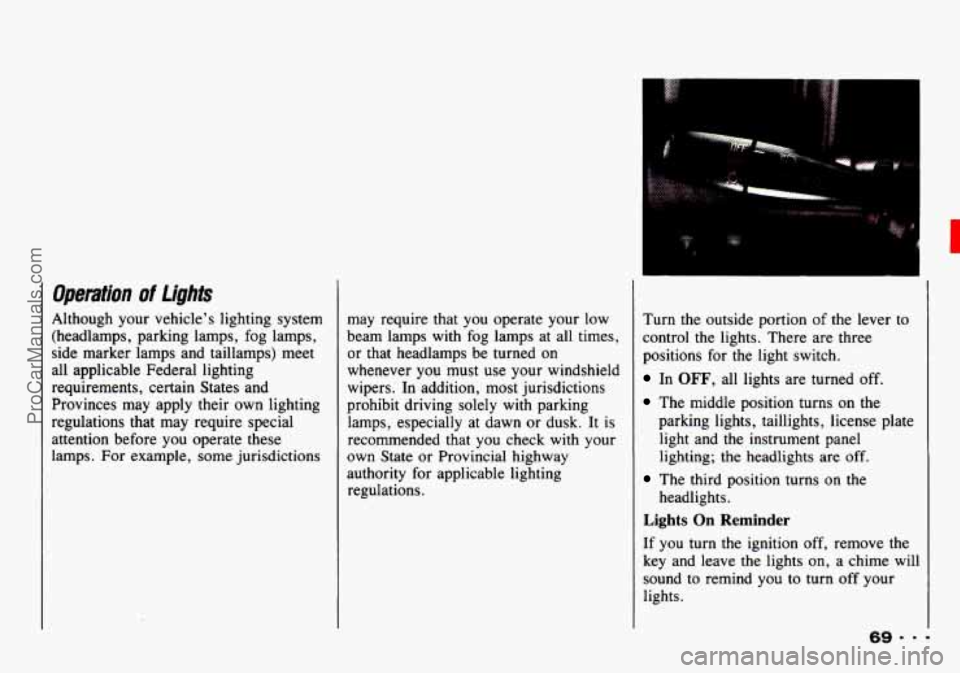
regulations. Turn
the outside portion of the lever to
control the lights. There are three
positions for the light switch.
In OFF, all lights are turned off.
The middle position turns on the
parking lights, taillights, license plate
light and the instrument panel
lighting; the headlights are
off.
The third position turns on the
headlights.
Lights On Reminder
If you turn the ignition off, remove the
key and leave the lights on, a chime will
sound to remind you to turn off your
lights.
ProCarManuals.com
Page 72 of 339
Features & Controls
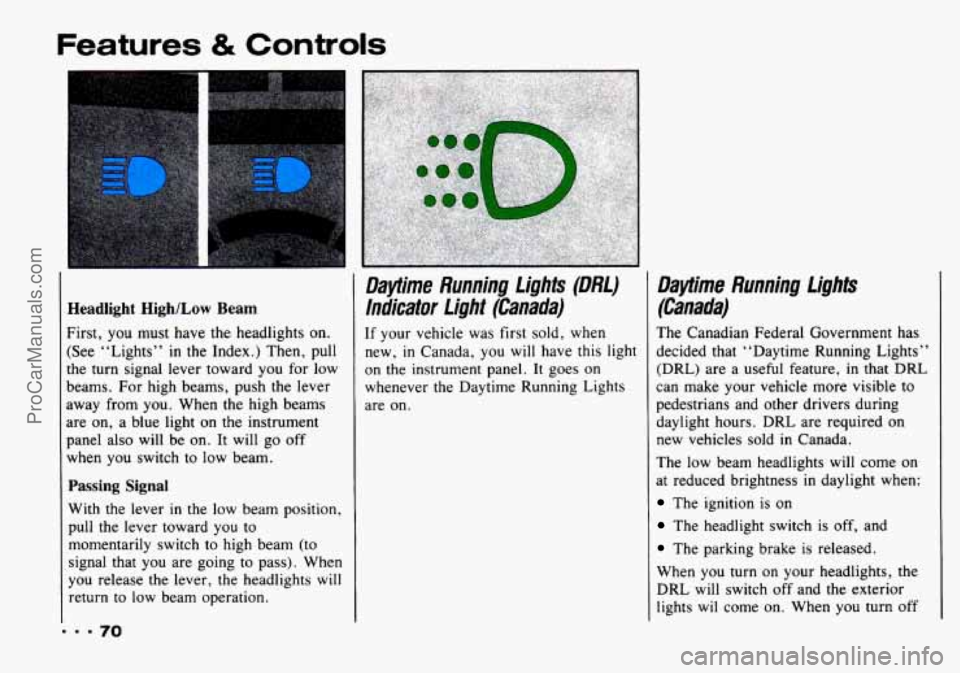
Headlight High/Low Beam
First, you must have the headlights on.
(See “Lights”
in the Index.) Then, pull
the turn signal lever toward you for low
beams. For high beams, push the lever
away from you. When the high beams
are on, a blue light on the instrument
panel also will be on. It will go off
when you switch
to low beam.
Passing Signal
With the lever in the low beam position,
pull the lever toward you to
momentarily switch to high beam (to
signal that you are going to pass). When
you release the lever, the headlights will
return to low beam operation.
Daytime Running fights (DM)
lndicator Light (Canada)
If your vehicle was first sold, when
new,
in Canada, you will have this light
on the instrument panel. It goes on whenever the Daytime Running Lights
are on.
Daytime Running f ights
(Canada)
The Canadian Federal Government has
decided that “Daytime Running Lights”
(DRL) are a useful feature, in that DRL
can make your vehicle more visible to
pedestrians and other drivers during
daylight hours. DRL are required
on
new vehicles sold in Canada.
The low beam headlights will come on
at reduced brightness
in daylight when:
The ignition is on
The headlight switch is off, and
The parking brake is released.
When you turn on your headlights, the
DRL will switch off and the exterior
lights wil come on. When you turn off
ProCarManuals.com
Page 73 of 339
the headlights, the exterior lights will go
out and the low beams will change to
the reduced brightness
of DRL again.
The DRL indicator light on the
instrument panel will
go on whenever
the DRL are on. This light means that
only the DRL are on. When you turn on
your exterior lights, this light will go
out,
Of course, you may still turn on the
headlights or passing signal any time
you need to.
To idle your vehicle with DRL
off, set
the parking brake. The DRL will stay
off until you release the parking brake.
4 Interior Lights
Dome Light
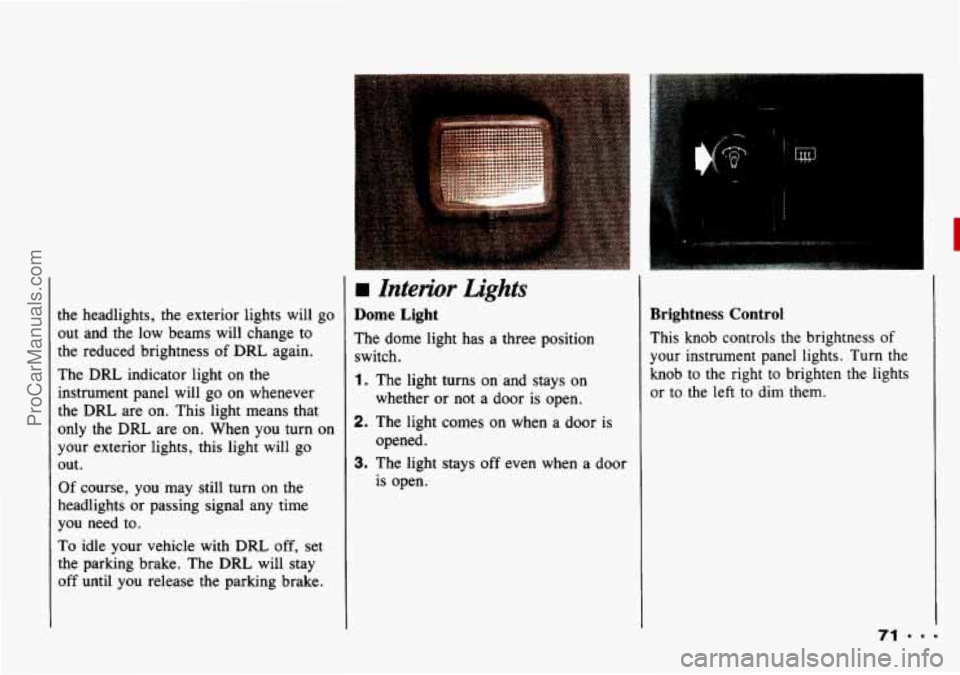
The dome light has a three position
switch.
1. The light turns on and stays on
whether or not a door
is open.
2. The light comes on when a door is
opened.
3. The light stays off even when a door
is open.
Brightness Control
This knob controls the brightness of
your instrument panel lights. Turn the
knob to the right to brighten
the lights
or
to the left to dim them.
ProCarManuals.com
Page 74 of 339
Features & Controls
W@er/Washer Lever
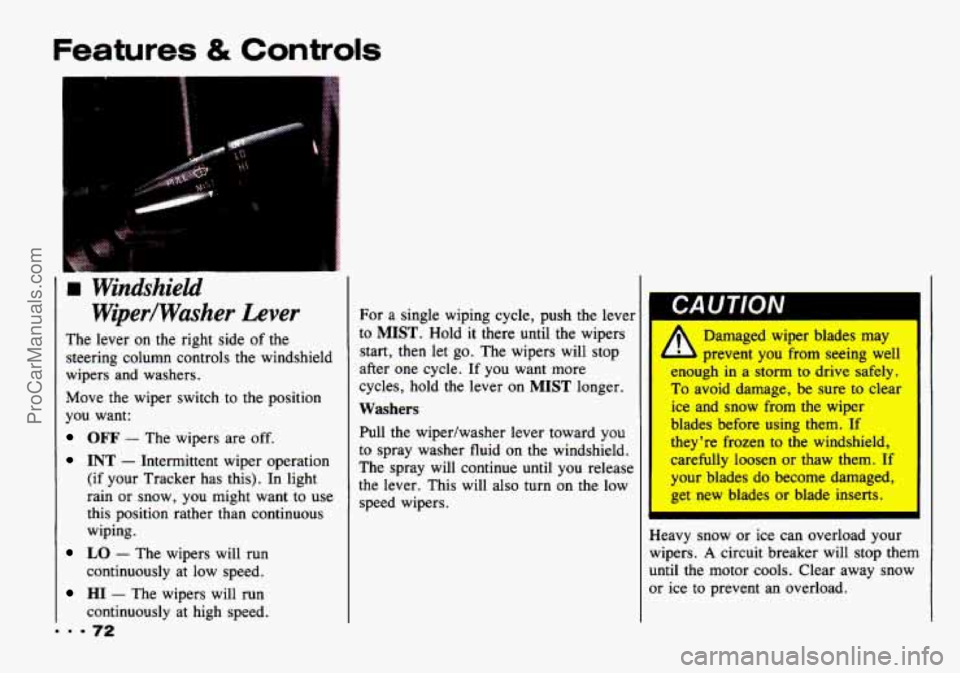
The lever on the right side of the
steering column controls
the windshield
wipers and washers.
Move the wiper switch
to the position
you want:
OFF - The wipers are off.
INT - Intermittent wiper operation
(if your Tracker has this).
In light
rain or snow, you might want to use
this position rather than continuous
wiping.
LO - The wipers will run
continuously at low speed.
HI - The wipers will run
continuously at high speed.
19.72
For a single wiping cycle, push the lever
to
MIST. Hold it there until the wipers Damaged wiper blades may
start, then let go. The wipers will stop prevent you from seeing well
after one cycle.
If you want more enough in a storm to drive safely.
cycles, hold the lever on
MIST longer. To avoid damage, be sure to clear
Washers I I ice and snow from the wiper I
Pull the wipedwasher lever toward you
to spray washer fluid on the windshield.
The spray will continue until you release
the lever. This will also turn on the low
meed wiDers. blades
before using them. If
they're frozen to the windshield,
carefully loosen or thaw them. If
your blades
do become damaged,
get new blades
or blade inserts.
c I
Heavy snow or ice can overload your
wipers.
A circuit breaker will stop them
until the motor cools. Clear away snow
or ice to prevent an overload.
ProCarManuals.com
Page 75 of 339
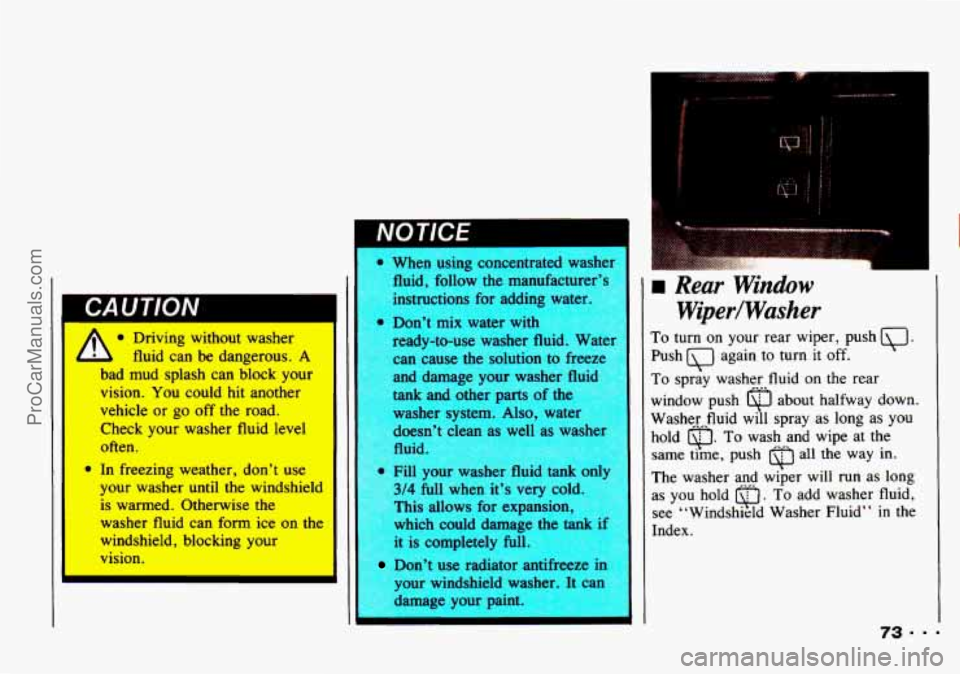
IC a
J Driving without washer I
’ 1 fluid can be dangerous. A
I bad mud splash can block your I
vision. You could hit mother
vehicle or go off the road.
Check your washer fluid level
often.
* In freezing weather, don’t use
your washer until the windshield
is
warmed. Otherwise the
washer fluid can form ice on the
windshield, blocking your
vision.
NOTICE
When using concentrated washer
fluid, follow the manufacturer’c
instructions for adding wate-
ready-to-use washer fluid. Wa
can cause the solution
to freez
and damage your washer fluid
tank and other parts of the
washer system.
Also, wate~
loesn’t clean as well as washe
luid
.
B Don’t mix water with
r
Weedwasher
To turn on your rear wiper, push .
Push again to turn it off.
To spray washer fluid on the rear
window push about halfway down.
Washerfluid will spray as long as
you
hold u. To wash and wipe at the
same time, push
0 all the way in.
Q
her fluid tank Only The washer and w&er will run as long
full when it’s
very cc as you hold r\J . To add washer fluid,
This allows for expansion,
see “Windshield Washer Fluid”
in the
which could damage the tank if Index.
* 5 completely full.
Don’t use radiator antifreeze in
{our windshield washer. It can
damage your paint.
I I 73...
ProCarManuals.com
Page 76 of 339
Features & Controls
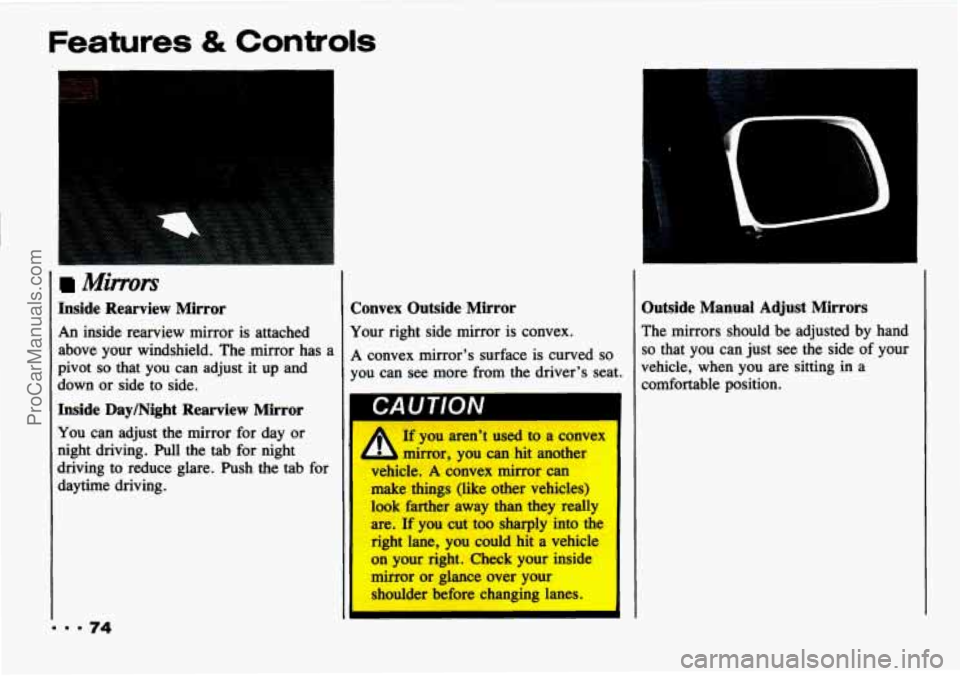
Mimors
Inside Rearview Mirror
An inside rearview mirror is attached
above your windshield. The mirror has a
pivot
so that you can adjust it up and
down or side to side.
Inside Day/Night Rearview Mirror
You can adjust the mirror for day or
night driving. Pull the tab for night
Convex Outside Mirror
Your right side mirror is convex.
A convex mirror's surface
is curved so
you can see more from the driver's seat.
daytime driving.
Outside Manual Adjust Mirrors
The mirrors should be adjusted by hand
so that you can just see the side of your
vehicle, when you are sitting in a
comfortable position.
... 74
ProCarManuals.com
Page 77 of 339
..
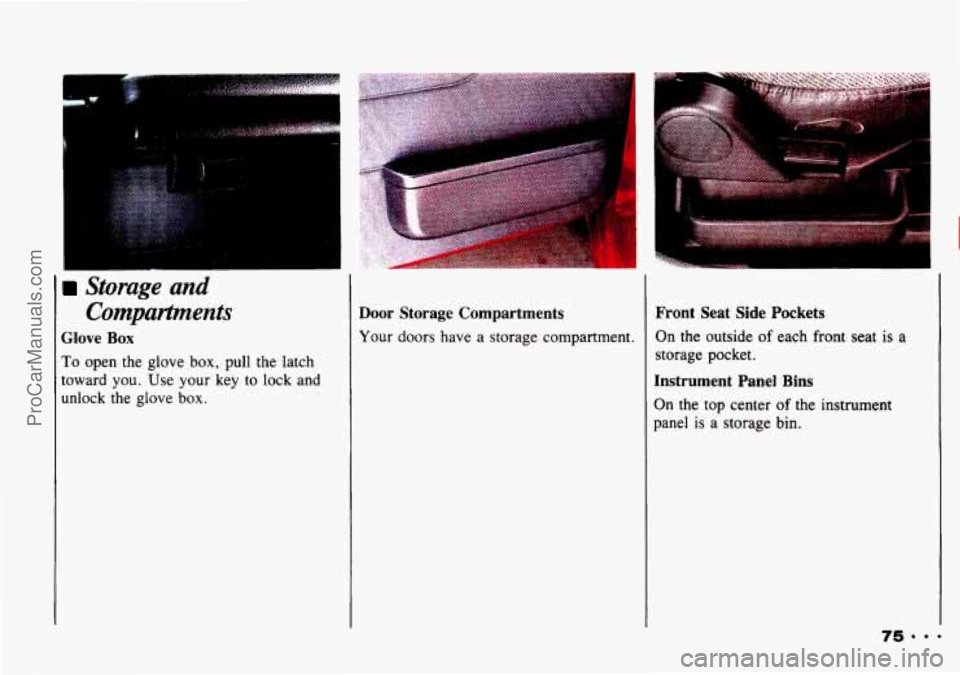
>torage and Compartpnents
Glove Box
To open the glove box, pull the latch
toward you. Use
your key to lock and
unlock the glove
box.
Door Storage Compartments
Your doors have a storage compartment.
Front Seat Side Pockets
On the outside of each front seat is a
storage pocket.
Instrument Panel Bins
On the top center of the instrument
panel
is a storage bin.
ProCarManuals.com
Page 78 of 339
Features & Controls
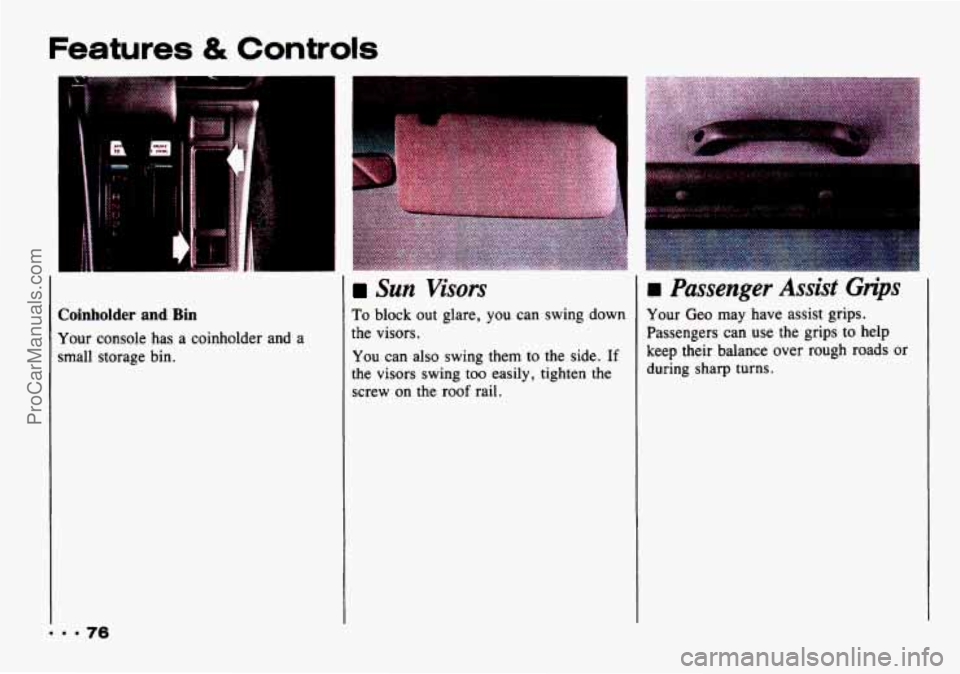
Coinholder and Bin
Your console has a coinholder and a
small storage bin.
Sun Visors
To block out glare, you can swing down
the visors.
You can also swing them to the side.
If
the visors swing too easily, tighten the
screw on the roof rail.
I
H Passenger Assist cirtps
Your Geo may have assist grips.
Passengers can use the grips
to help
keep their balance over rough roads or
during sharp turns.
ProCarManuals.com
Page 79 of 339
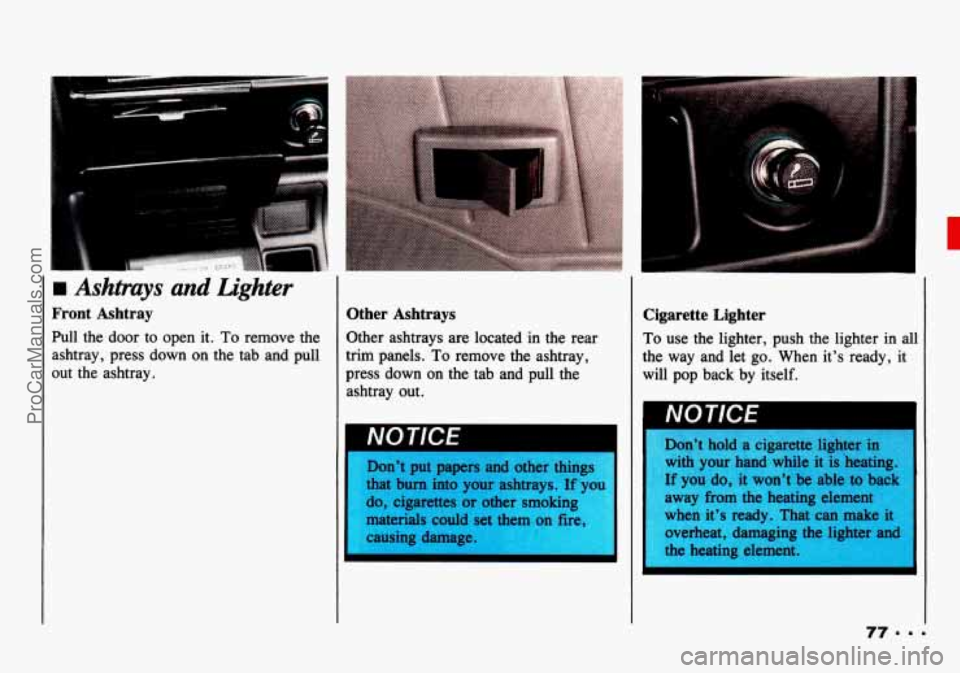
rn Ashtrays and Lighter
Front Ashtray
Pull the door to open it. To remove the
ashtray, press down on the tab
and pull
out the ashtray.
Other Ashtrays
Other ashtrays are located in the rear
trim panels.
To remove the ashtray,
press down
on the tab and pull the
ashtray out.
I IWL
Don’t put papers and other things
that bum into your ashtrays. If you
do, cigarettes or other smoking
materials could set them on fire,
causing damage.
I
I I
I
Cigarette Lighter
To use the lighter, push the lighter in all
the way and let
go. When it’s ready, it
will pop back by itself.
Don’t hold a cigarette lighter in
with your hand while it is heating.
If you do, it won’t be able to back
away from the heating element
when it’s ready. That can make it overheat, damaging the lighter and
the heating element
I
I
ProCarManuals.com
Page 80 of 339
Features & Controls
ProCarManuals.com