light CHEVROLET TRACKER 2004 2.G Workshop Manual
[x] Cancel search | Manufacturer: CHEVROLET, Model Year: 2004, Model line: TRACKER, Model: CHEVROLET TRACKER 2004 2.GPages: 374, PDF Size: 2.57 MB
Page 191 of 374
·Put on extra clothing or wrap a blanket around you.
If you have no blankets or extra clothing, make
body insulators from newspapers, burlap bags, rags,
¯oor mats Ð anything you can wrap around
yourself or tuck under your clothing to keep warm.
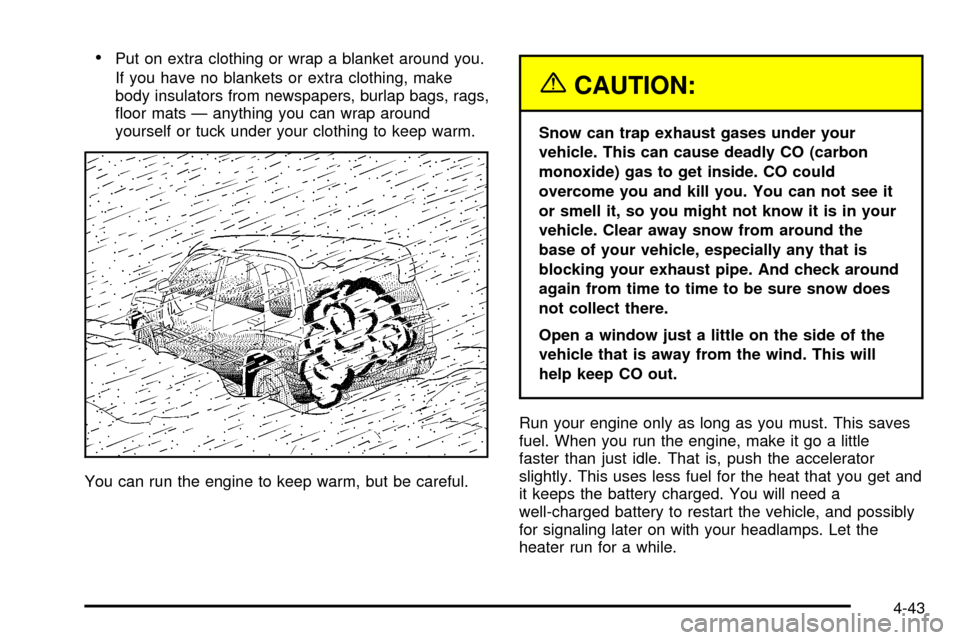
You can run the engine to keep warm, but be careful.
{CAUTION:
Snow can trap exhaust gases under your
vehicle. This can cause deadly CO (carbon
monoxide) gas to get inside. CO could
overcome you and kill you. You can not see it
or smell it, so you might not know it is in your
vehicle. Clear away snow from around the
base of your vehicle, especially any that is
blocking your exhaust pipe. And check around
again from time to time to be sure snow does
not collect there.
Open a window just a little on the side of the
vehicle that is away from the wind. This will
help keep CO out.
Run your engine only as long as you must. This saves
fuel. When you run the engine, make it go a little
faster than just idle. That is, push the accelerator
slightly. This uses less fuel for the heat that you get and
it keeps the battery charged. You will need a
well-charged battery to restart the vehicle, and possibly
for signaling later on with your headlamps. Let the
heater run for a while.
4-43
Page 193 of 374
Rocking Your Vehicle To Get It Out
First, turn your steering wheel left and right. That will
clear the area around your front wheels. If you have the
four-speed automatic, see ªPower Mode Selector
Switchº under
Automatic Transmission Operation on
page 2-16for information on traction. If you have
a four-wheel-drive vehicle, shift into 4HI. Then shift back
and forth between REVERSE (R) and a forward gear
(or with a manual transmission, between FIRST (1)
or SECOND (2) and REVERSE (R)), spinning the
wheels as little as possible. Release the accelerator
pedal while you shift, and press lightly on the accelerator
pedal when the transmission is in gear. By slowly
spinning your wheels in the forward and reverse
directions, you will cause a rocking motion that may free
your vehicle. If that does not get you out after a few
tries, you may need to be towed out. Or, you can use
your recovery hooks. If you do need to be towed
out, see
Towing Your Vehicle on page 4-47.
Using the Recovery Hooks
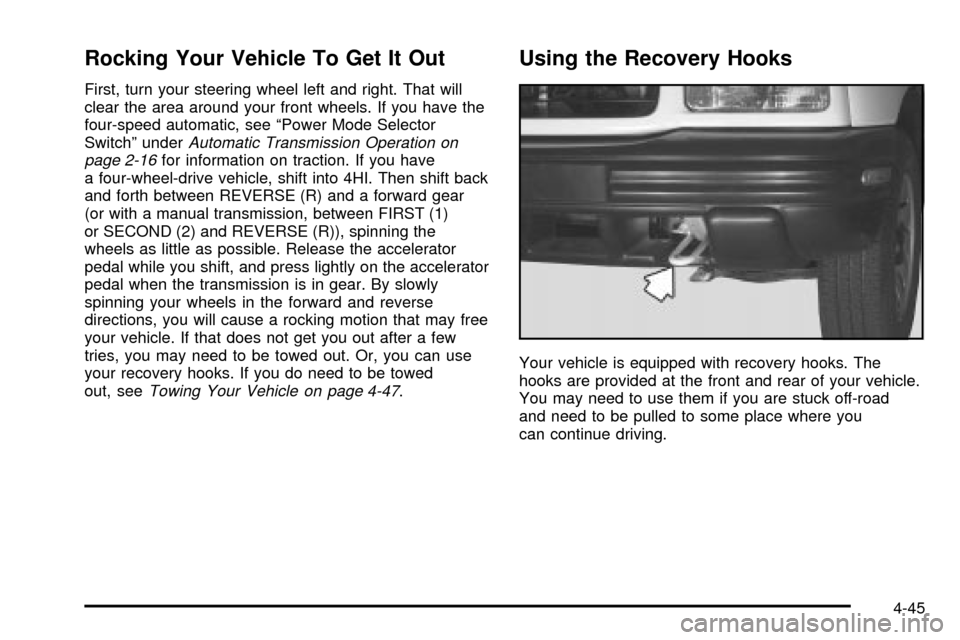
Your vehicle is equipped with recovery hooks. The
hooks are provided at the front and rear of your vehicle.
You may need to use them if you are stuck off-road
and need to be pulled to some place where you
can continue driving.
4-45
Page 196 of 374
Dinghy Towing
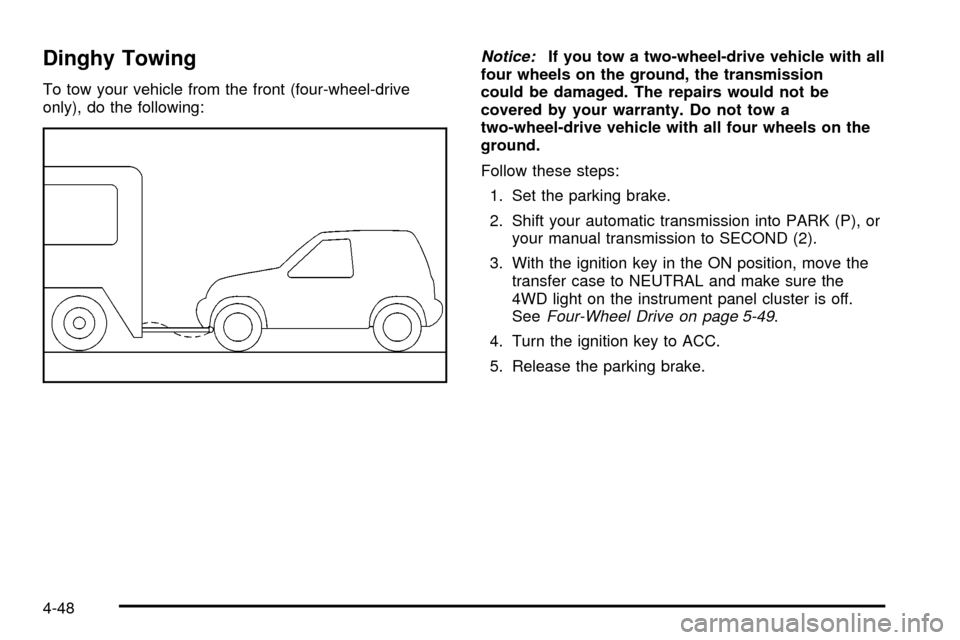
To tow your vehicle from the front (four-wheel-drive
only), do the following:
Notice:If you tow a two-wheel-drive vehicle with all
four wheels on the ground, the transmission
could be damaged. The repairs would not be
covered by your warranty. Do not tow a
two-wheel-drive vehicle with all four wheels on the
ground.
Follow these steps:
1. Set the parking brake.
2. Shift your automatic transmission into PARK (P), or
your manual transmission to SECOND (2).
3. With the ignition key in the ON position, move the
transfer case to NEUTRAL and make sure the
4WD light on the instrument panel cluster is off.
See
Four-Wheel Drive on page 5-49.
4. Turn the ignition key to ACC.
5. Release the parking brake.
4-48
Page 198 of 374
Dolly Towing
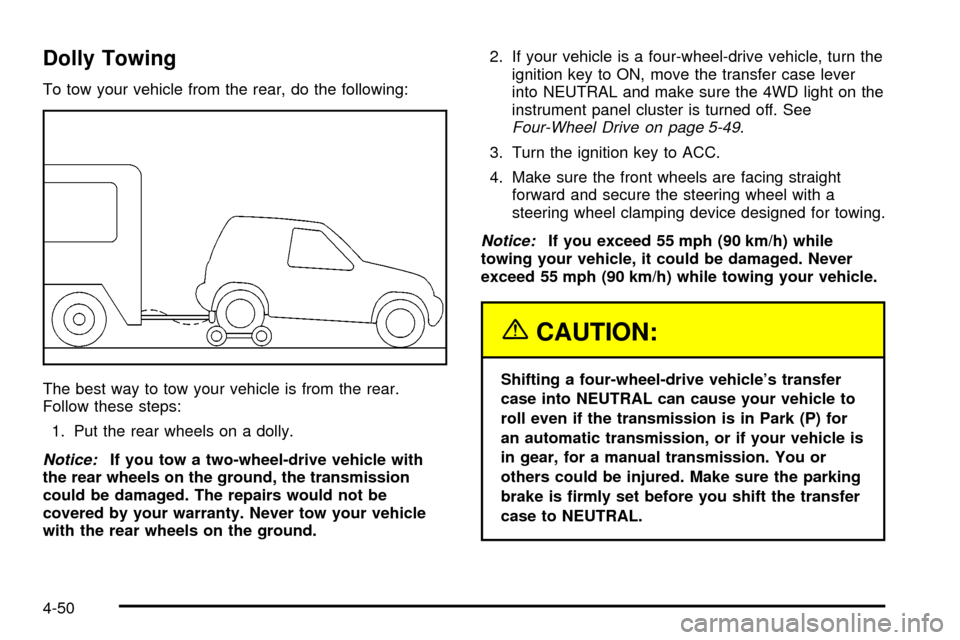
To tow your vehicle from the rear, do the following:
The best way to tow your vehicle is from the rear.
Follow these steps:
1. Put the rear wheels on a dolly.
Notice:If you tow a two-wheel-drive vehicle with
the rear wheels on the ground, the transmission
could be damaged. The repairs would not be
covered by your warranty. Never tow your vehicle
with the rear wheels on the ground.2. If your vehicle is a four-wheel-drive vehicle, turn the
ignition key to ON, move the transfer case lever
into NEUTRAL and make sure the 4WD light on the
instrument panel cluster is turned off. See
Four-Wheel Drive on page 5-49.
3. Turn the ignition key to ACC.
4. Make sure the front wheels are facing straight
forward and secure the steering wheel with a
steering wheel clamping device designed for towing.
Notice:If you exceed 55 mph (90 km/h) while
towing your vehicle, it could be damaged. Never
exceed 55 mph (90 km/h) while towing your vehicle.
{CAUTION:
Shifting a four-wheel-drive vehicle's transfer
case into NEUTRAL can cause your vehicle to
roll even if the transmission is in Park (P) for
an automatic transmission, or if your vehicle is
in gear, for a manual transmission. You or
others could be injured. Make sure the parking
brake is ®rmly set before you shift the transfer
case to NEUTRAL.
4-50
Page 208 of 374

Hitches
It's important to have the correct hitch equipment.
Crosswinds, large trucks going by and rough roads are
a few reasons why you'll need the right hitch. Here
are some rules to follow:
·If you make holes in the body of your vehicle, be
sure to seal them when you remove the trailering
equipment. If you don't seal them, dirt, water,
and even deadly carbon monoxide (CO) from your
exhaust can get into your vehicle. See
Engine
Exhaust on page 2-29.
Your vehicle is readily designed to accept a trailer hitch.
The frame rail ends already have holes and weld
nuts in place to accept the four bolts needed to attach
the hitch bar.
To help simplify setting up your trailer lights, there is a
trailer wiring connector located behind the left rear
trim panel. If needed, your dealer can provide help in
removing the trim panel and accessing this wiring
connector.
Your vehicle's trailer wiring has separate turn signal and
brake light circuits, which means you will most likely
need to purchase a converter to operate conventional
trailer lights.
Safety Chains
You should always attach chains between your vehicle
and your trailer. Cross the safety chains under the
tongue of the trailer to help prevent the tongue from
contacting the road if it becomes separated from
the hitch. Instructions about safety chains may be
provided by the hitch manufacturer or by the trailer
manufacturer. Follow the manufacturer's
recommendation for attaching safety chains and do not
attach them to the bumper. Always leave just enough
slack so you can turn with your rig. Never allow
safety chains to drag on the ground.
Trailer Brakes
If your trailer weighs more than 1,000 lbs. (450 kg)
loaded, then it needs its own surge brakes. Tapping into
your vehicle's brake system is not recommended.
4-60
Page 221 of 374
When you put the fuel cap back on, turn it to the right
(clockwise) until you hear a clicking sound. Make
sure you fully install the cap. The diagnostic system can
determine if the fuel cap has been left off or improperly
installed. This would allow fuel to evaporate into the
atmosphere. See
Malfunction Indicator Lamp on
page 3-33.
{CAUTION:
If a ®re starts while you are refueling, do not
remove the nozzle. Shut off the ¯ow of fuel by
shutting off the pump or by notifying the
station attendant. Leave the area immediately.
Notice:If you need a new fuel cap, be sure to get
the right type. Your dealer can get one for you.
If you get the wrong type, it may not ®t properly.
This may cause your malfunction indicator lamp to
light and may damage your fuel tank and emissions
system. See
Malfunction Indicator Lamp on
page 3-33.
Filling a Portable Fuel Container
{CAUTION:
Never ®ll a portable fuel container while it is in
your vehicle. Static electricity discharge from
the container can ignite the gasoline vapor.
You can be badly burned and your vehicle
damaged if this occurs. To help avoid injury to
you and others:
·Dispense gasoline only into approved
containers.
·Do not ®ll a container while it is inside a
vehicle, in a vehicle's trunk, pickup bed or
on any surface other than the ground.
·Bring the ®ll nozzle in contact with the
inside of the ®ll opening before operating
the nozzle. Contact should be maintained
until the ®lling is complete.
·Do not smoke while pumping gasoline.
5-9
Page 225 of 374
A. Engine Compartment Fuse Block. See ªEngine
Compartment Fuse Blockº underFuses and Circuit
Breakers on page 5-94.
B. Engine Air Cleaner/Filter. See
Engine Air
Cleaner/Filter on page 5-18.
C. Battery. See
Battery on page 5-42.
D. Radiator Pressure Cap. See
Radiator Pressure Cap
on page 5-28.
E. Engine Oil Fill Cap. See
Engine Oil on page 5-13.
F. Automatic Transmission Dipstick. See
Automatic
Transmission Fluid on page 5-20.
G. Engine Oil Dipstick. See
Engine Oil on page 5-13.
H. Power Steering Fluid Reservoir. See
Power Steering
Fluid on page 5-37.
I. Brake Master Cylinder Reservoir. See
Brakes on
page 5-39.
J. Coolant Recovery Tank. See
Engine Coolant on
page 5-25.
K. Windshield Washer Reservoir. See
Windshield
Washer Fluid on page 5-37.
Engine Oil
If the engine oil pressure
light appears on the
instrument cluster, it
means you need to check
your engine oil level
right away.
For more information, see
Oil Pressure Light on
page 3-36.
You should check your engine oil level regularly; this is
an added reminder.
5-13
Page 230 of 374
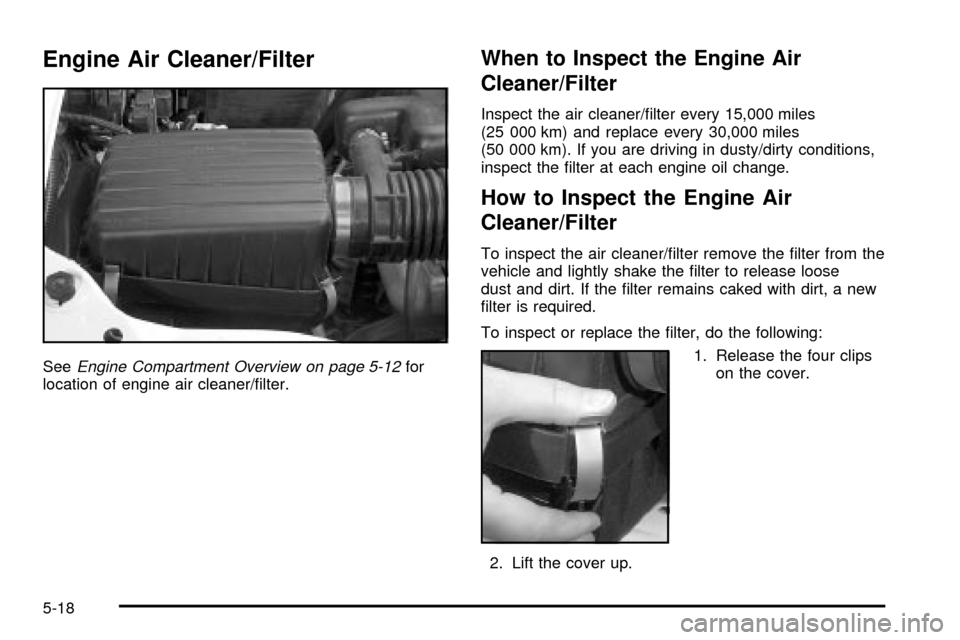
Engine Air Cleaner/Filter
SeeEngine Compartment Overview on page 5-12for
location of engine air cleaner/®lter.
When to Inspect the Engine Air
Cleaner/Filter
Inspect the air cleaner/®lter every 15,000 miles
(25 000 km) and replace every 30,000 miles
(50 000 km). If you are driving in dusty/dirty conditions,
inspect the ®lter at each engine oil change.
How to Inspect the Engine Air
Cleaner/Filter
To inspect the air cleaner/®lter remove the ®lter from the
vehicle and lightly shake the ®lter to release loose
dust and dirt. If the ®lter remains caked with dirt, a new
®lter is required.
To inspect or replace the ®lter, do the following:
1. Release the four clips
on the cover.
2. Lift the cover up.
5-18
Page 237 of 374
How to Check and Add Fluid
You do not need to check the ¯uid level unless you
suspect a clutch problem. To check the ¯uid level, look
at the markings on the reservoir. If the ¯uid reaches
the MAX line, the ¯uid level is correct.
Engine Coolant
The following explains your cooling system and how to
add coolant when it is low. If you have a problem
with engine overheating, see
Engine Overheating on
page 5-28.
A 50/50 mixture of clean, drinkable water and the proper
coolant will:
·Give freezing protection down to-33ÉF (-36ÉC)
·Give boiling protection up to 258ÉF (125ÉC).
·Protect against rust and corrosion.
·Help keep the proper engine temperature.
·Let the warning lights and gages work as they
should.
What to Use
Use a 50/50 mixture ofclean, drinkable waterand
coolant that meets GM Speci®cation 1825-M, which
won't damage aluminum parts. You can also use
a recycled coolant conforming to GM
Speci®cation 1825-M with a complete coolant ¯ush and
re®ll. If you use this coolant mixture, you don't need
to add anything else.
{CAUTION:
Adding only plain water to your cooling
system can be dangerous. Plain water, or
some other liquid such as alcohol, can boil
before the proper coolant mixture will. Your
vehicle's coolant warning system is set for the
proper coolant mixture. With plain water or the
wrong mixture, your engine could get too hot
but you would not get the overheat warning.
Your engine could catch ®re and you or others
could be burned. Use a 50/50 mixture of clean,
drinkable water and the proper coolant.
5-25
Page 253 of 374
Brake Wear
Your vehicle has front disc brakes and rear drum
brakes.
Disc brake pads have built-in wear indicators that make
a high-pitched warning sound when the brake pads
are worn and new pads are needed. The sound
may come and go or be heard all the time your vehicle
is moving (except when you are pushing on the
brake pedal ®rmly).
{CAUTION:
The brake wear warning sound means that
soon your brakes will not work well. That
could lead to an accident. When you hear the
brake wear warning sound, have your vehicle
serviced.
Notice:Continuing to drive with worn-out brake
pads could result in costly brake repair.
Some driving conditions or climates may cause a brake
squeal when the brakes are ®rst applied or lightly
applied. This does not mean something is wrong with
your brakes.Properly torqued wheel nuts are necessary to help
prevent brake pulsation. When tires are rotated, inspect
brake pads for wear and evenly tighten wheel nuts in
the proper sequence to GM torque speci®cations.
Your rear drum brakes do not have wear indicators, but
if you ever hear a rear brake rubbing noise, have the
rear brake linings inspected immediately. Also, the rear
brake drums should be removed and inspected each
time the tires are removed for rotation or changing.
When you have the front brake pads replaced, have the
rear brakes inspected, too.
Brake linings should always be replaced as complete
axle sets.
See
Brake System Inspection on page 6-29.
Brake Pedal Travel
See your dealer if the brake pedal does not return to
normal height, or if there is a rapid increase in
pedal travel. This could be a sign of brake trouble.
Brake Adjustment
Every time you make a brake stop, your disc brakes
adjust for wear.
5-41