service schedule CHEVROLET TRACKER 2004 2.G Owners Manual
[x] Cancel search | Manufacturer: CHEVROLET, Model Year: 2004, Model line: TRACKER, Model: CHEVROLET TRACKER 2004 2.GPages: 374, PDF Size: 2.57 MB
Page 1 of 374

Seats and Restraint Systems........................... 1-1
Front Seats
............................................... 1-2
Rear Seats
............................................... 1-5
Safety Belts
.............................................. 1-9
Child Restraints
.......................................1-29
Supplemental Restraint System (SRS)
.........1-52
Restraint System Check
............................1-59
Features and Controls..................................... 2-1
Keys
........................................................ 2-2
Doors and Locks
....................................... 2-6
Windows
.................................................2-10
Starting and Operating Your Vehicle
...........2-12
Mirrors
....................................................2-31
Storage Areas
.........................................2-33
Instrument Panel............................................. 3-1
Instrument Panel Overview
.......................... 3-2
Climate Controls
......................................3-19
Warning Lights, Gages and Indicators
.........3-26
Audio System(s)
.......................................3-39Driving Your Vehicle....................................... 4-1
Your Driving, the Road, and Your Vehicle
..... 4-2
Towing
...................................................4-47
Service and Appearance Care.......................... 5-1
Service
..................................................... 5-3
Fuel
......................................................... 5-4
Checking Things Under the Hood
...............5-10
Rear Axle
...............................................5-48
Four-Wheel Drive
.....................................5-49
Bulb Replacement
....................................5-51
Tires
......................................................5-55
Appearance Care
.....................................5-85
Vehicle Identi®cation
.................................5-93
Electrical System
......................................5-93
Capacities and Speci®cations
.....................5-98
Normal Maintenance Replacement Parts
....5-100
Maintenance Schedule..................................... 6-1
Maintenance Schedule
................................ 6-2
Customer Assistance and Information.............. 7-1
Customer Assistance and Information
........... 7-2
Reporting Safety Defects
...........................7-10
Index................................................................ 1
2004 Chevrolet Tracker Owner ManualM
Page 138 of 374
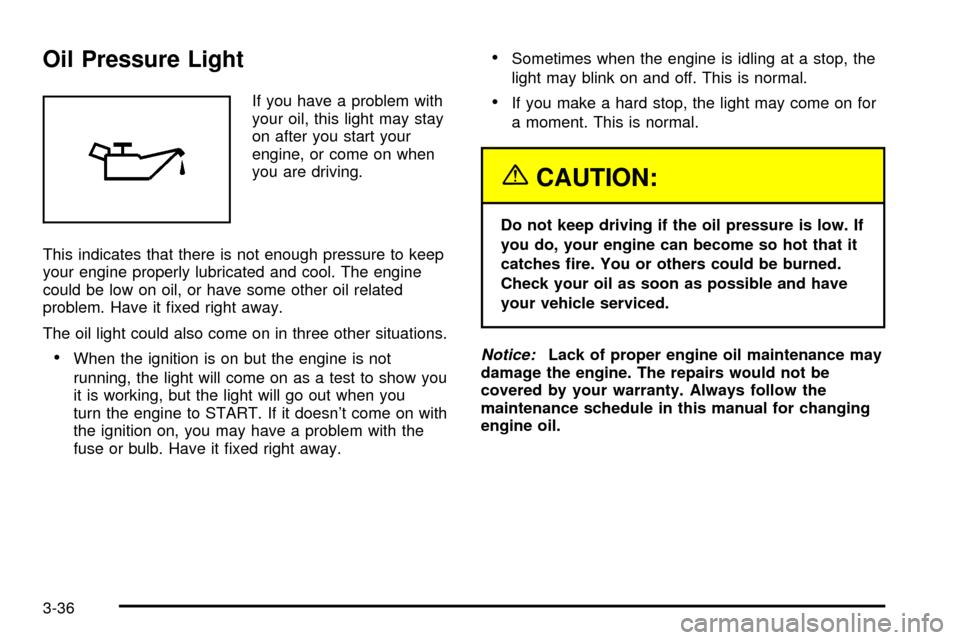
Oil Pressure Light
If you have a problem with
your oil, this light may stay
on after you start your
engine, or come on when
you are driving.
This indicates that there is not enough pressure to keep
your engine properly lubricated and cool. The engine
could be low on oil, or have some other oil related
problem. Have it ®xed right away.
The oil light could also come on in three other situations.
·When the ignition is on but the engine is not
running, the light will come on as a test to show you
it is working, but the light will go out when you
turn the engine to START. If it doesn't come on with
the ignition on, you may have a problem with the
fuse or bulb. Have it ®xed right away.
·Sometimes when the engine is idling at a stop, the
light may blink on and off. This is normal.
·If you make a hard stop, the light may come on for
a moment. This is normal.
{CAUTION:
Do not keep driving if the oil pressure is low. If
you do, your engine can become so hot that it
catches ®re. You or others could be burned.
Check your oil as soon as possible and have
your vehicle serviced.
Notice:Lack of proper engine oil maintenance may
damage the engine. The repairs would not be
covered by your warranty. Always follow the
maintenance schedule in this manual for changing
engine oil.
3-36
Page 178 of 374
After Off-Road Driving
Remove any brush or debris that has collected on the
underbody, chassis or under the hood. These
accumulations can be a ®re hazard.
After operation in mud or sand, have the brake linings
cleaned and checked. These substances can cause
glazing and uneven braking. Check the body structure,
steering, suspension, wheels, tires and exhaust
system for damage. Also, check the fuel lines and
cooling system for any leakage.
Your vehicle will require more frequent service due to
off-road use. Refer to the Maintenance Schedule
for additional information.
Driving at Night
Night driving is more dangerous than day driving.
One reason is that some drivers are likely to be
impaired Ð by alcohol or drugs, with night vision
problems, or by fatigue.
4-30
Page 212 of 374

When You Are Ready to Leave After
Parking on a Hill
1. Apply your regular brakes and hold the pedal down
while you:
·start your engine,
·shift into a gear, and
·release the parking brake.
2. Let up on the brake pedal.
3. Drive slowly until the trailer is clear of the chocks.
4. Stop and have someone pick up and store the
chocks.
Maintenance When Trailer Towing
Your vehicle will need service more often when you're
pulling a trailer. See the Maintenance Schedule for more
on this. Things that are especially important in trailer
operation are automatic transmission ¯uid (don't over®ll),
engine oil, axle lubricant, belts, cooling system and
brake system. Each of these is covered in this manual,
and the Index will help you ®nd them quickly. If
you're trailering, it's a good idea to review these sections
before you start your trip.
Check periodically to see that all hitch nuts and bolts
are tight.
4-64
Page 229 of 374

When to Change Engine Oil
If any one of these is true for you, use the short trip/city
maintenance schedule:
·Most trips are less than 5 miles (8 km). This is
particularly important when outside temperatures
are below freezing.
·Most trips include extensive idling (such as frequent
driving in stop-and-go traffic).
·You frequently tow a trailer or use a carrier on top
of your vehicle.
·The vehicle is used for delivery service, police, taxi
or other commercial application.
Driving under these conditions causes engine oil to
break down sooner. If any one of these is true for your
vehicle, then you need to change your oil and ®lter
every 3,000 miles (5 000 km) or 3 months Ð whichever
occurs ®rst.
If none of them is true, use the long trip/highway
maintenance schedule. Change oil and ®lter every
7,500 miles (12 500 km) or 7.5 months Ð whichever
occurs ®rst. Driving a vehicle with a fully warmed engine
under highway conditions will cause engine oil to
break down slower.
What to Do with Used Oil
Used engine oil contains certain elements that may be
unhealthy for your skin and could even cause cancer.
Do not let used oil stay on your skin for very long. Clean
your skin and nails with soap and water, or a good
hand cleaner. Wash or properly dispose of clothing or
rags containing used engine oil. See the manufacturer's
warnings about the use and disposal of oil products.
Used oil can be a threat to the environment. If you
change your own oil, be sure to drain all the oil from the
®lter before disposal. Never dispose of oil by putting it
in the trash, pouring it on the ground, into sewers, or into
streams or bodies of water. Instead, recycle it by
taking it to a place that collects used oil. If you have a
problem properly disposing of your used oil, ask
your dealer, a service station or a local recycling center
for help.
5-17
Page 235 of 374
Manual Transmission Fluid
When to Check and Change
A good time to have it checked is when the engine oil is
changed. Refer to the Maintenance Schedule to
determine when to change your transmission ¯uid. See
Part A: Scheduled Maintenance Services on page 6-4.
How to Check
Because this operation can be a little difficult, you may
choose to have this done at your Chevrolet dealership
service department.
If you do it yourself, be sure to follow all the instructions
here, or you could get a false reading.
Notice:Too much or too little ¯uid can damage
your transmission. Too much can mean that some
of the ¯uid could come out and fall on hot engine
part or exhaust system parts, starting a ®re.
Too little ¯uid could cause the transmission to
overheat. Be sure to get an accurate reading if you
check your transmission ¯uid.Check the ¯uid level only when your engine is off, the
vehicle is parked on a level place and the transmission
is cool enough for you to rest your ®ngers on the
transmission case.
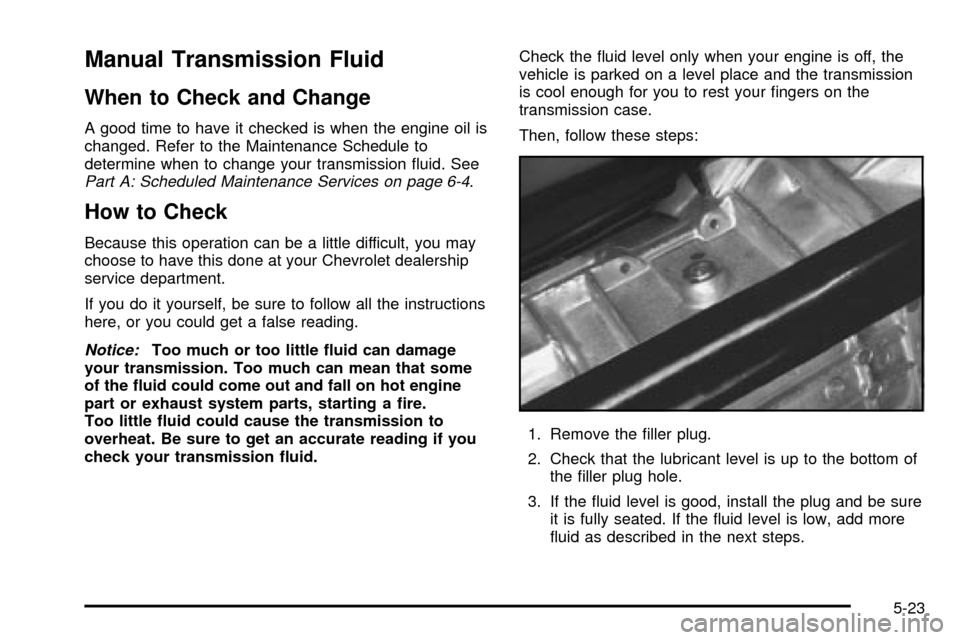
Then, follow these steps:
1. Remove the ®ller plug.
2. Check that the lubricant level is up to the bottom of
the ®ller plug hole.
3. If the ¯uid level is good, install the plug and be sure
it is fully seated. If the ¯uid level is low, add more
¯uid as described in the next steps.
5-23
Page 236 of 374
How to Add Fluid
Here's how to add ¯uid. Refer to the Maintenance
Schedule to determine what kind of ¯uid to use. See
Part D: Recommended Fluids and Lubricants on
page 6-30.
1. Remove the ®ller plug.
2. Remove the drain plug, drain the ¯uid and reinstall
the drain plug.
3. Add ¯uid at the ®ller plug hole. Add only enough
¯uid to bring the ¯uid level up to the bottom of the
®ller plug hole.
4. Reinstall the ®ller plug. Be sure the plug is fully
seated.
Hydraulic Clutch
It is not necessary to regularly check clutch ¯uid unless
you suspect there is a leak in the system. Adding
¯uid won't correct a leak.
A ¯uid loss in this system could indicate a problem.
Have the system inspected and repaired.
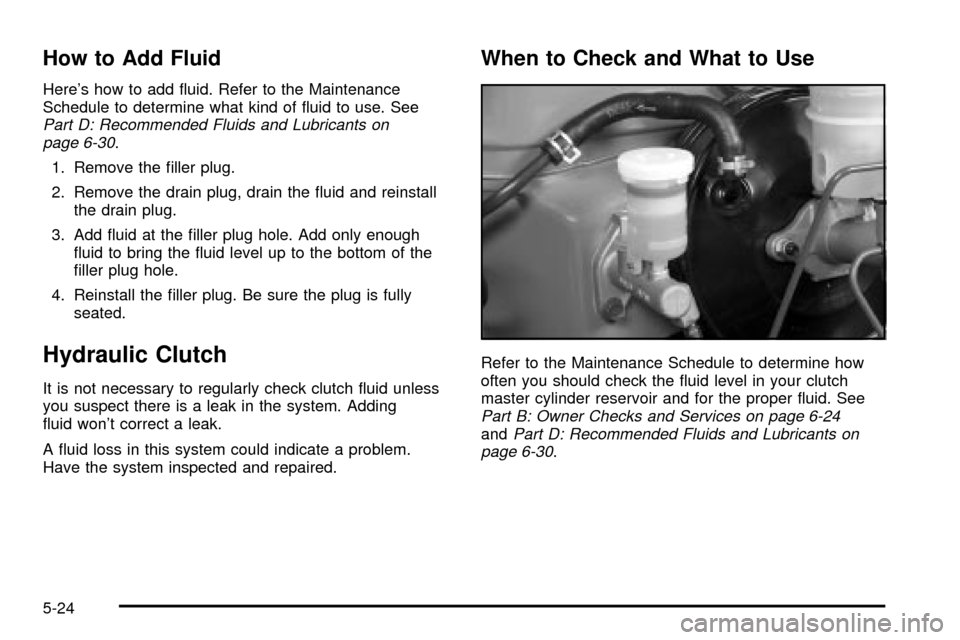
When to Check and What to Use
Refer to the Maintenance Schedule to determine how
often you should check the ¯uid level in your clutch
master cylinder reservoir and for the proper ¯uid. See
Part B: Owner Checks and Services on page 6-24andPart D: Recommended Fluids and Lubricants on
page 6-30.
5-24
Page 260 of 374
Rear Axle
When to Check and Change Lubricant
Refer to the Maintenance Schedule to determine
how often to check the lubricant and when to change it.
See
Part C: Periodic Maintenance Inspections on
page 6-28andPart A: Scheduled Maintenance Services
on page 6-4.
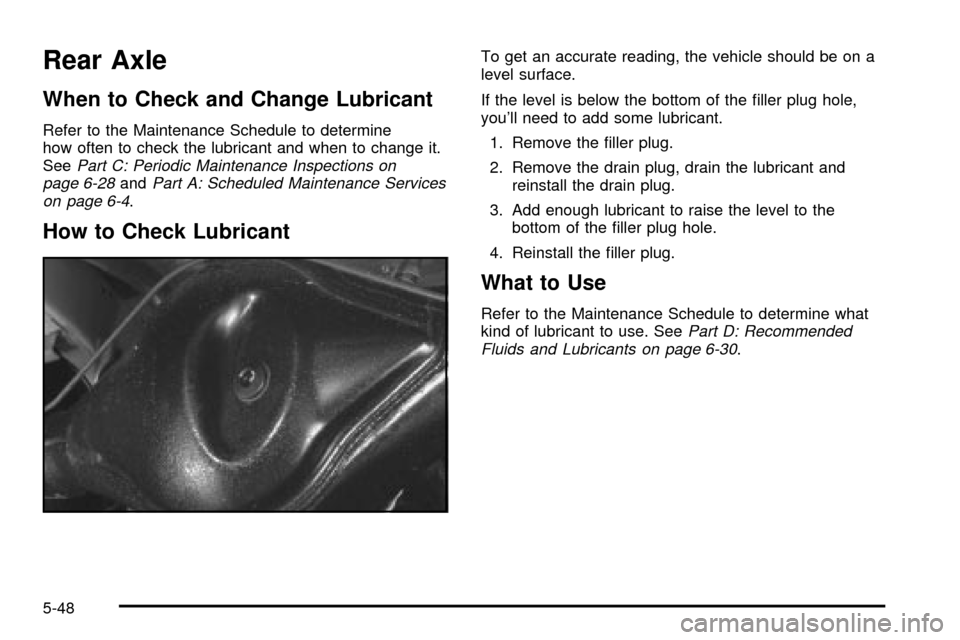
How to Check Lubricant
To get an accurate reading, the vehicle should be on a
level surface.
If the level is below the bottom of the ®ller plug hole,
you'll need to add some lubricant.
1. Remove the ®ller plug.
2. Remove the drain plug, drain the lubricant and
reinstall the drain plug.
3. Add enough lubricant to raise the level to the
bottom of the ®ller plug hole.
4. Reinstall the ®ller plug.
What to Use
Refer to the Maintenance Schedule to determine what
kind of lubricant to use. SeePart D: Recommended
Fluids and Lubricants on page 6-30.
5-48
Page 261 of 374
Four-Wheel Drive
Most lubricant checks in this section also apply to
four-wheel-drive vehicles. However, they have
two additional systems that need lubrication.
Transfer Case
When to Check and Change Lubricant
Refer to the Maintenance Schedule to determine how
often to check the lubricant and when to change it. See
Part A: Scheduled Maintenance Services on page 6-4.
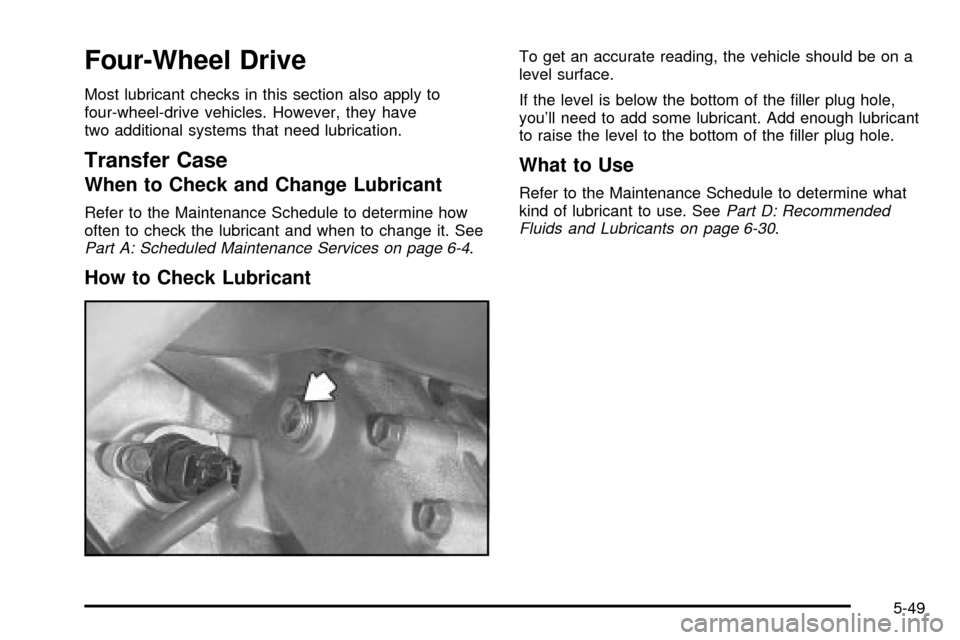
How to Check Lubricant
To get an accurate reading, the vehicle should be on a
level surface.
If the level is below the bottom of the ®ller plug hole,
you'll need to add some lubricant. Add enough lubricant
to raise the level to the bottom of the ®ller plug hole.
What to Use
Refer to the Maintenance Schedule to determine what
kind of lubricant to use. SeePart D: Recommended
Fluids and Lubricants on page 6-30.
5-49
Page 262 of 374
Front Axle
When to Check and Change Lubricant
Refer to the Maintenance Schedule to determine how
often to check the lubricant and when to change it. See
Part C: Periodic Maintenance Inspections on page 6-28andPart A: Scheduled Maintenance Services on
page 6-4.
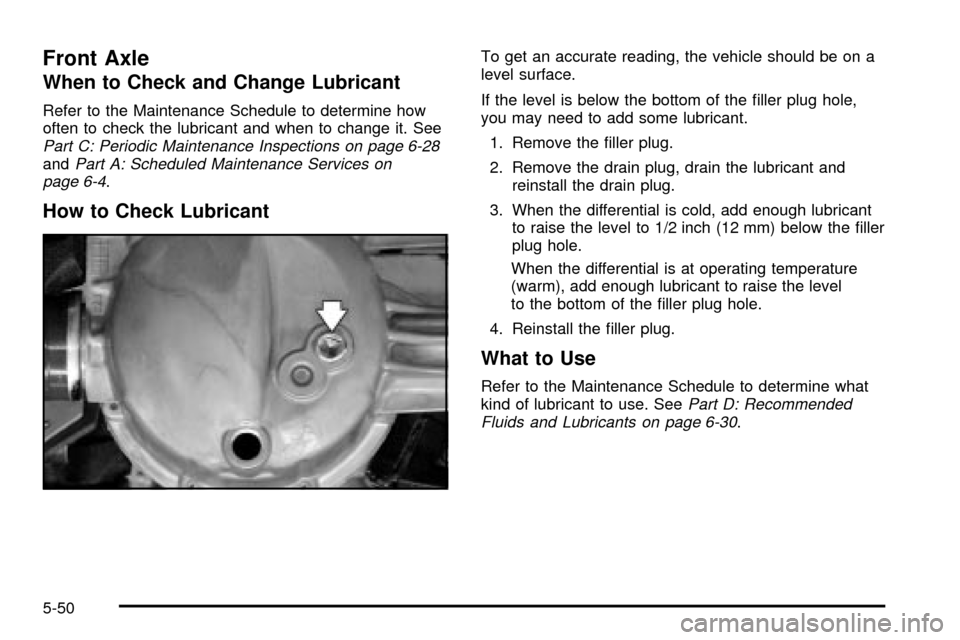
How to Check Lubricant
To get an accurate reading, the vehicle should be on a
level surface.
If the level is below the bottom of the ®ller plug hole,
you may need to add some lubricant.
1. Remove the ®ller plug.
2. Remove the drain plug, drain the lubricant and
reinstall the drain plug.
3. When the differential is cold, add enough lubricant
to raise the level to 1/2 inch (12 mm) below the ®ller
plug hole.
When the differential is at operating temperature
(warm), add enough lubricant to raise the level
to the bottom of the ®ller plug hole.
4. Reinstall the ®ller plug.
What to Use
Refer to the Maintenance Schedule to determine what
kind of lubricant to use. SeePart D: Recommended
Fluids and Lubricants on page 6-30.
5-50