manual radio set CHEVROLET TRAIL BLAZER 2007 1.G Owners Manual
[x] Cancel search | Manufacturer: CHEVROLET, Model Year: 2007, Model line: TRAIL BLAZER, Model: CHEVROLET TRAIL BLAZER 2007 1.GPages: 574, PDF Size: 2.94 MB
Page 238 of 574
Audio System(s)
Determine which radio your vehicle has and then
read the pages following to familiarize yourself
with its features.
Driving without distraction is a necessity for a
safer driving experience. SeeDefensive Driving
on page 306. By taking a few moments to read
this manual and get familiar with your vehicle’s
audio system, you can use it with less effort,
as well as take advantage of its features.
While your vehicle is parked, set up your audio
system by presetting your favorite radio stations,
setting the tone and adjusting the speakers.
Then, when driving conditions permit, you
can tune to your favorite stations using the
presets and steering wheel controls if the
vehicle has them.{CAUTION:
This system provides you with a far greater
access to audio stations and song listings.
Giving extended attention to entertainment
tasks while driving can cause a crash and
you or others can be injured or killed.
Always keep your eyes on the road and
your mind on the drive — avoid engaging
in extended searching while driving.
Keeping your mind on the drive is important for
safe driving. Here are some ways in which you
can help avoid distraction while driving.
While your vehicle is parked:
Familiarize yourself with all of its controls.
Familiarize yourself with its operation.
Set up your audio system by presetting your
favorite radio stations, setting the tone, and
adjusting the speakers. Then, when driving
conditions permit, you can tune to your favorite
radio stations using the presets and steering
wheel controls if the vehicle has them.
238
Page 244 of 574
AUTO EQ (Automatic Equalization):Press this
button to select customized equalization settings
designed for country/western, jazz, talk, pop, rock,
and classical. Selecting CUSTOM or adjusting the
tone controls, returns the EQ to the manual mode.
The radio saves separate AUTO EQ settings for
each preset and source.
If the radio has the Bose
®audio system, the
AUTO EQ settings are either CUSTOM or TALK.
Adjusting the Speakers (Balance/Fade)
AUDIO:To adjust the balance between the right
and the left speakers, push and release the AUDIO
knob until BAL (balance) displays. Turn the knob to
move the sound toward the right or the left speakers.
To adjust the fade between the front and the rear
speakers, push and release the AUDIO knob until
FADE displays. Turn the knob to move the sound
toward the front or the rear speakers.
To adjust the balance or fade to the middle position
while it is displayed, push the AUDIO knob and hold
it until the radio produces one beep. The balance or
fade adjusts to the middle position.To adjust all tone and speaker controls to the
middle position, push and hold the AUDIO knob
when no tone or speaker control displays. ALL
CENTERED displays, a beep sounds, and the
display level adjusts to the middle position.
Finding a Program Type (PTY) Station
(RDS and XM™)
To select and �nd a desired PTY perform the
following:
1. Press the TYPE button to activate program
type select mode. TYPE and a PTY displays.
2. Turn the TYPE knob or press and release the
TYPE button to select a PTY.
3. Once the desired PTY is displayed, press and
release either the TYPE or the SEEK arrows to
select and to take you to the PTY’s �rst station.
4. To go to another station within that PTY, press
the TYPE button then, press either the left
©
or right¨SCAN or TYPE arrows once.
5. Press either the left
©or right¨SCAN
or TYPE arrows twice to exit program
type select mode.
244
Page 253 of 574
Setting Preset Stations
Up to 30 stations (six FM1, six FM2, and six AM,
six XM1 and six XM2 (if equipped)), can be
programmed on the six numbered pushbuttons,
by performing the following steps:
1. Turn the radio on.
2. Press BAND to select FM1, FM2, AM,
or XM1 or XM2.
3. Tune in the desired station.
4. Press AUTO EQ to select the equalization.
5. Press and hold one of the six numbered
pushbuttons until a beep sounds. When
that numbered pushbutton is pressed,
the station that was set, returns and the
equalization that was selected is stored
for that pushbutton.
6. Repeat the steps for each pushbutton.
Setting the Tone
(Bass/Midrange/Treble)
AUDIO:Push and release the AUDIO knob until
BASS, MID (midrange) (without Bose®), or TREB
(treble) displays. Turn the knob to increase or to
decrease the tone. The display shows the bass,
midrange (without Bose
®), or the treble level. If a
station is weak or has static, decrease the treble.
To adjust the bass, midrange (without Bose
®), or
the treble to the middle position while it is displayed,
push and hold the AUDIO knob. The radio produces
one beep.
To adjust all tone and speaker controls to the
middle position, push and hold the AUDIO
knob while no tone or speaker control displays.
ALL CENTERED displays and a beep sounds.
AUTO EQ (Automatic Equalization):Press this
button to select customized equalization settings
designed for country/western, jazz, talk, pop, rock,
and classical.
To return the bass and treble to the manual mode,
push and release the AUTO EQ button until
CUSTOM displays.
If the radio has the Bose
®audio system, the
equalization settings are either CUSTOM or TALK.
253
Page 284 of 574
Navigation/Radio System
Your vehicle may have a navigation radio system.
The navigation system has built-in features
intended to minimize driver distraction. Technology
alone, no matter how advanced, can never replace
your own judgment. See the Navigation System
manual for some tips to help you reduce
distractions while driving.
Rear Seat Entertainment System
Your vehicle may have the Digital Versatile
Disc (DVD) Rear Seat Entertainment (RSE)
system. The RSE system includes a DVD player,
a video display screen, two sets of wireless
headphones, and a remote control.
Parental Control
This button is located behind the video screen.
Press this button while a DVD or CD is playing
to freeze the video and mute the audio. The video
screen displays Parental Control ON and the
power indicator light on the DVD player �ashes.It also disables all other button operations from
the remote control and the DVD player, with
the exception of the eject button. Press this button
again to restore operation of the DVD player.
This button can also be used to turn the DVD
player power on and automatically resume play if
the ignition is in RUN, ACCESSORY, or if RAP
is active.
Before You Drive
The RSE system is for rear seat passengers only.
The driver cannot safely view the video screen
while driving and should not try to do so.
Headphones
The RSE system includes two sets of wireless
headphones.
Each set of headphones has an ON/OFF control.
An indicator light illuminates on the headphones
when they are on. If the light does not illuminate,
the batteries may need to be replaced. See “Battery
Replacement” following for more information.
Each set of headphones has a volume knob.
To adjust the volume, adjust this knob.
284
Page 433 of 574
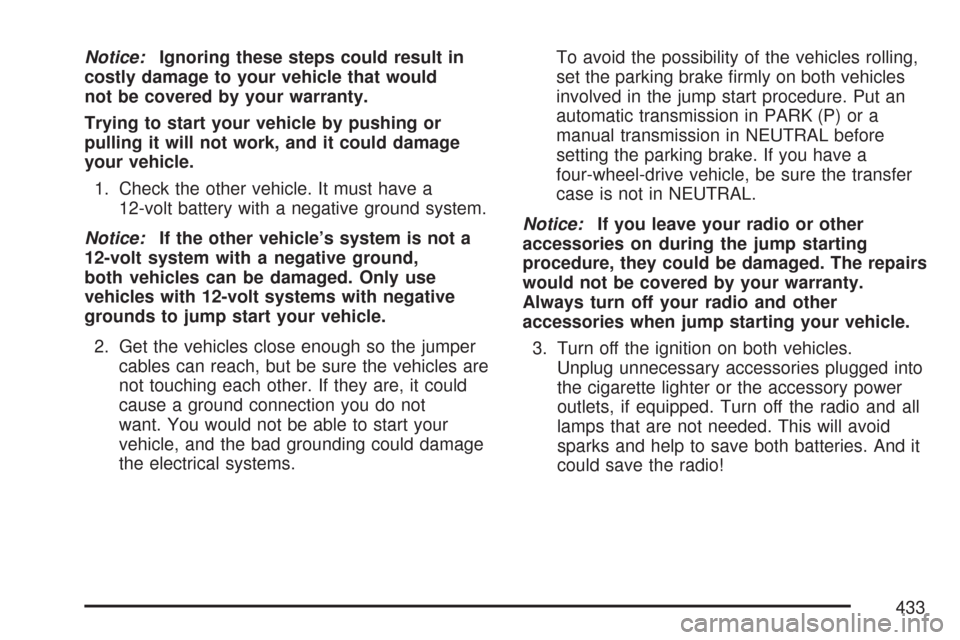
Notice:Ignoring these steps could result in
costly damage to your vehicle that would
not be covered by your warranty.
Trying to start your vehicle by pushing or
pulling it will not work, and it could damage
your vehicle.
1. Check the other vehicle. It must have a
12-volt battery with a negative ground system.
Notice:If the other vehicle’s system is not a
12-volt system with a negative ground,
both vehicles can be damaged. Only use
vehicles with 12-volt systems with negative
grounds to jump start your vehicle.
2. Get the vehicles close enough so the jumper
cables can reach, but be sure the vehicles are
not touching each other. If they are, it could
cause a ground connection you do not
want. You would not be able to start your
vehicle, and the bad grounding could damage
the electrical systems.To avoid the possibility of the vehicles rolling,
set the parking brake �rmly on both vehicles
involved in the jump start procedure. Put an
automatic transmission in PARK (P) or a
manual transmission in NEUTRAL before
setting the parking brake. If you have a
four-wheel-drive vehicle, be sure the transfer
case is not in NEUTRAL.
Notice:If you leave your radio or other
accessories on during the jump starting
procedure, they could be damaged. The repairs
would not be covered by your warranty.
Always turn off your radio and other
accessories when jump starting your vehicle.
3. Turn off the ignition on both vehicles.
Unplug unnecessary accessories plugged into
the cigarette lighter or the accessory power
outlets, if equipped. Turn off the radio and all
lamps that are not needed. This will avoid
sparks and help to save both batteries. And it
could save the radio!
433
Page 560 of 574
Appearance Care (cont.)
Windshield, Backglass, and Wiper
Blades.................................................. 497
Ashtray....................................................... 187
Audio System.............................................. 238
Audio Steering Wheel Controls................. 300
Care of Your CD and DVD Player............ 302
Care of Your CDs and DVDs................... 302
Chime Level Adjustment........................... 303
Fixed Mast Antenna................................. 303
Navigation/Radio System, see
Navigation Manual................................ 284
Radio with CD................................240, 250
Radio with Six-Disc CD............................ 260
Rear Seat Audio (RSA)............................ 298
Setting the Time...................................... 239
Theft-Deterrent Feature............................ 300
Understanding Radio Reception............... 301
XM™ Satellite Radio Antenna System...... 303
Automatic Headlamp System....................... 182
Automatic Transmission
Fluid........................................................ 411
Operation................................................. 117B
Battery........................................................ 431
Electric Power Management..................... 185
Run-Down Protection............................... 186
Before Leaving on a Long Trip.................... 346
Brake
Emergencies............................................ 313
Parking.................................................... 126
Brakes........................................................ 428
System Warning Light.............................. 208
Braking....................................................... 310
Braking in Emergencies............................... 313
Break-In, New Vehicle................................. 111
Bulb Replacement....................................... 442
Halogen Bulbs......................................... 442
License Plate Lamps................................ 444
Replacement Bulbs.................................. 444
Taillamps and Turn Signal Lamps............. 442
Buying New Tires........................................ 466
560
Page 569 of 574
Passenger Sensing System........................... 80
Passing....................................................... 321
Passlock
®.................................................... 110
Power
Door Locks................................................ 99
Electrical System..................................... 502
Lumbar Controls........................................ 11
Reduced Engine Light.............................. 217
Retained Accessory (RAP)....................... 113
Seat.......................................................... 10
Steering Fluid.......................................... 426
Windows.................................................. 106
Pretensioners, Safety Belt............................. 40
Privacy........................................................ 555
Event Data Recorders.............................. 556
Navigation System................................... 557
OnStar..................................................... 557
Radio Frequency Identi�cation.................. 557
Programmable Automatic Door Locks.......... 100
Q
Questions and Answers About Safety Belts...... 24
R
Radiator Pressure Cap................................ 418
Radio Frequency Identi�cation (RFID),
Privacy..................................................... 557
Radios........................................................ 238
Care of Your CD and DVD Player............ 302
Care of Your CDs and DVDs................... 302
Navigation/Radio System, see
Navigation Manual................................ 284
Radio with CD................................240, 250
Radio with Six-Disc CD............................ 260
Rear Seat Audio...................................... 298
Setting the Time...................................... 239
Theft-Deterrent......................................... 300
Understanding Reception......................... 301
Reading Lamps........................................... 184
Rear Axle.................................................... 438
Locking.................................................... 313
Rear Climate Control System...................... 196
Rear Door Security Locks........................... 103
Rear Floor Storage Lid................................ 163
Rear Safety Belt Comfort Guides.................. 37
Rear Seat Audio (RSA)............................... 298
Rear Seat Entertainment System................. 284
Rear Seat Operation..................................... 18
Rear Seat Passengers, Safety Belts.............. 34
569