CHEVROLET VOLT 2012 1.G User Guide
Manufacturer: CHEVROLET, Model Year: 2012, Model line: VOLT, Model: CHEVROLET VOLT 2012 1.GPages: 454, PDF Size: 7.89 MB
Page 11 of 454
Black plate (5,1)Chevrolet Volt Owner Manual - 2012
In Brief 1-5
Remote Start
Use remote start to heat or cool the
interior when the vehicle is plugged
in to maximize electric range by
utilizing electricity from the wall
outlet. The engine may start to
support the climate control
operation. Normal operation of the
system will return after the vehicle
has been turned on.
Activating the Remote Start
1. Aim the RKE transmitter at thevehicle.
2. Press
Qon the RKE transmitter;
the doors will lock.
3. Within five seconds, press and hold
Buntil the turn signal
lamps flash, or for approximately
four seconds. Pressing
Bagain
during a remote start will turn the
feature off. After entering the vehicle during a
remote start, press the POWER
O
button on the center stack with the
brake pedal applied to operate as
normal.
Canceling Remote Start
To cancel a remote start, do any of
the following:
.Aim the RKE transmitter at the
vehicle and press and hold
B
until the parking lamps turn off.
.Turn on the hazard warning
flashers.
.Press the POWERObutton on
the center stack, with the brake
pedal applied, then press the
POWER
Obutton again to turn
the vehicle off.
See Remote Start on page 2‑8.
Door Locks
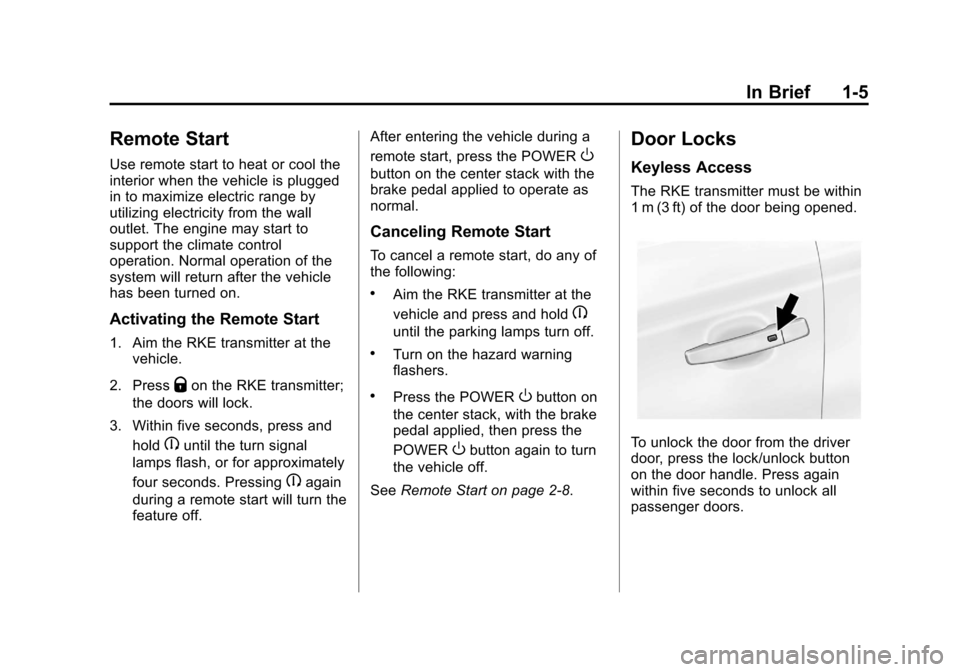
Keyless Access
The RKE transmitter must be within
1 m (3 ft) of the door being opened.
To unlock the door from the driver
door, press the lock/unlock button
on the door handle. Press again
within five seconds to unlock all
passenger doors.
Page 12 of 454
Black plate (6,1)Chevrolet Volt Owner Manual - 2012
1-6 In Brief
To lock the doors, press the lock/
unlock button if:
.More than five seconds have
passed.
.The lock/unlock button was used
to unlock all doors.
.All doors are closed.
To unlock all doors from the
passenger door, press the lock/
unlock button on the door handle.
To lock the doors, press the lock/
unlock button if:
.The lock/unlock button was used
to unlock all doors.
.All doors are closed.
The Keyless Access can be
programmed to unlock all doors on
the first lock/unlock press from the
driver door. See Vehicle
Personalization on page 5‑56. Remote Keyless Entry (RKE):
The RKE transmitter must be within
60 m (195 ft) of the vehicle.
K:
Press to unlock.
Q:Press to lock.
See Remote Keyless Entry (RKE)
System Operation on page 2‑3.
Key: To unlock or lock the door,
turn the key left or right.
Inside the Vehicle: Use the door
lock knob, the door handle, or the
power door switch. See Door Locks
on page 2‑11.
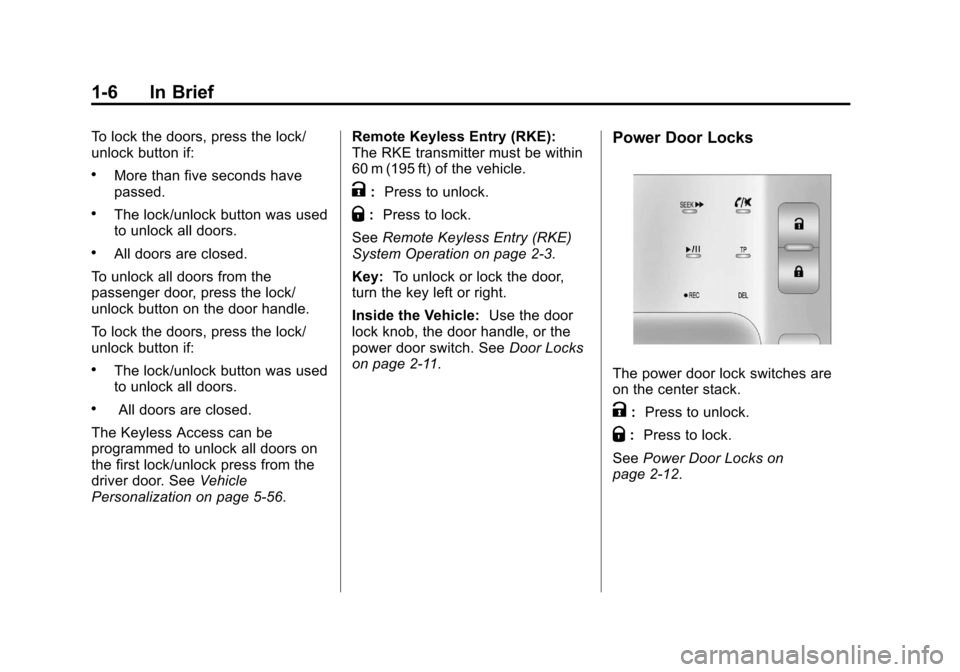
Power Door Locks
The power door lock switches are
on the center stack.
K: Press to unlock.
Q:Press to lock.
See Power Door Locks on
page 2‑12.
Page 13 of 454
Black plate (7,1)Chevrolet Volt Owner Manual - 2012
In Brief 1-7
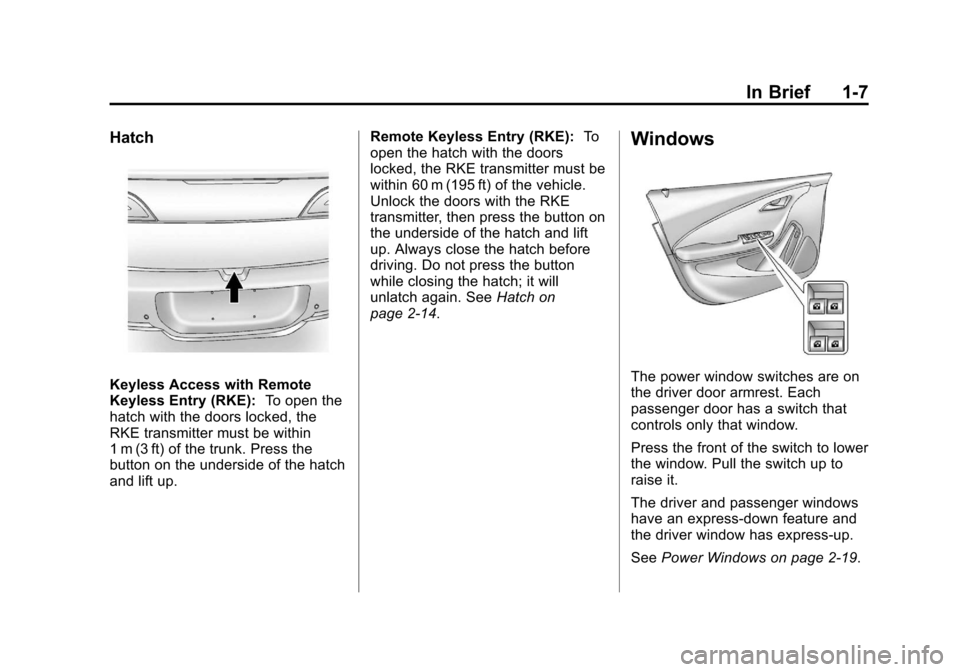
Hatch
Keyless Access with Remote
Keyless Entry (RKE):To open the
hatch with the doors locked, the
RKE transmitter must be within
1 m (3 ft) of the trunk. Press the
button on the underside of the hatch
and lift up. Remote Keyless Entry (RKE):
To
open the hatch with the doors
locked, the RKE transmitter must be
within 60 m (195 ft) of the vehicle.
Unlock the doors with the RKE
transmitter, then press the button on
the underside of the hatch and lift
up. Always close the hatch before
driving. Do not press the button
while closing the hatch; it will
unlatch again. See Hatch on
page 2‑14.
Windows
The power window switches are on
the driver door armrest. Each
passenger door has a switch that
controls only that window.
Press the front of the switch to lower
the window. Pull the switch up to
raise it.
The driver and passenger windows
have an express-down feature and
the driver window has express-up.
See Power Windows on page 2‑19.
Page 14 of 454
Black plate (8,1)Chevrolet Volt Owner Manual - 2012
1-8 In Brief
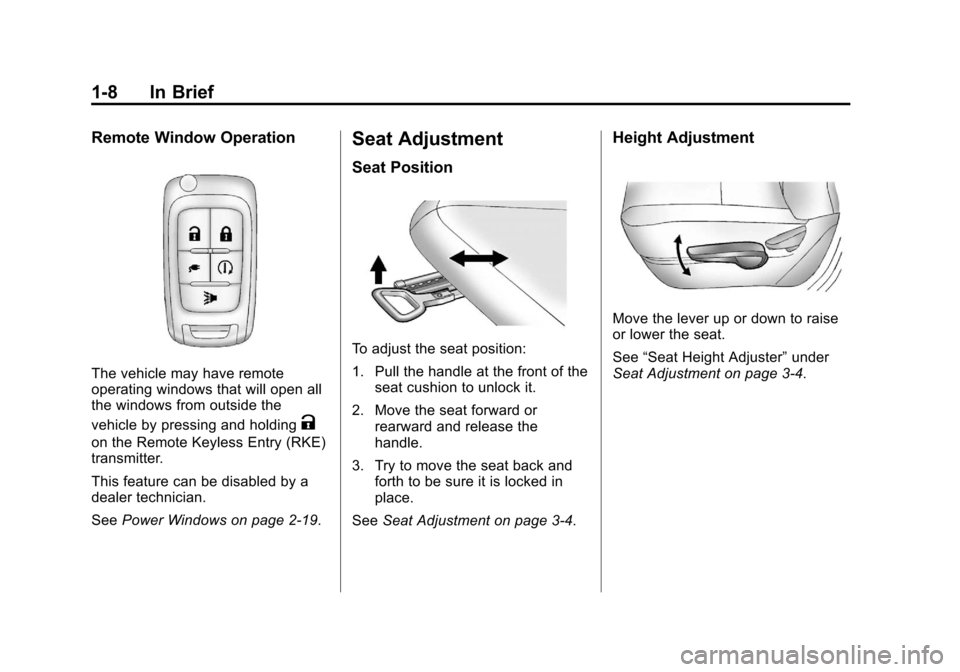
Remote Window Operation
The vehicle may have remote
operating windows that will open all
the windows from outside the
vehicle by pressing and holding
K
on the Remote Keyless Entry (RKE)
transmitter.
This feature can be disabled by a
dealer technician.
SeePower Windows on page 2‑19.
Seat Adjustment
Seat Position
To adjust the seat position:
1. Pull the handle at the front of the
seat cushion to unlock it.
2. Move the seat forward or rearward and release the
handle.
3. Try to move the seat back and forth to be sure it is locked in
place.
See Seat Adjustment on page 3‑4.
Height Adjustment
Move the lever up or down to raise
or lower the seat.
See“Seat Height Adjuster” under
Seat Adjustment on page 3‑4.
Page 15 of 454
Black plate (9,1)Chevrolet Volt Owner Manual - 2012
In Brief 1-9
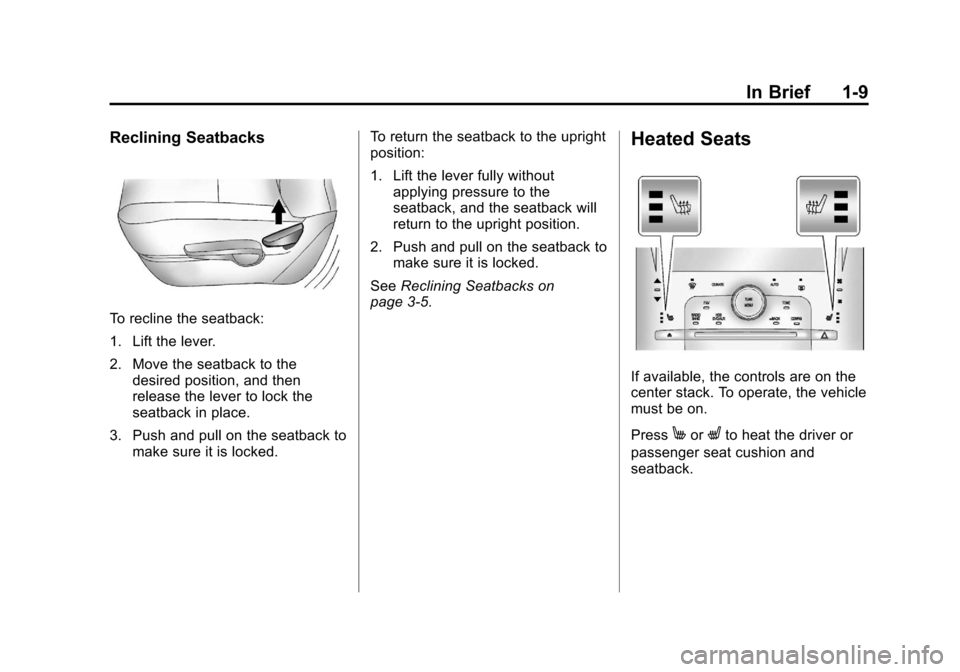
Reclining Seatbacks
To recline the seatback:
1. Lift the lever.
2. Move the seatback to thedesired position, and then
release the lever to lock the
seatback in place.
3. Push and pull on the seatback to make sure it is locked. To return the seatback to the upright
position:
1. Lift the lever fully without
applying pressure to the
seatback, and the seatback will
return to the upright position.
2. Push and pull on the seatback to make sure it is locked.
See Reclining Seatbacks on
page 3‑5.
Heated Seats
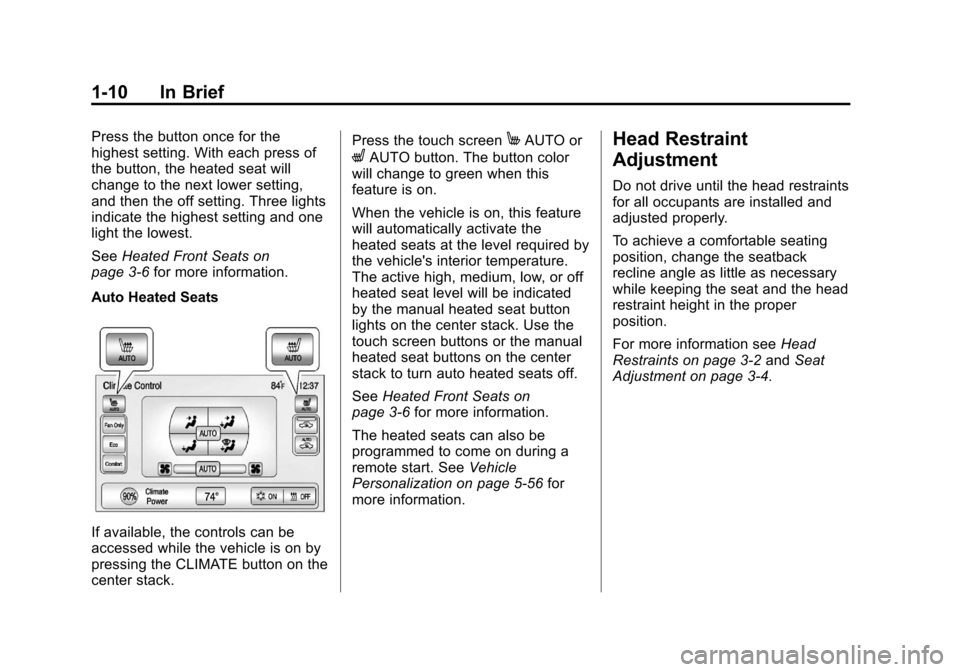
If available, the controls are on the
center stack. To operate, the vehicle
must be on.
Press
MorLto heat the driver or
passenger seat cushion and
seatback.
Page 16 of 454
Black plate (10,1)Chevrolet Volt Owner Manual - 2012
1-10 In Brief
Press the button once for the
highest setting. With each press of
the button, the heated seat will
change to the next lower setting,
and then the off setting. Three lights
indicate the highest setting and one
light the lowest.
SeeHeated Front Seats on
page 3‑6 for more information.
Auto Heated Seats
If available, the controls can be
accessed while the vehicle is on by
pressing the CLIMATE button on the
center stack. Press the touch screen
MAUTO or
LAUTO button. The button color
will change to green when this
feature is on.
When the vehicle is on, this feature
will automatically activate the
heated seats at the level required by
the vehicle's interior temperature.
The active high, medium, low, or off
heated seat level will be indicated
by the manual heated seat button
lights on the center stack. Use the
touch screen buttons or the manual
heated seat buttons on the center
stack to turn auto heated seats off.
See Heated Front Seats on
page 3‑6 for more information.
The heated seats can also be
programmed to come on during a
remote start. See Vehicle
Personalization on page 5‑56 for
more information.
Head Restraint
Adjustment
Do not drive until the head restraints
for all occupants are installed and
adjusted properly.
To achieve a comfortable seating
position, change the seatback
recline angle as little as necessary
while keeping the seat and the head
restraint height in the proper
position.
For more information see Head
Restraints on page 3‑2 andSeat
Adjustment on page 3‑4.
Page 17 of 454
Black plate (11,1)Chevrolet Volt Owner Manual - 2012
In Brief 1-11
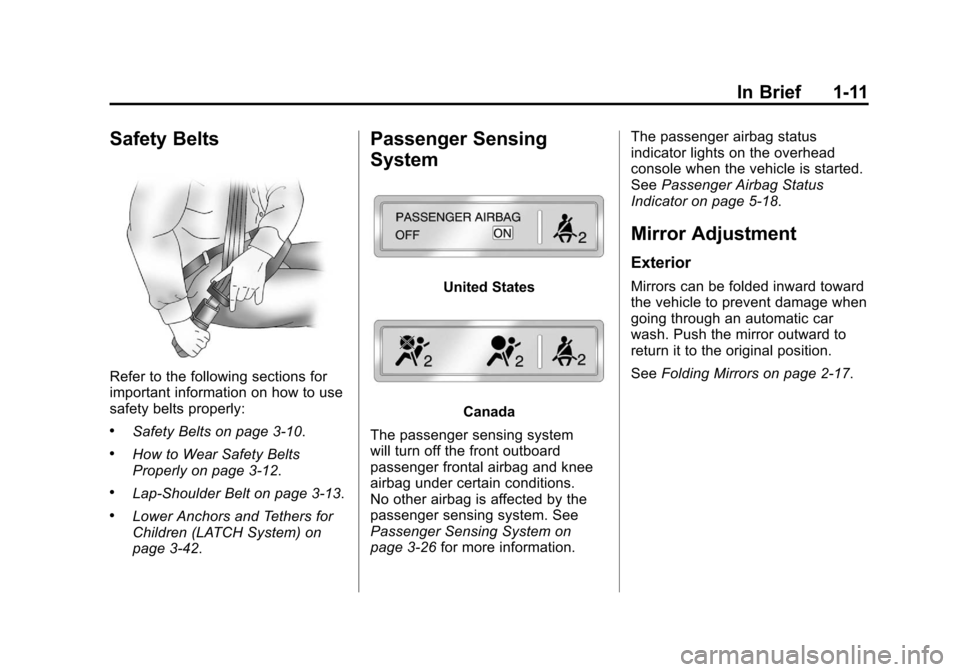
Safety Belts
Refer to the following sections for
important information on how to use
safety belts properly:
.Safety Belts on page 3‑10.
.How to Wear Safety Belts
Properly on page 3‑12.
.Lap-Shoulder Belt on page 3‑13.
.Lower Anchors and Tethers for
Children (LATCH System) on
page 3‑42.
Passenger Sensing
System
United States
Canada
The passenger sensing system
will turn off the front outboard
passenger frontal airbag and knee
airbag under certain conditions.
No other airbag is affected by the
passenger sensing system. See
Passenger Sensing System on
page 3‑26 for more information. The passenger airbag status
indicator lights on the overhead
console when the vehicle is started.
See
Passenger Airbag Status
Indicator on page 5‑18.
Mirror Adjustment
Exterior
Mirrors can be folded inward toward
the vehicle to prevent damage when
going through an automatic car
wash. Push the mirror outward to
return it to the original position.
See Folding Mirrors on page 2‑17.
Page 18 of 454
Black plate (12,1)Chevrolet Volt Owner Manual - 2012
1-12 In Brief
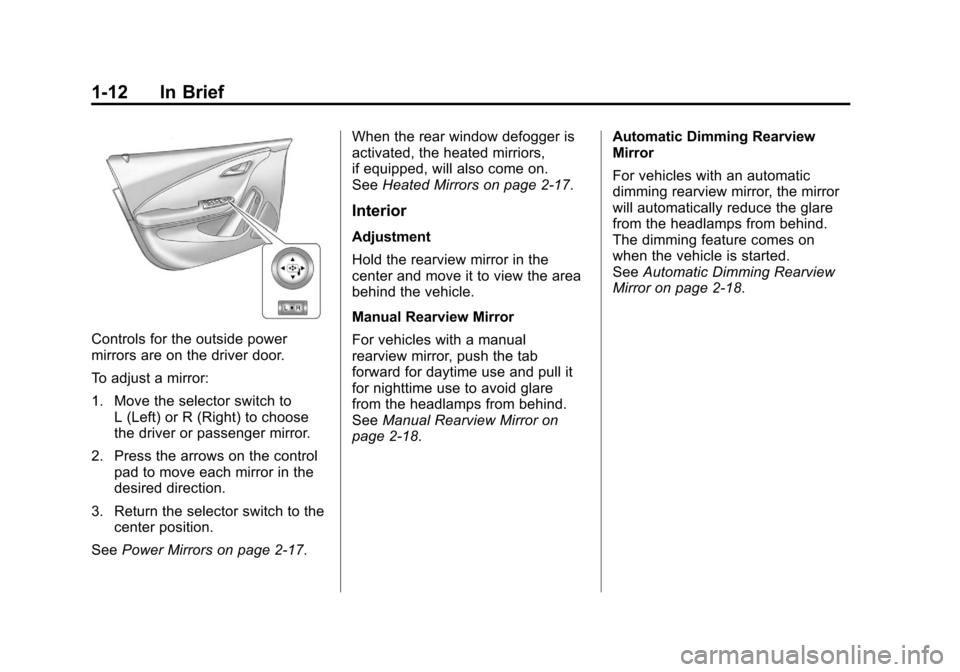
Controls for the outside power
mirrors are on the driver door.
To adjust a mirror:
1. Move the selector switch toL (Left) or R (Right) to choose
the driver or passenger mirror.
2. Press the arrows on the control pad to move each mirror in the
desired direction.
3. Return the selector switch to the center position.
See Power Mirrors on page 2‑17. When the rear window defogger is
activated, the heated mirriors,
if equipped, will also come on.
See
Heated Mirrors on page 2‑17.
Interior
Adjustment
Hold the rearview mirror in the
center and move it to view the area
behind the vehicle.
Manual Rearview Mirror
For vehicles with a manual
rearview mirror, push the tab
forward for daytime use and pull it
for nighttime use to avoid glare
from the headlamps from behind.
SeeManual Rearview Mirror on
page 2‑18. Automatic Dimming Rearview
Mirror
For vehicles with an automatic
dimming rearview mirror, the mirror
will automatically reduce the glare
from the headlamps from behind.
The dimming feature comes on
when the vehicle is started.
See
Automatic Dimming Rearview
Mirror on page 2‑18.
Page 19 of 454
Black plate (13,1)Chevrolet Volt Owner Manual - 2012
In Brief 1-13
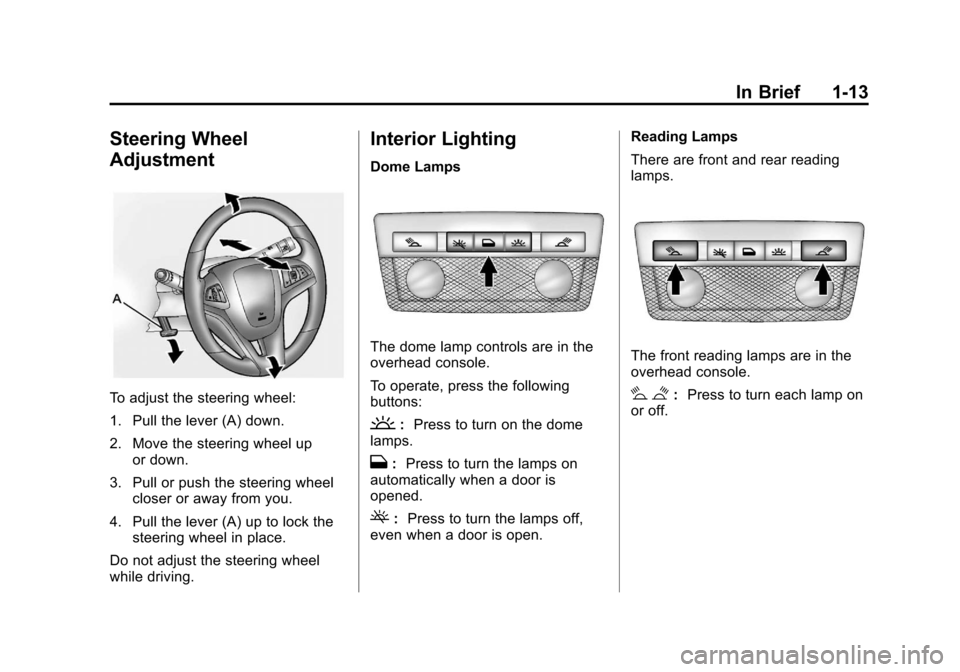
Steering Wheel
Adjustment
To adjust the steering wheel:
1. Pull the lever (A) down.
2. Move the steering wheel upor down.
3. Pull or push the steering wheel closer or away from you.
4. Pull the lever (A) up to lock the steering wheel in place.
Do not adjust the steering wheel
while driving.
Interior Lighting
Dome Lamps
The dome lamp controls are in the
overhead console.
To operate, press the following
buttons:
': Press to turn on the dome
lamps.
H: Press to turn the lamps on
automatically when a door is
opened.
(: Press to turn the lamps off,
even when a door is open. Reading Lamps
There are front and rear reading
lamps.
The front reading lamps are in the
overhead console.
# $:
Press to turn each lamp on
or off.
Page 20 of 454
Black plate (14,1)Chevrolet Volt Owner Manual - 2012
1-14 In Brief
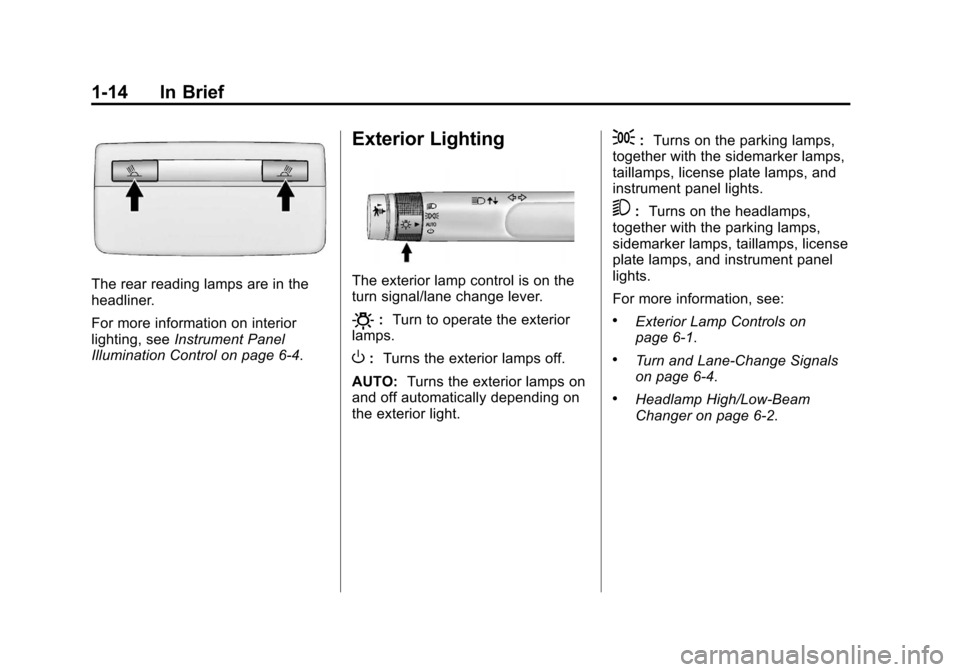
The rear reading lamps are in the
headliner.
For more information on interior
lighting, seeInstrument Panel
Illumination Control on page 6‑4.
Exterior Lighting
The exterior lamp control is on the
turn signal/lane change lever.
O: Turn to operate the exterior
lamps.
O: Turns the exterior lamps off.
AUTO: Turns the exterior lamps on
and off automatically depending on
the exterior light.
;: Turns on the parking lamps,
together with the sidemarker lamps,
taillamps, license plate lamps, and
instrument panel lights.
5: Turns on the headlamps,
together with the parking lamps,
sidemarker lamps, taillamps, license
plate lamps, and instrument panel
lights.
For more information, see:
.Exterior Lamp Controls on
page 6‑1.
.Turn and Lane-Change Signals
on page 6‑4.
.Headlamp High/Low-Beam
Changer on page 6‑2.