radio CHRYSLER 200 2015 2.G Workshop Manual
[x] Cancel search | Manufacturer: CHRYSLER, Model Year: 2015, Model line: 200, Model: CHRYSLER 200 2015 2.GPages: 220, PDF Size: 3.7 MB
Page 144 of 220
NOTE:
SiriusXM Travel Link requires a subscription, sold separately after the 1 year trial subscription
included with your vehicle purchase.
SiriusXM Travel Link is only available in the United States.
Fuel PricesCheck local gas and diesel prices in your area and route to the station of your
choice.
Movie Listings Check local movie theatres and listings in your area and route to the theater of
your choice.
Sports Scores In-game and final scores as well as weekly schedules.
Weather Check variety of local and national weather information from radar maps to
current and 5-day forecast.
Uconnect® Phone (Bluetooth® Hands Free Calling)
• If the Uconnect® Phone Buttonexists on your steering wheel, then you have the
Uconnect® Phone features.
• The Uconnect® Phone is a voice-activated, hands-free, in-vehicle communications system with Voice Command Capability (see Voice Command section).
• The Uconnect® Phone allows you to dial a phone number with your mobile phone using simple voice commands or using button on the touchscreen.
• Refer to the “Understanding The Features Of Your Vehicle” section of your vehicle's Owner's Manual on the DVD for further details.
NOTE:
The Uconnect® Phone requires a mobile phone equipped with the Bluetooth® Hands-Free
Profile, Version 1.0 or higher. For Uconnect® Customer Support:
• U.S. residents visit UconnectPhone.com or call 1-877-855-8400.
• Canadian Residents visit UconnectPhone.com or call, 1-800-465-2001 (English) or 1-800-387-9983 (French).
Pairing A Phone
• To use the Uconnect® Phone feature, you must first pair your Bluetooth® phone with theUconnect® system.
Start Pairing Procedure On The Radio
• Press the “Phone” button on the touchscreen, then press the “Settings” button on the touchscreen. Next, press “Add Device.”
• Uconnect® Phone will display an “In progress” screen while the system is connecting.
ELECTRONICS
142
Page 145 of 220
Start Pairing Procedure On Mobile Phone
• Search for available devices on your Bluetooth® enabled mobile phone. This is usually withinSettings or Options under “Bluetooth.” See your mobile phone’s manual for details.
• When your phone finds the system, select “Uconnect” as the paired device. You may be prompted by your phone to download the phonebook. This is so you can make calls by saying
the name of your contact (PBAP-Phone Book Access Profile).
Complete The Pairing Procedure
• When prompted on the phone, verify with radio password shown on the Uconnect® Screen.
• If your phone asks you to accept a connection request from Uconnect®, select “Yes.” If available, check the box telling it not to ask again – that way your phone will automatically
connect each time you start the vehicle.
Select The Mobile Phone's Priority Level
• When the pairing process has successfully completed, the system will prompt you to choose whether or not this is your favorite phone. Selecting “Yes” will make this phone the highest
priority. This phone will take precedence over other paired phones within range. Only one
phone can be paired at a time.
• You are now ready to make hands-free calls. Push the “Uconnect® Phone” button on your steering wheel to begin.
Making A Phone Call
• Push the Uconnect® Phone button.
• After the BEEP, say “dial” then the number (or “call” then the name as listed in your phone; see Phonebook).
NOTE:
You can also initiate a call by using the touchscreen on the Phone main screen.
Receiving A Call – Accept (And End)
• When an incoming call rings/is announced on Uconnect®, push the Phone button.
• To end a call, push the Hang Up or Phone button
.
Mute (Or Unmute) Microphone During Call
To mute the Uconnect® Phone microphone during a call:
• Press the “Mute” button on the main Phone screen to mute and unmute the call.
Transfer Ongoing Call Between Handset And Vehicle
To transfer an on-going Uconnect® phone call:
• Press the “Transfer” button on the main Phone screen to transfer an on-going call between the handset and the vehicle.
ELECTRONICS
143
Page 146 of 220
Common Phone Commands (Examples)
• “Call John Smith”
• “Call John Smith mobile”
• “Dial 1 248 555 1212”
• “Redial”
Phonebook
Uconnect® radios automatically downloads your phonebook from your paired phone, if this
feature is supported by your phone. Entries are updated each time that the phone is connected.
If your phone book entries do not appear, check the settings on your phone. Some phones require
you to enable this feature manually.
• Your phonebook can be browsed on your radio screen, but editing can only be done on yourphone. To browse, press the “Phone” button on the touchscreen, then the “Phonebook” button
on the touchscreen.
Favorite phonebook entries can be saved as Favorites for quicker access. Favorites are shown at
the top of your main phone screen.
Voice Command Tips
• Speaking complete names (i.e; Call John Doe vs. Call John) will result in greater system accuracy.
• You can “chain” commands together for faster results. Say “Call John Doe, mobile,” for example.
• If you are listening to available voice command options, you do not have to listen to the entire list. When you hear the command that you need, push the
button on the steering
wheel, wait for the beep and say your command.
Changing The Volume
• Start a dialogue by pushing the Phone button, then say a command for example -
"Help".
• Use the radio ON/OFF VOLUME rotary knob to adjust the volume to a comfortable level while the Uconnect® system is speaking. Please note the volume setting for Uconnect® is
different than the audio system.
NOTE:
To access help, push the Uconnect® Phone
button on the steering wheel and say "help."
Press the display or push either the Phone
or VRbutton and say "cancel" to cancel
the help session.
Voice Text Reply (Not Compatible With iPhone®)
Once your Uconnect® system is paired with a compatible mobile device, the system can
announce a new incoming text message, and read it to your over the vehicle audio system. You
can reply to the message using Voice Recognition by selecting, or saying, one of the 18
pre-defined messages.
ELECTRONICS
144
Page 147 of 220
•Here’s How: Push the Uconnect® Phone buttonand wait for the beep, then say “reply.”
Uconnect® will give the following prompt: “ Please say the message you would like to send.”
Wait for the beep and say one of the pre-defined messages. (If you are not sure, you can say
“help”). Uconnect® will then read the pre-defined messages allowed. As soon as you hear the
message you would like to send, you can interrupt the list of prompts by pushing the
Uconnect® phone button and saying the phrase. Uconnect® will confirm the message by
reading it back to you. Push the Phone button and say “Send.”
PRE-DEFINED VOICE TEXT REPLY RESPONSES
Yes. Stuck in Traffic. See you later.
No. Start without me. I’ll be Late.
Okay. Where are you?
I will be
Call me. Are you there yet?
I’ll call you later. I need directions.
See you in
utes.
I’m on my way.
Can’t talk right now.
I’m lost. Thanks.
NOTE:
Voice texting reply and voice texting features require a compatible mobile device enabled with
Bluetooth® Message Access Profile (MAP). iPhone® and some other smartphones do not
currently support Bluetooth® MAP. Visit UconnectPhone.com for system and device compat-
ibility.
• Want to dictate a personal message? You must first register with Uconnect® Access (U.S.
residents only) to take advantage of a new, cloud-based Voice Texting service, an enhance-
ment to Voice Text Reply.
STEERING WHEEL AUDIO CONTROLS
The steering wheel audio controls are located
on the rear surface of the steering wheel.
Right Switch
• Push the switch up or down to increase ordecrease the volume.
• Push the button in the center to change modes AM/FM/CD/SXM.
Left Switch
• Push the switch up or down to search for thenext listenable station or select the next or
previous CD track.
• Push the button in the center to select the next preset station (radio) or to change CDs
if equipped with a CD Changer.
Steering Wheel Audio Controls
ELECTRONICS
145
Page 151 of 220
Before You Begin Programming HomeLink®
Ensure that your vehicle is parked outside of the garage before you begin programming.
For efficient programming and accurate transmission of the radio-frequency signal, it is recom-
mended that a new battery be placed in the hand-held transmitter of the device that is being
programmed to the HomeLink® system.
To erase the channels, place the ignition switch into the ON/RUN position, then push and hold the
two outside HomeLink® buttons (I and III) for up to 20 seconds or until the red indicator flashes.
NOTE:
Erasing all channels should only be performed when programming HomeLink® for the first time.
Do not erase channels when programming additional buttons.
If you have any problems, or require assistance, please call toll-free 1-800-355-3515 or, on the
Internet at for information or assistance.
Programming A Rolling Code
NOTE:
For programming Garage Door Openers that were manufactured after 1995. These Garage
Door Openers can be identified by the “LEARN” or “TRAIN” button located where the hanging
antenna is attached to the Garage Door Opener. It is NOT the button that is normally used to
open and close the door. The name and color of the button may vary by manufacturer.
1. Place the ignition switch into the ON/RUN position.
2. Place the hand-held transmitter 1 to 3 inches (3 to 8 cm) away from the HomeLink® button youwish to program while keeping the HomeLink® indicator light in view.
3. Push and hold the HomeLink® button you want to program while you push and hold the hand-held transmitter button.
4.
Continue to hold both buttons and observe the indicator light. The HomeLink® indicator will flash
slowly and then rapidly after HomeLink® has received the frequency signal from the hand-held
transmitter. Release both buttons after the indicator light changes from slow to rapid.
5. At the garage door opener motor (in the garage), locate the “LEARN” or “TRAINING” button. This can usually be found where the hanging antenna wire is attached to the garage
door opener motor. Firmly push and release the “LEARN” or “TRAINING” button.
NOTE:
You have 30 seconds in which to initiate the next step after the LEARN button has been pushed.
6. Return to the vehicle and push the programmed HomeLink® button twice (holding the button for two seconds each time). If the device is plugged in and activates, programming is
complete.
ELECTRONICS
149
Page 178 of 220
JUMP-STARTING
If your vehicle has a discharged battery it can be jump-started using a set of jumper cables and a
battery in another vehicle or by using a portable battery booster pack.
Jump-starting can be dangerous if done improperly so please follow the procedures in this
section carefully.
NOTE:
When using a portable battery booster pack follow the manufacturer’s operating instructions and
precautions.
Preparations For Jump-Start
The battery in your vehicle is located in the
front of the engine compartment, behind the
left headlight assembly.
1. Set the parking brake, shift the automatictransmission into PARK and turn the ignition
to LOCK.
2. Turn off the heater, radio, and all unneces- sary electrical accessories.
3. If using another vehicle to jump-start the battery, park the vehicle within the jumper
cables reach, set the parking brake and
make sure the ignition is OFF.
Jump-Starting Procedure
1. Connect the positive (+)end of the jumper
cable to the positive (+)post of the vehicle
with the discharged battery.
2. Connect the opposite end of the positive (+) jumper cable to the positive (+)post of
the booster battery.
3. Connect the negative (-)end of the jumper cable to the negative (-)post of the booster
battery.
4. Connect the opposite end of the negative (-)jumper cable to a good engine ground
(exposed metal part of the discharged vehicle’s engine) away from the battery and the fuel
injection system.
5. Start the engine in the vehicle that has the booster battery, let the engine idle a few minutes, and then start the engine in the vehicle with the discharged battery.Battery Posts
1 — Positive Battery Post
2 — Negative Battery Post
WHAT TO DO IN EMERGENCIES
176
Page 198 of 220
Cavity Blade FuseCartridge FuseDescription
F70 5 Amp Tan –Intelligent Battery Sensor
(IBS) – If Equipped with Stop/Start Option
F71 20 Amp Yellow –HID Headlamp Right – If
Equipped with Stop/Start Option
F72 10 Amp Red –Heated Mirrors – If
Equipped
F73 – –Not Used
F74 – 30 Amp Pink Rear Defroster/Defogger
F75 20 Amp Yellow –Cigar Lighter
F76 10 Amp Red –Drivers Window SW– If
Equipped
F77 10 Amp Red –UCI Port/Brake Pedal
Switch
F78 10 Amp Red –Diagnostic Port/Steering
Column Control Module (SCCM)
F79 10 Amp Red –Integrated Center Stack
(ICS)/Switch Bank/
Instrument Panel Cluster (IPC)/EPB SW
F80 20 Amp Yellow –Radio
F81 – –Not Used
F82 – –Not Used
F83 – 20 Amp Blue Engine Control Module
(ECM)
F84 – 30 Amp PinkElectric Park Brake (EPB)
– Left
F85 – –Not Used
F86 20 Amp Yellow –Horns – If Equipped With
Stop/Start Engine Option
F87A 20 Amp Yellow –HID Headlamp Left – If
Equipped Stop/Start Only
F88 10 Amp Red –Collision Mitigation Mod-
ule (CMM)/
Electrochromatic Mirror/ Haptic Lane Feedback
Module (Half )/Humidity Sensor– If Equipped
F89 – –Not Used
F90 – –Not Used
F91 – –Not Used
F92 – –Not Used
MAINTAINING YOUR VEHICLE
196
Page 204 of 220
CHRYSLER GROUP LLC CUSTOMER CENTER
P.O. Box 21–8004 Auburn Hills, MI 48321–8004 Phone: 1–800–247–9753
CHRYSLER CANADA INC. CUSTOMER CENTER
P.O. Box 1621 Windsor, Ontario N9A 4H6 Phone: 1–800–465–2001 (English) Phone:
1–800–387–9983 (French)
ASSISTANCE FOR THE HEARING IMPAIRED
To assist customers who have hearing difficulties, the manufacturer has installed special TDD
(Telecommunication Devices for the Deaf ) equipment at its customer center. Any hearing or
speech impaired customer, who has access to a TDD or a conventional teletypewriter (TTY) in
the United States, can communicate with the manufacturer by dialing 1–800–380–CHRY.
Canadian residents with hearing difficulties that require assistance can use the special needs relay
service offered by Bell Canada. For TTY teletypewriter users, dial 711 and for Voice callers, dial
1–800–855–0511 to connect with a Bell Relay Service operator.
WARNING!
Engine exhaust, some of its constituents, and certain vehicle components contain, or emit,
chemicals known to the State of California to cause cancer and birth defects, or other
reproductive harm. In addition, certain fluids contained in vehicles and certain products of
component wear contain, or emit, chemicals known to the State of California to cause cancer
and birth defects, or other reproductive harm.
PUBLICATIONS ORDERING
• If you are the first registered retail owner of your vehicle, you may obtain a complimentaryprinted copy of the Owner's Manual, Navigation/Uconnect® Manuals or Warranty Booklet.
United States customers may visit the Chrysler Contact Us page at www.chrysler.com scroll to
the bottom of the page and select the “Contact Us” link, then select the “Owner’s Manual and
Glove Box Material” from the left menu. You may also obtain a complimentary copy by calling
1–800–247–9753 (U.S.) or 1–800–387–1143 (Canada).
• Replacement User Guide kits or DVDs or, if you prefer, additional printed copies of the Owner's Manual, Warranty Booklet or Radio Manuals may be purchased by visiting
www.techauthority.com or by calling 1–800–890–4038 (U.S.) or 1–800–387–1143 (Canada).
Visa, Master Card, American Express and Discover orders are accepted. If you prefer mailing
your order, please call the above numbers for an order form.
NOTE:
• A street address is required when ordering manuals (no P.O. Boxes).
• The Owner's Manual and User Guide electronic files are also available on the Chrysler, Jeep, Ram Truck, Dodge and SRT websites.
• Click on the “For Owners” tab, select “Owner/Service Manuals”, then select your desired model year and vehicle from the drop down lists.
CONSUMER ASSISTANCE
202
Page 207 of 220
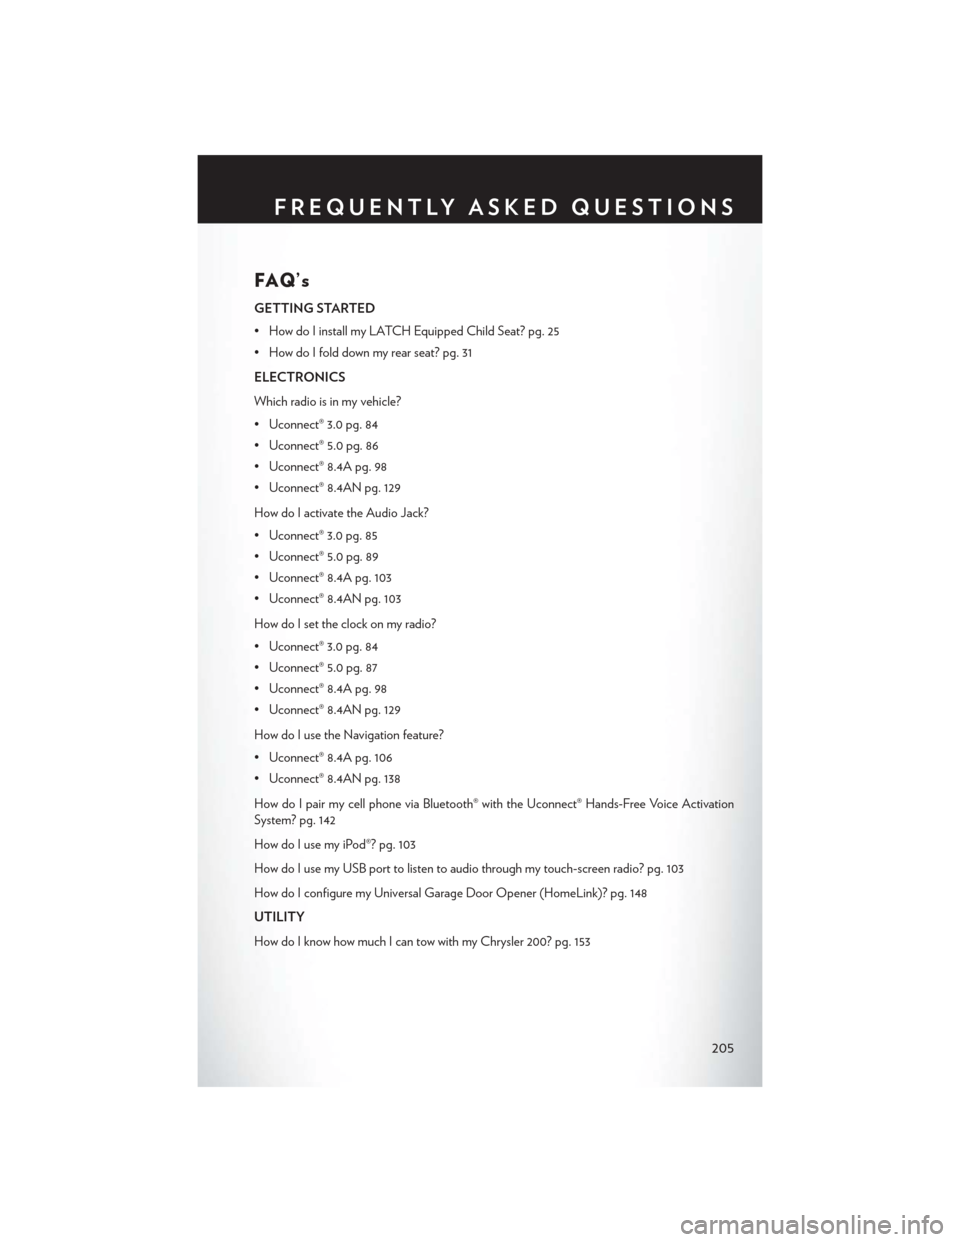
FAQ’s
GETTING STARTED
• How do I install my LATCH Equipped Child Seat? pg. 25
• How do I fold down my rear seat? pg. 31
ELECTRONICS
Which radio is in my vehicle?
• Uconnect® 3.0 pg. 84
• Uconnect® 5.0 pg. 86
• Uconnect® 8.4A pg. 98
• Uconnect® 8.4AN pg. 129
How do I activate the Audio Jack?
• Uconnect® 3.0 pg. 85
• Uconnect® 5.0 pg. 89
• Uconnect® 8.4A pg. 103
• Uconnect® 8.4AN pg. 103
How do I set the clock on my radio?
• Uconnect® 3.0 pg. 84
• Uconnect® 5.0 pg. 87
• Uconnect® 8.4A pg. 98
• Uconnect® 8.4AN pg. 129
How do I use the Navigation feature?
• Uconnect® 8.4A pg. 106
• Uconnect® 8.4AN pg. 138
How do I pair my cell phone via Bluetooth® with the Uconnect® Hands-Free Voice Activation
System? pg. 142
How do I use my iPod®? pg. 103
How do I use my USB port to listen to audio through my touch-screen radio? pg. 103
How do I configure my Universal Garage Door Opener (HomeLink)? pg. 148
UTILITY
How do I know how much I can tow with my Chrysler 200? pg. 153
FREQUENTLY ASKED QUESTIONS
205
Page 212 of 220
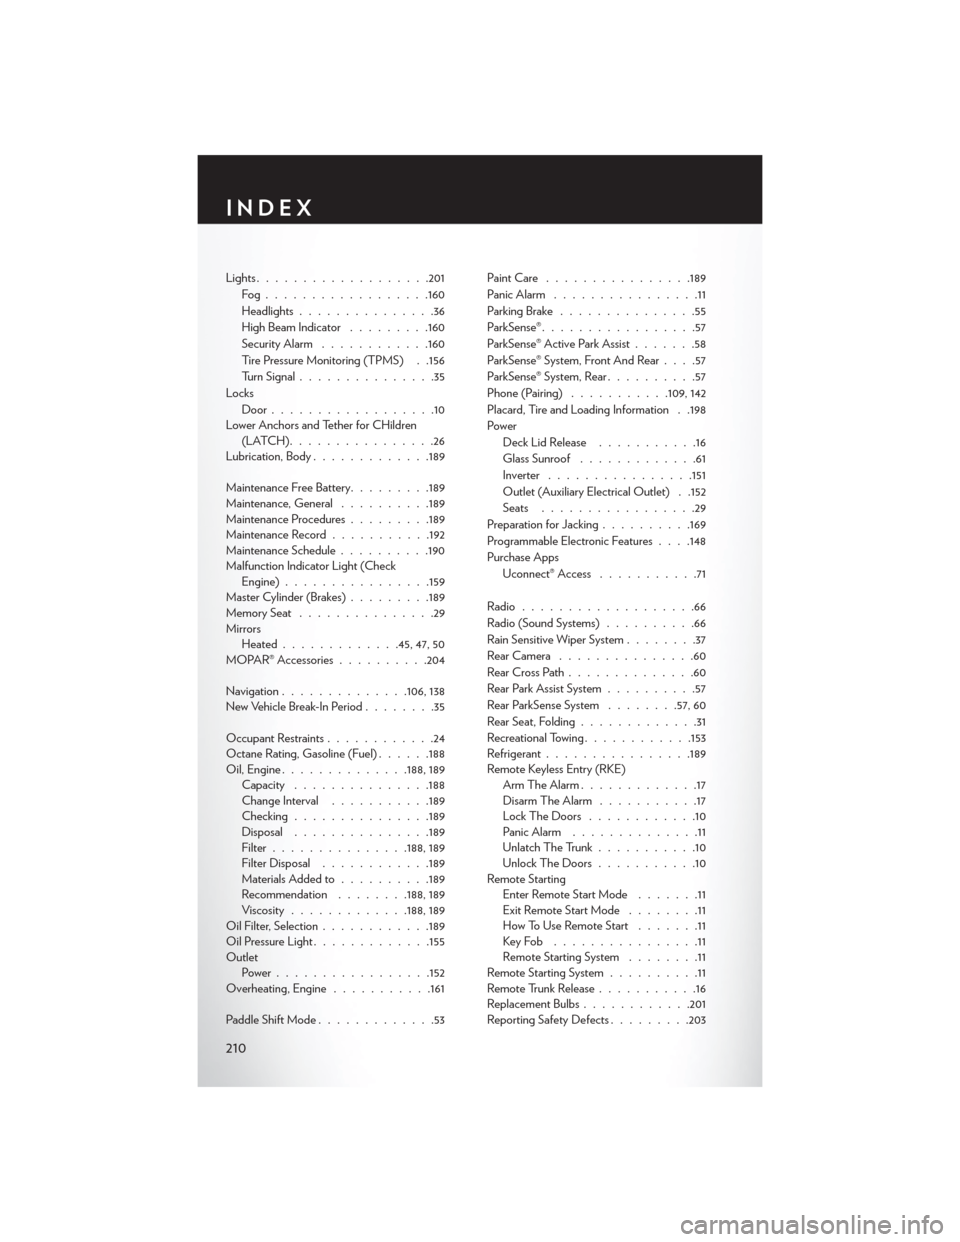
Lights...................201
Fog................. .160
Headlights...............36
High Beam Indicator .........160
Security Alarm ............160
Tire Pressure Monitoring (TPMS) . .156
Turn Signal ...............35
Locks Door..................10
Lower Anchors and Tether for CHildren (LATCH)................26
Lubrication, Body .............189
Maintenance Free Battery .........189
Maintenance, General ..........189
Maintenance Procedures .........189
Maintenance Record ...........192
Maintenance Schedule ..........190
Malfunction Indicator Light (Check Engine) ............... .159
Master Cylinder (Brakes) .........189
MemorySeat ...............29
Mirrors Heated ............ .45, 47, 50
MOPAR® Accessories ..........204
Navigation ..............106,138
New Vehicle Break-In Period ........35
Occupant Restraints ............24
Octane Rating, Gasoline (Fuel) ......188
Oil,Engine............. .188, 189
Capacity .............. .188
Change Interval ...........189
Checking ...............189
Disposal .............. .189
Filter .............. .188, 189
Filter Disposal ............189
Materials Added to ..........189
Recommendation ........188, 189
Viscosity ............ .188, 189
Oil Filter, Selection ............189
Oil Pressure Light ............ .155
Outlet Power................ .152
Overheating, Engine ...........161
Paddle Shift Mode .............53 Paint Care
............... .189
Panic Alarm ................
11
Parking Brake ...............55
ParkSense® .................57
ParkSense® Active Park Assist .......58
ParkSense® System, Front And Rear ....57
ParkSense® System, Rear ..........57
Phone (Pairing) ...........109, 142
Placard, Tire and Loading Information . .198
Power Deck Lid Release ...........16
Glass Sunroof .............61
Inverter ............... .151
Outlet (Auxiliary Electrical Outlet) . .152
Seats .................29
Preparation for Jacking ..........169
Programmable Electronic Features . . . .148
Purchase Apps Uconnect® Access ...........71
Radio ...................66
Radio (Sound Systems) ..........66
Rain Sensitive Wiper System ........37
RearCamera ...............60
RearCrossPath..............60
Rear Park Assist System ..........57
Rear ParkSense System ........57, 60
Rear Seat, Folding .............31
Recreational Towing ............153
Refrigerant ................189
Remote Keyless Entry (RKE) Arm The Alarm .............17
Disarm The Alarm ...........17
Lock The Doors ............10
Panic Alarm ..............11
Unlatch The Trunk ...........10
Unlock The Doors ...........10
Remote Starting Enter Remote Start Mode .......11
Exit Remote Start Mode ........11
How To Use Remote Start .......11
KeyFob ................11
Remote Starting System ........11
Remote Starting System ..........11
Remote Trunk Release ...........16
Replacement Bulbs ............201
Reporting Safety Defects .........203
INDEX
210