radio controls CHRYSLER 200 2015 2.G User Guide
[x] Cancel search | Manufacturer: CHRYSLER, Model Year: 2015, Model line: 200, Model: CHRYSLER 200 2015 2.GPages: 220, PDF Size: 3.7 MB
Page 3 of 220
INTRODUCTION/WELCOME
WELCOME FROM CHRYSLER
GROUPLLC ..................3
CONTROLS AT A GLANCE
DRIVER COCKPIT...............6
INSTRUMENT CLUSTER ...........8
GETTING STARTED
KEYFOB ....................10
REMOTE START...............11
KEYLESS ENTER-N-GO™ ..........12
TRUNK LOCK AND RELEASE ........16
VEHICLE SECURITY ALARM ........17
SEAT BELT SYSTEMS .............18
SUPPLEMENTAL RESTRAINT SYSTEM
(SRS)—AIRBAGS ..............19
CHILD RESTRAINTS .............25
HEAD RESTRAINTS .............28
FRONTSEATS .................29
REAR SEAT ...................31
HEATED/VENTILATED SEATS .......32
HEATED STEERING WHEEL ........33
TILT/TELESCOPING STEERING
COLUMN ...................34
OPERATING YOUR VEHICLE
ENGINE BREAK-IN
RECOMMENDATIONS ............35
TURN SIGNAL/HIGH BEAM LEVER ....35
HEADLIGHT SWITCH ............36
WIPER/WASHER LEVER ...........37
ELECTRONIC SPEED CONTROL .....38
ADAPTIVE CRUISE CONTROL (ACC) . . 40
FORWARD COLLISION WARNING (FCW)
WITHMITIGATION .............43
MANUAL CLIMATE CONTROLS WITHOUT
TOUCHSCREEN ...............45
MANUAL CLIMATE CONTROLS WITH
TOUCHSCREEN ...............46
AUTOMATIC TEMPERATURE CONTROLS
(ATC) .....................48
NINE-SPEED AUTOMATIC
TRANSMISSION ................51
PADDLE SHIFT MODE ............53
STOP/START SYSTEM — 2.4L ENGINE . . . 54
ELECTRIC PARKING BRAKE (EPB) .....55
PARKSENSE® ..................57
LANESENSE . .................59
PARKVIEW® REAR BACK-UP CAMERA . . 60
BLIND SPOT MONITORING ........60
POWER SUNROOF ..............61
WIND BUFFETING . . ............63
ELECTRONICS
YOUR VEHICLE'S SOUND SYSTEM . . . . 64
IDENTIFYING YOUR RADIO ........66
Uconnect® ACCESS . . . ...........67
Uconnect® 3.0 . . ................84
Uconnect® 5.0 ..................86
Uconnect® 8.4A ................98
Uconnect® 8.4AN . . .............129
STEERING WHEEL AUDIO CONTROLS. . 145
ELECTRONIC VEHICLE INFORMATION
CENTER (EVIC) AND DRIVER
INFORMATION DISPLAY (DID) ......146
PROGRAMMABLE FEATURES .......148
UNIVERSAL GARAGE DOOR OPENER
(HomeLink®) ..................148
POWER INVERTER .............151
POWER OUTLET ..............152
UTILITY
TRAILER TOWING WEIGHTS (MAXIMUM
TRAILER WEIGHT RATINGS) .......153
RECREATIONAL TOWING (BEHIND
MOTORHOME, ETC.) ...........153
WHAT TO DO IN EMERGENCIES
ROADSIDE ASSISTANCE ..........155
INSTRUMENT CLUSTER WARNING
LIGHTS ....................155
INSTRUMENT CLUSTER INDICATOR
LIGHTS ....................160
IF YOUR ENGINE OVERHEATS ......161
TIRESERVICEKIT ..............161
JACKING AND TIRE CHANGING ....168
JUMP-STARTING ..............176
FREEING A STUCK VEHICLE .......178
MANUAL PARK RELEASE ..........179
TOWING A DISABLED VEHICLE .....181
EVENT DATA RECORDER (EDR) .....181
MAINTAINING YOUR VEHICLE
OPENING THE HOOD...........182
ENGINE COMPARTMENT .........184
FLUIDCAPACITIES .............188
FLUIDS, LUBRICANTS AND
GENUINE PARTS ..............188
MAINTENANCE PROCEDURES ......189
MAINTENANCE SCHEDULE .......190
FUSES .....................193
TIRE PRESSURES ...............198
SPARE TIRES — IF EQUIPPED .......199
WHEEL AND WHEEL TRIM CARE . . . . 200
REPLACEMENT BULBS ...........201
TABLE OF CONTENTS
Page 13 of 220
Panic Alarm
• To turn the Panic Alarm feature ON or OFF, push and hold the PANIC button on the RKEtransmitter for at least one second and release. When the Panic Alarm is on, the headlights and
park lights will flash, the horn will pulse on and off and the interior lights will turn on.
• The Panic Alarm will stay on for three minutes unless you turn it off by pushing the PANIC button a second time or if the vehicle speed is 5 mph (8 km/h) or greater.
NOTE:
When you turn off the Panic Alarm by pushing the PANIC button a second time, you may have
to move closer to the vehicle due to the radio frequency noises of the system.
WARNING!
• When leaving the vehicle, always make sure the ignition is in the OFF position, remove the key fob from the vehicle, and lock your vehicle.
• Never leave children alone in a vehicle, or with access to an unlocked vehicle. Allowing
children to be in a vehicle unattended is dangerous for a number of reasons. A child or
others could be seriously or fatally injured. Children should be warned not to touch the
parking brake, brake pedal or the transmission gear selector.
• Do not leave the Key Fob in or near the vehicle (or in a location accessible to children). A
child could operate power windows, other controls, or move the vehicle.
REMOTE START
• Push the REMOTE START buttonx2on the Key Fob twice within five seconds. Pushing
the REMOTE START button a third time shuts the engine off.
• To drive the vehicle, push the UNLOCK button and cycle the ignition to the ON/RUN position.
With Remote Start, the engine will only run for 15 minutes (timeout) unless the ignition is cycled
to the ON/RUN position.
The vehicle must be cycled to the ON/RUN position after two consecutive timeouts.
WARNING!
• Do not start or run an engine in a closed garage or confined area. Exhaust gas contains Carbon Monoxide (CO) which is odorless and colorless. Carbon Monoxide is poisonous
and can cause you or others to be severely injured or killed when inhaled.
• Keep Key Fob transmitters away from children. Operation of the Remote Start System,
windows, door locks or other controls could cause you and others to be severely injured or
killed.
GETTING STARTED
11
Page 31 of 220
Rear Head Restraints
The rear outboard head restraints have three positions UP, MID and DOWN. The center head
restraint has only two positions, Up and Down. When the center seat is being occupied the head
restraint should be in the raised position. When there are no occupants in the center seat the head
restraint can be lowered for maximum visibility for the driver.
To raise the head restraint, pull upward on the head restraint. To lower the head restraint, press the
push button, located at the base of the head restraint, and push downward on the head restraint.
FRONT SEATS
Power Seats
The power seat switches are located on the
outboard side of the front seat cushions.
The power seat switch controls forward, rear-
ward, up and down adjustments.
The recline switch controls the angle of the
seatback.
• Press the switch forward or rearward and theseatback will move in either direction.
The power lumbar switch controls the amount
of lumbar support needed.
• Push the switch forward to increase the lum- bar support.
• Push the switch rearward to decrease the lumbar support.
• Pushing upward or downward on the switch will raise and lower the position of the support.
Memory Seat
The memory seat feature allows you to set two different driver seating positions, driver's outside
mirror, and radio station preset settings. The memory seat buttons are located on the driver's
door panel.
To set a memory position:
1.
Cycle the vehicles ignition to the ON position.
2. Adjust all memory profile settings.
Power Seat Switches
1 — Power Seat Switch
2 — Recline Switch
3 — Power Lumbar Switch
Memory Seat Buttons
GETTING STARTED
29
Page 100 of 220
Uconnect® 8.4A
Uconnect® 8.4A — If Equipped
At A Glance
Displaying The Time
• If the time is not currently displayed on the radio or player main page, press the “Controls”button on the touchscreen or the “Apps” button on the touchscreen, then the “Settings”
button on the touchscreen. In the Settings list, press the “Clock” button on the touchscreen.
Uconnect® 8.4A
1 — Status Bar
2 — Menu Bar
3 — Uconnect® Apps Button
4 — Uconnect® Phone Button5 — Climate Button
6 — Controls Button
7 — Media Button
8 — Radio Button
ELECTRONICS
98
Page 101 of 220
Setting The Time
Model 8.4AN synchronizes time automatically via GPS, so it should not require any time
adjustment. If you do need to set the time manually, follow the instructions below for Model 8.4A.
1. Turn the unit on, then press the “Time Display” at the top of the screen. Press “Yes.”
NOTE:
If the time is not displayed at the top of the screen, press the “Controls” or the “Apps” button on
the touchscreen, then the “Settings” button on the touchscreen. In the Settings screen, press the
“Clock” button on the touchscreen.
2. Press “+” or “–” next to Set Time Hours and Set Time Minutes to adjust the time.
3. If these features are not available, uncheck the Sync with GPS box.
4. Press “X” to save your settings and exit out of the Clock Setting screen.
Audio Settings
1. Press the “Media” or “Radio” button on the touchscreen.
2. Press the “Audio” button on the touchscreen to activate the Audio settings screen to adjustBalance/Fade, Equalizer and Speed Adjusted Volume.
3. You can return to the Radio screen by pressing the “X” located at the top right.
Balance/Fade
1. Press the “Media” or “Radio” button on the touchscreen.
2. Press the “Audio” button on the touchscreen to activate the Audio settings screen to adjust Balance/Fade, Equalizer and Speed Adjusted Volume.
3. Press the “Balance/Fade” button on the touchscreen to Balance audio between the front speakers or fade the audio between the rear and front speakers.
4. Pressing the “Front,” “Rear,” “Left” or “Right” button on the touchscreens or press and drag the Speaker Icon to adjust the Balance/Fade.
Equalizer
1. Press the “Media” or “Radio” button on the touchscreen.
2. Press the “Audio” button on the touchscreen to activate the Audio settings screen to adjust Balance/Fade, Equalizer and Speed Adjusted Volume.
3. Press the “Equalizer” button on the touchscreen to activate the Equalizer screen.
4. Press the “+” or “–” button on the touchscreens, or by pressing and dragging over the “level bar” for each of the equalizer bands. The level value, which spans between plus or minus 9, is
displayed at the bottom of each of the Bands.
Speed Adjusted Volume
1. Press the “Media” or “Radio” button on the touchscreen.
2. Press the “Audio” button on the touchscreen to activate the Audio settings screen to adjust Balance/Fade, Equalizer and Speed Adjusted Volume.
ELECTRONICS
99
Page 104 of 220
Jump
Automatically tells you when Traffic & Weather for a favorite city is available, and gives you the
option to switch to that channel.
• Press “Jump” to activate the feature. After listening to Traffic and Weather, press “Jump” againto return to the previous channel.
Fav
Activates the favorites menu. You can add up to 50 favorite artists or songs.
• Just press Add Fav Artist or Add Fav Song while the song is playing. You will then be alerted any time one of these songs, or works by these artists, is playing on other SiriusXM channels.
SiriusXM Parental Controls
You can skip or hide certain channels from view if you do not want access to them.
• Press the “More” button on the touchscreen, then the “Settings” button on the touchscreen, next press the “Sirius Setup” button on the touchscreen, then select “Channel Skip”. Press the
box, check-mark, next to the channel you want skipped. They will not show up in normal usage.
SiriusXM also offers the option to permanently block selected channels. Call (1-888-601-6297 for U.S.
customers, 1-877-438-9677 for Canadian customers) and request the Family-Friendly Package.
Browse
Lets you browse the SiriusXM channel listing or Genre listing. Favorites, Game Zone, Weather
and Jump settings also provide a way to browse the SiriusXM channel list.
Browse
Sub-Menu Sub-Menu Description
All Shows the channel listing.
Genre Provides a list of all genres, and lets you jump to a channel within the selected genre.
Presets Lets you scroll the list of Preset satellite channels. Press the channel, or press Enter on the Tune knob, to go to that channel. Press the trash can icon to delete a preset.
Your presets are also shown at the top of the main Satellite Radio screen.
Favorites Lets you manage artists and songs in the Favorites list and configure Alert Settings to let you know when favorite songs or artists are playing on other channels. Also,
view a list of channels airing any of your Favorites.
Game Zone Provides alerts when your favorite sports teams are starting a game which is being aired on other SiriusXM channels, or when their game score is announced. You can
select and manage your Teams list here, and configure alerts.
Jump Lets you select your favorite cities for Traffic & Weather information, which is used by the Jump feature on the main satellite radio screen.
ELECTRONICS
102
Page 105 of 220
Replay
Lets you replay up to 44 minutes of the content of the current SiriusXM channel.
Replay
OptionOption Description
Play/Pause Press to Pause content playback. Press Pause/Play again to resume playback.
Rewind/RW Rewinds the channel content in steps of five seconds. Press and hold to rewind continuously, then release to begin playing content at that point.
Fast
Forward/FW Forwards the content, and works similarly to Rewind/RW. However, Fast
Forward/FW can only be used when content has been previously rewound.
Replay Time Displays the amount of time in the upper center of the screen by which your content lags the Live channel.
Live Resumes playback of Live content at any time while replaying rewound content.
SiriusXM services require subscriptions, sold separately after the 12-month trial included with the
new vehicle purchase. If you decide to continue your service at the end of your trial subscrip-
tion, the plan you choose will automatically renew and bill at then-current rates until you call
SiriusXM at 1-866-635-2349 for U.S. residents and 1-888-539-7474 for Canadian residents
to cancel. See SiriusXM Customer Agreement for complete terms at www.siriusxm.com for
U.S. residents and www.siriusxm.ca for Canadian residents. All fees and programming subject
to change. Our satellite service is available only to those at least 18 and older in the 48 contiguous
USA and D.C. Our Sirius satellite service is also available in PR (with coverage limitations). Our
Internet radio service is available throughout our satellite service area and in AK and HI. © 2014
Sirius XM Radio Inc. Sirius, XM and all related marks and logos are trademarks of Sirius XM
Radio Inc.
MEDIA HUB — PLAYING iPod®/USB/MP3 DEVICES
There are many ways to play music from iPod®/MP3 players or USB devices through your
vehicle's sound system.
• Press your “Media” button on the touchscreen to begin.
USB Port
Connect your iPod® or compatible device using a USB cable into the USB Port. USB Memory
sticks with audio files can also be used. Audio from the device can be played on the vehicle's
sound system while providing metadata (artist, track title, album, etc.) information on the radio
display.
When connected, the iPod®/compatible USB device can be controlled using the radio or
Steering Wheel Audio Controls to play, skip to the next or previous track, browse, and list the
contents.
The iPod® battery charges when plugged into the USB port (if supported by the specific device).
To route the USB/iPod® cable out of the center console, use the access cut out.
ELECTRONICS
103
Page 131 of 220
Uconnect® 8.4AN
Uconnect® 8.4AN — If Equipped
At A Glance
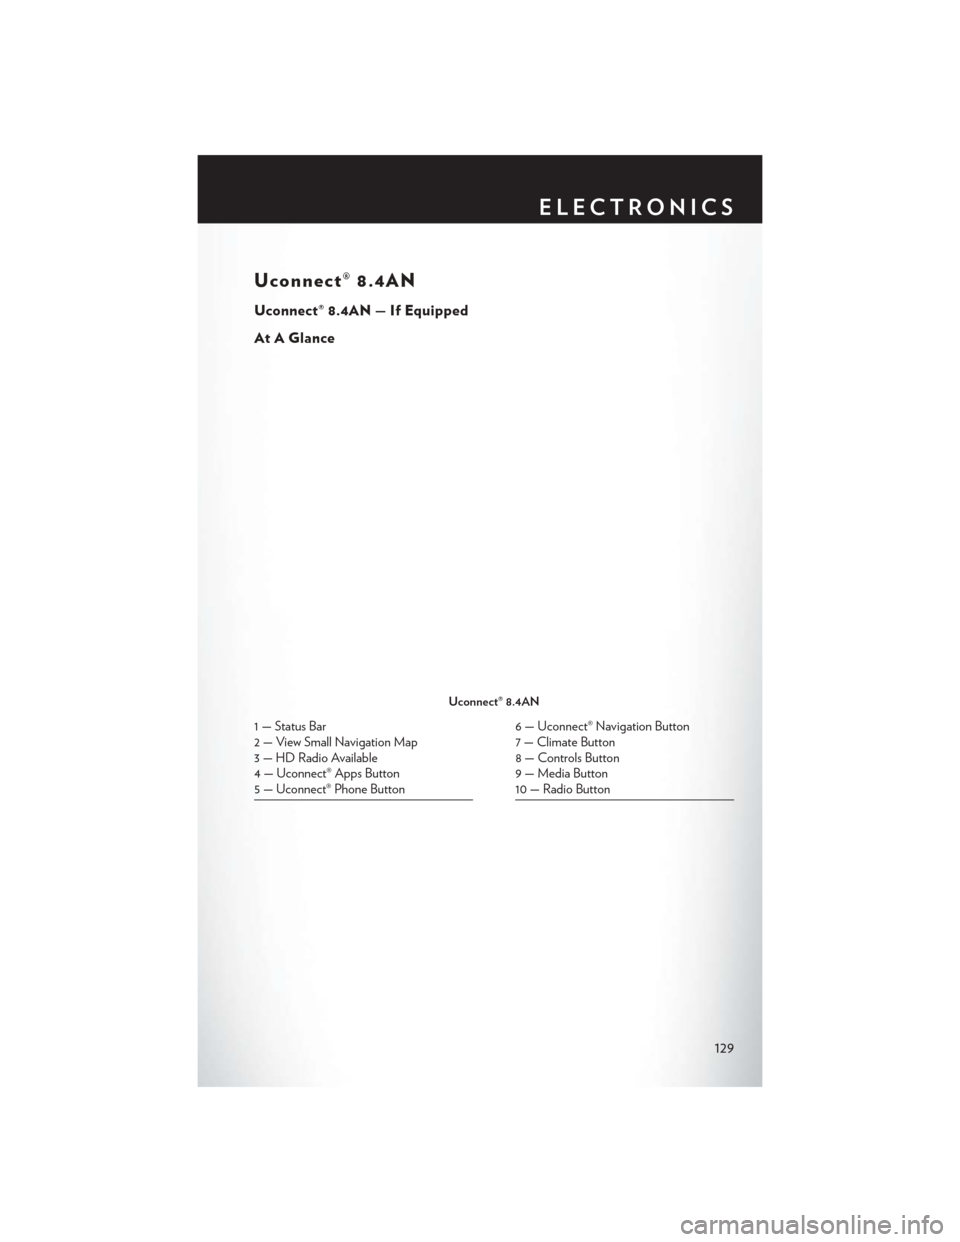
Uconnect® 8.4AN
1 — Status Bar
2 — View Small Navigation Map
3 — HD Radio Available
4 — Uconnect® Apps Button
5 — Uconnect® Phone Button6 — Uconnect® Navigation Button
7 — Climate Button
8 — Controls Button
9 — Media Button
10 — Radio Button
ELECTRONICS
129
Page 132 of 220
Displaying The Time
• If the time is not currently displayed on the radio or player main page, press the “Controls”button on the touchscreen or the “Apps” button on the touchscreen, then the “Settings”
button on the touchscreen. In the Settings list, press the “Clock” button on the touchscreen.
Setting The Time
Model 8.4AN synchronizes time automatically via GPS, so it should not require any time
adjustment. If you do need to set the time manually, follow the instructions below for Model 8.4A.
1. Turn the unit on, then press the “Time Display” at the top of the screen. Press “Yes.”
NOTE:
If the time is not displayed at the top of the screen, press the “Controls” or the “Apps” button on
the touchscreen, then the “Settings” button on the touchscreen. In the Settings screen, press the
“Clock” button on the touchscreen.
2. Press “+” or “–” next to Set Time Hours and Set Time Minutes to adjust the time.
3. If these features are not available, uncheck the Sync with GPS box.
4. Press “X” to save your settings and exit out of the Clock Setting screen.
Audio Settings
1. Press the “Media” or “Radio” button on the touchscreen.
2. Press the “Audio” button on the touchscreen to activate the Audio settings screen to adjust Balance/Fade, Equalizer and Speed Adjusted Volume.
3. You can return to the Radio screen by pressing the “X” located at the top right.
Balance/Fade
1. Press the “Media” or “Radio” button on the touchscreen.
2. Press the “Audio” button on the touchscreen to activate the Audio settings screen to adjust Balance/Fade, Equalizer and Speed Adjusted Volume.
3. Press the “Balance/Fade” button on the touchscreen to Balance audio between the front speakers or fade the audio between the rear and front speakers.
4. Pressing the “Front,” “Rear,” “Left” or “Right” button on the touchscreens or press and drag the Speaker Icon to adjust the Balance/Fade.
ELECTRONICS
130
Page 136 of 220
• Press “Jump” to activate the feature. After listening to Traffic and Weather, press “Jump” againto return to the previous channel.
Fav
Activates the favorites menu. You can add up to 50 favorite artists or songs.
• Just press Add Fav Artist or Add Fav Song while the song is playing. You will then be alerted any time one of these songs, or works by these artists, is playing on other SiriusXM channels.
SiriusXM Parental Controls
You can skip or hide certain channels from view if you do not want access to them.
• Press the “More” button on the touchscreen, then the “Settings” button on the touchscreen, next press the “Sirius Setup” button on the touchscreen, then select “Channel Skip”. Press the
box, check-mark, next to the channel you want skipped. They will not show up in normal usage.
SiriusXM also offers the option to permanently block selected channels. Call (1-888-601-6297 for U.S.
customers, 1-877-438-9677 for Canadian customers) and request the Family-Friendly Package.
Browse
Lets you browse the SiriusXM channel listing or Genre listing. Favorites, Game Zone, Weather
and Jump settings also provide a way to browse the SiriusXM channel list.
Browse
Sub-Menu Sub-Menu Description
All Shows the channel listing.
Genre Provides a list of all genres, and lets you jump to a channel within the selected genre.
Presets Lets you scroll the list of Preset satellite channels. Press the channel, or press Enter on the Tune knob, to go to that channel. Press the trash can icon to delete a preset.
Your presets are also shown at the top of the main Satellite Radio screen.
Favorites Lets you manage artists and songs in the Favorites list and configure Alert Settings to let you know when favorite songs or artists are playing on other channels. Also,
view a list of channels airing any of your Favorites.
Game Zone Provides alerts when your favorite sports teams are starting a game which is being aired on other SiriusXM channels, or when their game score is announced. You can
select and manage your Teams list here, and configure alerts.
Jump Lets you select your favorite cities for Traffic & Weather information, which is used by the Jump feature on the main satellite radio screen.
ELECTRONICS
134