fuel CHRYSLER 300 2014 2.G User Guide
[x] Cancel search | Manufacturer: CHRYSLER, Model Year: 2014, Model line: 300, Model: CHRYSLER 300 2014 2.GPages: 132, PDF Size: 3.65 MB
Page 3 of 132
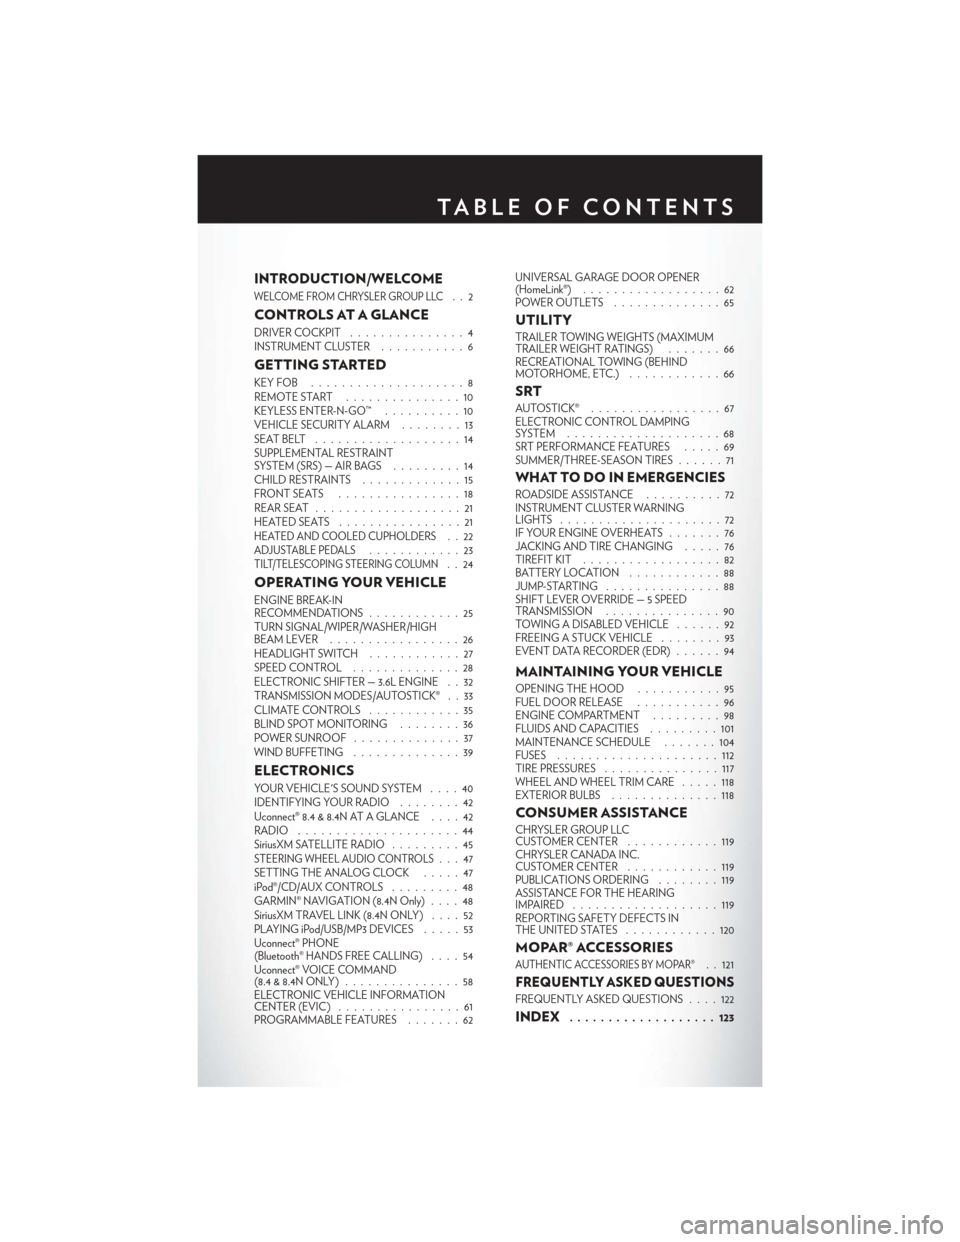
INTRODUCTION/WELCOME
WELCOME FROM CHRYSLER GROUP LLC..2
CONTROLS AT A GLANCE
DRIVER COCKPIT...............4
INSTRUMENT CLUSTER ...........6
GETTING STARTED
KEYFOB ....................8
REMOTE START...............10
KEYLESS ENTER-N-GO™ ..........10
VEHICLE SECURITY ALARM ........13
SEATBELT ...................14
SUPPLEMENTAL RESTRAINT
SYSTEM (SRS) — AIR BAGS .........14
CHILD RESTRAINTS .............15
FRONTSEATS ................18
REAR SEAT ...................21
HEATEDSEATS ................21
HEATED AND COOLED CUPHOLDERS..22ADJUSTABLE PEDALS............23TILT/TELESCOPING STEERING COLUMN..24
OPERATING YOUR VEHICLE
ENGINE BREAK-IN
RECOMMENDATIONS ............25
TURN SIGNAL/WIPER/WASHER/HIGH
BEAM LEVER . ................26
HEADLIGHT SWITCH ............27
SPEED CONTROL ..............28
ELECTRONIC SHIFTER — 3.6L ENGINE . . 32
TRANSMISSION MODES/AUTOSTICK® . . 33
CLIMATE CONTROLS ............35
BLIND SPOT MONITORING ........36
POWER SUNROOF ..............37
WIND BUFFETING ..............39
ELECTRONICS
YOUR VEHICLE'S SOUND SYSTEM ....40
IDENTIFYING YOUR RADIO ........42
Uconnect® 8.4 & 8.4N AT A GLANCE ....42
RADIO .....................44
SiriusXM SATELLITE RADIO .........45
STEERING WHEEL AUDIO CONTROLS...47
SETTING THE ANALOG CLOCK .....47
iPod®/CD/AUX CONTROLS .........48
GARMIN® NAVIGATION (8.4N Only) ....48
SiriusXM TRAVEL LINK (8.4N ONLY) . . . . 52
PLAYING iPod/USB/MP3 DEVICES .....53
Uconnect® PHONE
(Bluetooth® HANDS FREE CALLING) ....54
Uconnect® VOICE COMMAND
(8.4&8.4NONLY) ...............58
ELECTRONIC VEHICLE INFORMATION
CENTER (EVIC) ................61
PROGRAMMABLE FEATURES .......62UNIVERSAL GARAGE DOOR OPENER
(HomeLink®)
..................62
POWER OUTLETS ..............65
UTILITY
TRAILER TOWING WEIGHTS (MAXIMUM
TRAILER WEIGHT RATINGS) . ......66
RECREATIONAL TOWING (BEHIND
MOTORHOME, ETC.) . . ..........66
SRT
AUTOSTICK® .................67
ELECTRONIC CONTROL DAMPING
SYSTEM....................68
SRT PERFORMANCE FEATURES .....69
SUMMER/THREE-SEASON TIRES ......71
WHAT TO DO IN EMERGENCIES
ROADSIDE ASSISTANCE..........72
INSTRUMENT CLUSTER WARNING
LIGHTS .....................72
IF YOUR ENGINE OVERHEATS .......76
JACKING AND TIRE CHANGING .....76
TIREFIT KIT ..................82
BATTERY LOCATION ............88
JUMP-STARTING ...............88
SHIFT LEVER OVERRIDE — 5 SPEED
TRANSMISSION ...............90
TOWING A DISABLED VEHICLE . . ....92
FREEING A STUCK VEHICLE ........93
EVENT DATA RECORDER (EDR) ......94
MAINTAINING YOUR VEHICLE
OPENING THE HOOD . . .........95
FUEL DOOR RELEASE . . .........96
ENGINE COMPARTMENT .........98
FLUIDSANDCAPACITIES .........101
MAINTENANCE SCHEDULE .......104
FUSES .....................112
TIRE PRESSURES ...............117
WHEEL AND WHEEL TRIM CARE . ....118
EXTERIOR BULBS ..............118
CONSUMER ASSISTANCE
CHRYSLER GROUP LLC
CUSTOMER CENTER ............119
CHRYSLER CANADA INC.
CUSTOMER CENTER ............119
PUBLICATIONS ORDERING ........119
ASSISTANCE FOR THE HEARING
IMPAIRED ...................119
REPORTING SAFETY DEFECTS IN
THEUNITEDSTATES ............120
MOPAR® ACCESSORIES
AUTHENTIC ACCESSORIES BY MOPAR®. . 121
FREQUENTLY ASKED QUESTIONS
FREQUENTLY ASKED QUESTIONS ....122
INDEX................... 123
TABLE OF CONTENTS
Page 8 of 132
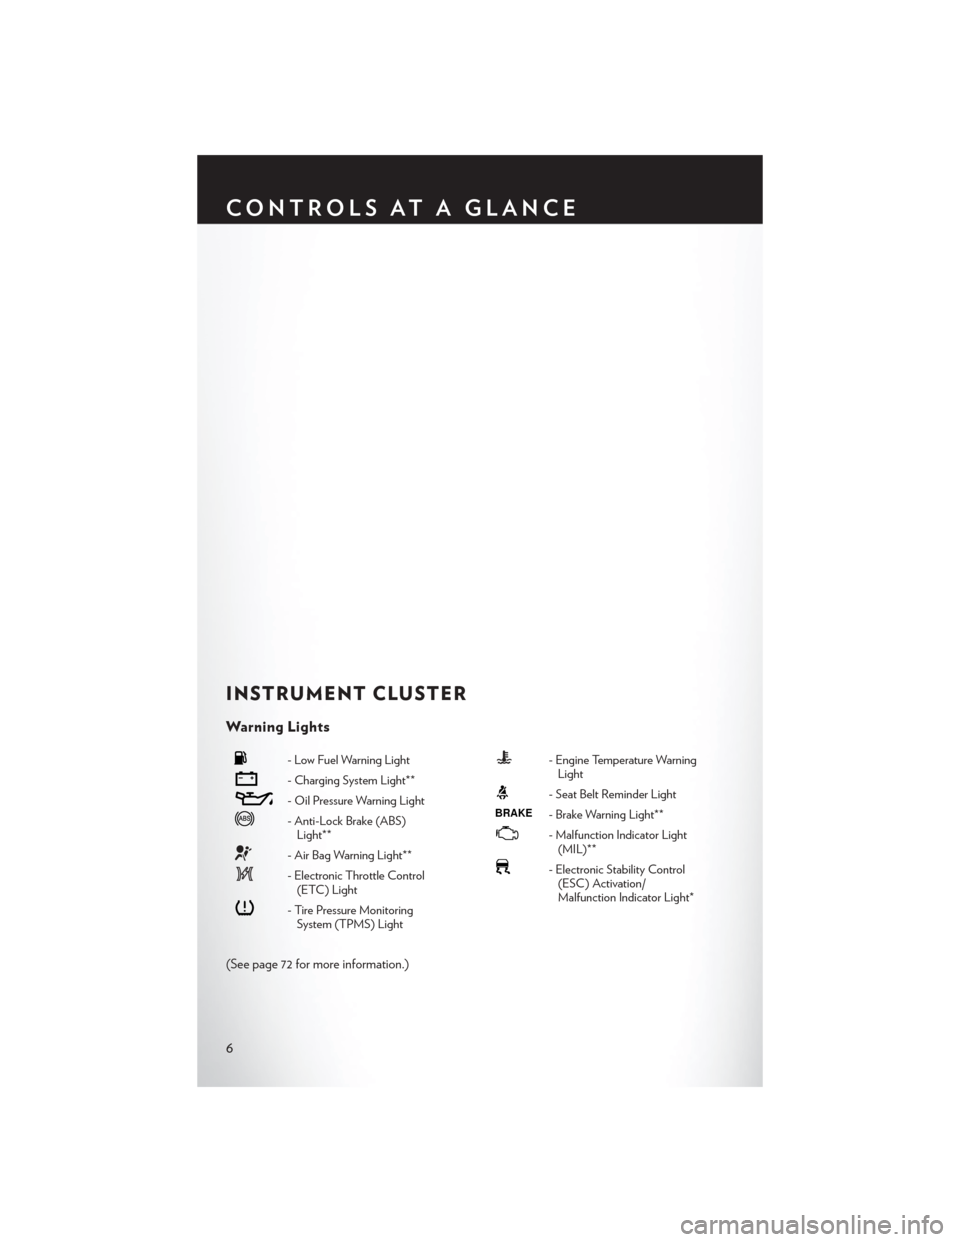
INSTRUMENT CLUSTER
Warning Lights
- Low Fuel Warning Light
- Charging System Light**
- Oil Pressure Warning Light
- Anti-Lock Brake (ABS)Light**
- Air Bag Warning Light**
- Electronic Throttle Control(ETC) Light
- Tire Pressure MonitoringSystem (TPMS) Light
- Engine Temperature WarningLight
- Seat Belt Reminder Light
BRAKE- Brake Warning Light**
- Malfunction Indicator Light(MIL)**
- Electronic Stability Control(ESC) Activation/
Malfunction Indicator Light*
(See page 72 for more information.)
CONTROLS AT A GLANCE
6
Page 9 of 132
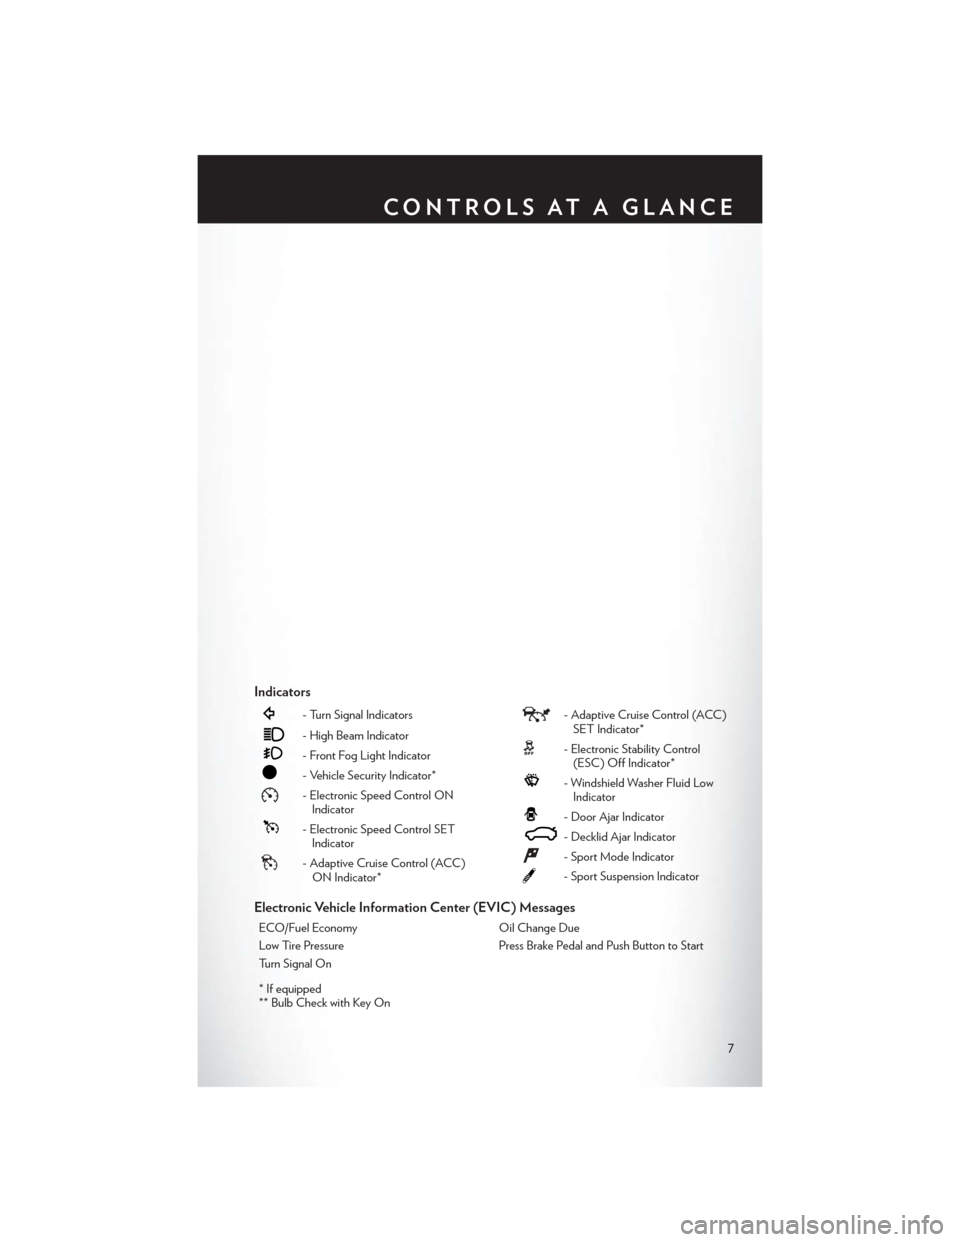
Indicators
- Turn Signal Indicators
- High Beam Indicator
- Front Fog Light Indicator
- Vehicle Security Indicator*
- Electronic Speed Control ONIndicator
- Electronic Speed Control SETIndicator
- Adaptive Cruise Control (ACC)ON Indicator*
- Adaptive Cruise Control (ACC)SET Indicator*
- Electronic Stability Control(ESC) Off Indicator*
- Windshield Washer Fluid LowIndicator
- Door Ajar Indicator
- Decklid Ajar Indicator
- Sport Mode Indicator
- Sport Suspension Indicator
Electronic Vehicle Information Center (EVIC) Messages
ECO/Fuel Economy Oil Change Due
Low Tire Pressure Press Brake Pedal and Push Button to Start
Turn Signal On
* If equipped
** Bulb Check with Key On
CONTROLS AT A GLANCE
7
Page 34 of 132
ELECTRONIC SHIFTER — 3.6L ENGINE
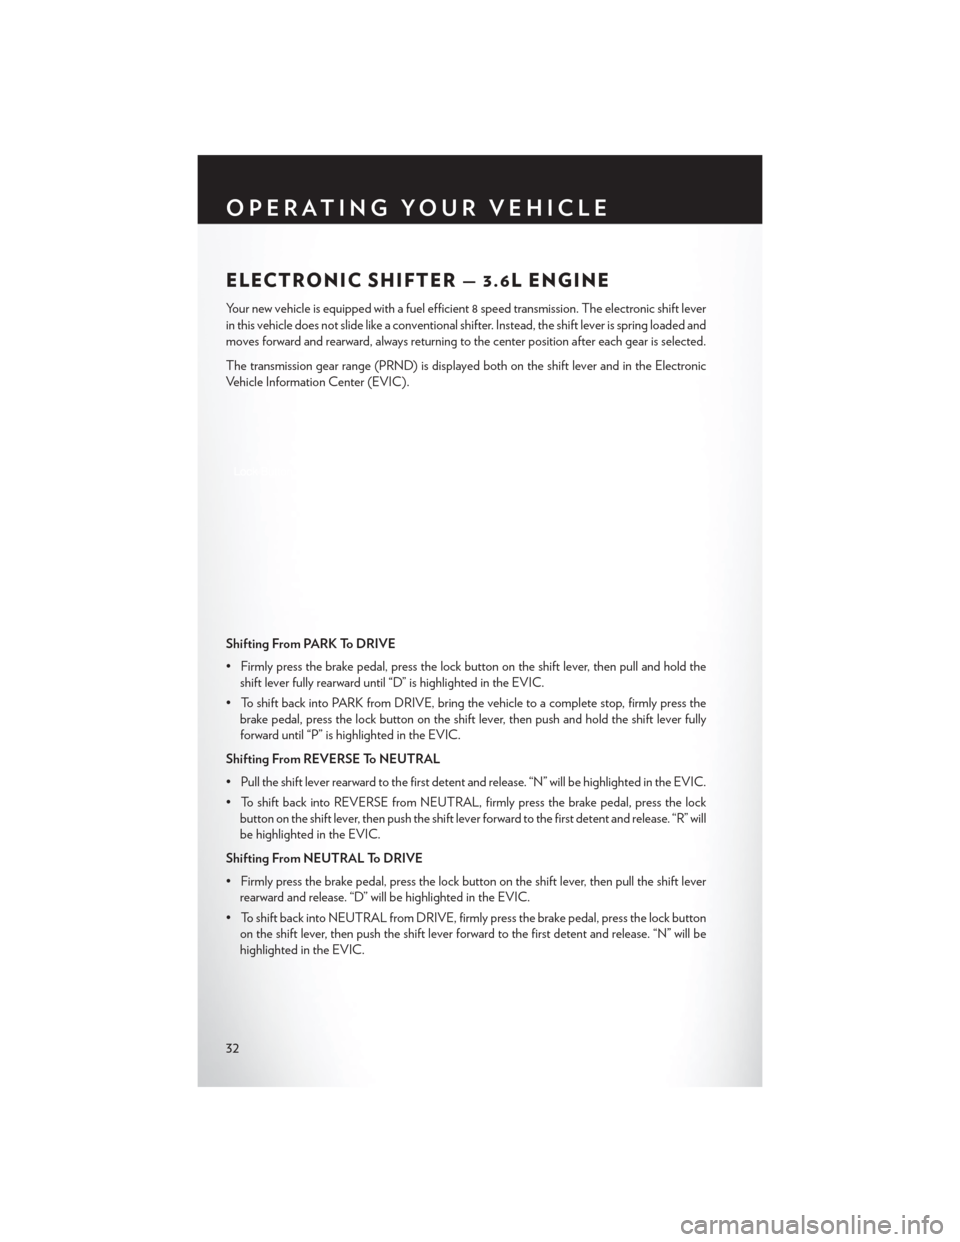
Your new vehicle is equipped with a fuel efficient 8 speed transmission. The electronic shift lever
in this vehicle does not slide like a conventional shifter. Instead, the shift lever is spring loaded and
moves forward and rearward, always returning to the center position after each gear is selected.
The transmission gear range (PRND) is displayed both on the shift lever and in the Electronic
Vehicle Information Center (EVIC).
Shifting From PARK To DRIVE
• Firmly press the brake pedal, press the lock button on the shift lever, then pull and hold theshift lever fully rearward until “D” is highlighted in the EVIC.
• To shift back into PARK from DRIVE, bring the vehicle to a complete stop, firmly press the brake pedal, press the lock button on the shift lever, then push and hold the shift lever fully
forward until “P” is highlighted in the EVIC.
Shifting From REVERSE To NEUTRAL
• Pull the shift lever rearward to the first detent and release. “N” will be highlighted in the EVIC.
• To shift back into REVERSE from NEUTRAL, firmly press the brake pedal, press the lock button on the shift lever, then push the shift lever forward to the first detent and release. “R” will
be highlighted in the EVIC.
Shifting From NEUTRAL To DRIVE
• Firmly press the brake pedal, press the lock button on the shift lever, then pull the shift lever rearward and release. “D” will be highlighted in the EVIC.
• To shift back into NEUTRAL from DRIVE, firmly press the brake pedal, press the lock button on the shift lever, then push the shift lever forward to the first detent and release. “N” will be
highlighted in the EVIC.
OPERATING YOUR VEHICLE
32
Page 54 of 132
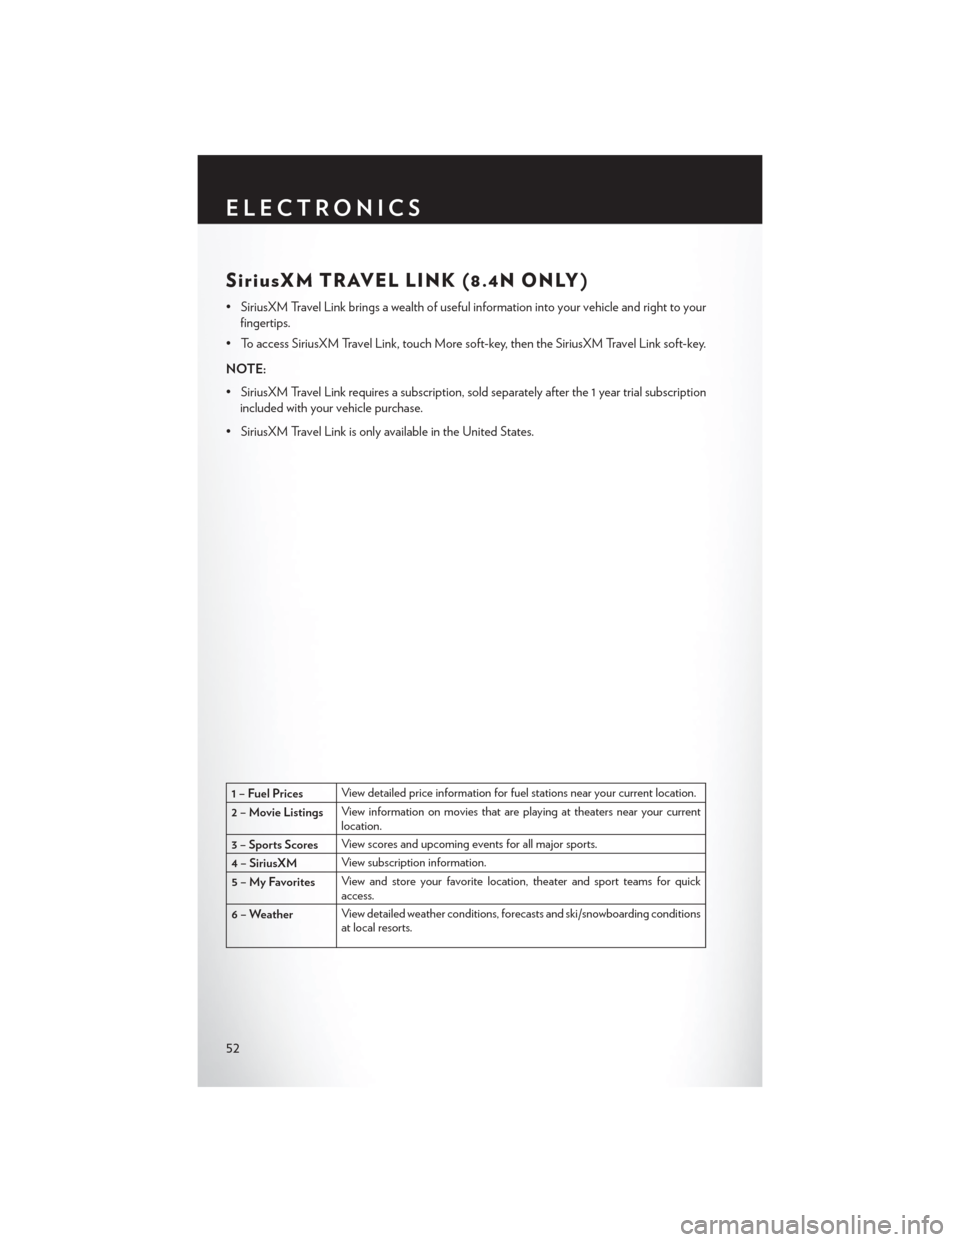
SiriusXM TRAVEL LINK (8.4N ONLY)
• SiriusXM Travel Link brings a wealth of useful information into your vehicle and right to yourfingertips.
• To access SiriusXM Travel Link, touch More soft-key, then the SiriusXM Travel Link soft-key.
NOTE:
• SiriusXM Travel Link requires a subscription, sold separately after the 1 year trial subscription included with your vehicle purchase.
• SiriusXM Travel Link is only available in the United States.
1 – Fuel Prices View detailed price information for fuel stations near your current location.
2 – Movie Listings View information on movies that are playing at theaters near your current
location.
3 – Sports Scores View scores and upcoming events for all major sports.
4 – SiriusXM View subscription information.
5 – My Favorites View and store your favorite location, theater and sport teams for quick
access.
6 – Weather View detailed weather conditions, forecasts and ski/snowboarding conditions
at local resorts.
ELECTRONICS
52
Page 61 of 132
Changing The Volume
• Start a dialogue by pressing the Voice Command button, then say a command
(for example, “help”).
• Use the radio ON/OFF VOLUME rotary knob to adjust the volume to a comfortable level while the Voice Command system is speaking. The volume setting for Voice Command is
different than the audio system.
• Refer to the “Understand The Features Of Your Vehicle” section of your vehicle's Owner's Manual on the DVD for further details.
Common Voice Commands (Examples)
Switch Modes “FM”
“Satellite” “AM”
“Change Source to iPod”
“Change Source to SD Card”
Radio (FM, AM) “95.5”
“95.5 FM”
“Go to preset 5”
Player “Play Album 'Greatest Hits”
“Play Artist 'Scott Joplin” “Play Genre 'Rock”
“Play Song 'Maple Leaf Rag”
SiriusXM Satellite Radio “39”
“Foxxhole”
SiriusXM Travel Link “Show fuel prices”
“Show movie listings”
“Show current weather”
“Show extended weather”
“Show Travel Link favorites”
“Show NFL headlines”
“Show NBA rankings”
“Show NFL schedules”
“Show NBA scores”
Navigation “Navigate to (Address)”
“Navigate to (Point of Interest)”
NOTE:
For the shortened SiriusXM Satellite Radio mode commands to be recognized you must be in
that mode. For example, if you are in SiriusXM Satellite Radio mode you can say “39,” but if you
are not in SiriusXM mode, you would need to say “Tune to Satellite Channel 39.”
ELECTRONICS
59
Page 62 of 132
Common Navigation Voice Commands
• To access the navigation voice commands, press the Uconnect® Voice Command
button while in any mode and say “Navigation.”
• Once in the Navigation feature, you can simply Say What You Seeon the touchscreen to give
a navigation voice command.
• Locating an address can be given as a one shot entry. For example, after saying “Find
Address” and the system is ready, you can say the entire address in one command, “1234 1st
Street, Any Town, Michigan.” If you are searching for a particular address or Point Of Interest,
the available voice commands depend on what is displayed on the touchscreen.
• When the Voice Command system is ready to be given a command, the green indicator is visible in the right corner of the touchscreen.
• The following chart lists the navigation voice commands that may be available.
Navigation Voice Commands:
“Where To?” (Main Menu command) “View Map” (Main Menu command)
“Repeat guidance” “Cancel Route” “Detour” (During a Route Guidance)“Where Am I?”“Find Address” “Go Home”
“Find Place by Category” “Find Place by Name”
“Find Recently Found” “Find Favorite”“Find City”
“Find Nearest Restaurant” “Find Nearest Fuel” “Find Nearest Transit”
“Find Nearest Lodging”
“Find Nearest Shopping” “Find Nearest Bank”
“Find Nearest Parking”
“Find Nearest Entertainment” “Find Nearest Recreation”
“Find Nearest Attractions” “Find Nearest Hospitals”
“Find Nearest Community”
“Find Nearest Auto Services” “Find Nearest Airport”
“Find Nearest Police Stations” “Find Nearest Fire Stations”
“Find Nearest Auto Dealers”
WARNING!
Any voice commanded system should be used only in safe driving conditions following
applicable laws regarding phone use. Your attention should be focused on safely operating the
vehicle. Failure to do so may result in a collision causing you and others to be severely injured
or killed.
ELECTRONICS
60
Page 63 of 132
ELECTRONIC VEHICLE INFORMATION
CENTER (EVIC)
The EVIC features a driver interactive display that is located in the instrument cluster. Pressing
the controls on the left side of the steering wheel allows the driver to select vehicle information
and Personal Settings. For additional information, refer to “Programmable Features” located in
this guide.
• Press and release the UP
button to
scroll upward through the main menus
(Fuel Economy, Vehicle Info, Tire PSI,
Cruise, Messages, Trip Info, Vehicle Speed
and Turn Menu Off ) and sub menus.
• Press and release the DOWN
button
to scroll downward through the main menus
and sub menus.
• Press and release the SELECT
button
for access to main menus, sub menus or to
select a personal setting in the setup menu.
Press and hold the SELECT button for two seconds to reset features.
• Press the BACK button to scroll back to a previous menu or sub menu.
Compass Calibration
• This compass is self-calibrating, which eliminates the need to set the compass manually. When the vehicle is new, the compass may appear erratic and the EVIC will display “CAL” until the
compass is calibrated.
• You may also calibrate the compass by completing one or more 360 degree turns (in an area free from large metal or metallic objects) until the “CAL” message displayed in the EVIC turns
off. The compass will now function normally.
ECO
The ECO message will appear in your EVIC display whenever you are driving in a fuel efficient
manner.
This feature allows you to monitor when you are driving in a fuel efficient manner, and it can be
used to modify driving habits in order to increase fuel economy.
ELECTRONICS
61
Page 64 of 132
PROGRAMMABLE FEATURES
Electronic Vehicle Information Center (EVIC)
• The EVIC can be used to view or change the following settings. Press the UPor
DOWN
button until System Setup displays, then press the SELECTbutton. Scroll
through the settings using the UP or DOWN buttons. Press the SELECT
button to
change the setting. Press the BACK button to scroll back to a previous menu or sub menu.
• Fuel Economy • Vehicle Info (Customer Information
Features)
• Vehicle Speed
• Messages
• Trip Info
• Turn Menu Off
• Units
Uconnect® 8.4 Customer Programmable Features
• The Uconnect® 8.4 system allows you to access Customer Programmable feature settings
such as Display, Clock, Safety & Driving Assistance, Lights, Doors & Locks, Heated Seats,
Engine Off Operation, Audio, Phone/ Bluetooth and SiriusXM Setup through soft-keys.
• Touch the More soft-key to on the bottom of the screen, then touch the Settings soft-key to access the Settings screen. When making a selection, scroll up or down until the preferred
setting is highlighted, then press and release the preferred setting until a check-mark appears
next to the setting, showing that setting has been selected. The following feature settings are
available:
• Display • Clock
• Safety & Driving Assistance • Doors & Locks
• Auto-On Comfort & Remote Start • Engine Off Options
• Phone / Bluetooth • Audio
• Lights • SiriusXM Setup
UNIVERSAL GARAGE DOOR OPENER
(HomeLink®)
• HomeLink® replaces up to three hand-held
transmitters that operate devices such as
garage door openers, motorized gates,
lighting or home security systems. The
HomeLink® unit is powered by your vehicles
12 Volt battery.
• The HomeLink® buttons that are located in the overhead console or sunvisor designate
the three different HomeLink® channels.
• The HomeLink® indicator is located above the center button.
ELECTRONICS
62
Page 70 of 132
ELECTRONIC CONTROL DAMPING SYSTEM
• This vehicle may be equipped with an electronic controlled damping system. This systemreduces body roll and pitch in many driving situations including cornering, acceleration and
braking. There are three modes of operation:
Automatic (Auto) Mode
• This is the default position when vehicleignition is first turned on. This mode will give
a sporty, but comfortable ride. Within this
mode, the suspension will adapt to the
vehicle inputs, including vehicle speed,
steering inputs, braking, and acceleration.
•
If AutoStick® is engaged while in “Auto”
mode, the transmission will automatically shift
up if maximum engine speed is reached.
• Heavily pressing the accelerator pedal may generate an automatic downshift for im-
proved acceleration.
• This mode should be used for most driving situations.
SPORTSport Mode
• This mode is driver selectable when the vehicle is placed in SPORT mode (press the
CONTROLS button and then the SPORT
button on the display screen). This mode will
set suspension for maximum performance
handling and is intended for spirited driving.
• When SPORT mode is enabled, a flag willlight up in the instrument cluster.
NOTE:
The SPORT setting will provide a firmer ride.
TrackMode
• In track mode, the transmission has a sportier, more aggressive shift pattern.
• This mode includes SPORT Suspension and affects transmission shifting in either
normal DRIVE or AutoStick® mode.
• If AutoStick® (console shifter or paddle shifters) is engaged while in “Track” mode,
the transmission will remain in the selected
gear even when maximum engine speed is
reached. Engine overspeed protection is
achieved through fuel cut off at or near red-
line.
SRT
68