display CHRYSLER 300 2015 2.G Owner's Guide
[x] Cancel search | Manufacturer: CHRYSLER, Model Year: 2015, Model line: 300, Model: CHRYSLER 300 2015 2.GPages: 180, PDF Size: 30.54 MB
Page 116 of 180

Vo i c e C o m m a n d T i p s
•Speakingcompletenames(i.e;CallJohnDoevs.CallJohn)willresultingreatersystem
accuracy.
• You can “link” commands together for faster results. Say “Call John Doe, mobile,” for example.
•Ifyouarelisteningtoavailablevoicecommandoptions,youdonothavetolistentotheentire
list. When you hear the command that you need, push thebutton on the steering
wheel, wait for the beep and say your command.
Changing The Volume
• Start a dialogue by pushing the Phone button, then say a command for example -
"Help".
•UsetheradioVOLUME/MUTErotaryknobtoadjustthevolumetoacomfortablelevelwhile
the Uconnect® system is speaking. Please note the volume setting for Uconnect® is different
than the audio system.
NOTE:
To access help, push the Uconnect® Phone buttonon the steering wheel and say "help."
Press the display or press either the Phoneor VRbutton and say "cancel" to cancel
the help session.
Incoming Text Messages
After pairing your Uconnect® system with a Bluetooth® enabled mobile device with the Message
Access Profile (MAP), the Uconnect® system can announce a new incoming text message and
read it to you over the vehicle’s audio system.
NOTE:
Only incoming text messages received during the current ignition cycle can be viewed/read.
ELECTRONICS
114
Page 121 of 180

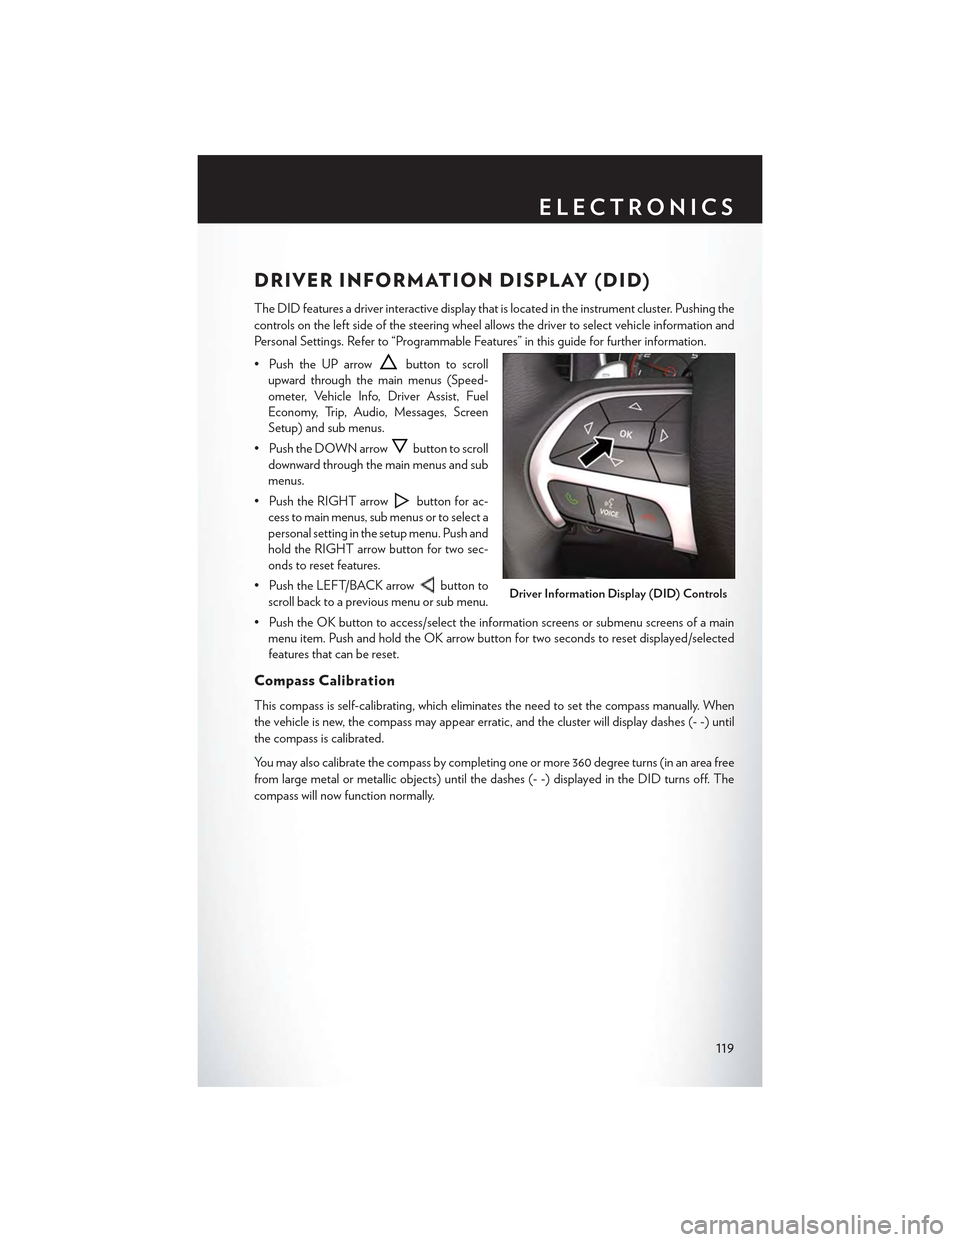
DRIVER INFORMATION DISPLAY (DID)
The DID features a driver interactive display that is located in the instrument cluster. Pushing the
controls on the left side of the steering wheel allows the driver to select vehicle information and
Personal Settings. Refer to “Programmable Features” in this guide for further information.
• Push the UP arrowbutton to scroll
upward through the main menus (Speed-
ometer, Vehicle Info, Driver Assist, Fuel
Economy, Trip, Audio, Messages, Screen
Setup) and sub menus.
• Push the DOWN arrowbutton to scroll
downward through the main menus and sub
menus.
• Push the RIGHT arrowbutton for ac-
cess to main menus, sub menus or to select a
personal setting in the setup menu. Push and
hold the RIGHT arrow button for two sec-
onds to reset features.
• Push the LEFT/BACK arrowbutton to
scroll back to a previous menu or sub menu.
• Push the OK button to access/select the information screens or submenu screens of a main
menu item. Push and hold the OK arrow button for two seconds to reset displayed/selected
features that can be reset.
Compass Calibration
This compass is self-calibrating, which eliminates the need to set the compass manually. When
the vehicle is new, the compass may appear erratic, and the cluster will display dashes (- -) until
the compass is calibrated.
Yo u m a y a l s o c a l i b r a t e t h e c o m p a s s b y c o m p l e t i n g o n e o r m o r e 3 6 0 d e g r e e t u r n s ( i n a n a r e a f r e e
from large metal or metallic objects) until the dashes (- -) displayed in the DID turns off. The
compass will now function normally.
Driver Information Display (DID) Controls
ELECTRONICS
119
Page 122 of 180

PROGRAMMABLE FEATURES
Driver Information Display (DID)
The DID can be used to view or change the following settings. Push the UPor DOWN
button to scroll through the main menus, then push the RIGHTbutton to scroll through the
sub-menus of each menu item. Push the LEFT/BACKbutton to scroll back to a previous
menu or sub menu.
• Speedometer• Audio
• MPH to km/h• Stored Messages
• Vehicle Info• Screen Setup
•DriverAssist
• Fuel Economy
• Trip Info
Uconnect® Customer Programmable Features
The Uconnect® system allows you to access Customer Programmable feature settings such as
Display, Units, Voice, Clock, Safety & Driving Assistance, Lights, Doors & Locks, Auto-On
Comfort, Engine Off Options, Audio, Phone/Bluetooth®, SiriusXM Setup, Restore Settings,
Clear Personal Data and System Information through buttons on the touchscreen.
• Press the “Controls” button located near the bottom of the touchscreen, then press the
“Settings” button on the touchscreen to access the Settings screen. When making a selection,
scroll up or down until the preferred setting is highlighted, then press and release the preferred
setting until a check-mark appears next to the setting, showing that setting has been selected.
The following feature settings are available:
• Display• Engine Off Options
• Units• Audio
• Voice• Phone/Bluetooth®
• Clock• SiriusXM Setup
• Safety & Driving Assistance• Restore Settings
• Lights• Clear Personal Data
•Doors&Locks•SystemInformation
• Auto-On Comfort
Refer to “Uconnect Settings/Customer Programmable Features” found within “Understanding
Yo u r I n s t r u m e n t P a n e l ” l o c a t e d i n y o u r O w n e r ' s M a n u a l o n t h e D V D f o r f u r t h e r i n f o r m a t i o n .
ELECTRONICS
120
Page 133 of 180

–ElectronicStabilityControl(ESC)OFFIndicatorLight
This light indicates the Electronic Stability Control (ESC) is off.
–DoorAjarIndicator
This indicator will illuminate when a door(s) is left ajar and not fully closed.
–SportShifting
This light will illuminate whenSPORT MODEis selected. Sport Mode will provide improved
throttle response and modified shifting for an enhanced driving experience as well as the greatest
amount of steering feel. (SPORT MODEwill enable AWD (if equipped) in the AWD Sport
mode providing an enhanced AWD driving performance).
Oil Change Due
Yo u r v e h i c l e i s e q u i p p e d w i t h a n e n g i n e o i l c h a n g e i n d i c a t o r s y s t e m . T h e “ O i l C h a n g e D u e ”
message will display for 5 seconds along with a single chime to indicate the next scheduled oil
change interval. The engine oil change indicator system is duty cycle based, which means the
engine oil change interval may fluctuate dependent upon your personal driving style.
Resetting The Light After Servicing
Vehicles Equipped With Keyless Enter-N-Go
1. Without pushing the brake pedal, push the ENGINE START/STOP button and cycle the
ignition to the ON/RUN position (do not start the engine).
2. Fully depress the accelerator pedal, slowly, three times within 10 seconds.
3. Without pushing the brake pedal, push the ENGINE START/STOP button once to return the
ignition to the OFF/LOCK position.
Vehicles Not Equipped With Keyless Enter-N-Go
1. Turn the ignition switch to the ON/RUN position (do not start the engine).
2. Fully depress the accelerator pedal, slowly, three times within 10 seconds.
3. Turn the ignition switch to the OFF/LOCK position.
NOTE:
If the indicator message illuminates when you start the vehicle, the oil change indicator system did
not reset. If necessary, repeat this procedure.
NOTE:
Resetting the oil life can also be done within the "Oil Life" menu under “Vehicle Info.”
WHAT TO DO IN EMERGENCIES
131
Page 154 of 180

MAINTENANCE PROCEDURES
For information on the maintenance procedures for your vehicle, please refer to “Maintenance
Procedures” in “Maintaining Your Vehicle” in your Owner’s Manual or applicable supplement on
the DVD for further details.
MAINTENANCE SCHEDULE
Yo u r v e h i c l e i s e q u i p p e d w i t h a n a u t o m a t i c o i l c h a n g e i n d i c a t o r s y s t e m . T h e o i l c h a n g e i n d i c a t o r
system will remind you that it is time to take your vehicle in for scheduled maintenance.
Based on engine operation conditions, the oil change indicator message will illuminate. This
means that service is required for your vehicle. Operating conditions such as frequent short-trips,
trailer tow, extremely hot or cold ambient temperatures, and E85 fuel usage will influence when
the “Change Oil” or “Oil Change Required” message is displayed. Severe Operating Conditions
can cause the change oil message to illuminate as early as 3,500 miles (5,600 km) since last reset.
Have your vehicle serviced as soon as possible, within the next 500 miles (805 km).
The “Oil Change Required” message will be displayed in the DID and a single chime will sound,
indicating that an oil change is necessary.
Your authorized dealer will reset the oil change indicator message after completing the scheduled
oil change. If a scheduled oil change is performed by someone other than your authorized dealer,
the message can be reset by referring to the steps described under “Instrument Cluster Warning
Lights” in “What To Do In Emergencies” in this guide or “Driver Information Dispay (DID)” in
“Understanding Your Instrument Panel” in your Owners Manual on the DVD for further infor-
mation.
NOTE:
Under no circumstances should oil change intervals exceed 10,000 miles (16,000 km) or twelve
months, whichever comes first.
Severe Duty All Models
Change Engine Oil at 4,000 miles (6,500 km) if the vehicle is operated in a dusty and off road
environment. This type of vehicle use is considered Severe Duty
Once A Month Or Before A Long Trip:
•Checkengineoillevel
•Checkwindshieldwasherfluidlevel
• Check tire pressure and look for unusual wear or damage. Rotate tires at the first sign of
irregular wear, even if it occurs before your next scheduled service.
•Checkthefluidlevelsofthecoolantreservoir,brakemastercylinder,andpowersteering(if
equipped) and fill as needed.
• Check function of all interior and exterior lights
MAINTAINING YOUR VEHICLE
152