AC plug CHRYSLER PACIFICA 2019 User Guide
[x] Cancel search | Manufacturer: CHRYSLER, Model Year: 2019, Model line: PACIFICA, Model: CHRYSLER PACIFICA 2019Pages: 718, PDF Size: 8.6 MB
Page 437 of 718
Towing Requirements — Trailer Lights And Wiring
Whenever you pull a trailer, regardless of the trailer size,
stoplights and turn signals on the trailer are required for
motoring safety.
The Trailer Tow Package may include a four- and seven-pin
wiring harness. Use a factory approved trailer harness and
connector.
NOTE:Do not cut or splice wiring into the vehicle’s wiring
harness.
The electrical connections are all complete to the vehicle
but you must mate the harness to a trailer connector. Refer
to the following illustrations.
NOTE:
• Disconnect trailer wiring connector from the vehicle
before launching a boat (or any other device plugged
into vehicle’s electrical connect) into water.
• Be sure to reconnect once clear from water area.
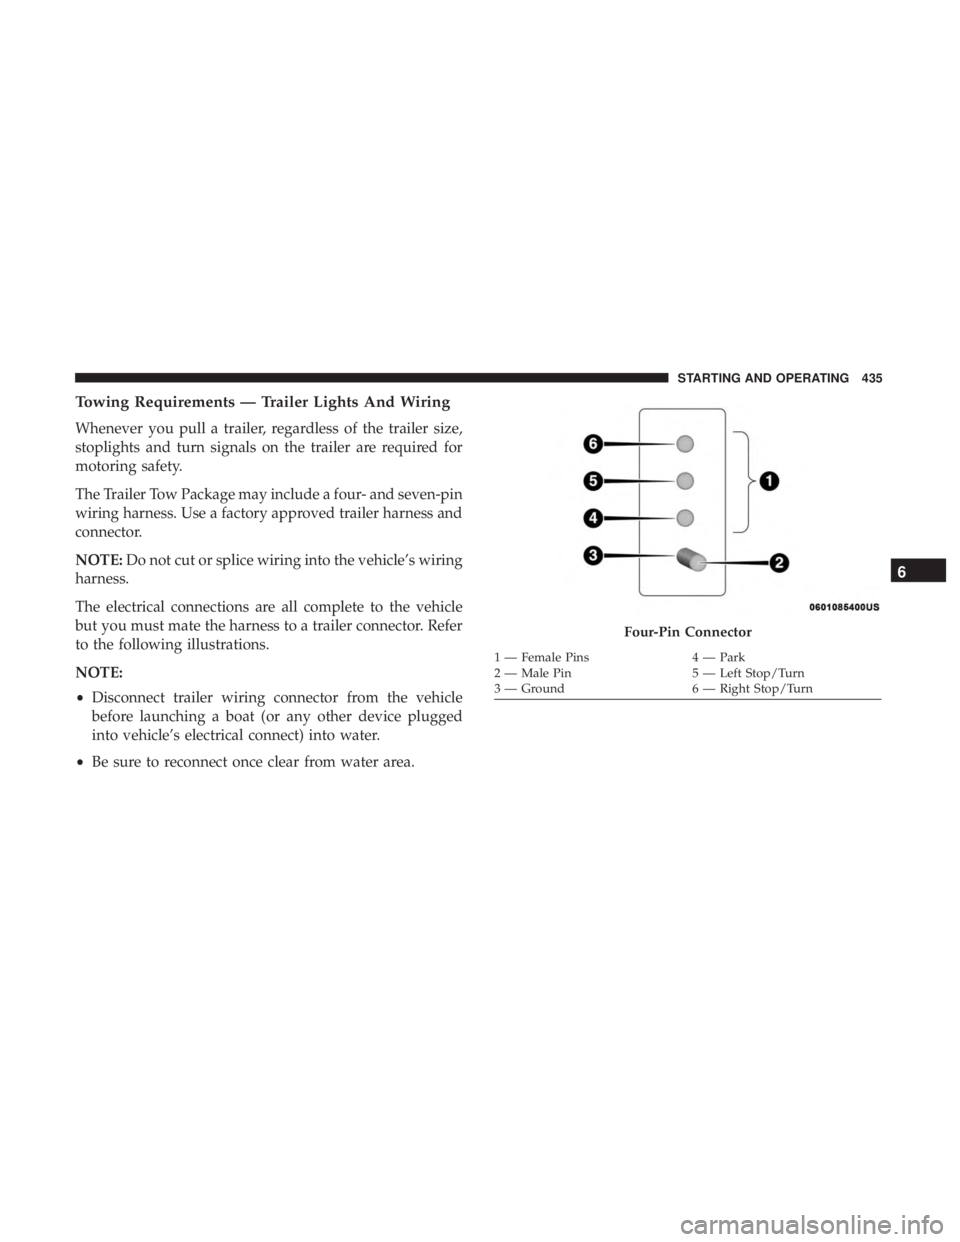
Four-Pin Connector
1 — Female Pins 4 — Park
2 — Male Pin 5 — Left Stop/Turn
3 — Ground 6 — Right Stop/Turn
6
STARTING AND OPERATING 435
Page 479 of 718
Portable Air Compressor Usage With Inflatable Spare
Tire
1. Remove the Portable Air Compressor from the storagelocation.
2. Raise the vehicle as described in the Jacking Instructions within this section.
3. Install the Inflatable Spare tire as described in the Jack Instructions section in this manual.
Make sure that the valve stem is
located near the ground, and then
screw the air hose of the Portable Air
Compressor to the valve stem.
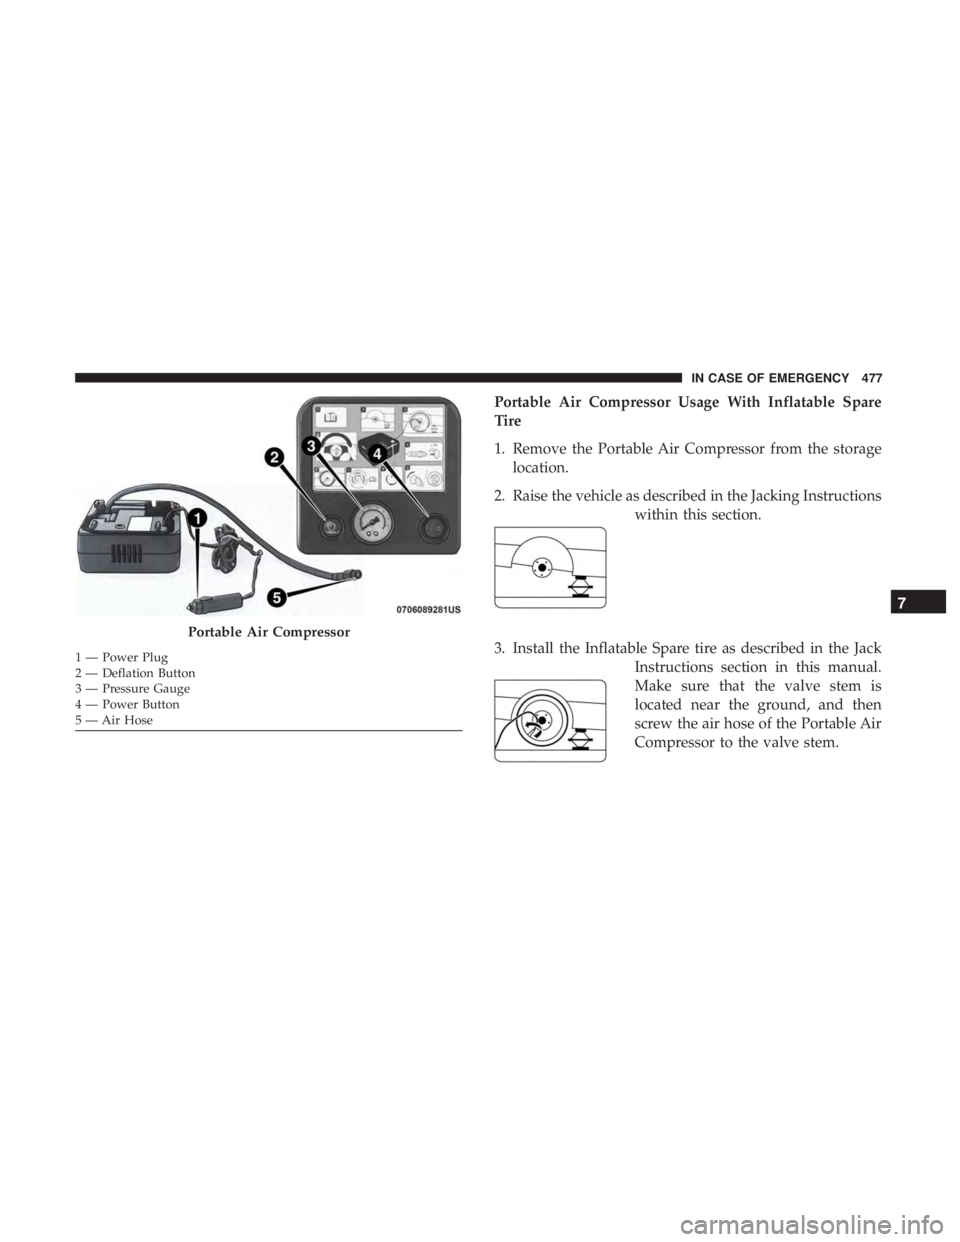
Portable Air Compressor
1 — Power Plug
2 — Deflation Button
3 — Pressure Gauge
4 — Power Button
5 — Air Hose
7
IN CASE OF EMERGENCY 477
Page 480 of 718
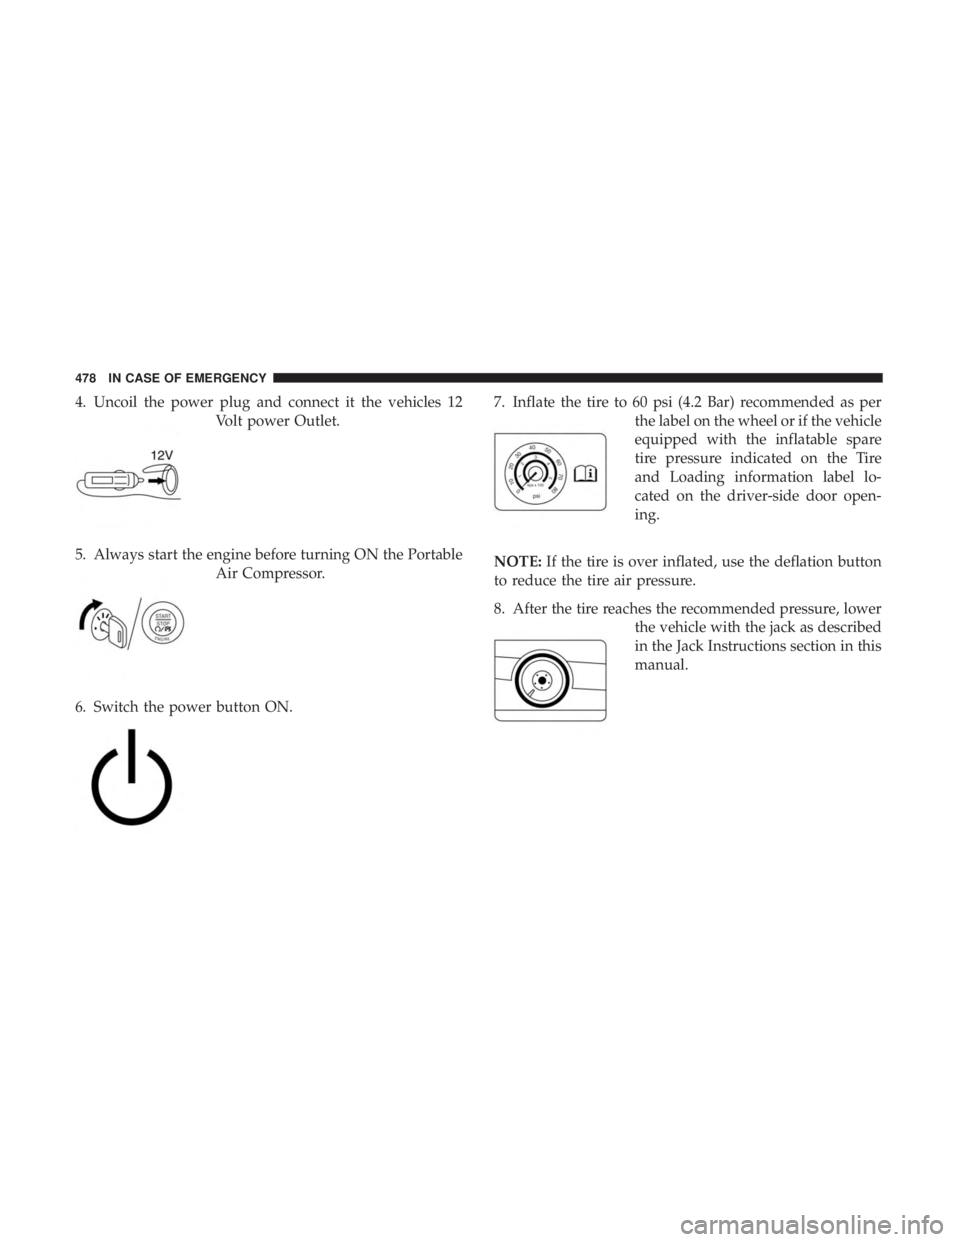
4. Uncoil the power plug and connect it the vehicles 12Volt power Outlet.
5. Always start the engine before turning ON the Portable Air Compressor.
6. Switch the power button ON. 7. Inflate the tire to 60 psi (4.2 Bar) recommended as per
the label on the wheel or if the vehicle
equipped with the inflatable spare
tire pressure indicated on the Tire
and Loading information label lo-
cated on the driver-side door open-
ing.
NOTE: If the tire is over inflated, use the deflation button
to reduce the tire air pressure.
8. After the tire reaches the recommended pressure, lower the vehicle with the jack as described
in the Jack Instructions section in this
manual.
478 IN CASE OF EMERGENCY
Page 481 of 718
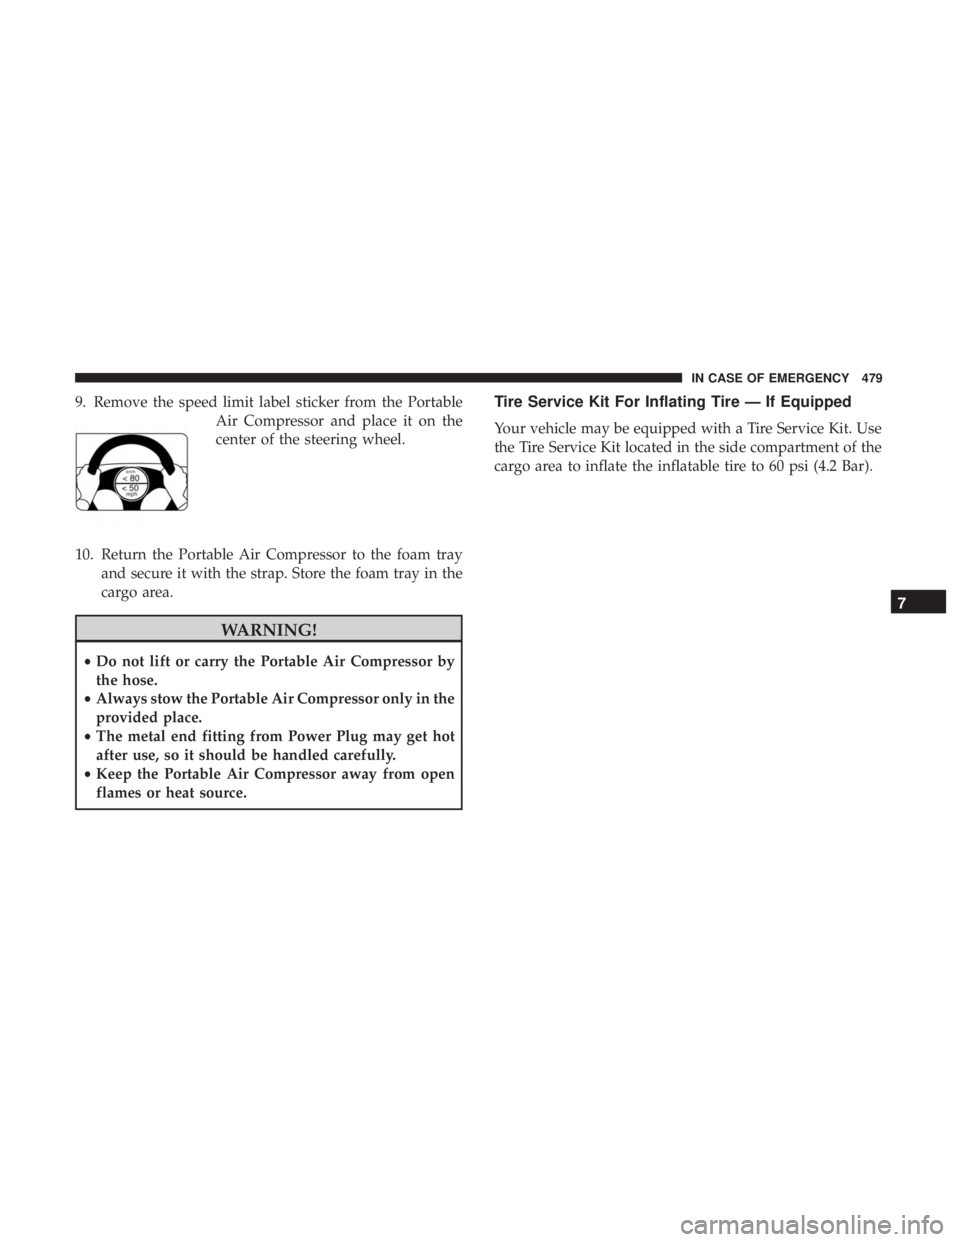
9. Remove the speed limit label sticker from the PortableAir Compressor and place it on the
center of the steering wheel.
10. Return the Portable Air Compressor to the foam tray and secure it with the strap. Store the foam tray in the
cargo area.
WARNING!
•Do not lift or carry the Portable Air Compressor by
the hose.
• Always stow the Portable Air Compressor only in the
provided place.
• The metal end fitting from Power Plug may get hot
after use, so it should be handled carefully.
• Keep the Portable Air Compressor away from open
flames or heat source.
Tire Service Kit For Inflating Tire — If Equipped
Your vehicle may be equipped with a Tire Service Kit. Use
the Tire Service Kit located in the side compartment of the
cargo area to inflate the inflatable tire to 60 psi (4.2 Bar).
7
IN CASE OF EMERGENCY 479
Page 482 of 718
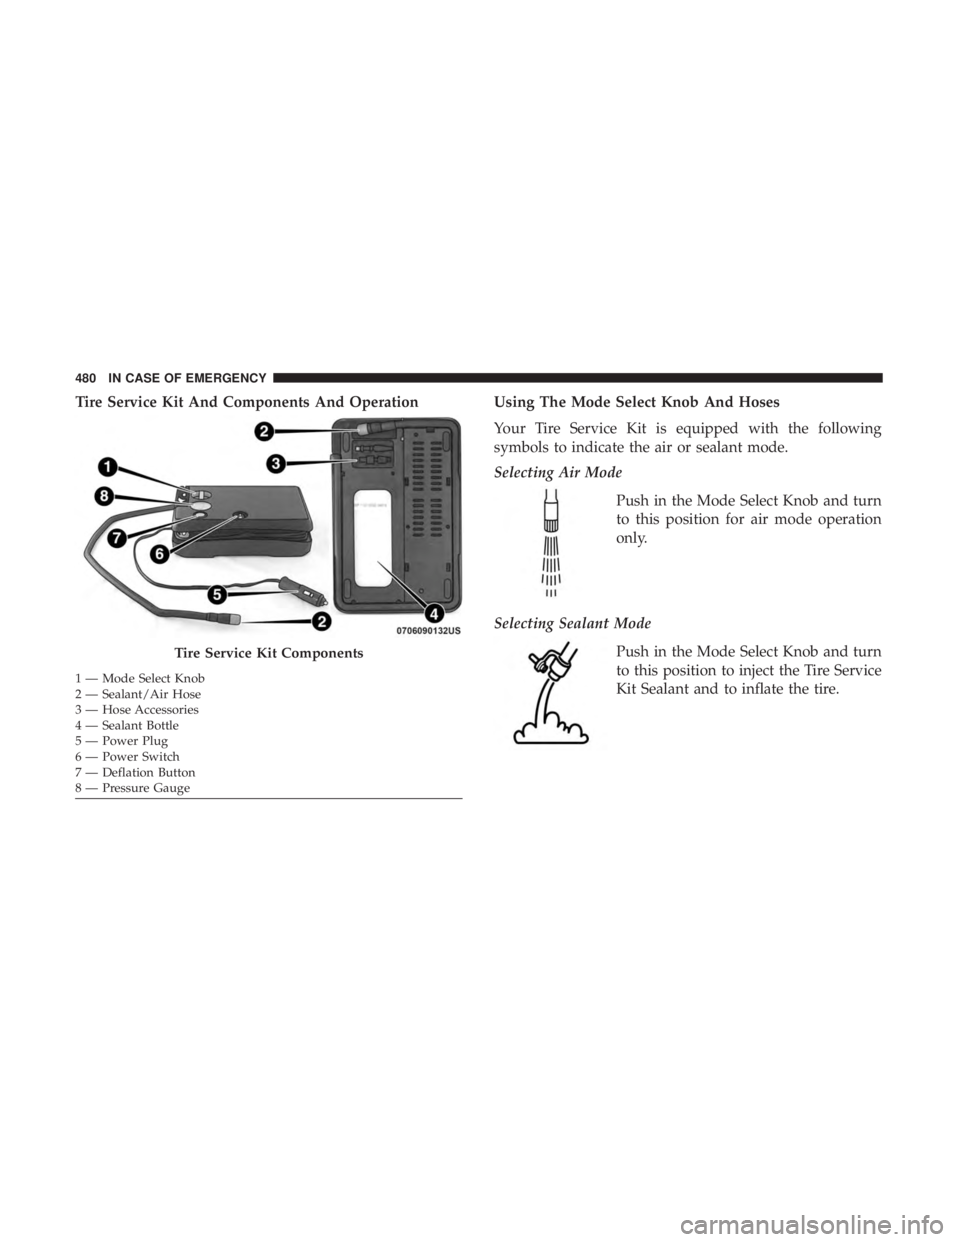
Tire Service Kit And Components And OperationUsing The Mode Select Knob And Hoses
Your Tire Service Kit is equipped with the following
symbols to indicate the air or sealant mode.
Selecting Air Mode
Push in the Mode Select Knob and turn
to this position for air mode operation
only.
Selecting Sealant Mode Push in the Mode Select Knob and turn
to this position to inject the Tire Service
Kit Sealant and to inflate the tire.
Tire Service Kit Components
1 — Mode Select Knob
2 — Sealant/Air Hose
3 — Hose Accessories
4 — Sealant Bottle
5 — Power Plug
6 — Power Switch
7 — Deflation Button
8 — Pressure Gauge
480 IN CASE OF EMERGENCY
Page 484 of 718
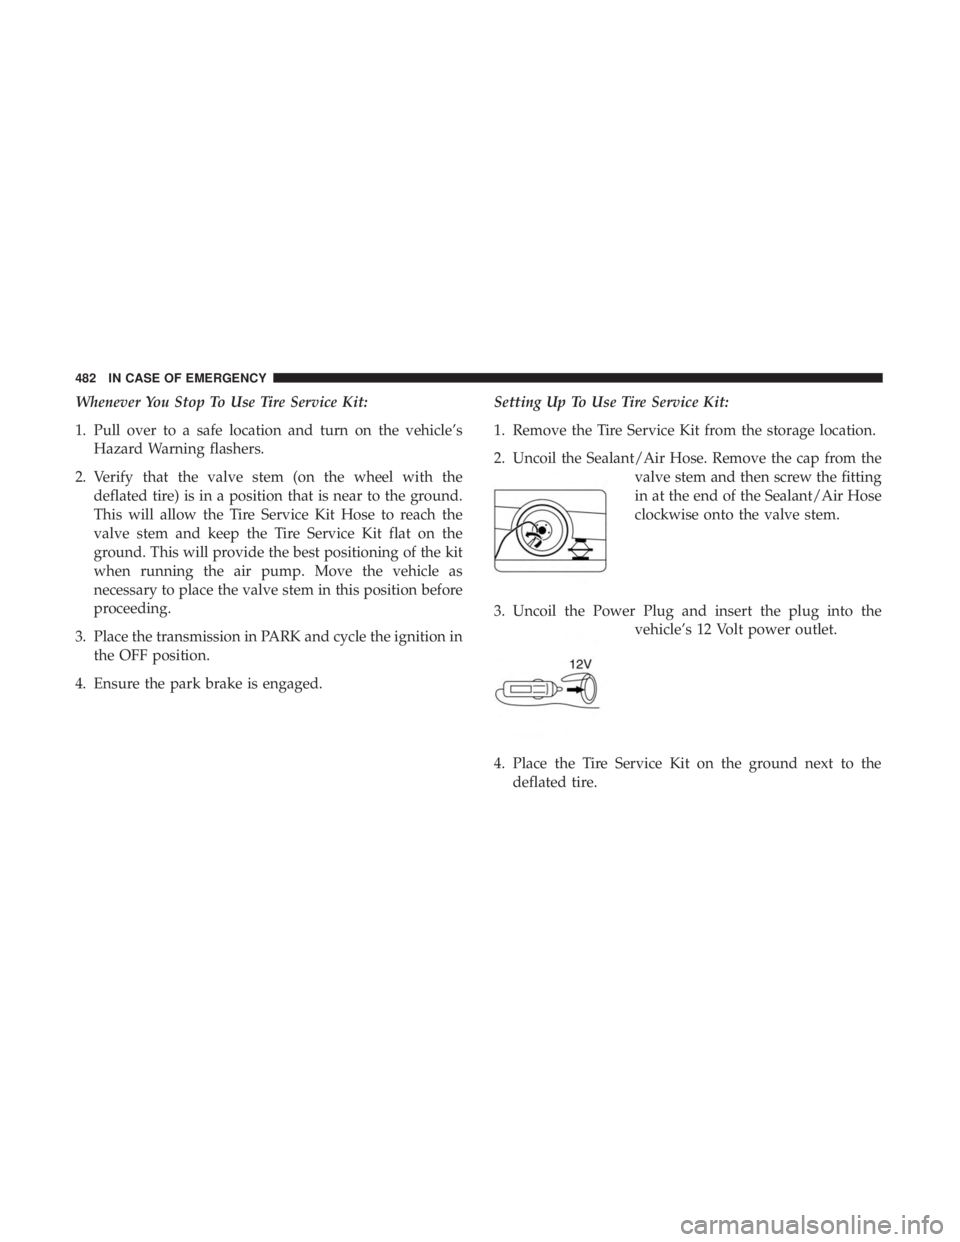
Whenever You Stop To Use Tire Service Kit:
1. Pull over to a safe location and turn on the vehicle’sHazard Warning flashers.
2. Verify that the valve stem (on the wheel with the deflated tire) is in a position that is near to the ground.
This will allow the Tire Service Kit Hose to reach the
valve stem and keep the Tire Service Kit flat on the
ground. This will provide the best positioning of the kit
when running the air pump. Move the vehicle as
necessary to place the valve stem in this position before
proceeding.
3. Place the transmission in PARK and cycle the ignition in the OFF position.
4. Ensure the park brake is engaged. Setting Up To Use Tire Service Kit:
1. Remove the Tire Service Kit from the storage location.
2. Uncoil the Sealant/Air Hose. Remove the cap from the
valve stem and then screw the fitting
in at the end of the Sealant/Air Hose
clockwise onto the valve stem.
3. Uncoil the Power Plug and insert the plug into the vehicle’s 12 Volt power outlet.
4. Place the Tire Service Kit on the ground next to the deflated tire.
482 IN CASE OF EMERGENCY
Page 487 of 718
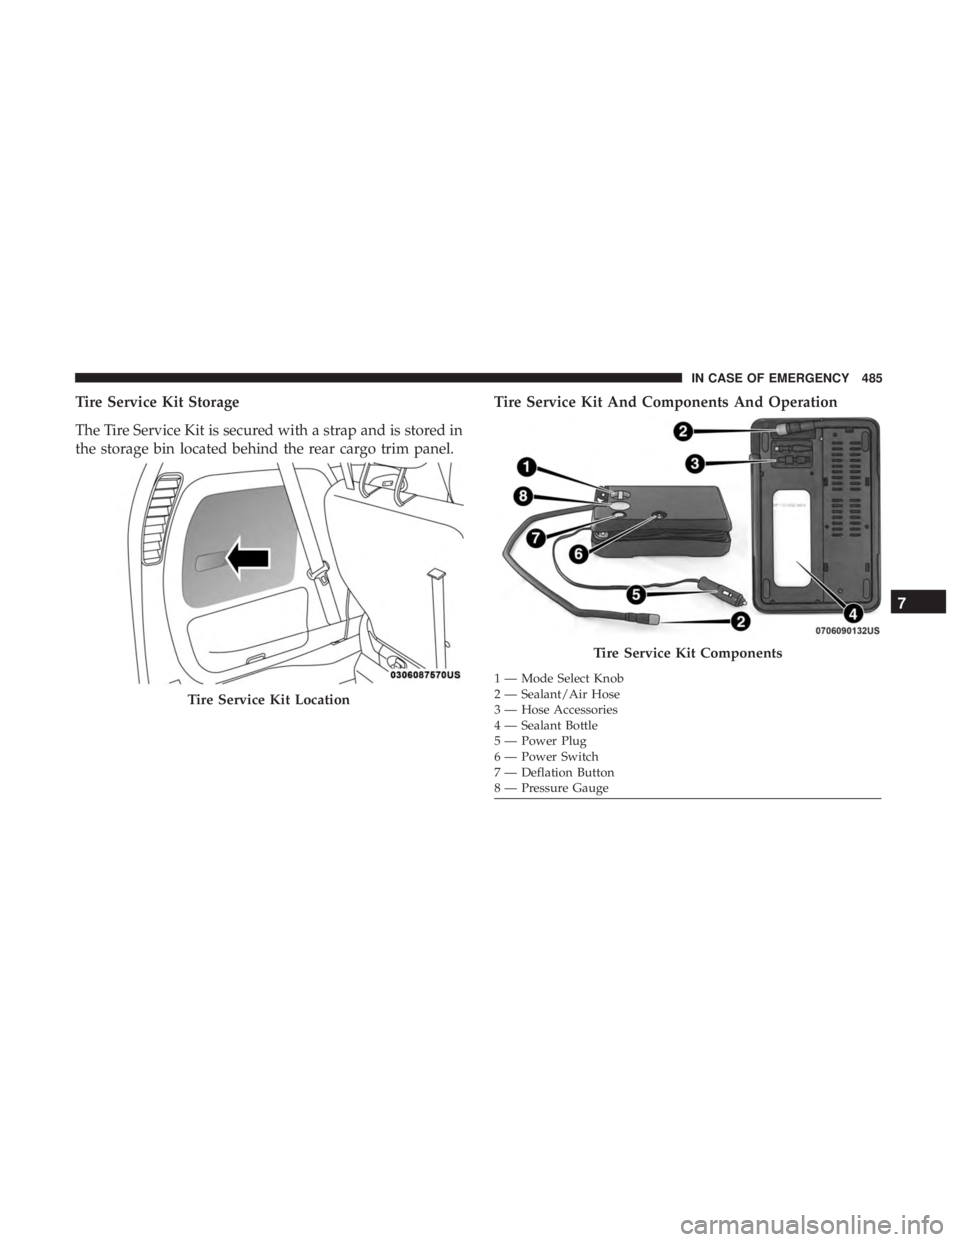
Tire Service Kit Storage
The Tire Service Kit is secured with a strap and is stored in
the storage bin located behind the rear cargo trim panel.Tire Service Kit And Components And Operation
Tire Service Kit Location
Tire Service Kit Components
1 — Mode Select Knob
2 — Sealant/Air Hose
3 — Hose Accessories
4 — Sealant Bottle
5 — Power Plug
6 — Power Switch
7 — Deflation Button
8 — Pressure Gauge
7
IN CASE OF EMERGENCY 485
Page 491 of 718
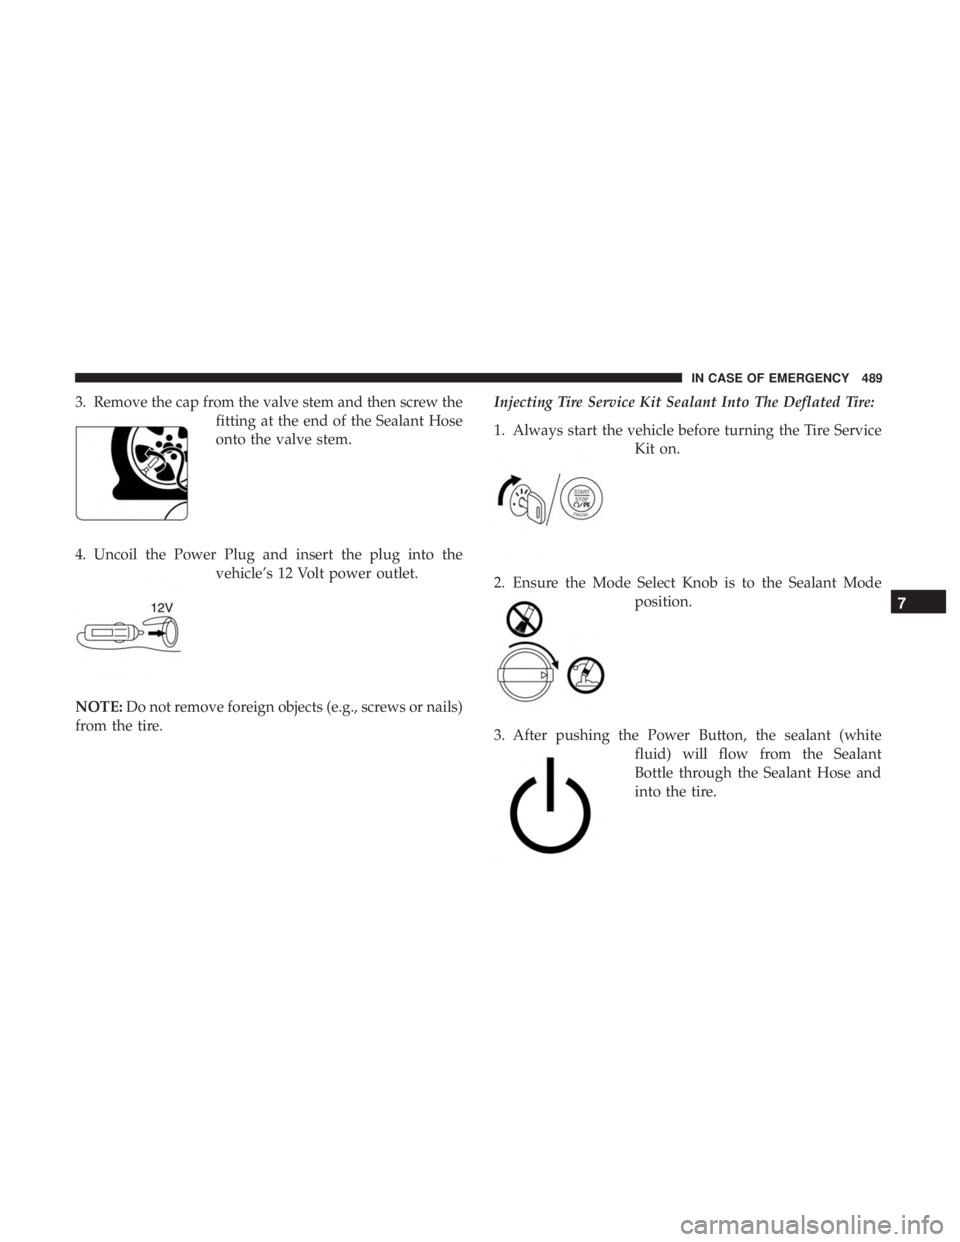
3. Remove the cap from the valve stem and then screw thefitting at the end of the Sealant Hose
onto the valve stem.
4. Uncoil the Power Plug and insert the plug into the vehicle’s 12 Volt power outlet.
NOTE: Do not remove foreign objects (e.g., screws or nails)
from the tire. Injecting Tire Service Kit Sealant Into The Deflated Tire:
1. Always start the vehicle before turning the Tire Service
Kit on.
2. Ensure the Mode Select Knob is to the Sealant Mode position.
3. After pushing the Power Button, the sealant (white fluid) will flow from the Sealant
Bottle through the Sealant Hose and
into the tire.
7
IN CASE OF EMERGENCY 489
Page 492 of 718
NOTE:Sealant may leak out through the puncture in the
tire.
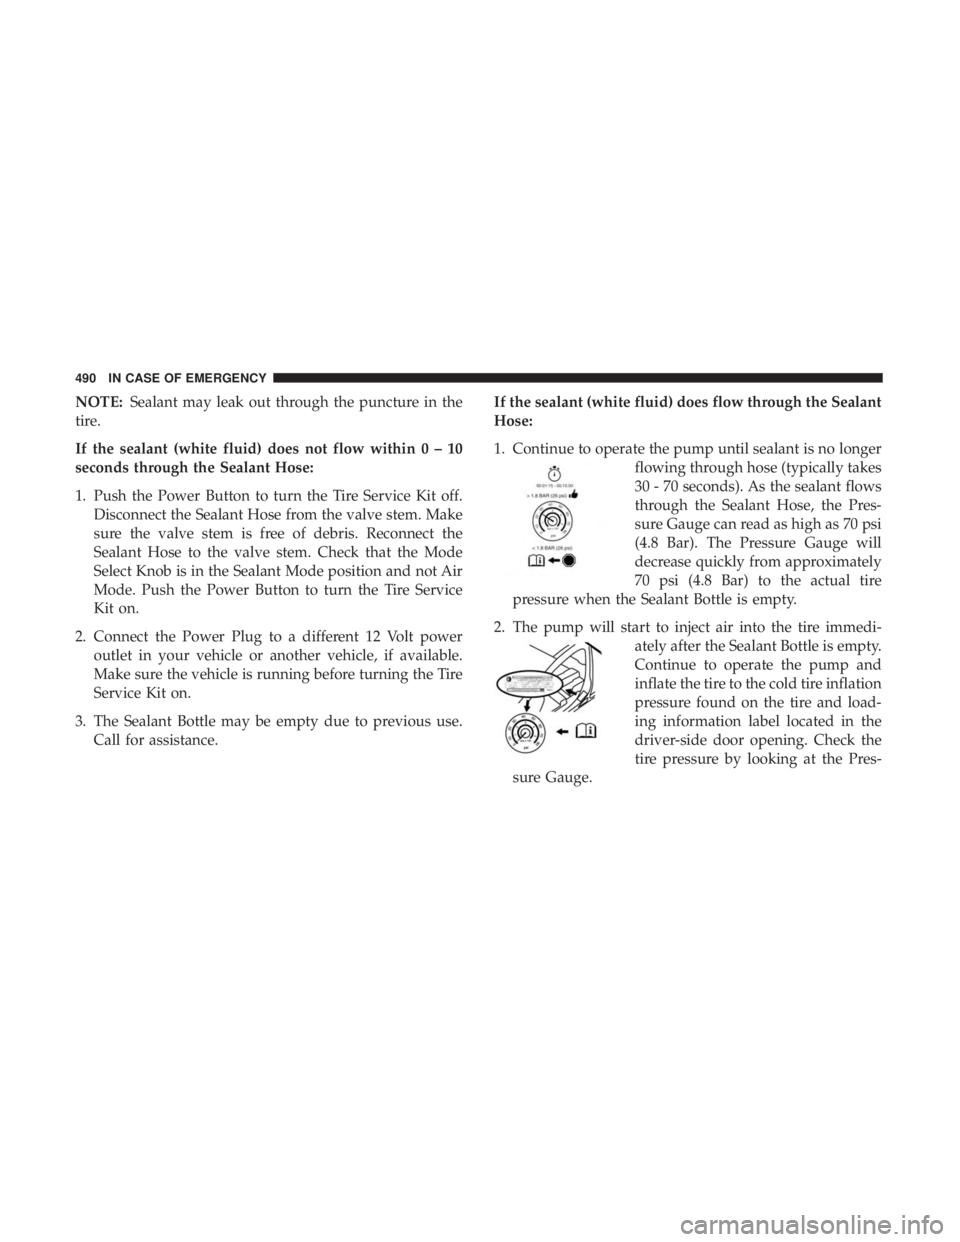
If the sealant (white fluid) does not flow within0–10
seconds through the Sealant Hose:
1. Push the Power Button to turn the Tire Service Kit off. Disconnect the Sealant Hose from the valve stem. Make
sure the valve stem is free of debris. Reconnect the
Sealant Hose to the valve stem. Check that the Mode
Select Knob is in the Sealant Mode position and not Air
Mode. Push the Power Button to turn the Tire Service
Kit on.
2. Connect the Power Plug to a different 12 Volt power outlet in your vehicle or another vehicle, if available.
Make sure the vehicle is running before turning the Tire
Service Kit on.
3. The Sealant Bottle may be empty due to previous use. Call for assistance. If the sealant (white fluid) does flow through the Sealant
Hose:
1. Continue to operate the pump until sealant is no longer
flowing through hose (typically takes
30 - 70 seconds). As the sealant flows
through the Sealant Hose, the Pres-
sure Gauge can read as high as 70 psi
(4.8 Bar). The Pressure Gauge will
decrease quickly from approximately
70 psi (4.8 Bar) to the actual tire
pressure when the Sealant Bottle is empty.
2. The pump will start to inject air into the tire immedi- ately after the Sealant Bottle is empty.
Continue to operate the pump and
inflate the tire to the cold tire inflation
pressure found on the tire and load-
ing information label located in the
driver-side door opening. Check the
tire pressure by looking at the Pres-
sure Gauge.
490 IN CASE OF EMERGENCY
Page 494 of 718
After Driving:
Pull over to a safe location. Refer to “Whenever You Stop
To Use Tire Service Kit” in this section before continuing.
1. Uncoil the Sealant Hose, and then remove the cap fromthe fitting at the end of the hose.
2. Place the Tire Service Kit flat on the ground next to the deflated tire.
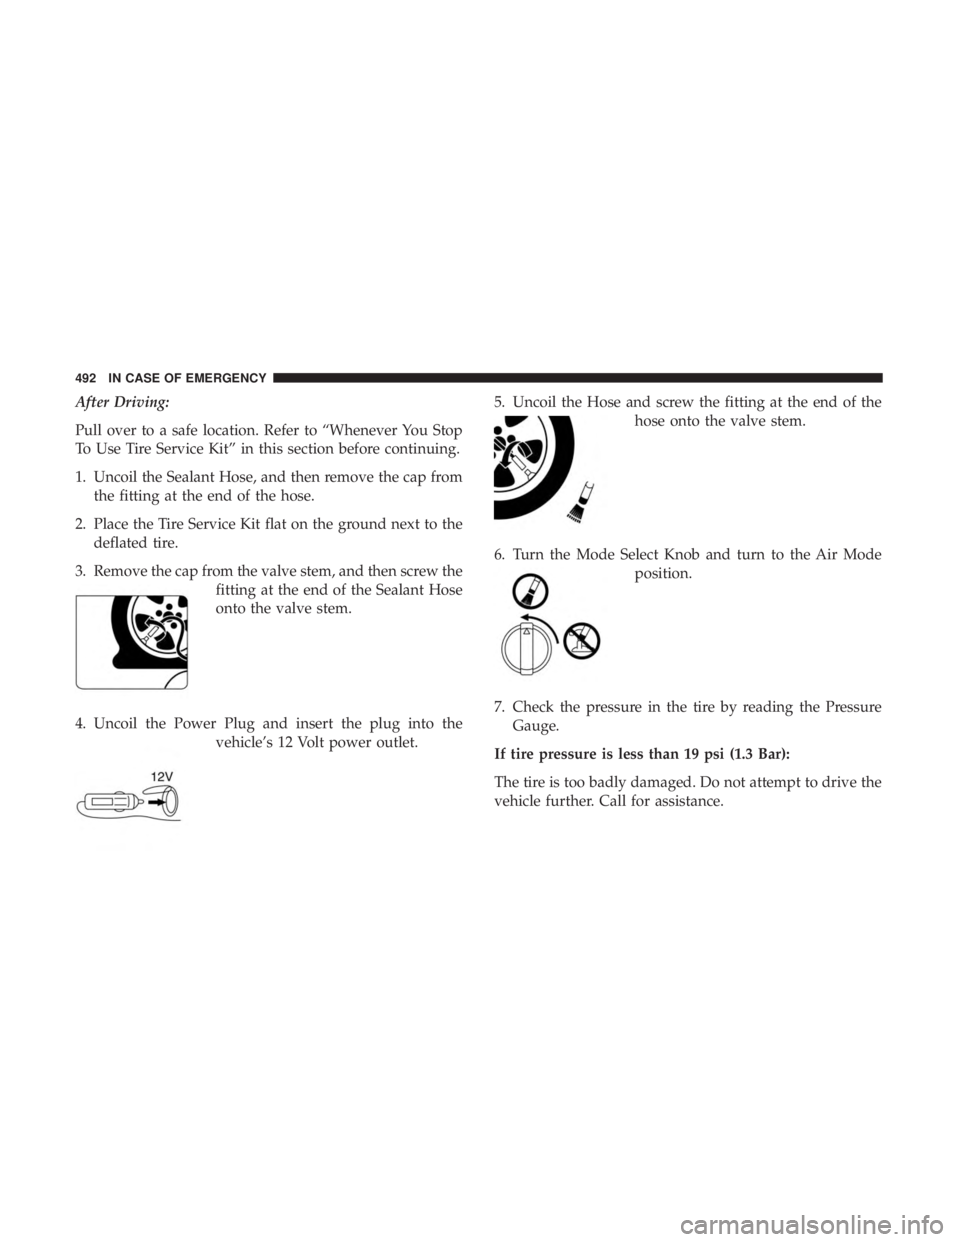
3. Remove the cap from the valve stem, and then screw the fitting at the end of the Sealant Hose
onto the valve stem.
4. Uncoil the Power Plug and insert the plug into the vehicle’s 12 Volt power outlet. 5. Uncoil the Hose and screw the fitting at the end of the
hose onto the valve stem.
6. Turn the Mode Select Knob and turn to the Air Mode position.
7. Check the pressure in the tire by reading the Pressure Gauge.
If tire pressure is less than 19 psi (1.3 Bar):
The tire is too badly damaged. Do not attempt to drive the
vehicle further. Call for assistance.
492 IN CASE OF EMERGENCY